See our ratings  Add this shop to my favorites  | ||
    | CLEAR ACRYLIC CASE FOR ZERO4U AND RASPBERRY PI ZERO (V1.2 OR V1.3) £4.38 Availability: in stock RODUCT DESCRIPTIONThis acrylic case is built with 6 pieces of clear acrylic sheets, one plastic M2 standoff and 2 plastic M2 screws. It can hold your Raspberry Pi Zero (V1.2 or V1.3) and Zero4U (4-port USB hub for Zero) together. The acrylic sheets are 3mm thick and the case can protect your Raspberry Pi Zero and Zero4U very well. There is a window for GPIO header, so you can still access all GPIO pins. PACKAGE CONTENT
The Zero4U Hub is sold seperately. STEP BY STEP ASSEMBLY GUIDEThere are six acrylic plates in the package. Each acrylic plate has protective membrane on both surfaces, and you will need to remove the membrane before going to the next step. 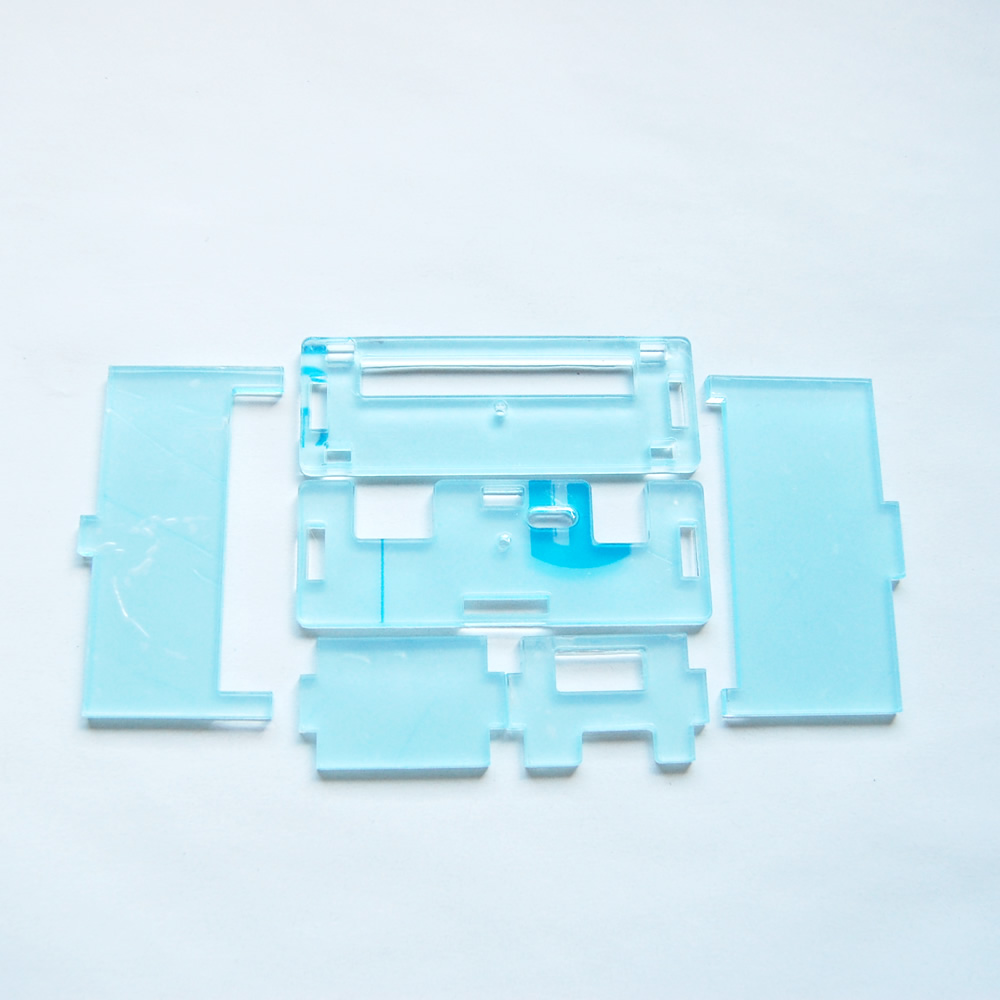 Please notice that we replaced one plate later to have the window opened for camera connector on Raspberry Pi Zero V1.3: 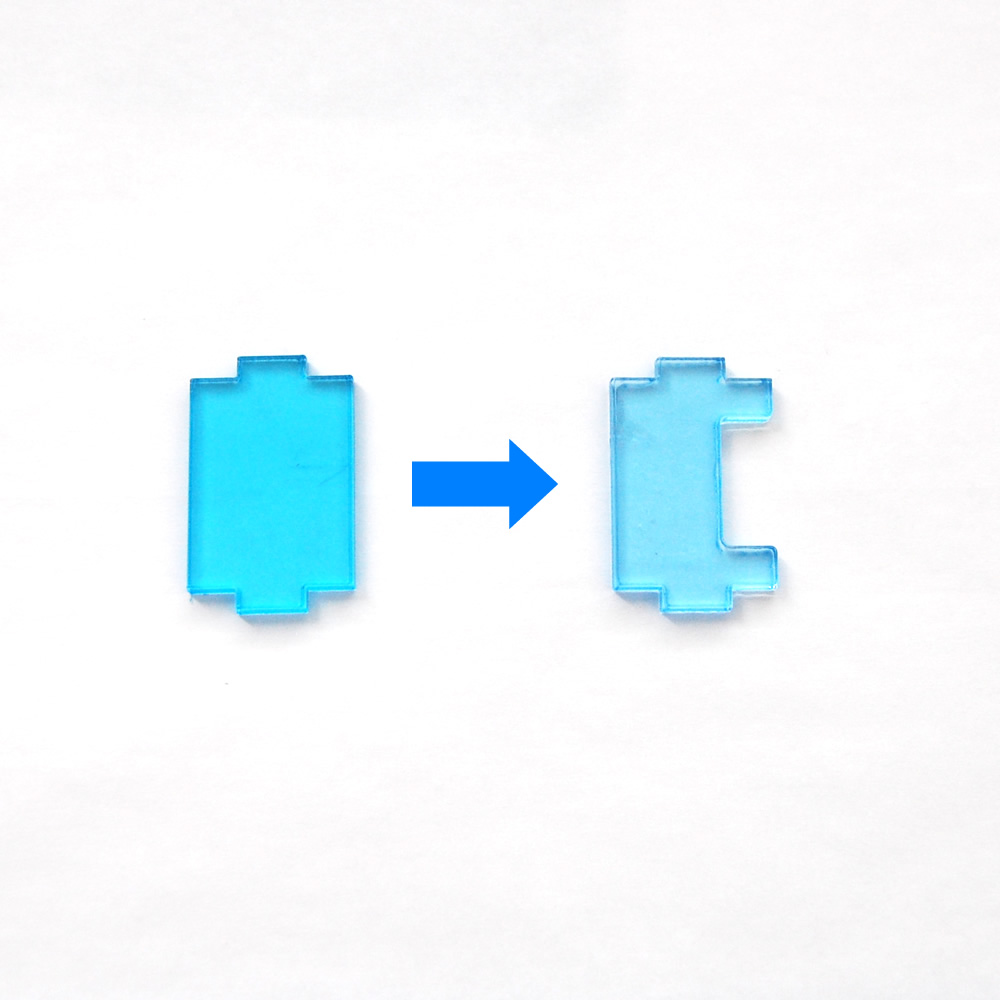 Use tweezers or fingernails to peel off the membrane on both sides carefully, then you will see the smooth surfaces. 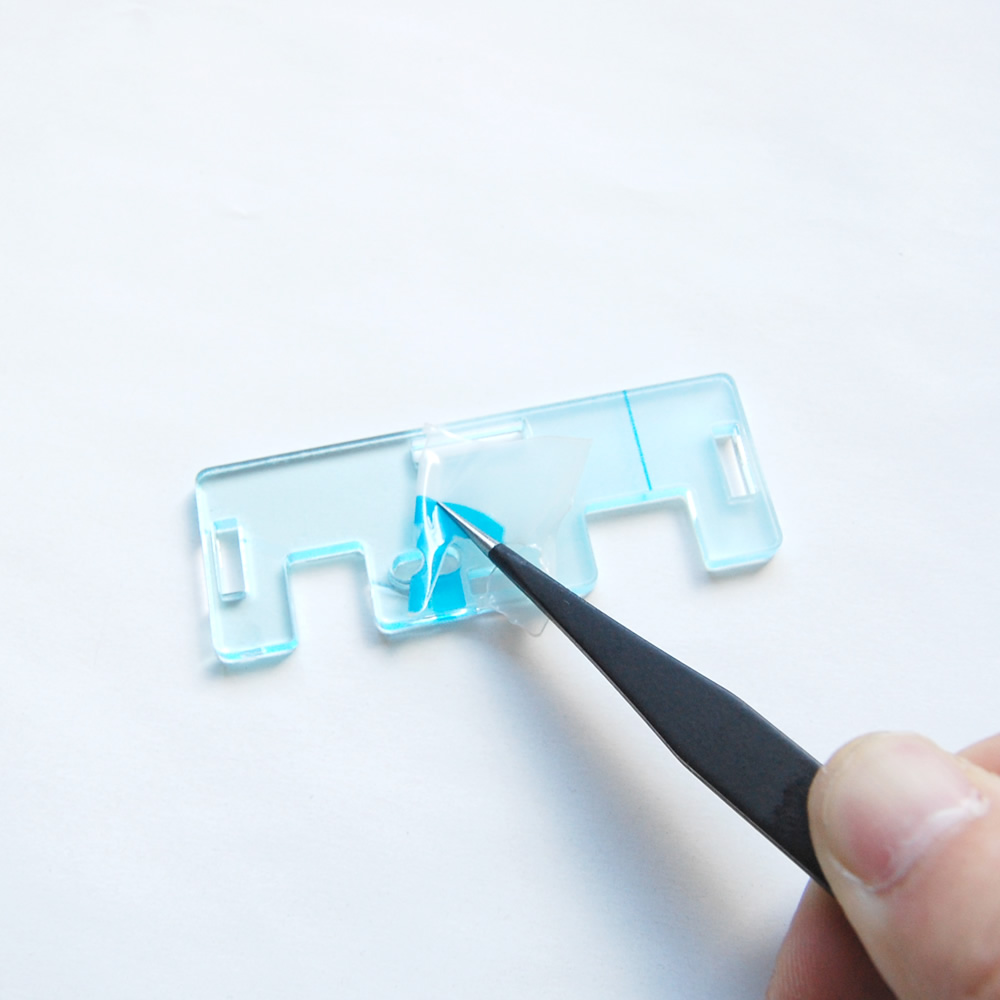 Before continuing, please mount Zero4U on your Raspberry Pi Zero, back-to-back and then fix the four corners with the plastic screws, spacers and nuts in Zero4U’s package. 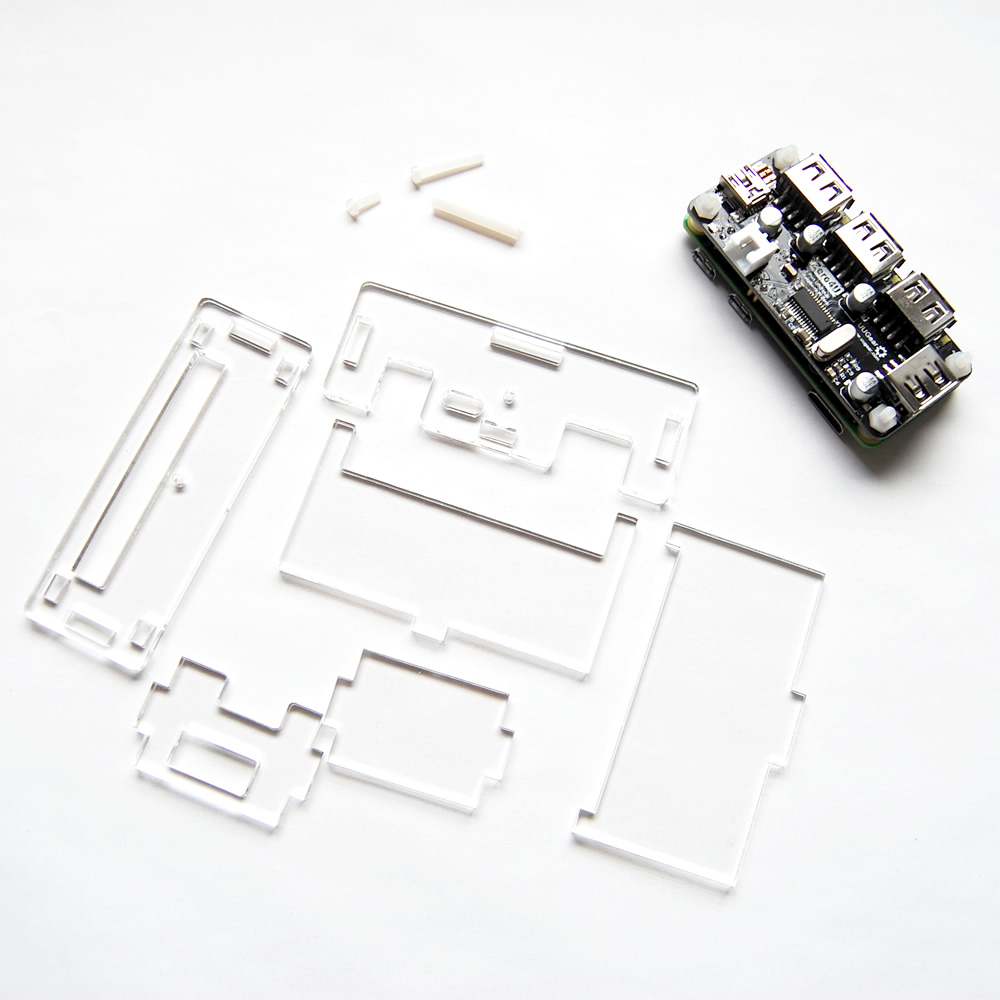 Now we can start from the piece that shown in the figure below. Place the short screw at the bottom, let it go though the small rounded hole and then fix the plastic standoff. Make sure to mount the standoff at the correct surface, the rounded window should be on its right, as shown in the figure. 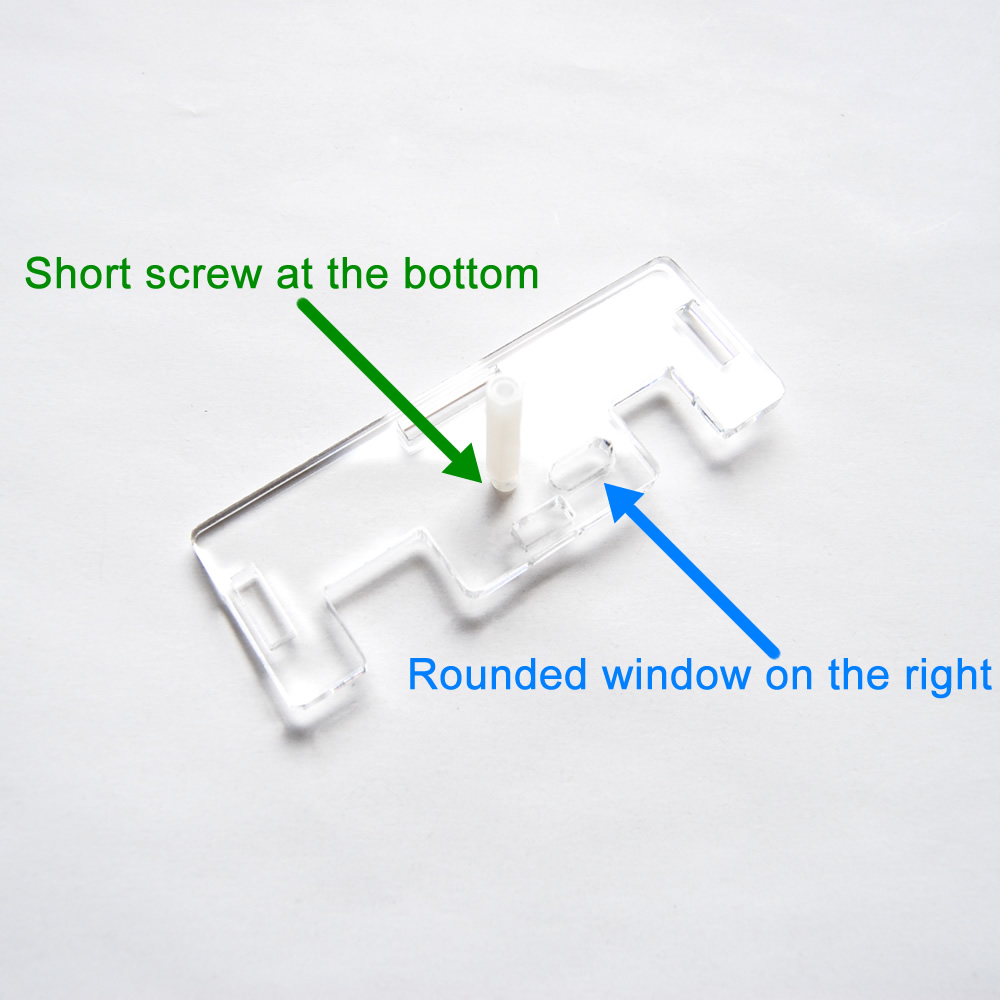 Now we put the acrylic sheet on the side of Raspberry Pi Zero, which has two micro USB ports. The plastic standoff should go though the space between Zero4U and Raspberry Pi Zero. 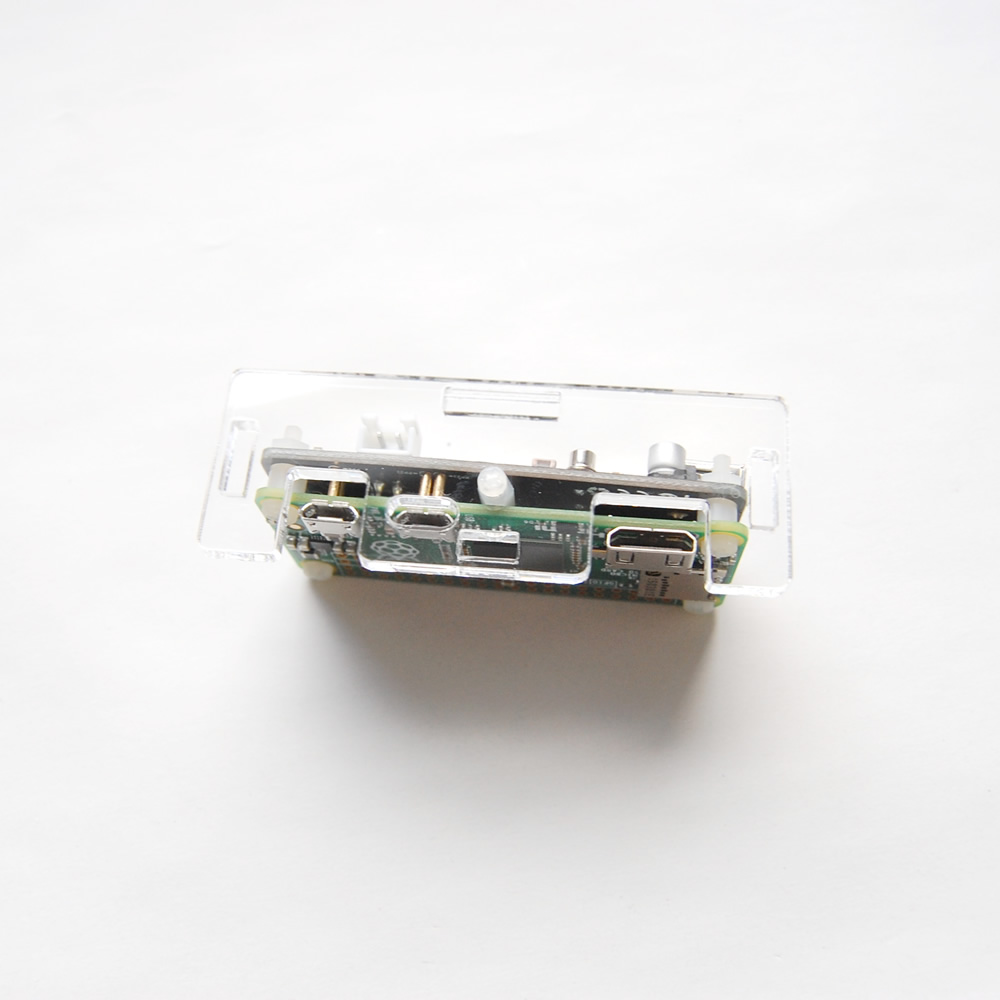 Place it up side down, and put the 4 pieces around your Raspberry Pi Zero and Zero4U. Please pay attention to the sheet that has window for SD card, and make sure it gets placed in correct direction, or the SD card slot could be covered by mistake. 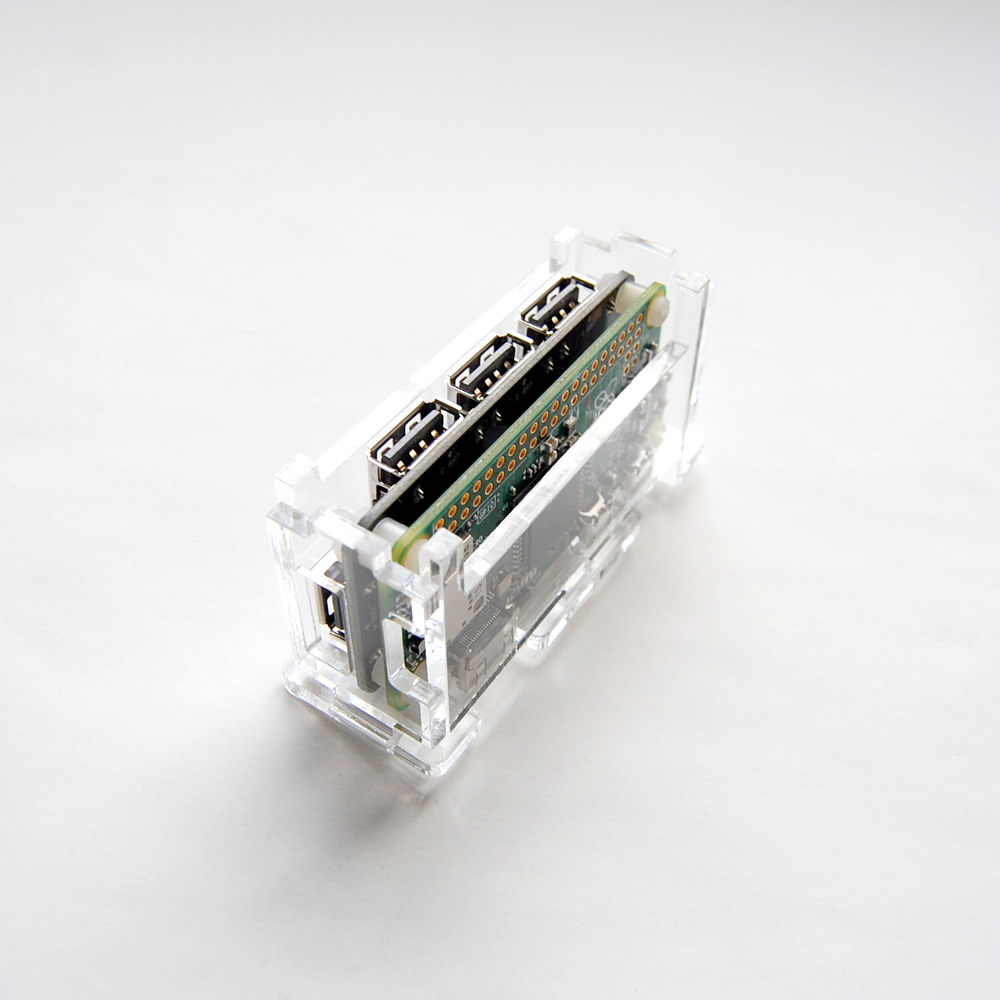 Also pay attention to the other side, for Raspberry Pi Zero V1.3 there is a camera connector, which should be placed in the window: 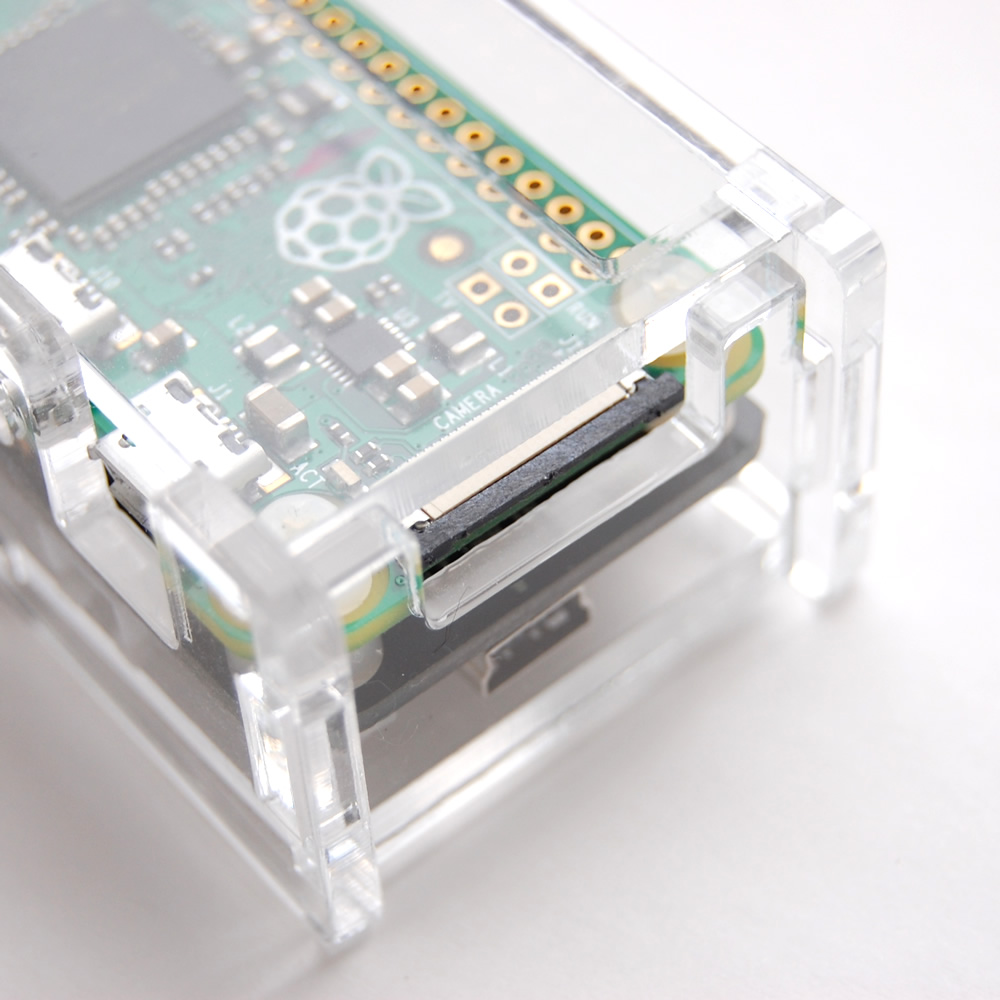 Put on the last piece and place the long screw into the small hole. Once it aligns with the plastic standoff between Zero and Zero4U, use your screw driver to tighten it. 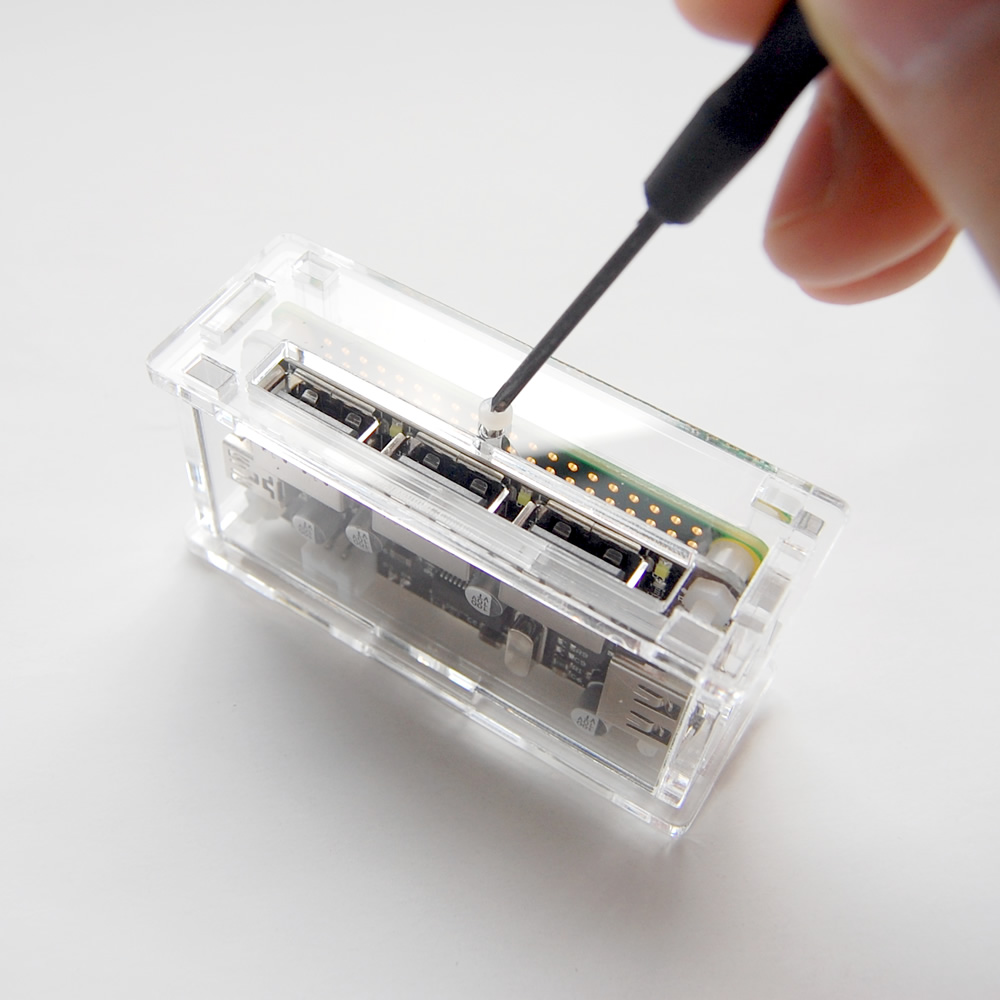 All done! Here is how it will look like: 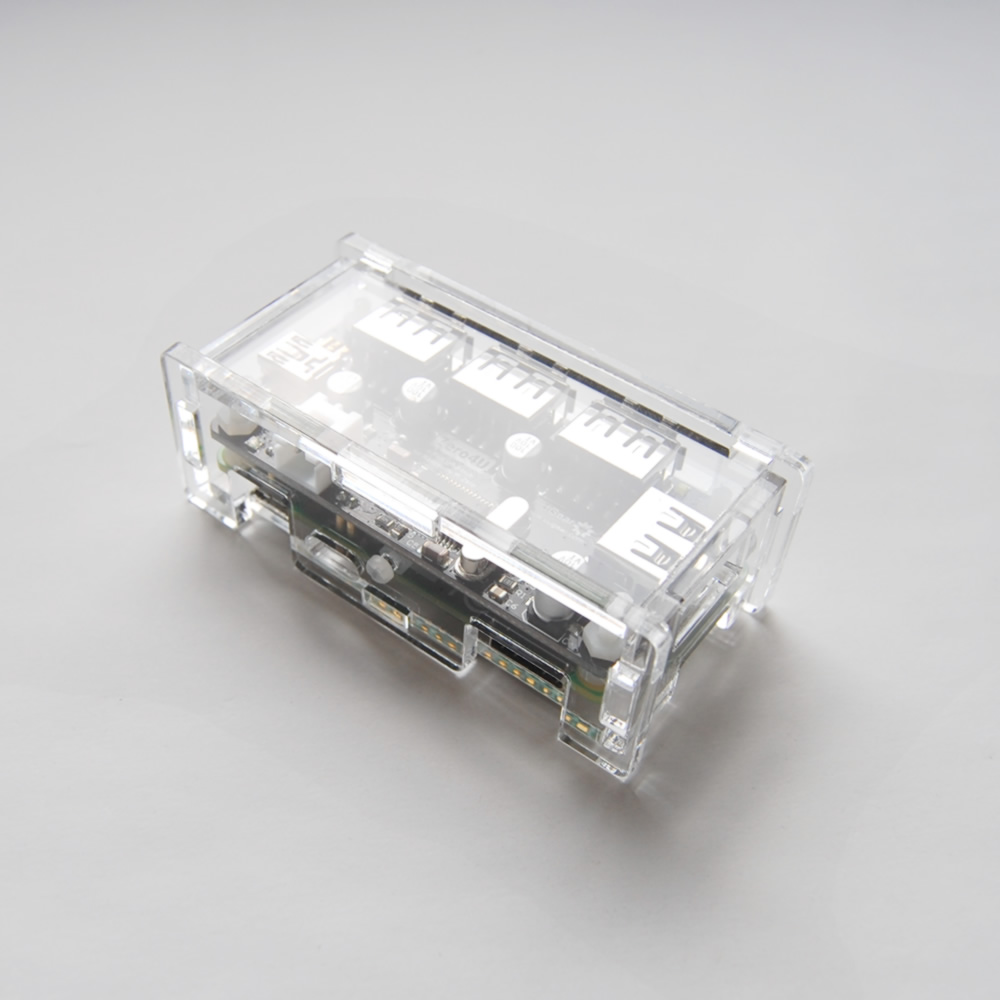 You can connect the power supply to the micro USB port, and it is ready to rock. 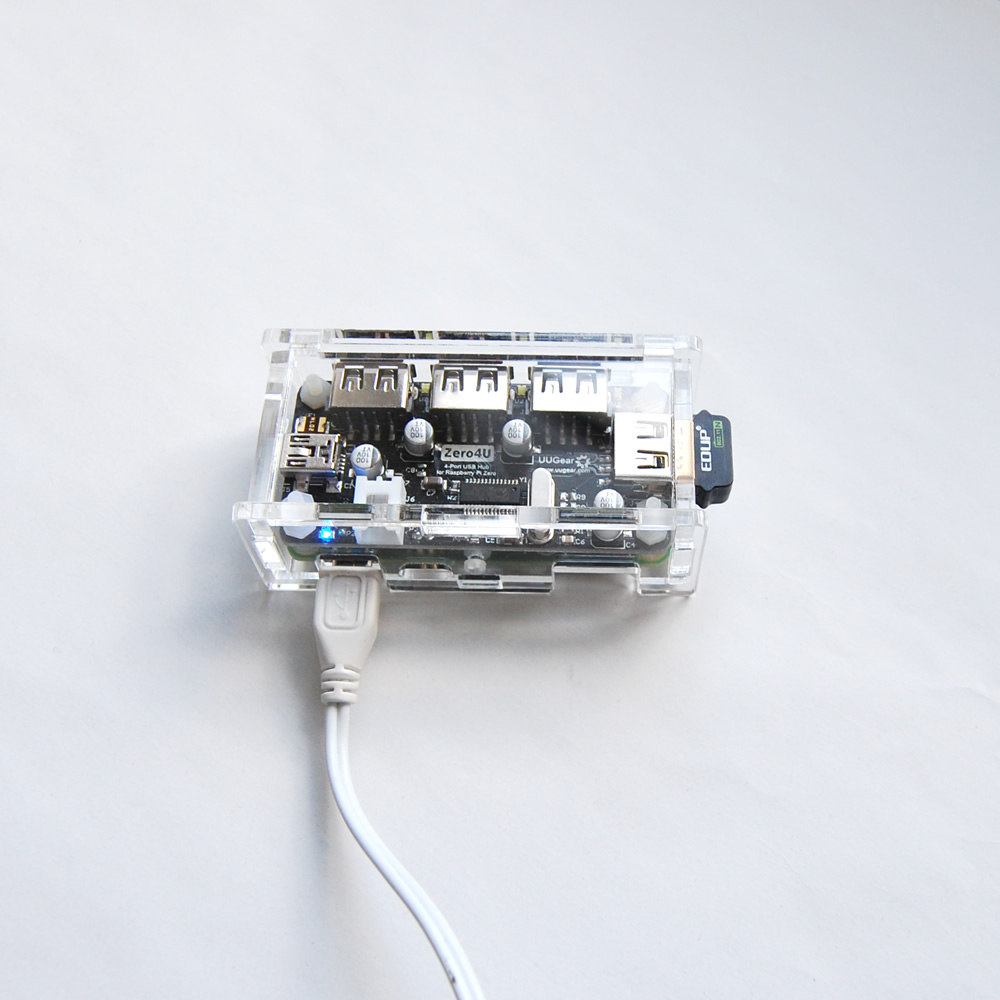 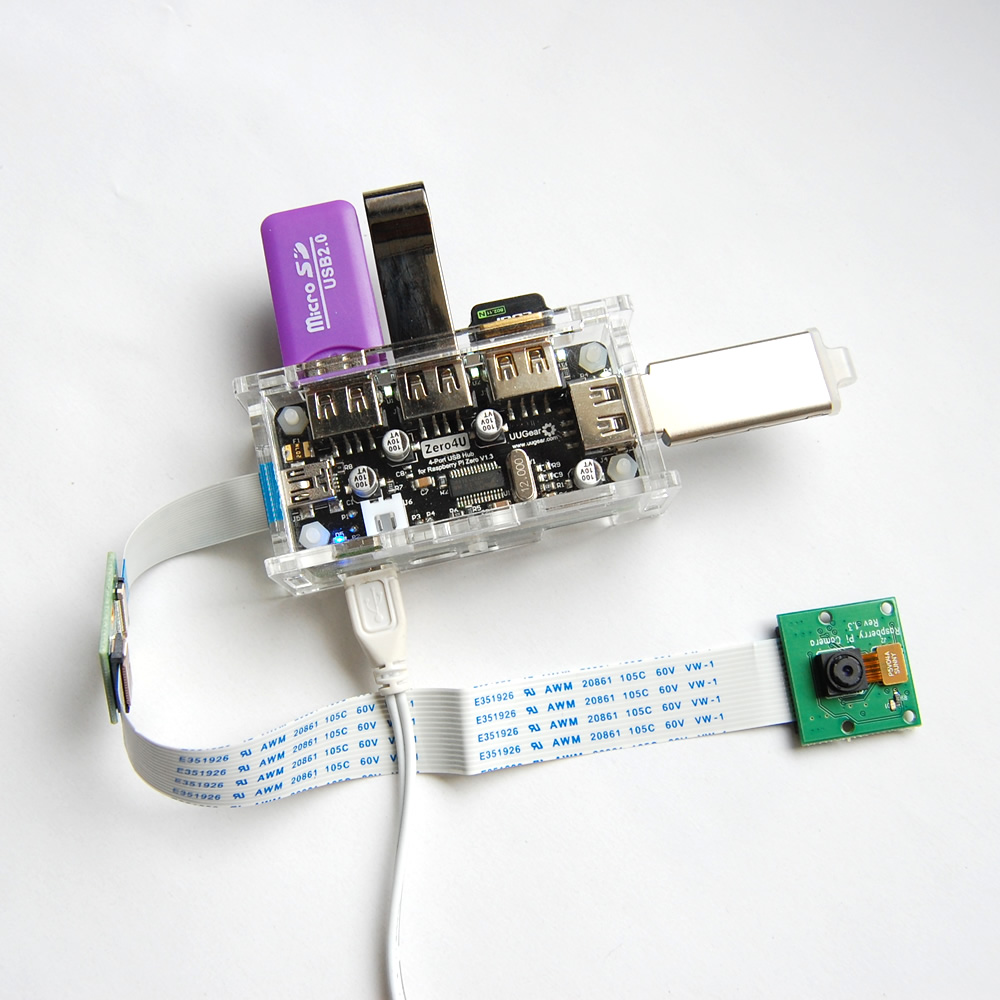 | |