Dodge RAM 2002-2005 Double Din Aftermarket Dash Kit
Black CARBON FIBER 3M DI-NOC VINYL
This dash kit comes complete with Bezel, Installation Brackets, Aftermarket Wire Harness and Antenna Adapter.
The bezel is a solid piece of ABS plastic that is wrapped in a genuine Mossy Oak vinyl pattern to give a custom flare to your vehicle's interior design. This bezel is engineered to convert your factory radio opening to house USA Standard Double Din Aftermarket Radios that measure 180mm x 100mm.
The wire harness is designed to prevent the mess of cutting and splicing wires. As it does meet EIA color codes just match the colors up from this harness with the harness that was provide with your aftermarket radio. Please note that this wire harness is not compatible with Infinity Amplified System.
The antenna adapter is used to adapt the factory antenna end to the standard Motorola male end needed to plug in to your new aftermarket radio.
Other Mossy Oak Patterns Available:
Blaze, Bottom Land, Break-Up, Break-Up Infinity, Brush, Duck Blind, Obsession, Pink Bottom Land, Pink Break-Up, Shadow Grass Blades, Tree Stand, Winter and Winterbrush. Any other pattern can be ordered by request with a 10 to 15 day shipping delay. Please email for more details.
Basic Installation Directions
1- Disconnect the negative battery terminal to prevent an accidental short circuit.
2-Unclip the top edge of the trim panel below the steering column (it does not have to be removed)
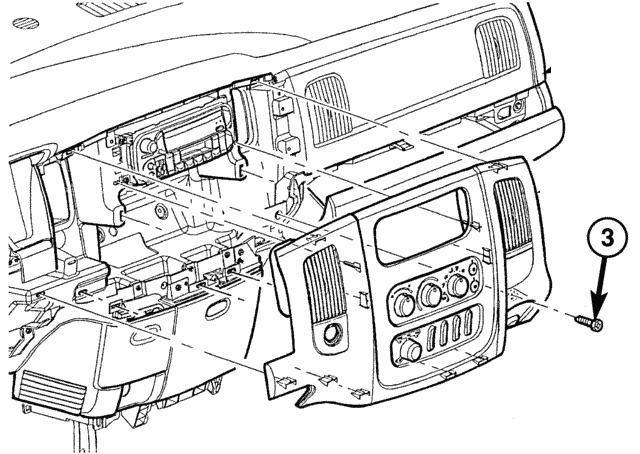
3-Remove the one Phillips head screw from below the right A/C vent.
4-Unclip and remove the dash trim panel
5-Remove the 4 phillips screws that secure the radio. Disconnect and remove the radio.
6-Remove the 4 phillips screws that secure the a/c controller (save these screws they will be reused).
7-Remove the 4 phillips screws that secure the factory pocket (save these screws they will be reused).
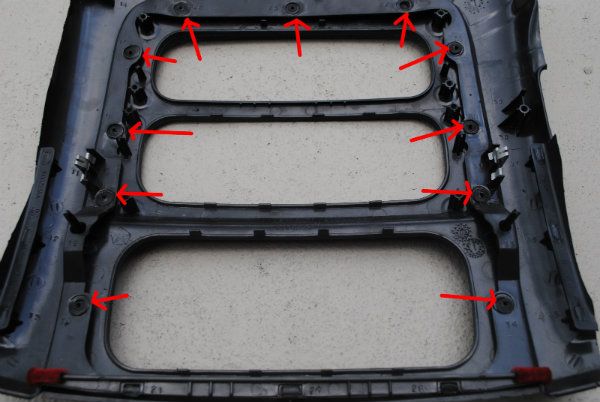
8-Locate the 11-PVC welds (shown below). With a drill with a 1/4 drill bit , drill each pvc weld out (you can drill right through the old face plate)
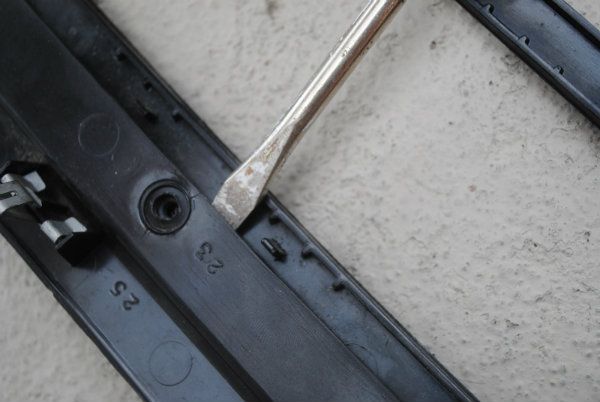
9-With a flat head screw drive slide it in between the two plastic panels and rotate the screw drive so that it forces the two plates apart(shown below).
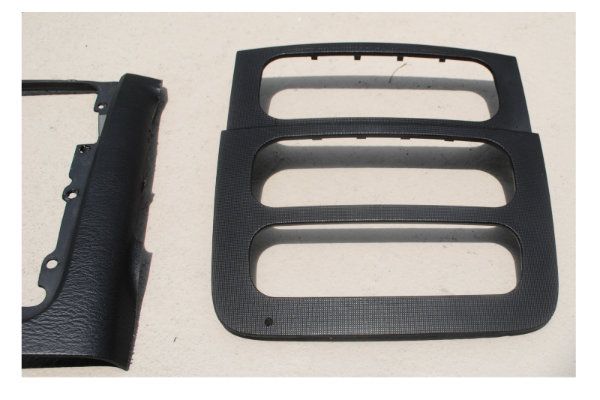
10-Now separate the two parts (shown below). You can discard the old radio bezel on the right.
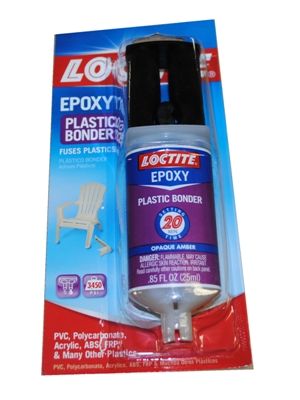
11- Now with the new Double Din dash kit bezel and the main dash Bezel these will have to be bonded together by using the 2-part epoxy that is included in the kit.
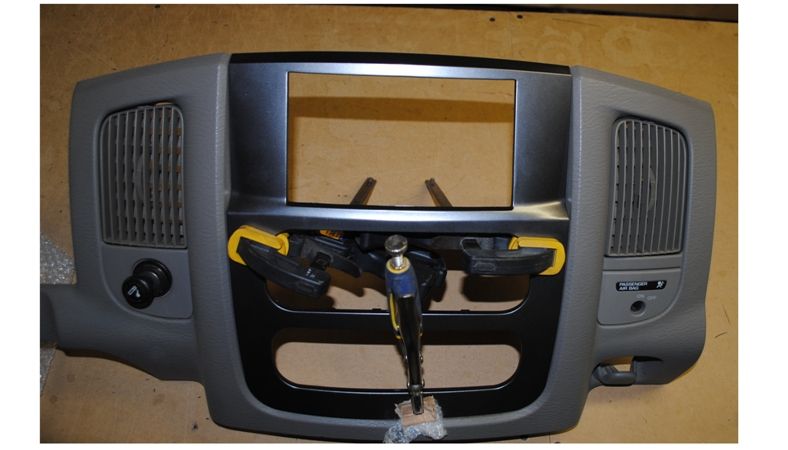
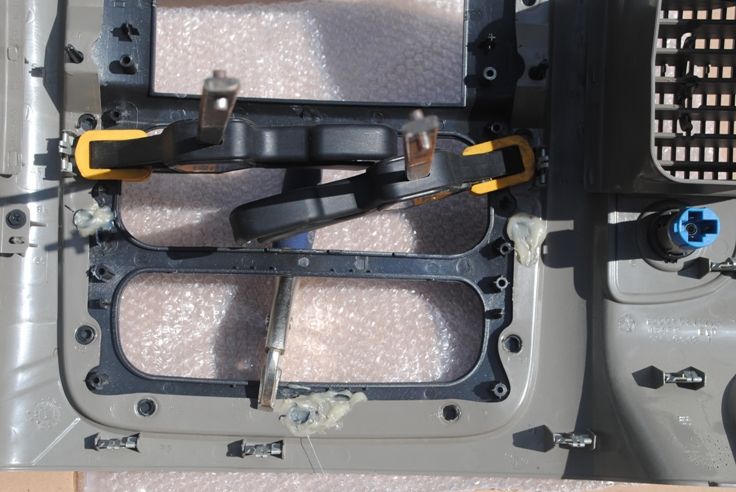
12- Using Clamps , Clamp the new radio bezel together with the main bezel ( make sure if you are not using padded clamps to clamp then with something soft to prevent them from scratching the face of the new radio bezel). When clamping check the two bezels to make sure that are line up center.
13- Now Flip over the bezel and lay it on its face(once again use padding to protect it from scratching).
