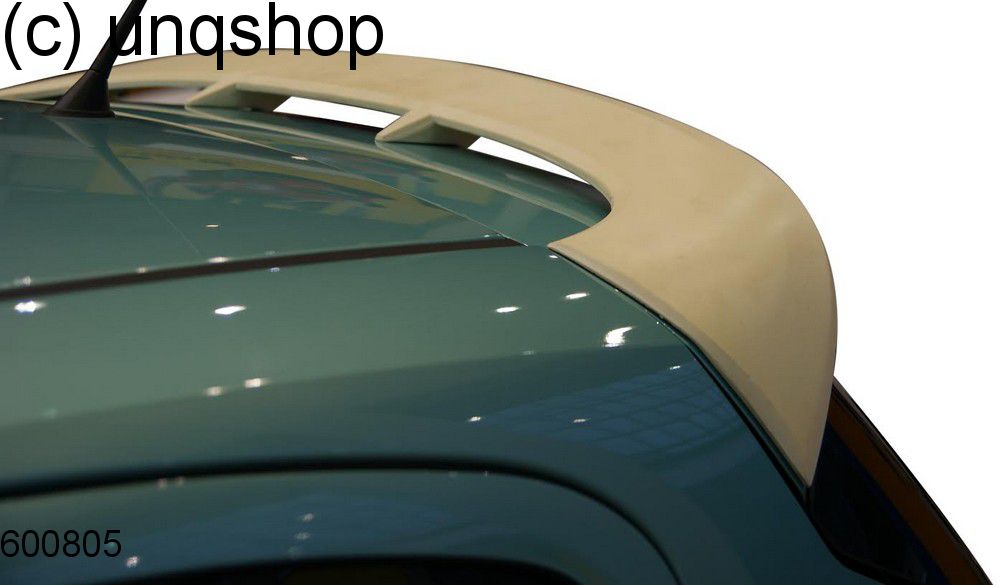
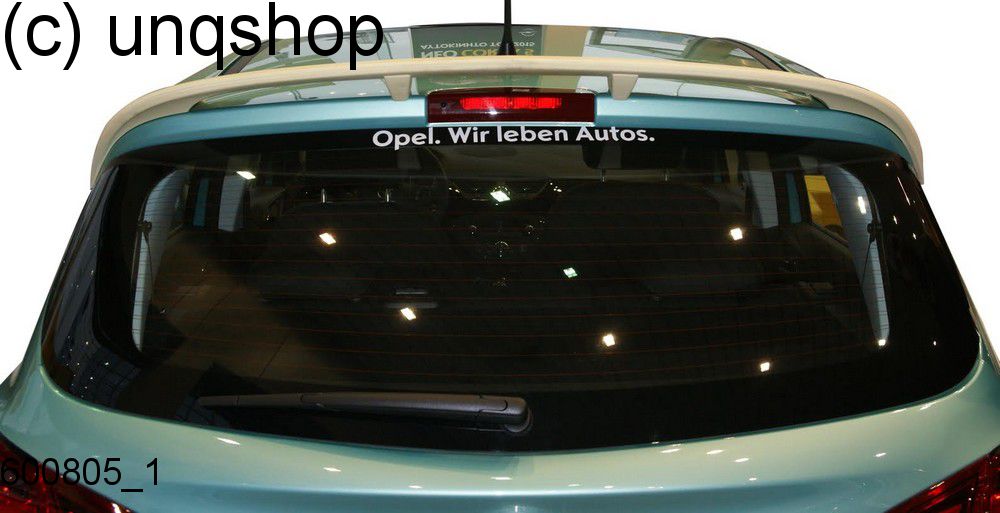
ROOF SPOILER
VAUXHALL OPEL CORSA E
ONLY FOR 5 DOORS
MADE
OF PU
ARTICLE NOT PAINTED – DISPLAYED PICTURES OF THE FITTED PARTS ON VEHICLES ARE FOR DEMONSTRATION OF FINAL RESULT PURPOSES ONLY .
WE DON’T OFFER ANY SPRAY SERVICES , SO DON’T ASK HOW MUCH WE TAKE FOR SPRAY JOB
PLEASE FOLLOW OUR INSTRUCTIONS AND ADVICE BELOW IN ORDER TO AVOID ANY DISAPPOINTMENT.
ALL OUR BODY KIT PRODUCTS ARE NOT DESIGNED TO BE USE IN THEIR FINAL STATE WITHOUT BEING PAINTED FIRST - DO NOT ATTEMPT TO FIT THEM OR INSTALL THEM WITOUT HAVING THEM READY AND SPRAYED FIRST - BE AWARE THAT ANY PREP AND SPRAY JOB MAY BE MORE EXPENSIVE THAN THE ACTUAL PART YOU ARE BUYING FROM US.
-Our entire product line should fit very well but some items may need modifications.
-Upon receiving this item, you MUST carry out a test fit in order to determine if this product is compatible with your vehicle Example ; Wrong item ordered, wrong item shipped , etc..
(Please note we will accept returns if the item wasn’t modified, preparation work wasn’t started and the item wasn’t painted , in the exact same box you have received it in)
-You may notice small scratches,pin holes , marks or joint visible lines that are simply technical imperfections that occurred during the manufacturing process - this item is not primed.
-The part is designed to be prepared , primed , sanded down and sprayed which will result in a smooth finish.
-Preparation work will be required to guarantee a spotless smooth finish once painted.
-This par does not require any drilling but only to be fitted with a trusted bonding agent, like SIKAFLEX or TIGER SEAL .
-An installation leaflet , will be sent with your parcel , featuring an easy step by step notice to help you fit and spray the part .
If this not something you are willing to accept , please do not buy this item
Painting tips for Trained Body Shop :
- Before you attempt working on the part please do a test fit and find out if this part is the right one. If it is not compatible , please contact us and arrange to return the part and do not try to modify it at all otherwise we will refuse the return.
Step 1- heat up the part SENSIBLY with a heater gun to expose any possible defects like air bubbles etc...
Step 2 - Prepare the surface, remember to leave technical holes if they exist.
Step 3 - Apply first a coat of spray filler to fill any pin holes or gaps that you may discover during preparation.
This coat must be applied even if you believe there is no pin holes or gaps . Allow to dry and apply a coat of primer.
Step 4 - Proceed to spray and remember painting temperature should not exceed 40 degree Celsius.
Installation tip:
-Before you start , you should make yourself familiar with a few important details;
-The company or individual that you have chosen to carry out the work , is happy and experienced to work with FIBRE GLASS part ?
-Happy and Experienced to work with after-maket parts?
-They / He has fully read and understood our “ installation & painting “ tips ? ( Especially the heating of the part tip )
-We have been selling our parts for over 10 years now , from experience we can honestly tell you that any well known body shop specialist , Car accident repair shop , Standard body work fitters ( etc...) ONLY WANT TO WORK WITH GENUINE PART , meaning they might struggle to work with our parts as you need to be experienced with after-market parts.
The common issue we have come across ;
A- Modification / painting job are being carried out without first testing for if the parts offers a suitable adaptation.
This can happen when you are use to work with genuine items and you expect them to fit straight off.
B – The part is fitted the wrong way , upside down or other ways .
This is a serious recurring issue , we see that often on a daily basis . This down to lack of understanding and experience .
C – They claim the part is not fitting the vehicle .
This shows a lack of preparation work , cutting and trimming and experience .
D – The part is ruined , damaged and is not fit for purpose any more.
Often happens when the part is “ Over baked or Overheated “ ., or the trimming and cuttings have been overdone without precision .
E – They claim the part is damaged
Damages should be flagged on delivery , most of the late acknowledgement of damages are made because the part has been badly stored or not handled with enough care and attention.
REMEMBER , ANY PART THAT HAVE BEEN MODIFIED – SPRAYED – CUT – PREPARED , IN ANYWAY OR SHAPE CANNOT BE RETURNED ANY LONGER .
Step 1: Mock fit, place the product and check the fit, carefully check both ends, find the optimum emplacement. If unsure please seek the advice or help from a professional
Step 2: Clean the surfaces concerned prior to bonding, using an alcohol base agent (no oily substances)
Step 3: Apply a trusted bonding agent, like SIKAFLEX or TIGER-SEAL, on the concerned areas and place the spoiler on the desired spot. Press firmly and allow it to bond.
You can use an adhesive tape to help keep the product in place while the glue dries off.Also these process will help with waterproofing the holes created so use accordingly.
That is the end of the installation; now enjoy your newly improved look.
PLEASE REMEMBER :
You should apply a trusted bonding agent, like SIKA-FLEX or TIGER-SEAL, on the concerned contact areas and place the item on the desired spot. Press firmly and allow it to bond. Also these process will help with waterproofing the holes created so use accordingly.
IMPORTANT RULE TO FOLLOW AFTER COMPLETING THE FULL INSTALLATION:
- Do not wash or power jet wash your vehicle for 48 hours as the bonding is still under process.
- After installation please allow 12 hours of resting time , do not drive your vehicle under no circumstances .
- Don't exceed 60 MPH on the first day , after 24 hours normal use will resume.