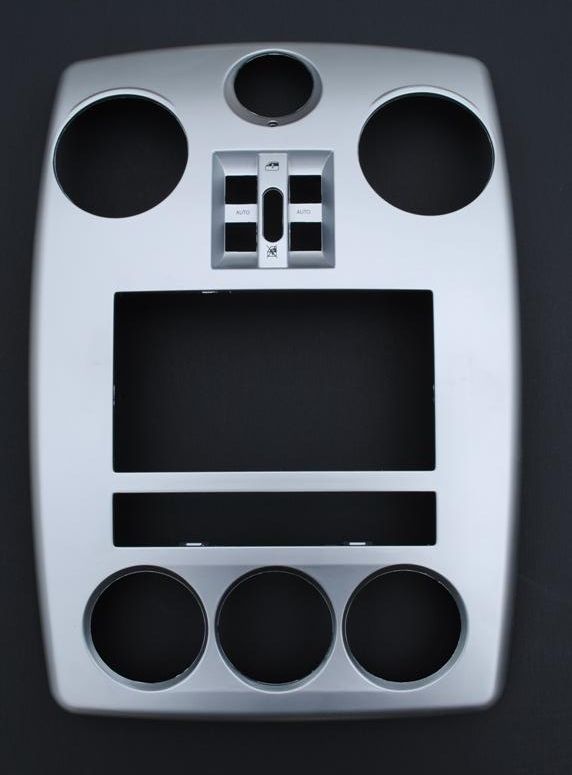
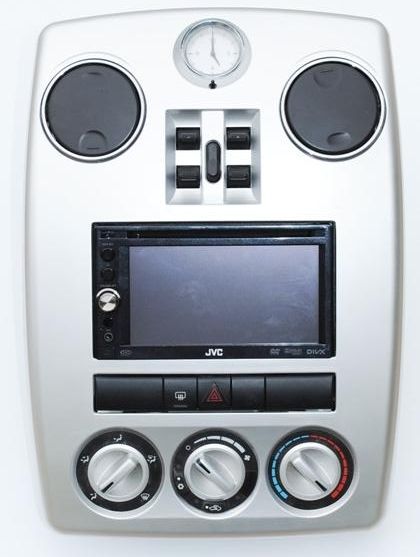
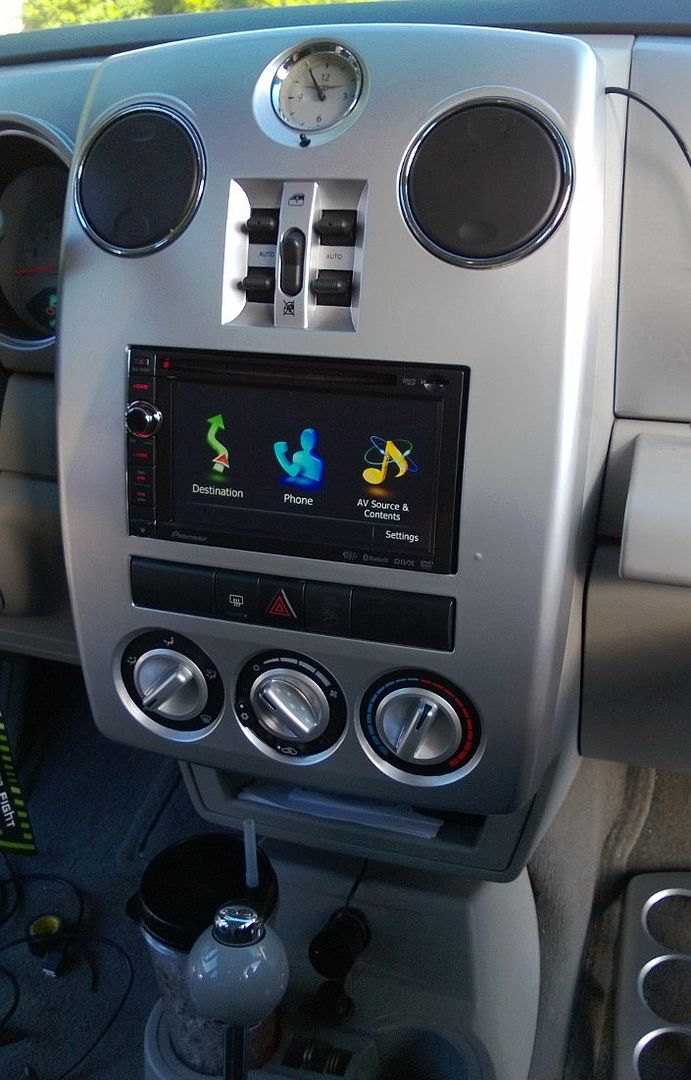
Finally a Double Din
Radio installation solution is in reach without having to pay tons of money for
a custom handmade kit!!
Up until now installing an Aftermarket Double Din Radio into a
2006-2010 Pt Cruiser meant having to take your ride to someone who can custom
make a double din kit (these kits cost upwards of $349). However this
Bezel kit allows you replace your Factory Radio with an aftermarket Double Din
radio. See installation directions below.
This installation kit contains: The Aftermarket Trim Bezel Double
Din Dash Kit, Antenna Adapter and Wire Harness ( Two wiring different harnesses
are available for the Pt Cruiser ).
Wire Harness Options:
All Wire Harnesses meet EIA color codes to take the guess work out of installing an aftermarket radio.
#1. Standard Wire Harness
This wire harness is compatible with standard wiring only. Will not work on models with Factory Infinity Systems, Boston Acoustic Systems or CAN Bus Radios (models REF, REC, RAQ or RAK; The radio's name can be found on the face of the radio). Dash Kit and Antenna Adapter included.
#2. Premium Wire Harness Module
This wiring harness allows models with Factory Amplified Systems or CAN Bus Factory Radios REF, REC, RAQ and RAK (names can be found of front of radio) to replace Factory Radios while retaining all necessary safety and warning features. Dash Kit and Antenna Adapter included.
Video Demonstration Radio Removal
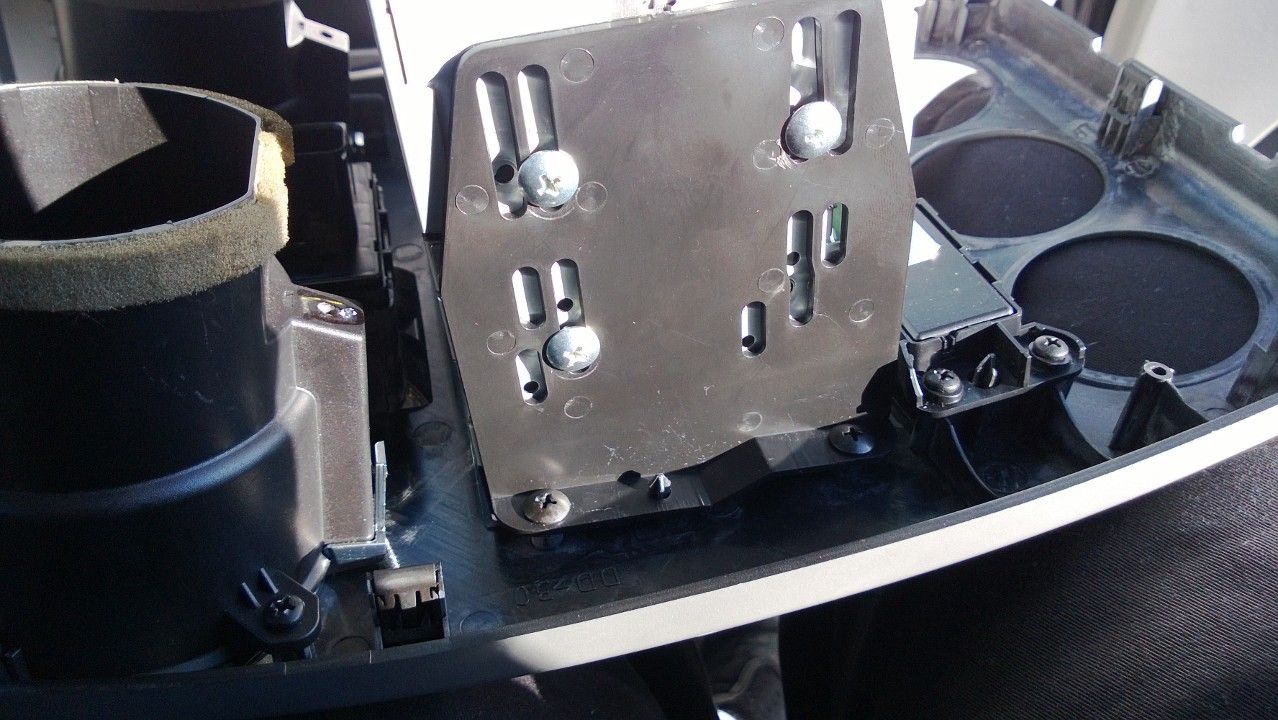
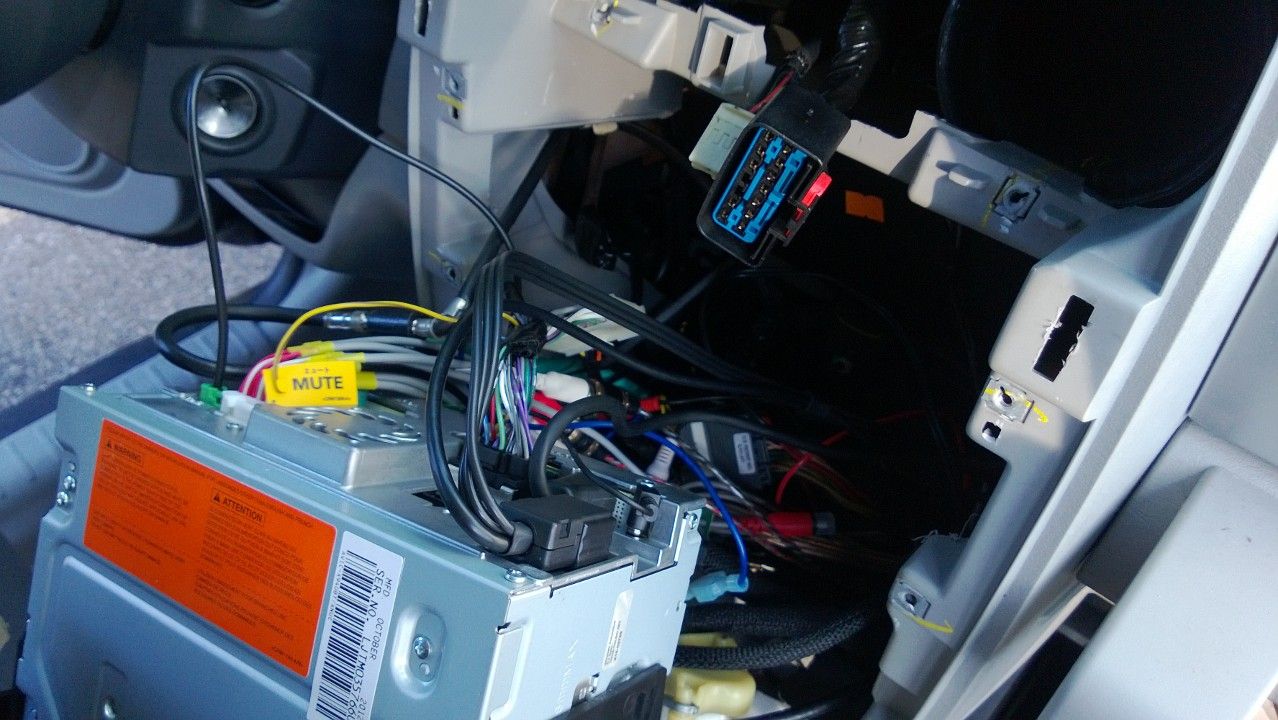
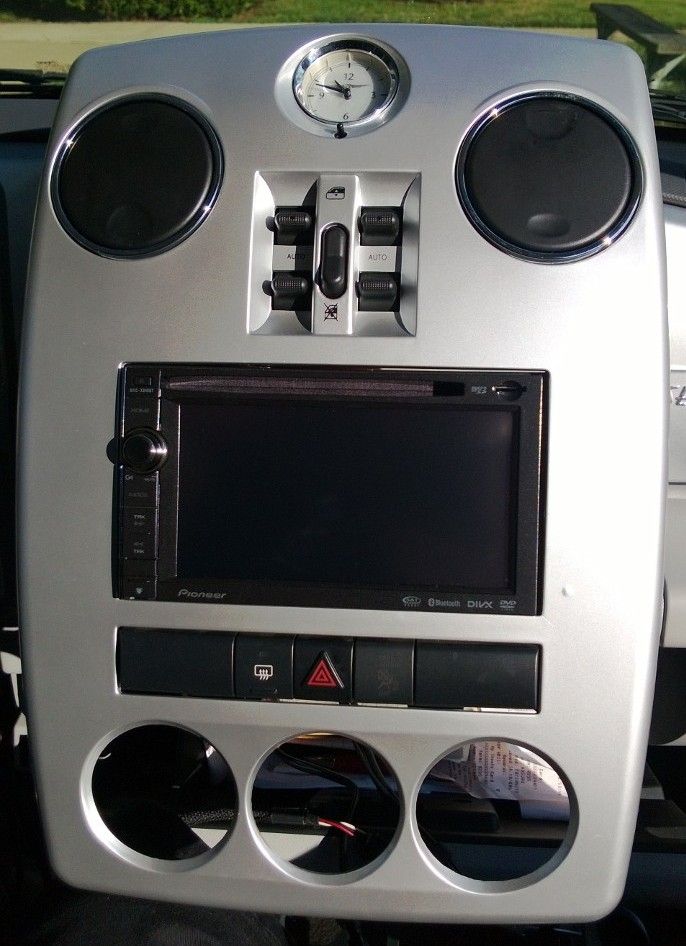
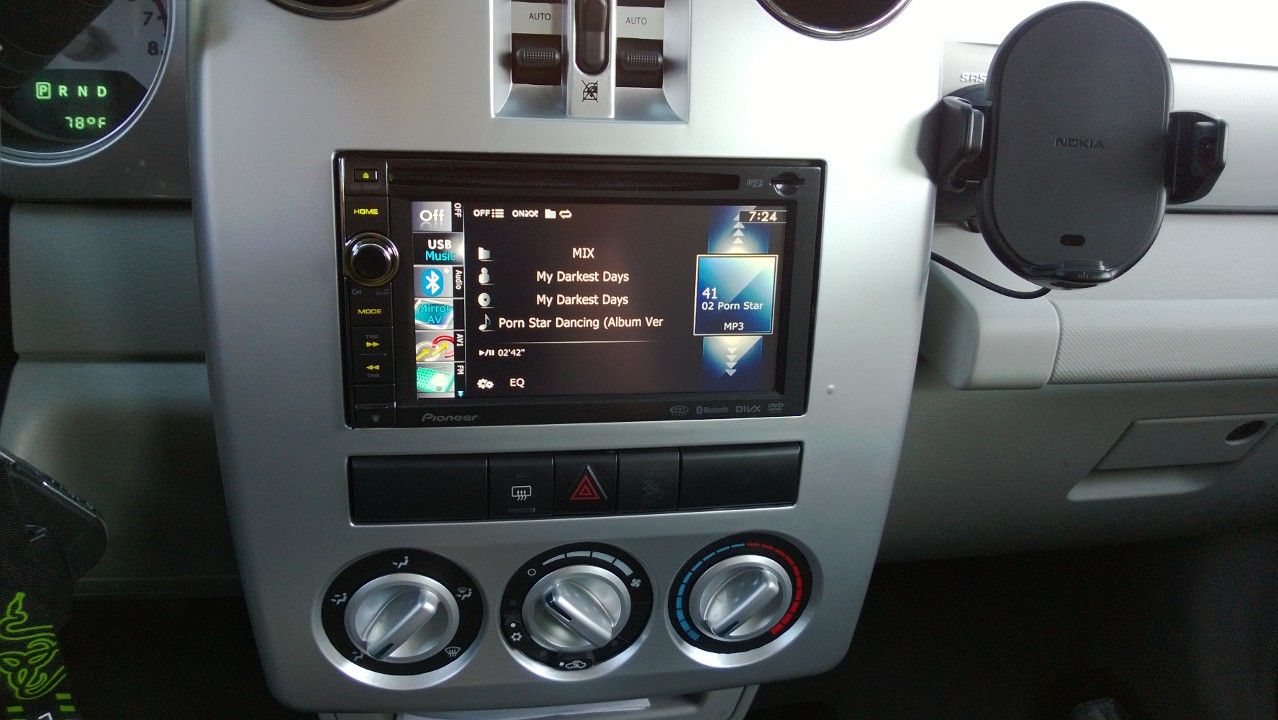
Here are the pictures that he sent us of his install below ( thanks William). The only problem that he had was that when we sent the kit to him we did not send the screws ( our fault ) so he used some screws that he had and he over tighten one of the screws to much that he used and it dimpled the front of the kit ( see the bottom right side of kit ).
Installation Directions-
You can also Google " Pt Cruiser a/c radio
removal "
or check out you tube for videos-
Step 1: Remove the 2 a/c vent screws- There are
two screws, one in each A/C vent. Rotate the vent until the vanes are exactly
horizontal. You should be able to see a notch in the bottom center inside the
vent. If you can't see it, rotate the vent around 180 degrees. The screw is a
black standard Phillips head and isn't the easiest thing to see in the dark. A
flashlight can help. A magnetic screwdriver helps to get them out of the vents.
Step 2: Remove Factory bezel- There are 9
press fittings holding the bezel in place. There are two at the top (above the
vents) , two on the sides (even with the vents), two on the sides of the radio
(even with the radio), two on the sides below the a/c controls, and one
centered at the bottom. I started at the bottom and using a slow steady force
pulled the bezel loose (at the button of the bezel there are two notches
that you can use a flat head and ply back on) , then work your way all the way
around the bezel. .
Step 3: Unplug factory controls-Unplug window
controls, hazard switch, Clock and unhook a/c cables- Start at the top. Remove
the clock cable by pressing down on the release on the plug on the bottom side
and pulling the plug out. Next is the power windows cable. There is a red
plastic lock on this plug. The lock is pushed upward (not away!) from the
bottom side of the plug to release it. Once unlocked, the release tab on the
right side is pressed and the plug can be pulled out. The defroster-hazard
cluster cable comes out the same way as the clock cable. Next remove the heater
cables.
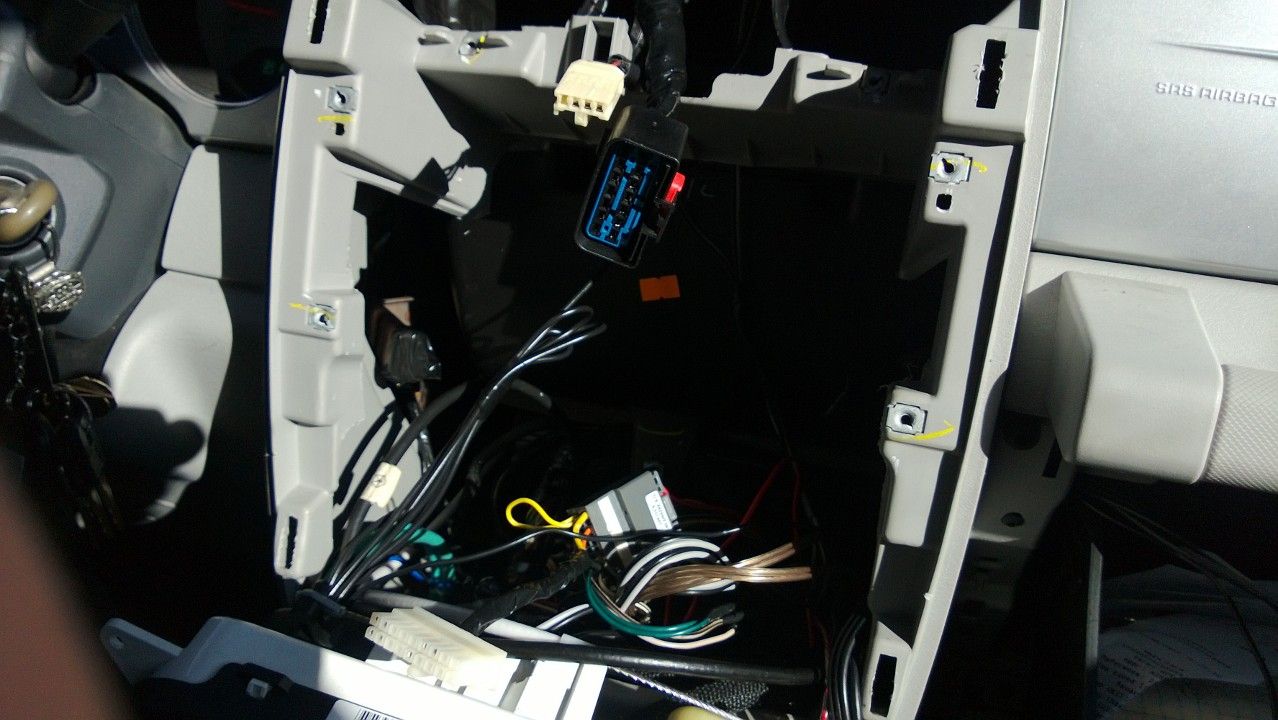
Step 4: Remove The Factory Radio- Four torx
screws on the corners hold the radio in place. Use a T-15 torx head driver. The
radio comes right out. There are three cables on the back: the antenna wire and
the two radio harness plugs. The harness plugs each have a press release on the
top while the antenna wire just pulls out.
Step 5: Remove components from factory bezel-
Remove the a/c vents and controls (a/c vents have 3 screws each and the
controller has 4, save these they will be reused) from factory bezel using a
Phillips head. Unsnap the window controls and defroster-hazard cluster.
Step 6: Re-install every thing that you just
removed from the factory bezel to the new aftermarket bezel.
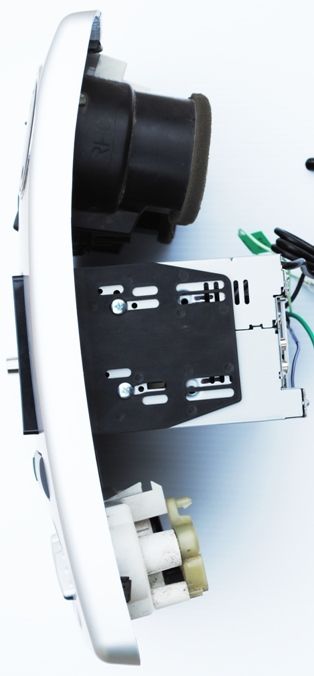
Step 7: Mount brackets-Next secure the supplied
double din brackets to the new aftermarket bezel using supplied screws.
Step 8: Mount the aftermarket radio to the
brackets ( using the supplied screws that came with your aftermarket
radio) , leave the screws loose. Adjust the depth of the radio until
it sits perfectly flush (or where you like it) with the front bezel face.
Then tighten down the screws.
Step 9: Wire the aftermarket radio harness
to the harness supplied using butt connectors or solder wiring together .
Step 10: Plug in aftermarket radio harness
to aftermarket radio & install harness to factory radio plug. Plug in all
factory controls and reconnect a/c cables.
Step 11: Connect antenna adapter to factory
antenna end & aftermarket radio.
Step 12: Snap main dash bezel back into
dash.
Step 13: Install screws into a/c vents that retain the dash.
Our Double Din kits are design for use with USA Standard Double Din radio models only that are 180mm x 100mm. Some China radio models will not work with this kit. Please Double Check the size of your aftermarket radio before purchasing this kit. Boss and Eonon radios are notorious for being oversized, please be extremely careful when purchasing these radios.
