
| Hardware Interface | USB 3.0 |
| Brand | ORICO |
| Color | Black |
| Item Dimensions LxWxH | 8.35 x 8.03 x 4.49 inches |
| Hardware Platform | Windows |
About this item
- 【80TB Large Capacity & Compatible 2.5/3.5 inch HDD SSD】: External 5 Bay hard drive docking station support up to 80TB (5x 16TB hard drives), compatible with 2.5 inch / 3.5inch SATA I II III HDD SSD hard drives, Perfect solution for backup and processing IT data, batch processing data, formatting, file transfers, data recovery, gaming data backup, etc.
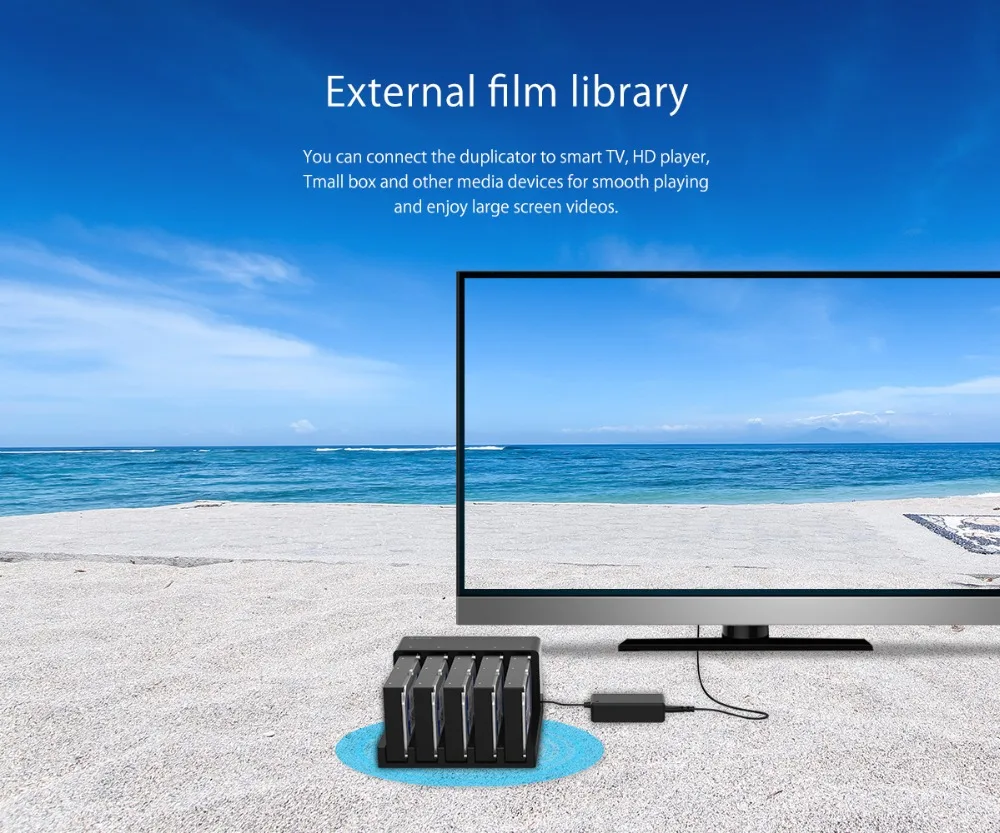
- 【Offline Clone and Duplicator 】: The Orico 5 Bay External hard drive docking station can be used to Offline offline cloning / Duplicator from an source hard drive to target disk without connecting to a computer, or as external storage to transfer data between a hard drive and your computer.
- 【USB 3.0 Hard Drive Dock Superspeed up to 5 Gbps】: SuperSpeed USB 3.0 Hard Drive Enclosure DOwith data transfer rates up to 5Gbps, support UASP Protocol. 20% faster than the traditional USB 3.0, and backward compatible with USB2.0 and USB1.1.
- 【Tool-free & 180° Heat dissipation Function】Plug and Play, No reboot and additional driver needed, hot-swapping, easy and quick Tool-Free installation. Hard Drive Stock With the movable design, the hard drive is more stable and Open-type design brings better heat dissipation function.
- 【Compatible Operating System】: The 5 Bay HDD SSD Docking Station compatible with Windows XP/ VISTA/ Windows 7/ 8 /8.1/ 10/ Linux/ Mac 9.1/10.2 or higher. Our worry-free 18-month and Lifetime technical support service.
18 Months warranty and lifetime technical support for purchase via ORICO Customer Care Team


ORICO 5 Bay Hard Drive Docking Station Enclosure with Duplicator Offline Clone Function
1. Insert Source Disk into hard drive bay, then insert Target Disk into another.
2. Push the PC / CLONE switch on the back of the hard drive to the CLONE side.
3. Connect power supply and press the POWER switch.
4. Then press the START Button on the back.
5. A Blue LED will flash on 20% indicating that the cloning process has begun.
6. The cloning process is complete when ALL the lights turn solid Blue (20%-100%).
7. Finally press the POWER switch and eject your drives.
Note:
- Target Disk must contain more space than Source Disk.
- Please backup files in the target hard drive before cloning. Any files in target hard drive will be overwritten when offline cloning occurs.
- To avoid data loss, do not remove or insert drives when one drive is working in the docking station. Please power off the docking station before removing.