Tips 1: Test before installation
When testing, do not remove any protective film or tags. Please pay attention to the problem of static electricity.
Before attempting any repair, be sure to ground yourself is an ESD (electro static discharge) strap. This will prevent static electricity from damaging the electronic components within the watch.
Ensure you wear eye protection and use caution not to cut your finger with the glass splinters.
Tips 2: Simulates testing
Screen replacement is very fragile product. We strongly suggest test before installation. Please simulates testing, which means watch apart, (motherboard + LCD or screen) connected audio cable and new replacement, power on, test finished. If test OK, please install it. If it can not show, please contact us at the very first time. And please do not force it to be installed in watch.
Tips 3: Do not over-bend cablePlease make sure LCD cable Do not over-bend. Over 90 degrees bent will cause black display.
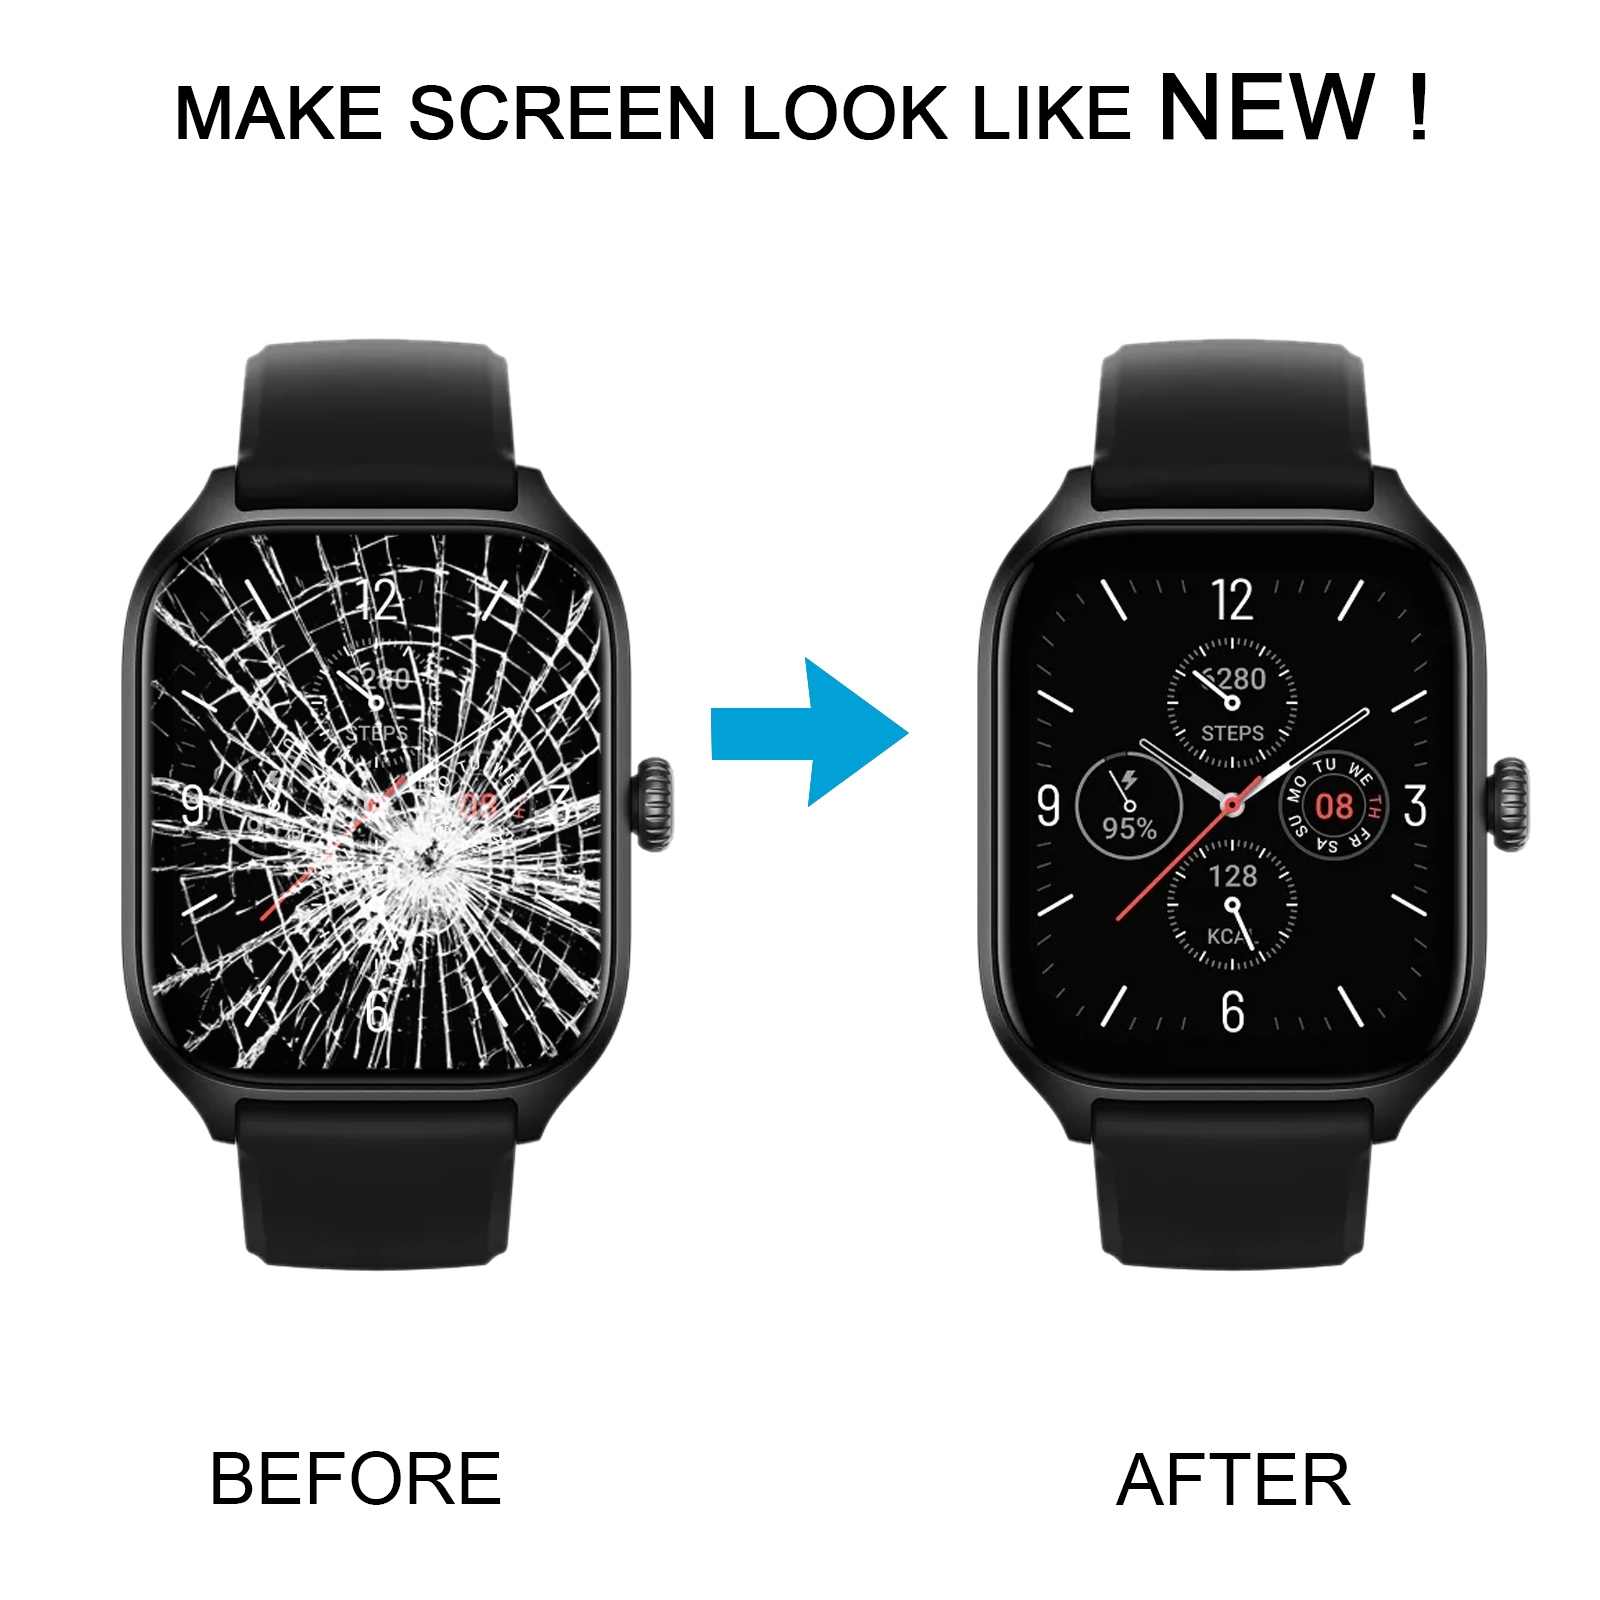
Are you the proud owner of an Amazfit GTS 4 smartwatch, but have you encountered a cracked or damaged screen? Fear not, my friend! In this blog post, we'll dive into the step-by-step process of replacing the original LCD screen and digitizer assembly on your beloved Amazfit GTS 4.
Preparing for the Screen Replacement
Before we get started, it's important to gather the necessary tools and materials. You'll need a small screwdriver set, a pair of tweezers, and, of course, a replacement LCD screen and digitizer assembly for the Amazfit GTS 4. Make sure to purchase a genuine, high-quality replacement part to ensure a seamless and long-lasting repair.
Disassembling the Amazfit GTS 4
Gently remove the watch strap and the back cover of the Amazfit GTS 4. This will expose the internal components, including the screen assembly. Carefully disconnect the screen connector from the mainboard, taking note of the orientation for easy reassembly.
Removing the Old Screen
Using the small screwdriver set, carefully remove the screws that secure the screen assembly to the watch body. Gently lift the old screen out, being mindful of any adhesive or connectors that may still be attached.
Installing the New Screen
Take your replacement LCD screen and digitizer assembly and align it with the watch body. Secure the new screen in place using the screws you removed earlier. Reconnect the screen connector to the mainboard, ensuring a secure and proper connection.
Reassembling the Amazfit GTS 4
With the new screen in place, it's time to put your Amazfit GTS 4 back together. Carefully replace the back cover, making sure all the components are properly aligned. Reattach the watch strap, and you're almost done!
Powering On and Testing
Finally, power on your Amazfit GTS 4 and test the new screen. Ensure that the display is functioning correctly, and all the touch gestures and features are working as expected. If everything looks good, congratulations! You've successfully completed the screen replacement process.
Remember, screen replacement can be a delicate task, so take your time and be gentle throughout the process. If you encounter any difficulties or have additional questions, don't hesitate to reach out to the manufacturer or a professional for assistance.
Enjoy your newly revived Amazfit GTS 4 and the satisfaction of having completed a successful DIY repair. Happy wearing!
Conclusion
Replacing the screen on your Amazfit GTS 4 smartwatch doesn't have to be a daunting task. By following this step-by-step guide, you can breathe new life into your device and continue enjoying its features and functionalities. Remember to always use genuine replacement parts and take the necessary precautions to ensure a successful repair. Happy tinkering!
About the product
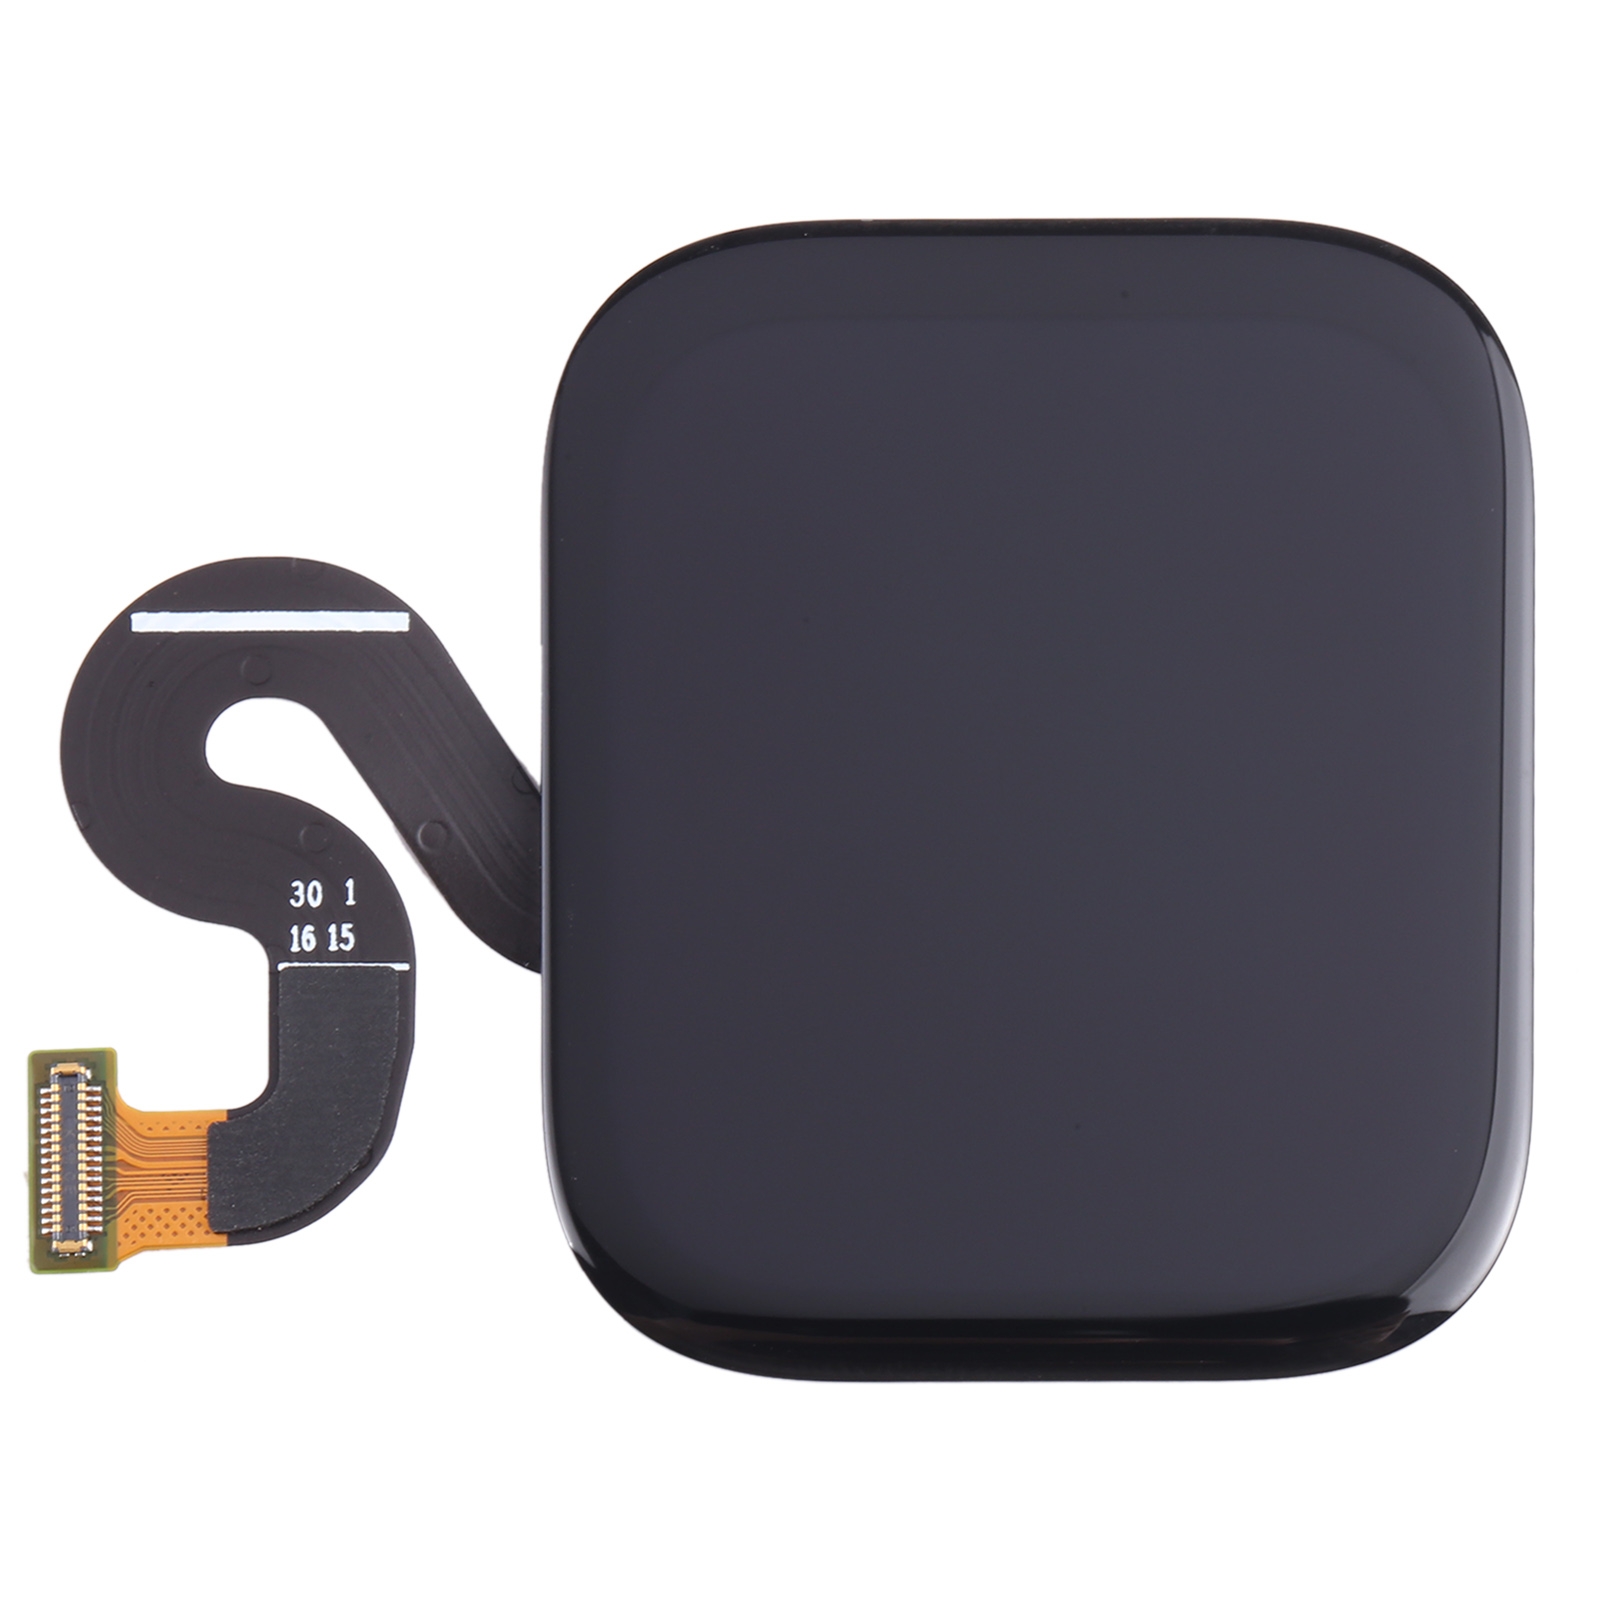
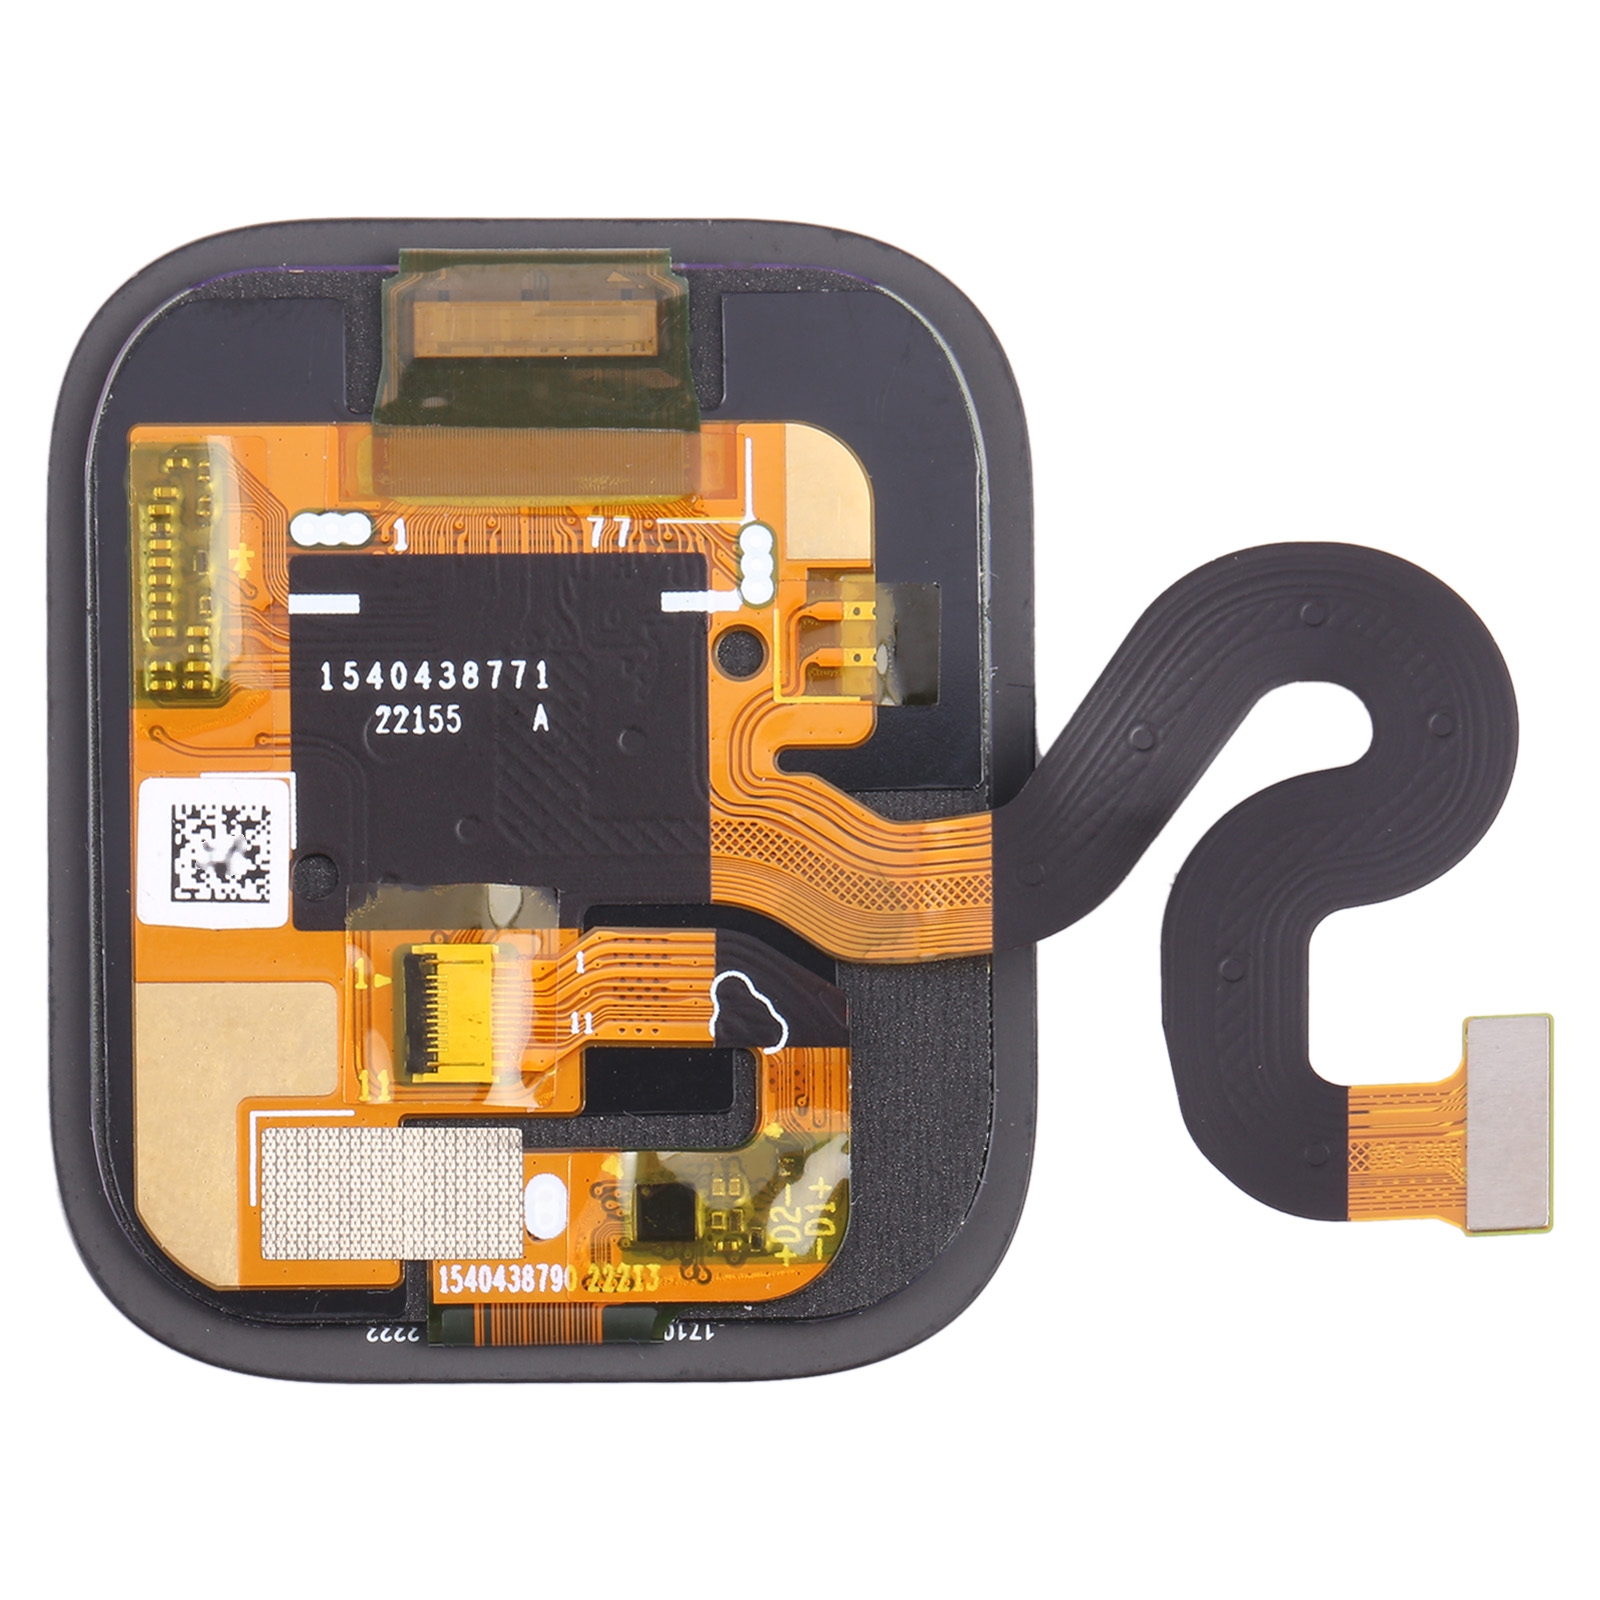
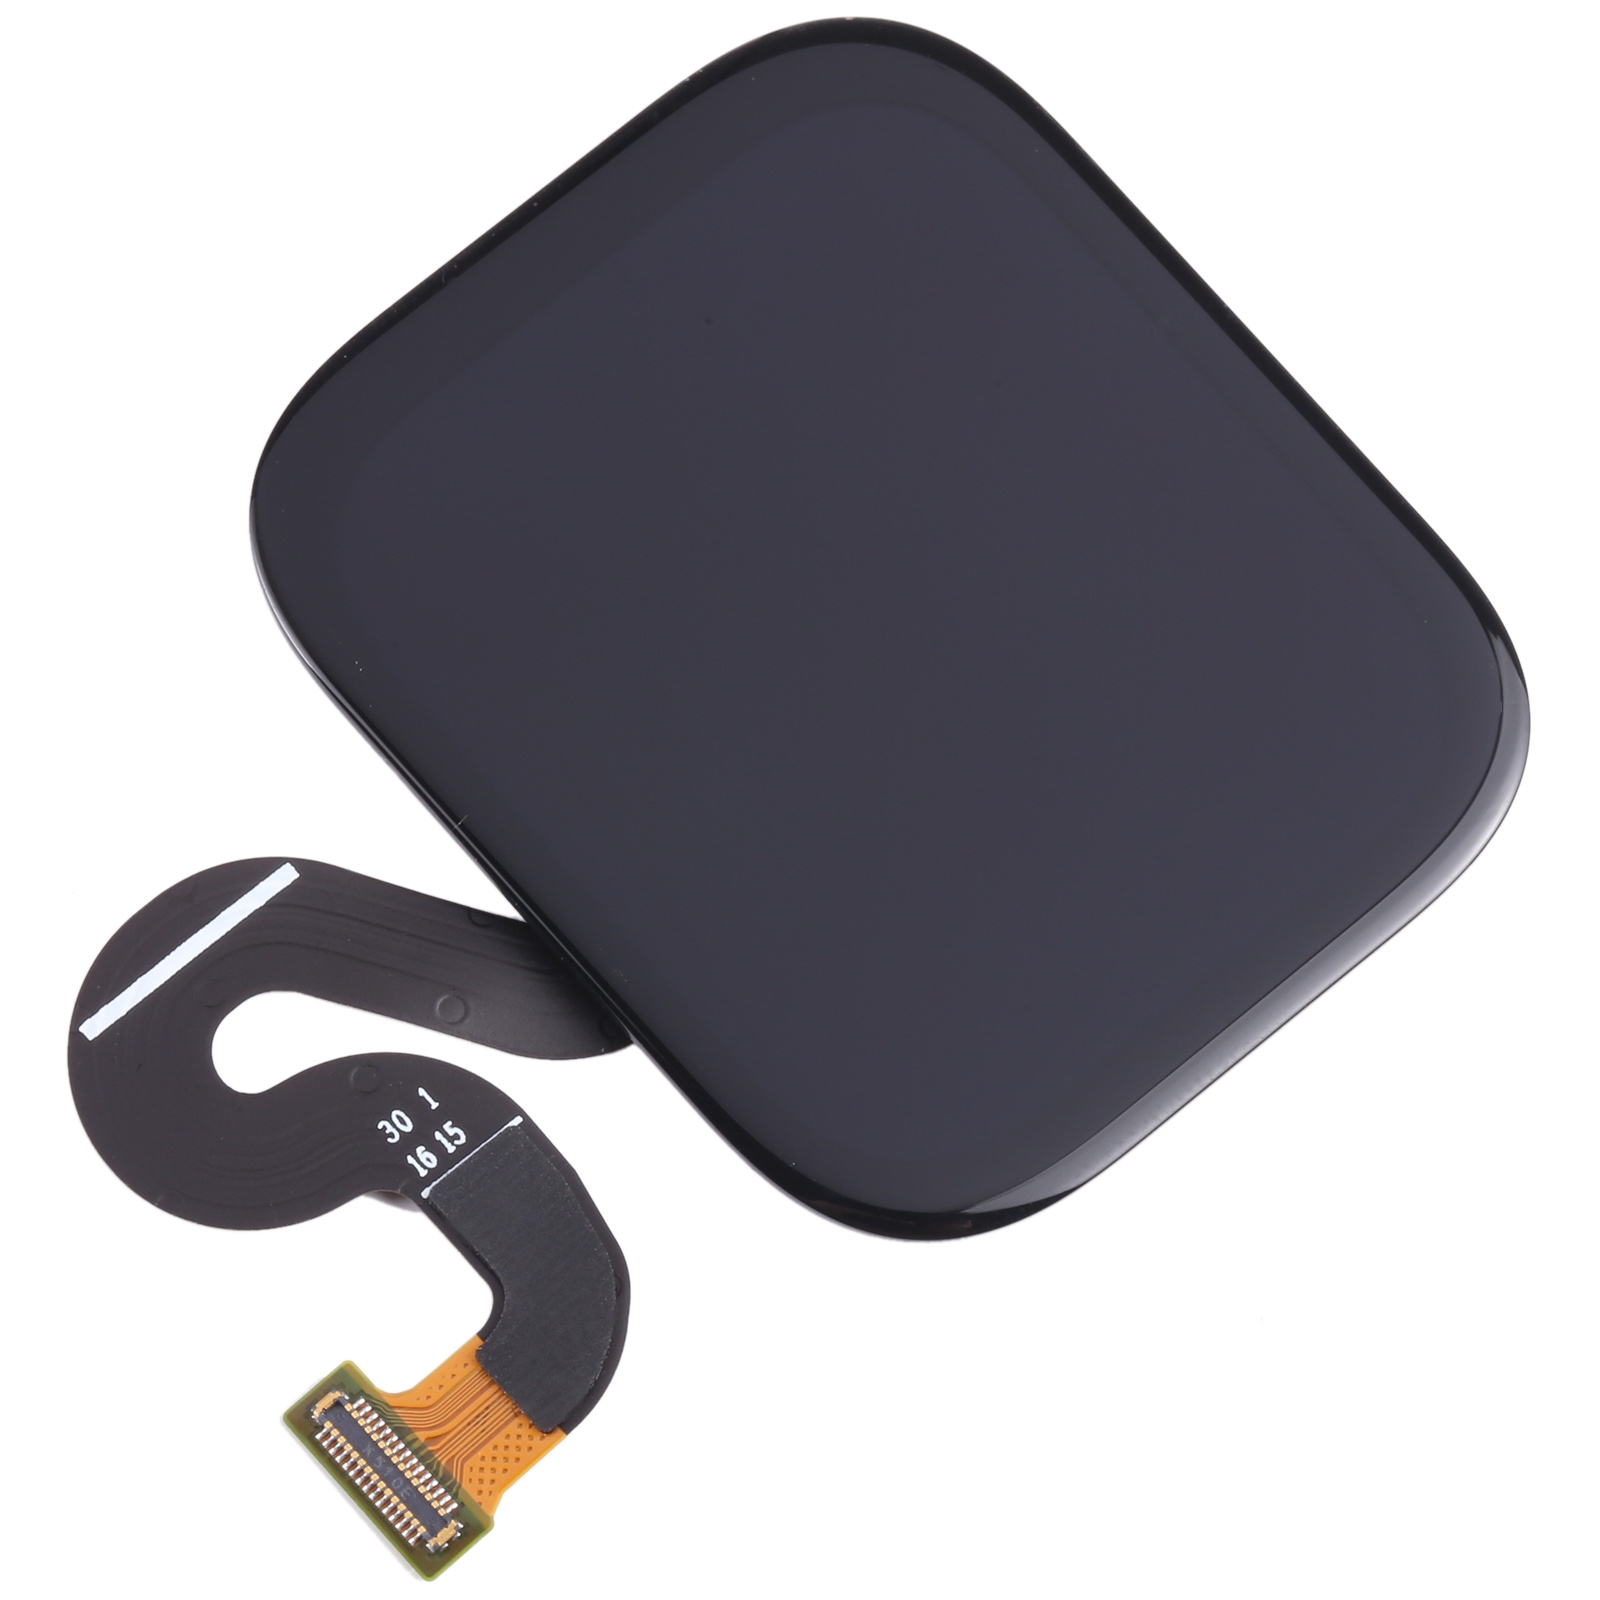
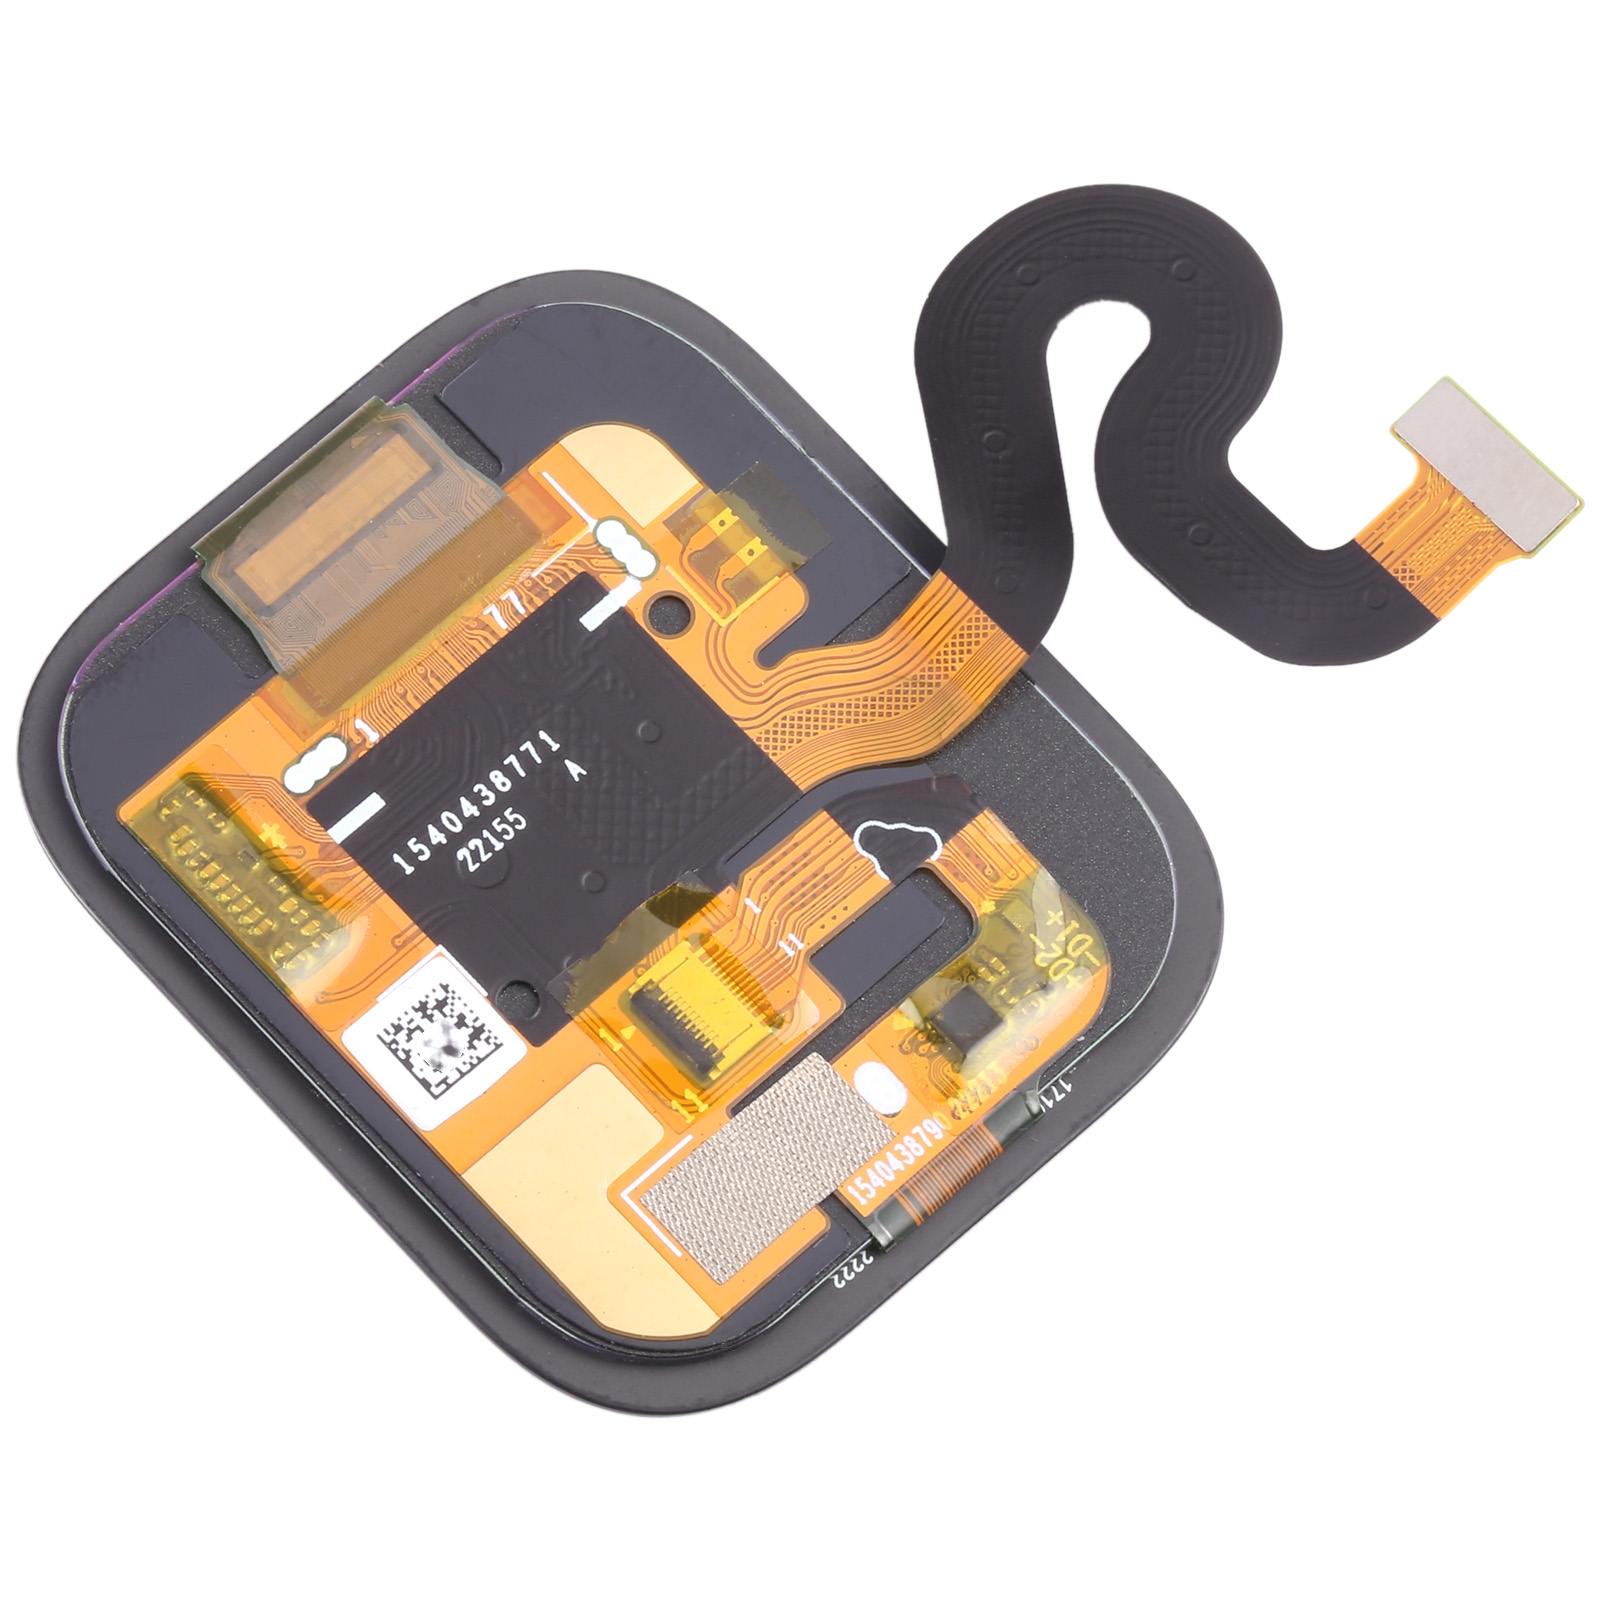
1. Replacement LCD Screen + Touch Screen Digitizer Assembly for Amazfit GTS 4
2. Replace your broken or unusable item with a new one
3. Make your device look more refreshing than ever
4. Completely fit and work
5. Each item has been checked and in good condition before shipping
6. Professional installation is highly recommended.
DELIVERY TRACKING SERVICE: YES
|
Price: |
Free Delivery unless specified in the listing or
calculated at checkout. |
|
Delivery: |
Items will
be delivered in 5 - 8 days at max (Monday - Saturday from 07:30-21:00) We aim to deliver much faster. Maximum time has been
given here. |
|
Processed within |
Same Working day (on orders before 6pm) |
Our Dedication Summed Up in 5
Key Points:
✅ Your order is
given top priority as soon as it is placed. Our dedicated team works diligently
to process your order swiftly, ensuring that it moves through our system
without unnecessary delays.
✅ We take great
care in packaging your items securely to prevent damage during transit. Our
packaging experts use high-quality materials to safeguard your products.
✅ Our commitment
to customer satisfaction means you can rely on us to meet your delivery
expectations. We prioritize punctuality and accuracy in every step of the
dispatch process.
✅ Our friendly
and knowledgeable customer support team is available to assist you with any
inquiries or concerns you may have regarding your order or delivery.
✅ We believe in
delivering not just products but also peace of mind and experience the
convenience and efficiency you deserve. Your time matters, and so do you.