|
Welcome
 
For Yamaha MT-09 2013-2018 Adjustable Clip-on Handlebars Adapter Plate CNC
Product Description
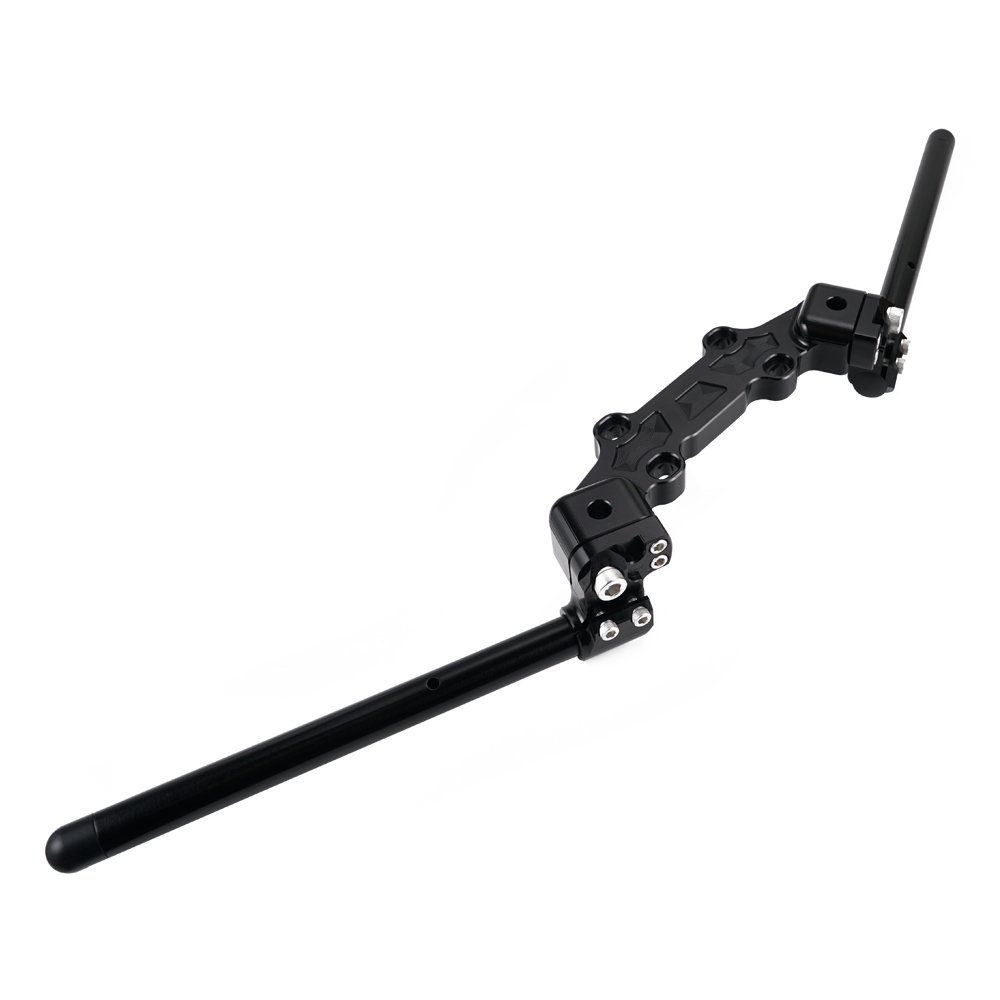
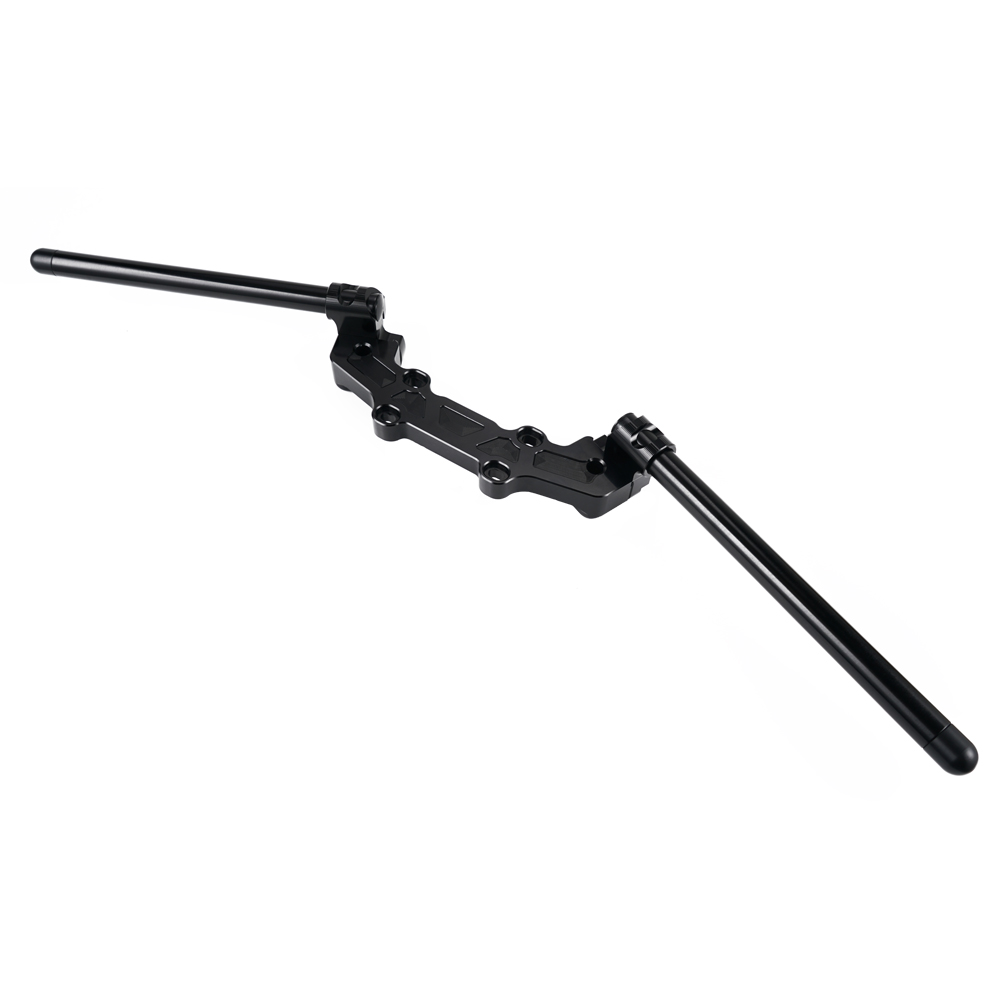
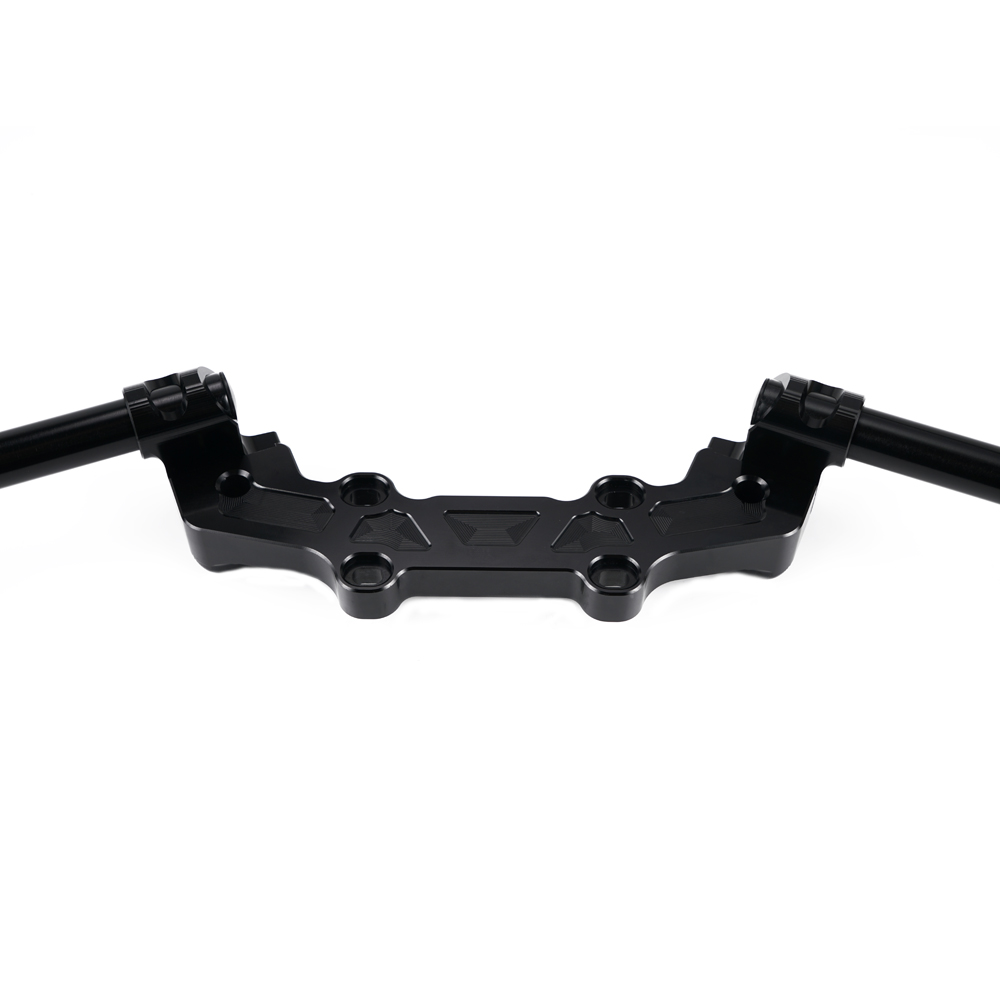
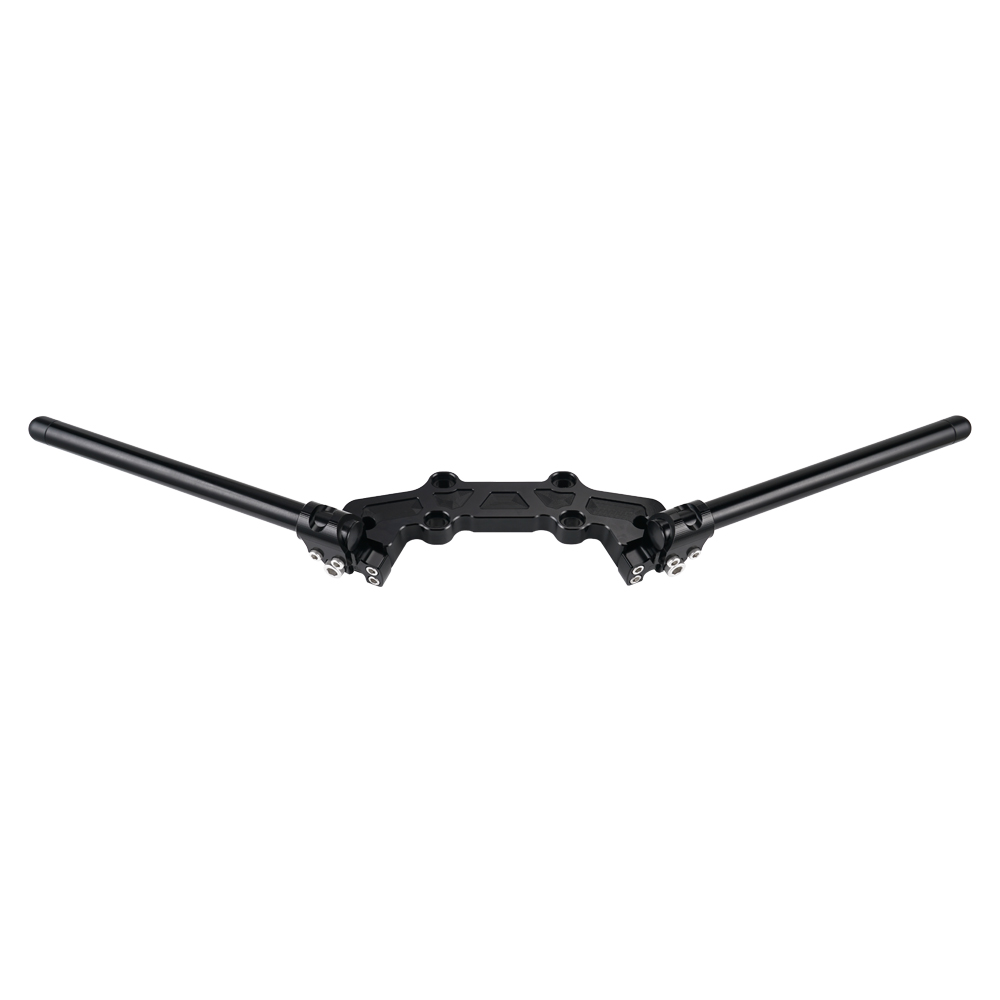
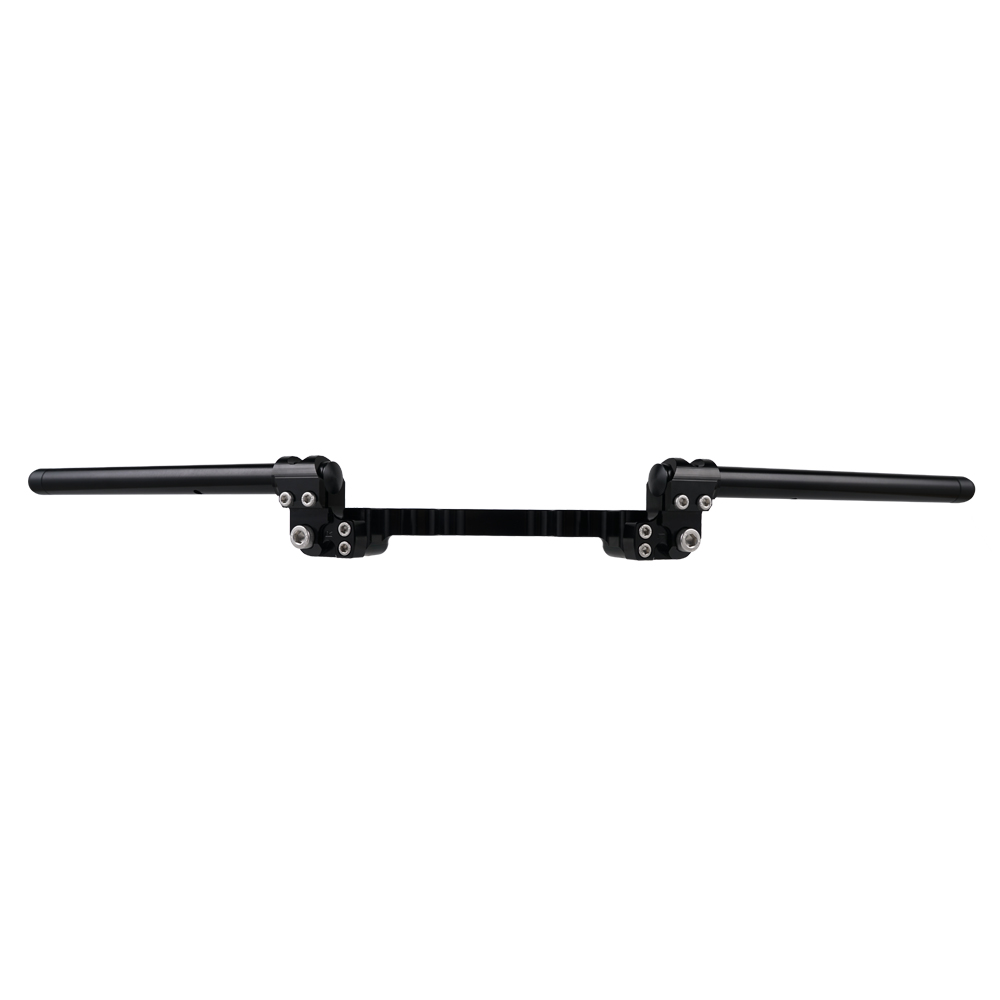
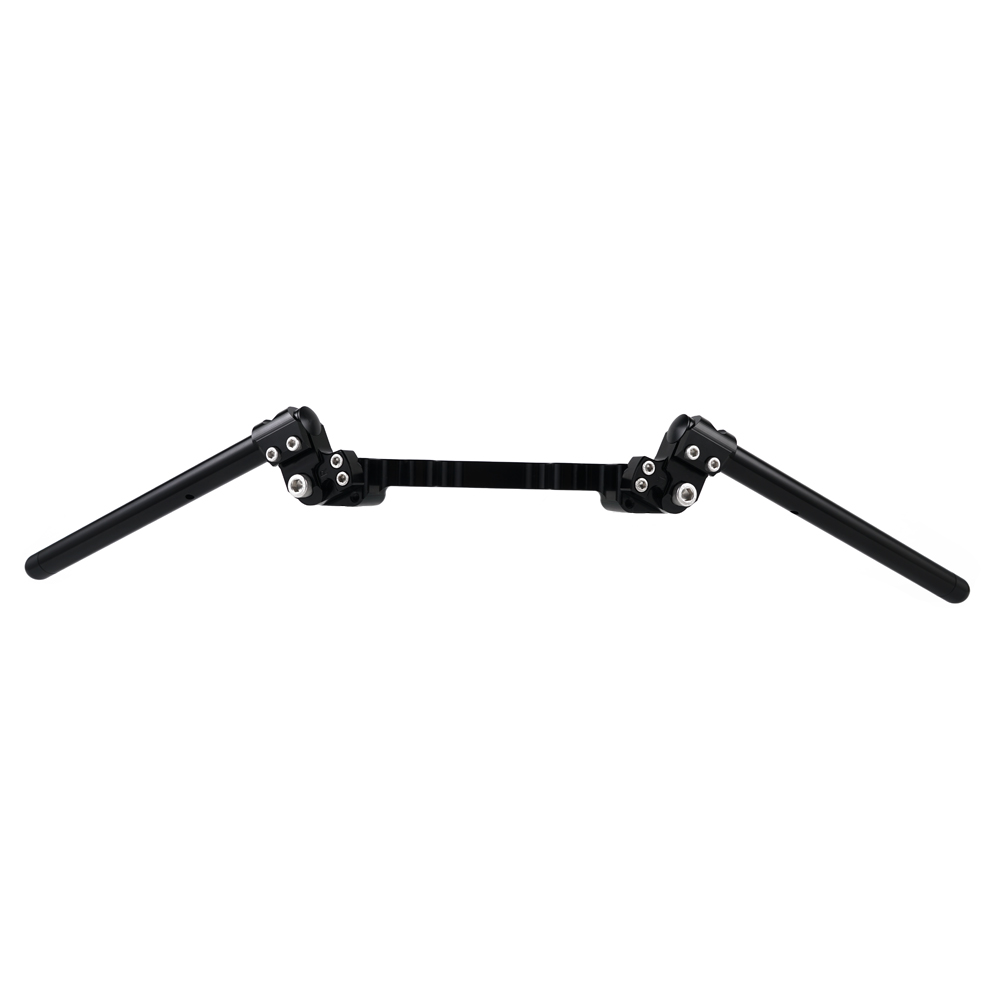
1.Our newadapter plate bolts directly to the stock handlebar mount keeping all of the stock clearances, while putting your hands in a more natural position.
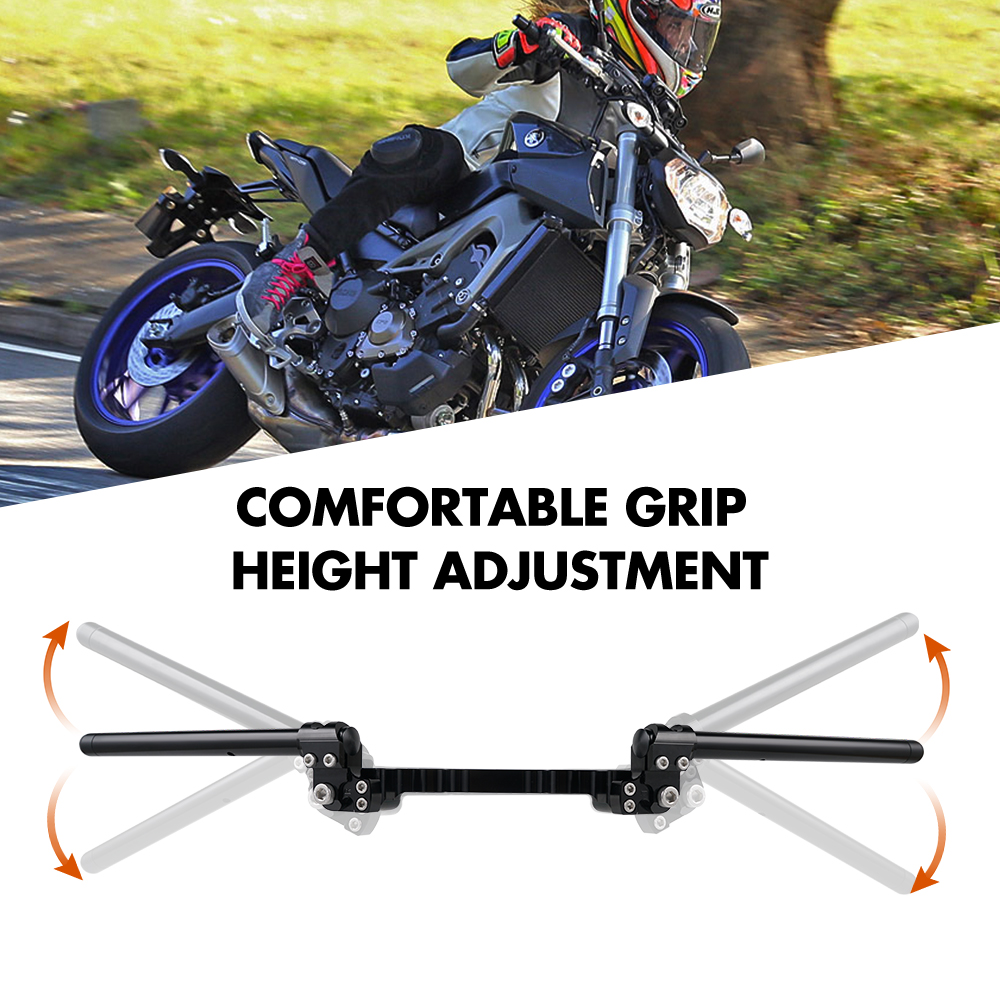
2.This setup allows the use of multiple risers giving you the ability to custom tailor the bar height for optimum comfort.
3.Each plate is machined from tough billet aluminum giving your bike a custom look while making them much stronger than the stock handlebars. The handlebar tubes are kept as separate pieces allowing for inexpensive replacement in the event of a crash.
4.Our unique design will make your motorcycle more conspicuous in your place of residence.
Details:
Surface treatment: anodizing
Material: Aluminum
Color: black
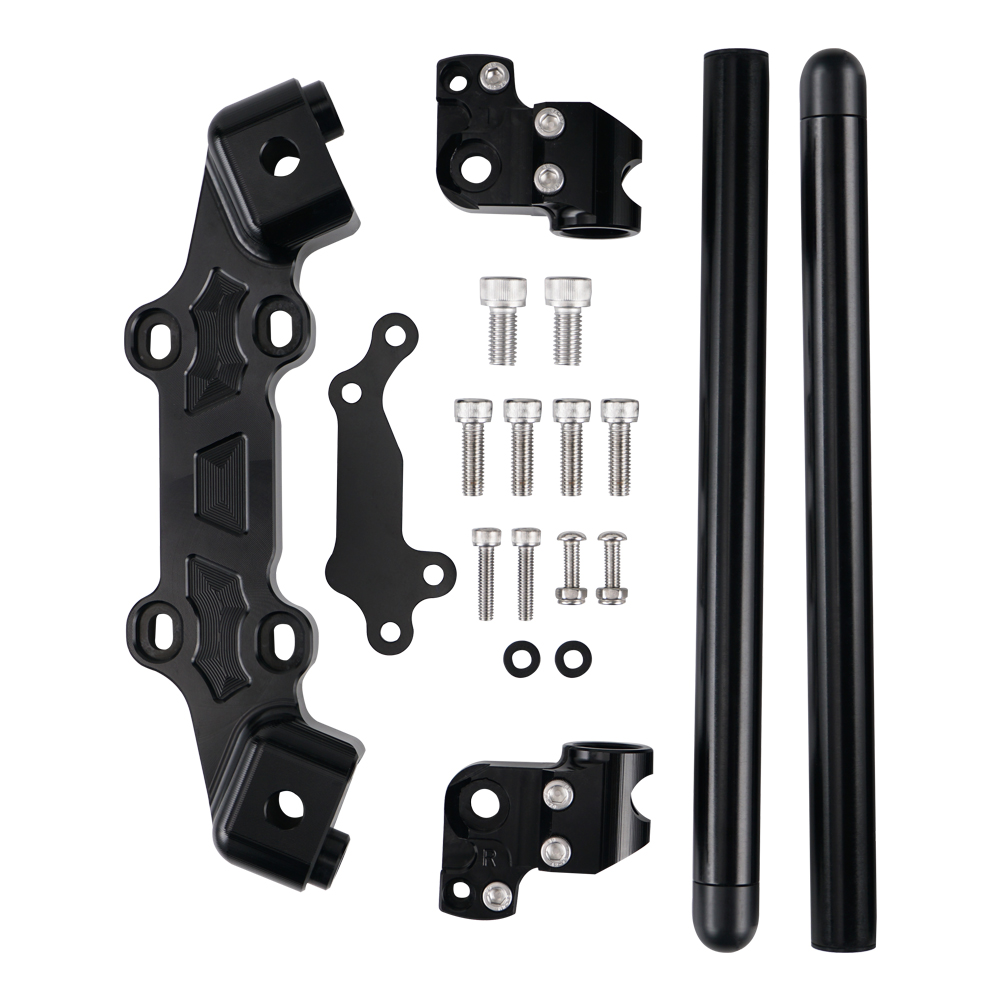
Package Includes: 1 Set of Clip On Handlebar
Fitment:
For Yamaha MT09 2013-2018
Installation Instructions:
1)Completely remove your stock grips,controls and handlebar assembly. This kit replaces both the stock handlebar and thetop clamp of the OEM assembly.
2) Use the OEM mounting hardware tosecure the clip-on adapter plate to the OEM handlebar base unit.
3) Bolt the riser clamps to the adapter plate using the included Flat Head bolts.
4) The OEM controls have anti rotation pins, which require you to drill holes in the handlebars for proper installation. Measure the diameter of the holes in the stock handlebars and select the appropriate drill bit.
5) Secure the bars into the riser clamps. Slide the controls into place, noting that the grips should end right where the plastic bar end plug meets the aluminum. Mark the location for the anti rotation pins and drill the holes for them. Test the controls to be sure that they are securely tightened and that all your controls operate and return properly through the entire range of motion of the bars from lock to lock.
6) Installers should pay careful attention that nothing binds through the entire range of motion. Note the brake master cylinder will sit completely outside the riser clamp when installed. The brake line will need to be cracked loose and rotated about 15 degrees up to clear the gauges. Be sure to bleed the brake line to be certain that there is no air in the system before operating the motorcycle.
WARNING
--Ensure that the cables, hoses and all control parts do not contact any part of the motorcycle and that you have full ability to manipulate the controls throughout the entire range of steering.
--Also, be sure that the throttle returns freely after being fully opened throughout the entire range of steering.
DISCLAIMER
Disclaimer: nice2boy parts are not sponsored or endorsed by, or affiliated with the brands its parts fit, including Harley-Davidson, Honda, Yamaha, Kawasaki, Suzuki, KTM, Duke, Husaberg, Husqvarna, BMW, Aprilia, Triumph, Piaggio, Ducati, MV Agusta, Moto Guzzi, Benelli, Buell, CF-Moto, Enfield, Hyosung, Indian, Beta, GASGAS, Sherco etc.
Payment Policy
 Shipping Policy
Return & Refund
Feedback
 About Item
Customer Satisfaction
Visit Our Store For Best Deal! Nice2Boy Store
|