
U.S. RubberShox DuraTPE Series Front-Rear Car Coil Spring Buffer Cushion/Automotive Suspension Shock Absorber Performance Booster Kit Universal Type A-F Vehicle Auto Parts (CSB,C)2.17”x5.2”(TD)
- 🚗【Product Dimensions】:Choose Size C, if the Car Coil Spring Gap (when lifted and unloaded) is between 1.25”-1.45”. *Please lift the vehicle to measure the Gap. Coil gap may vary between brands and years of use. Also refer to Size Chart in Photos and User Manual in Technical Specification.
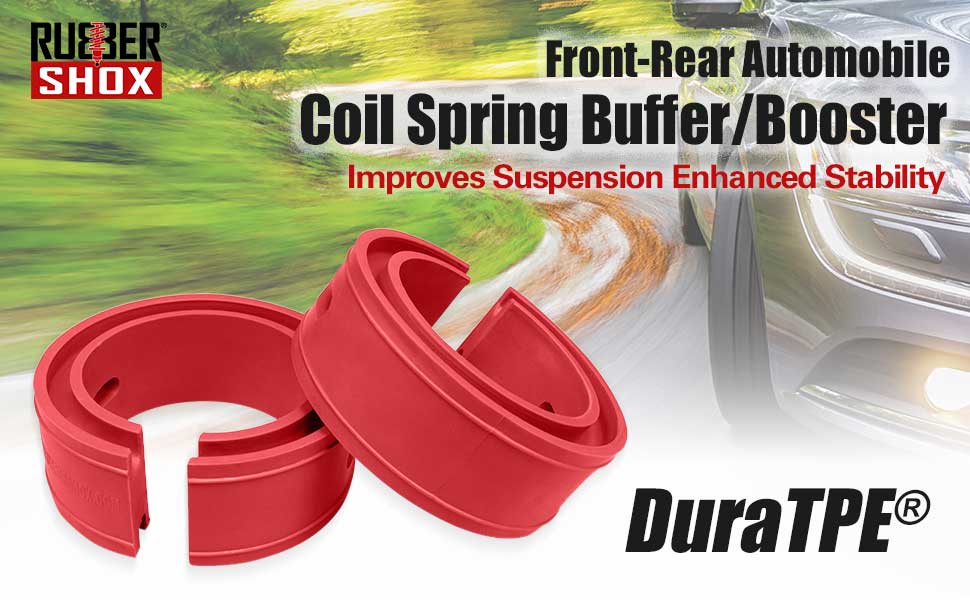
- 🚗【Supported Weight & Package Contents】:Designed for sub-compact to mid-size sedans- 2000-2500Lbs GW. Added up to 1” ground clearance. Up to 2” if combined with Rubber Block Boosters. DuraTPE material with full ring design, reinforces Automotive Coil Spring Buffers/shock absorbers (2pc. Per pack – multiple size options).
- 🚗【Durable Material & Performance Enhancement 】: DuraTPE Thermoplastic Rubber - Environmental friendly and Resistant to coil abrasion, oil, salt, gravel & UV radiation. Enhances driving stability while extending the life of coil springs and the suspension system. Please check the template below to choose the correct buffer size.
- 🚗【US Based Company& Warranty】: US based Company and Support. In Stock with a 2 Year warranty and lifetime technical assistance.
- 🚗【Peace of Mind】:Enhanced stability, diminish the noise and vibration remarkably from suspension component. Prevents coil sagging with a reinforced suspension. This absorbs and dissipates the shock from rough road conditions while extending the life cycle of coil springs and the suspension system, save the maintenance cost.

✅ RubberShox Coil Spring Buffer Size Selection Template User Guide
Video will open in a new window
Using the eBay App? Paste link into a browser window:
✅ 2018 Mitsubishi Outlander Rear Suspension Installed DuraTPE® Series \u0026 Rubber Block Booster Series
Video will open in a new window
Using the eBay App? Paste link into a browser window:
✅ RubberShox® DuraTPE® Pro Series Front-Rear Automobile Coil Spring Buffer /Booster
Video will open in a new window
Using the eBay App? Paste link into a browser window:
DuraTPE Series
2019 Honda HR-V LX using DuraTPE Coil Spring Buffer

Featured buffer installation is on a 2019 Honda HR-V LX which added an extra 1.2” of lift. Size A buffers are used on the front coil springs. Size B+ buffers are used on the rear coil springs.


