!!! This holder is homemade and printed in a 3D Printer, this will be printed in plastic for each order as requested. !!!
!!! Visually is not perfect model like mass manufactured products but is fully functional with a great design and very usefull. !!!
We will print in PLA Silver by default, if you like other color please contact and ask. We also can print in PETG if you want a better stronger plastic with better heat resistance.
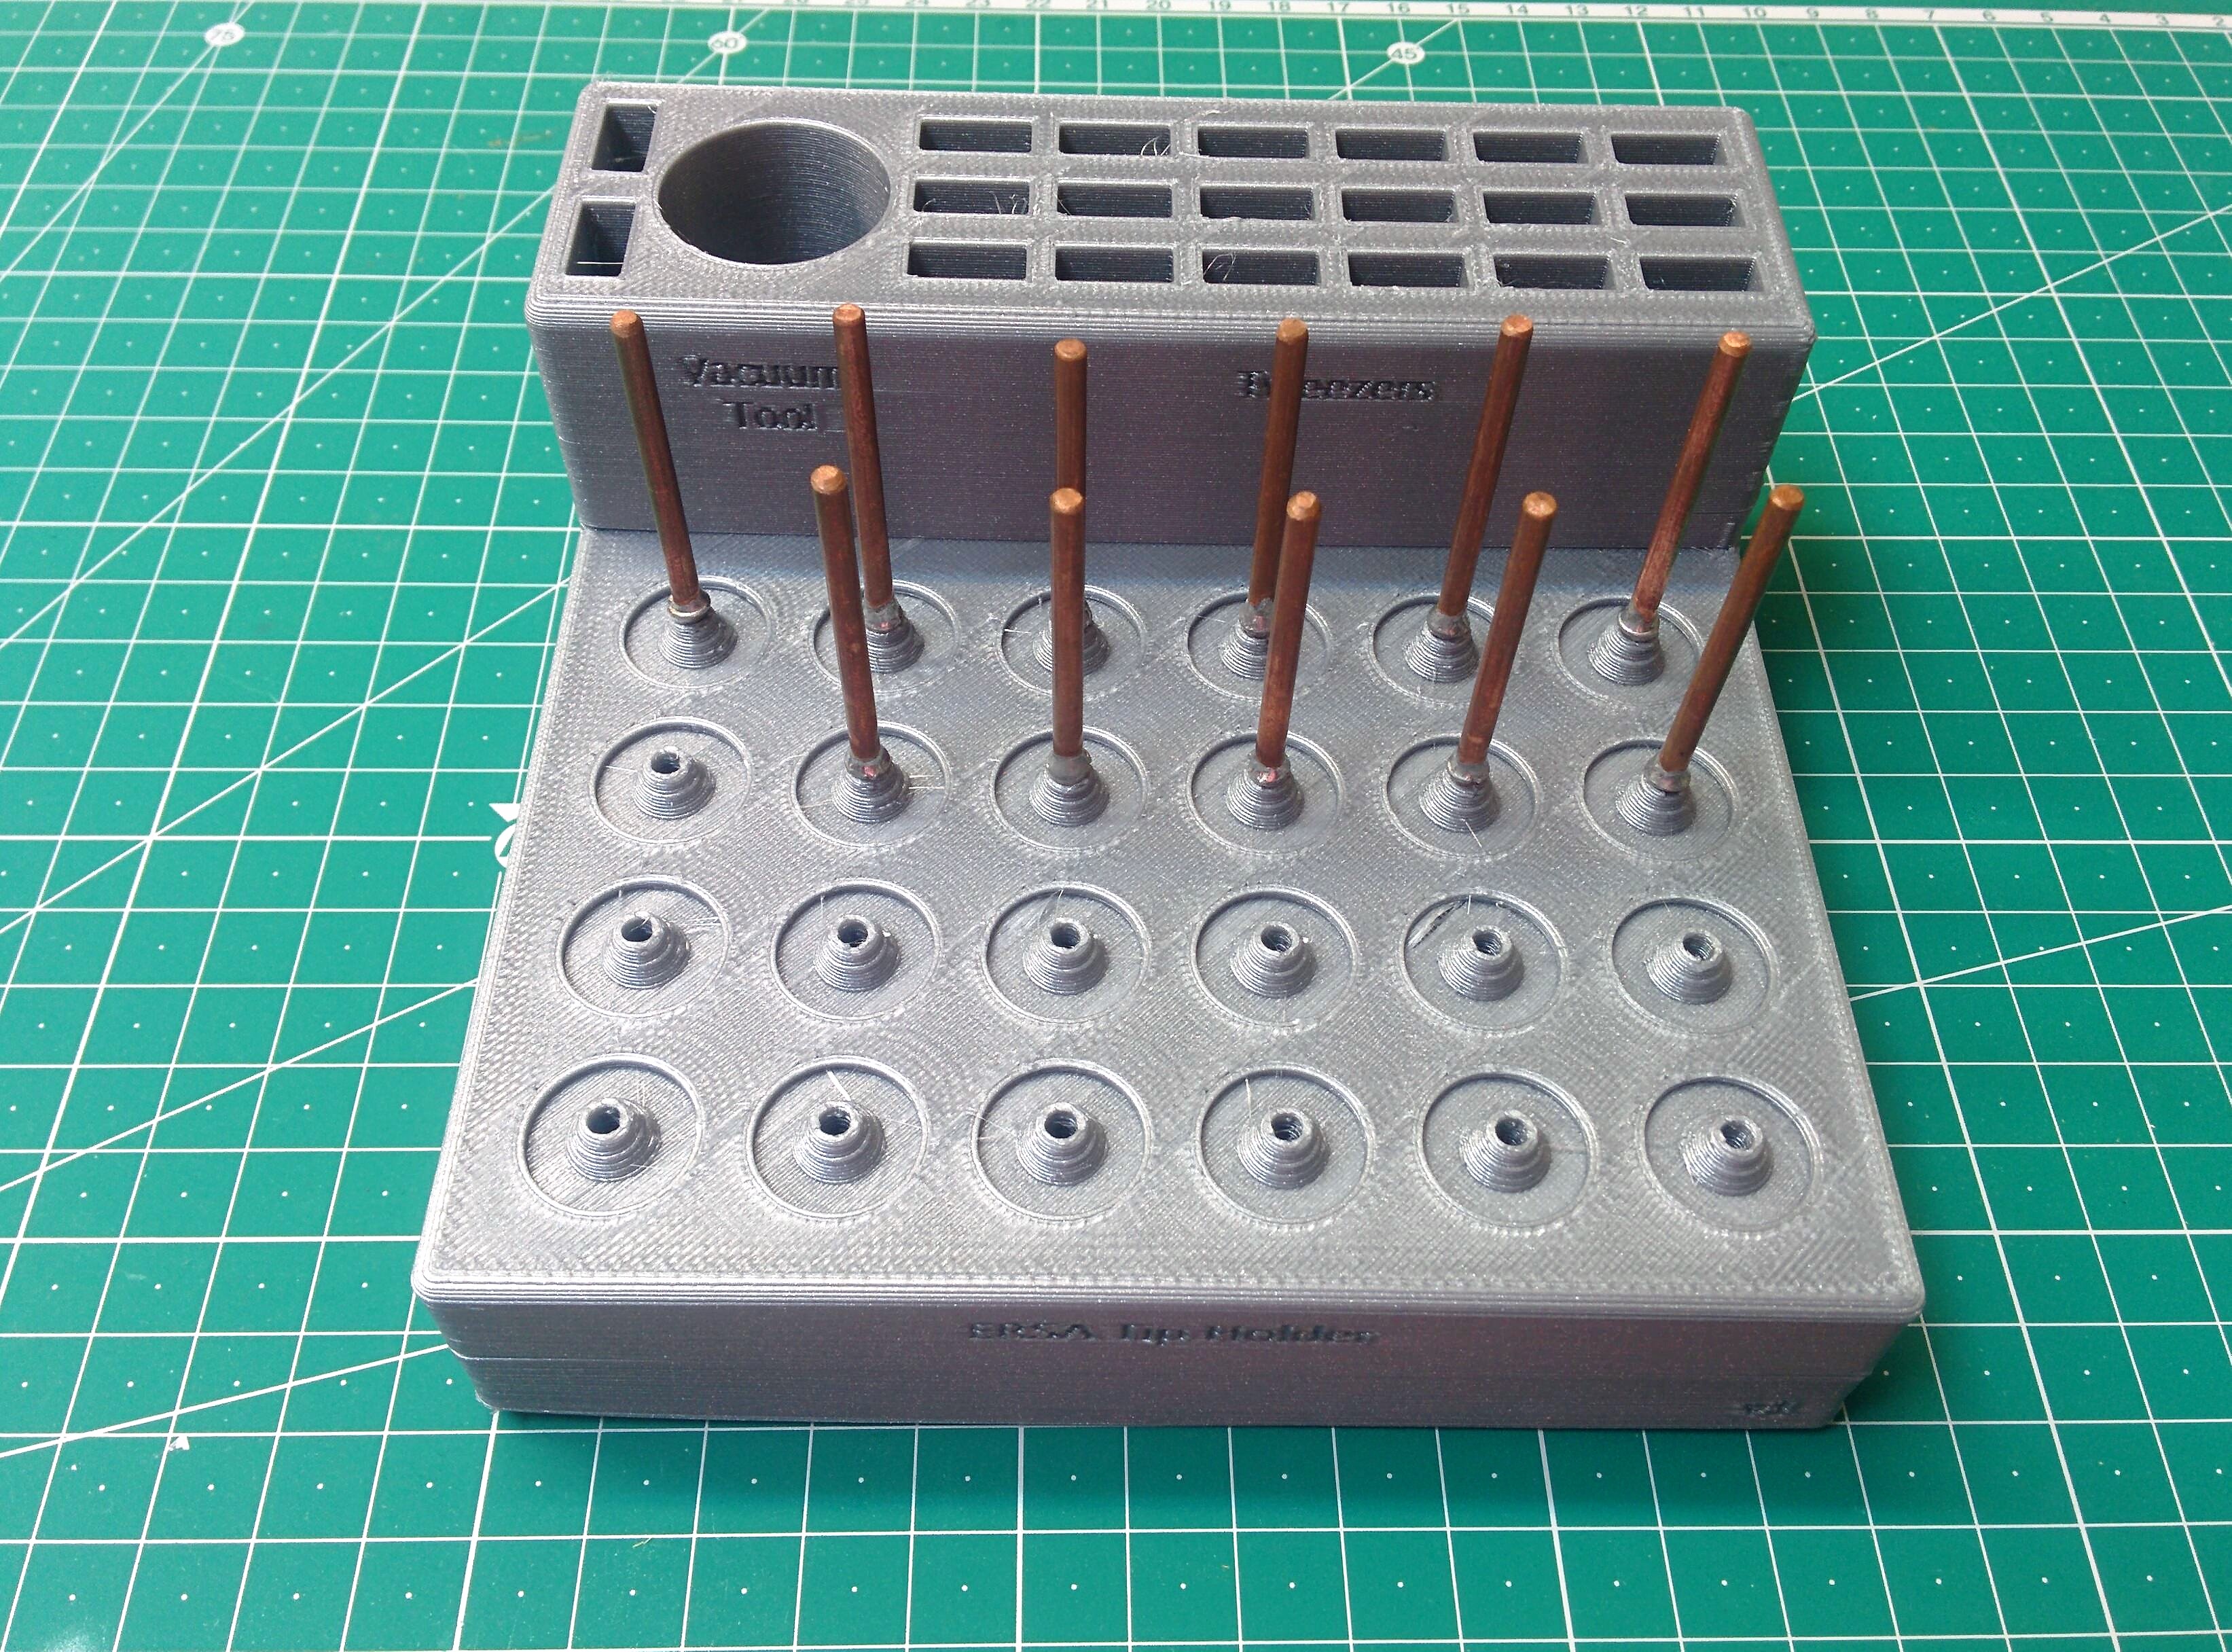
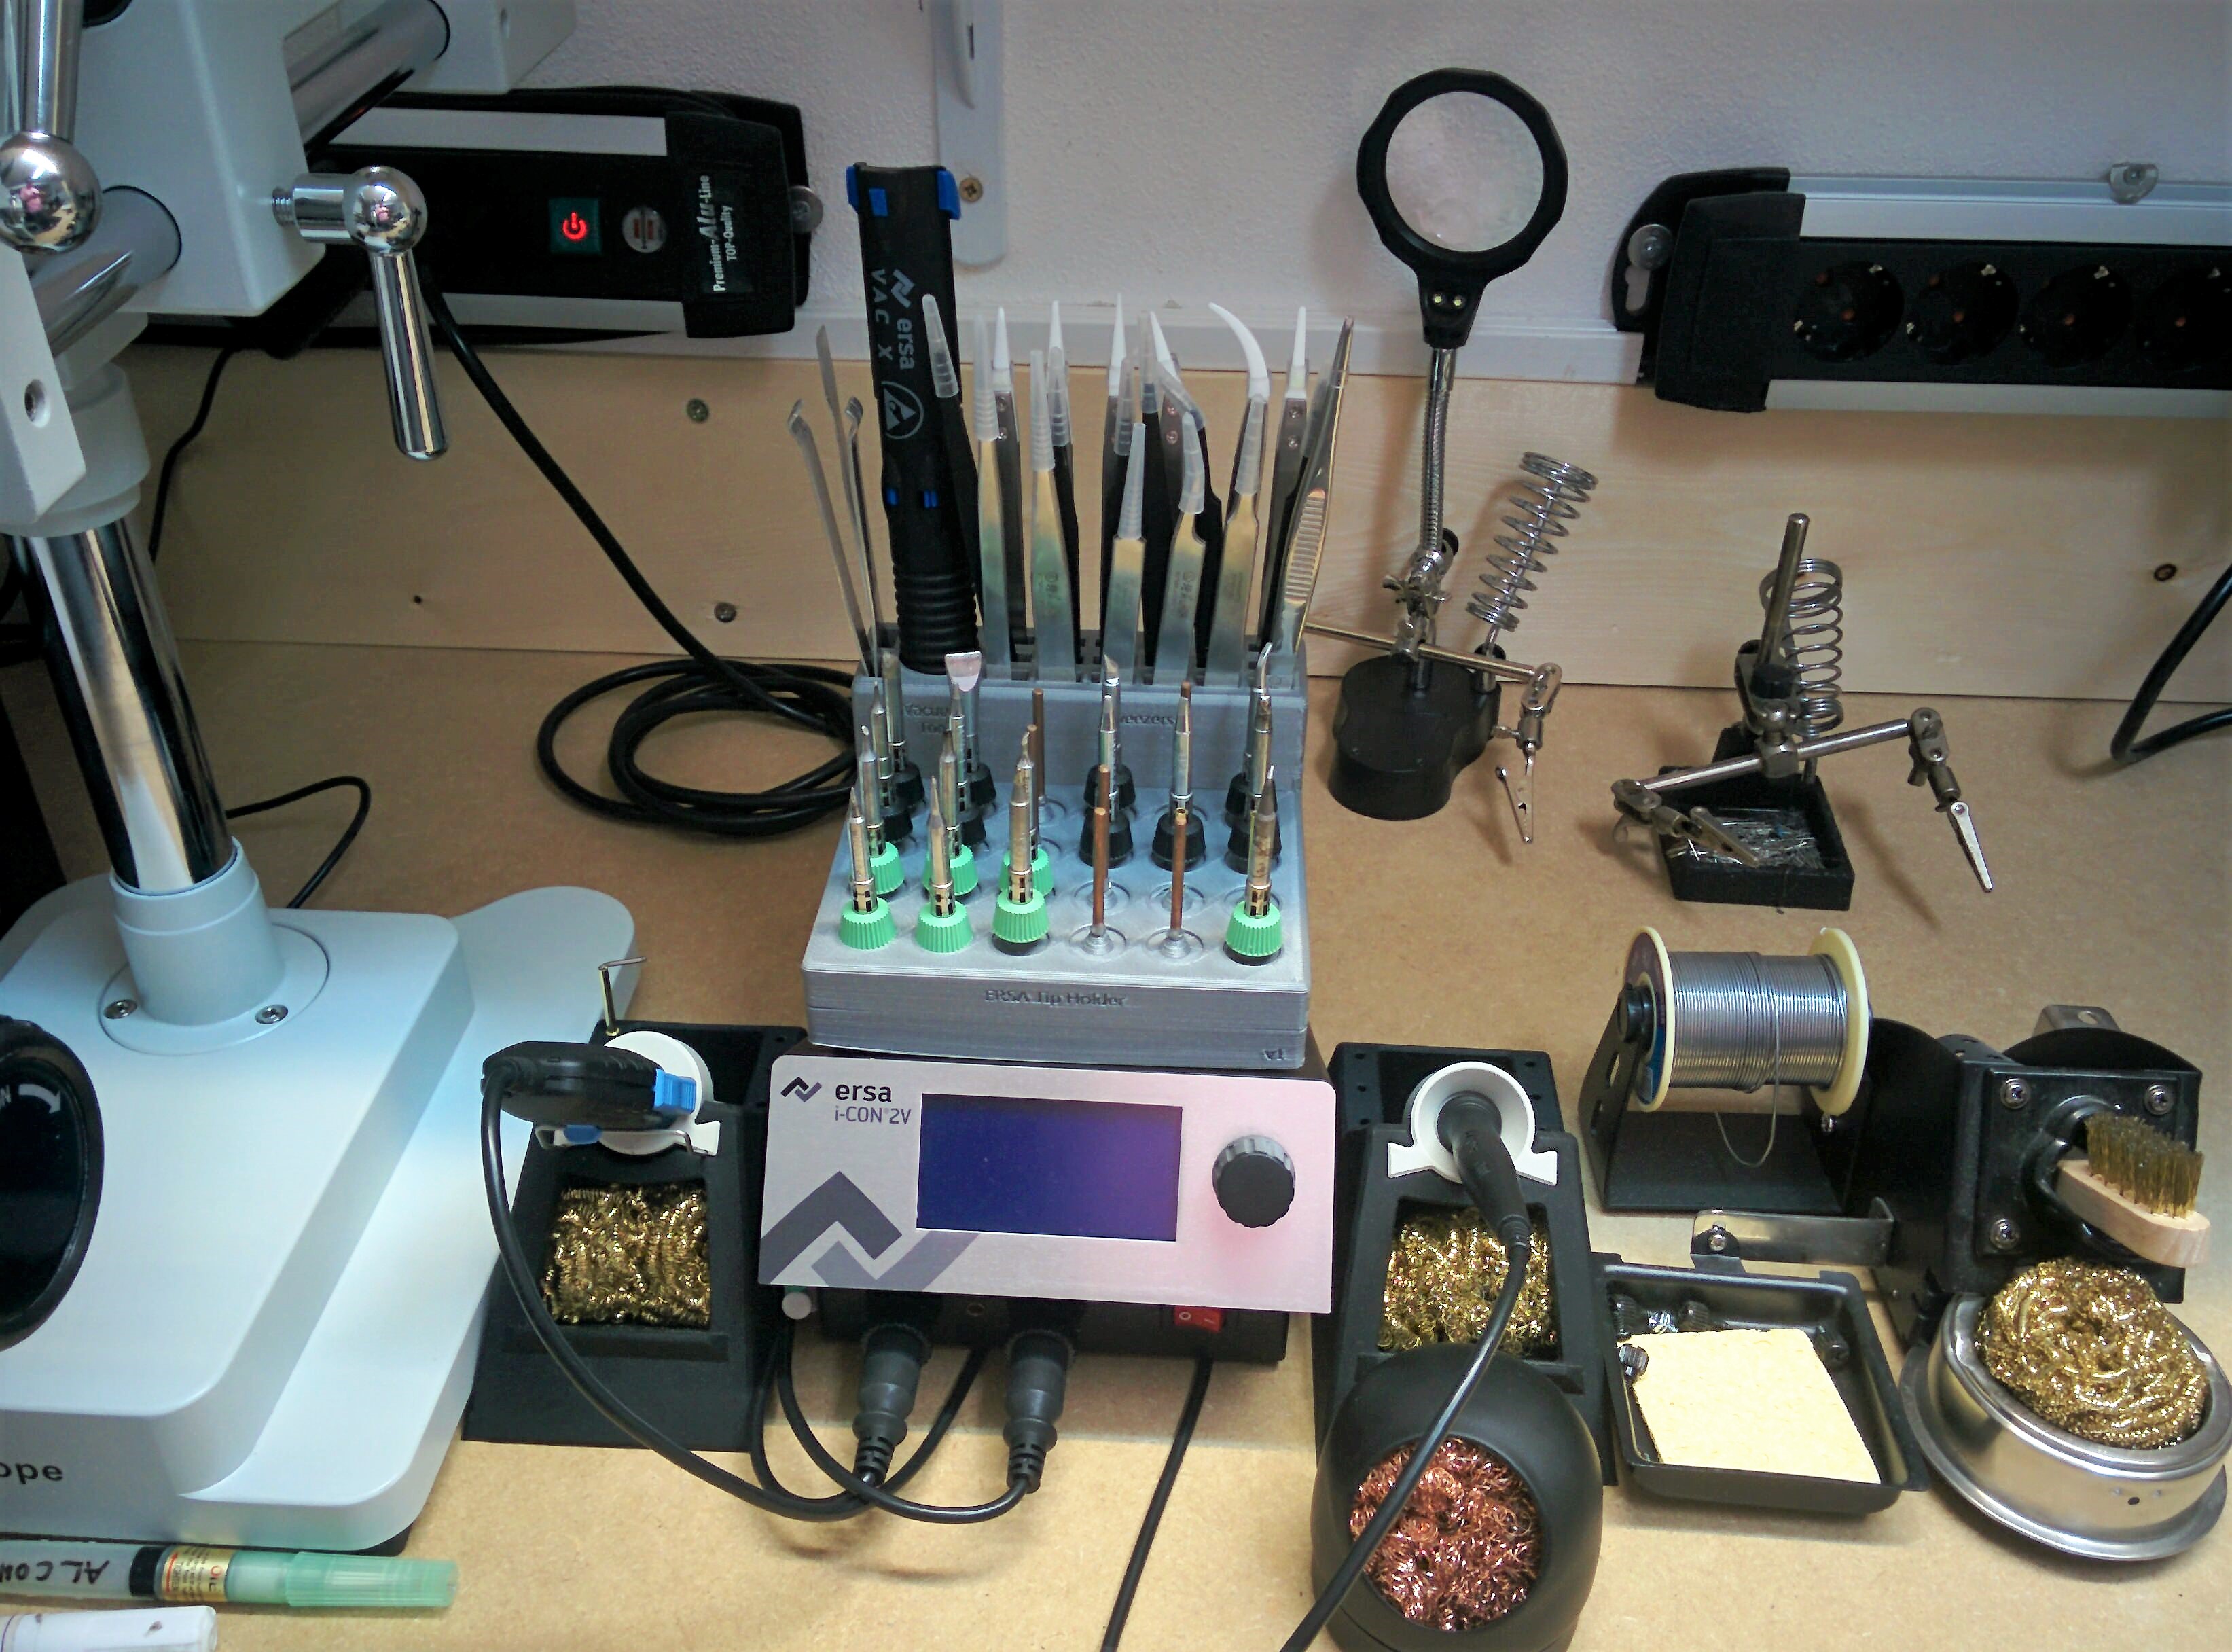
Only plastic holder is included (No tools, no tips, no bars) you will get what you see on main photo
This model was built from scrath and adapted to work with ERSA i-tool and chip tool tips.
It can be stacked on top of a I-CON 1 or 2 using rubber pads and some 3M as i did.
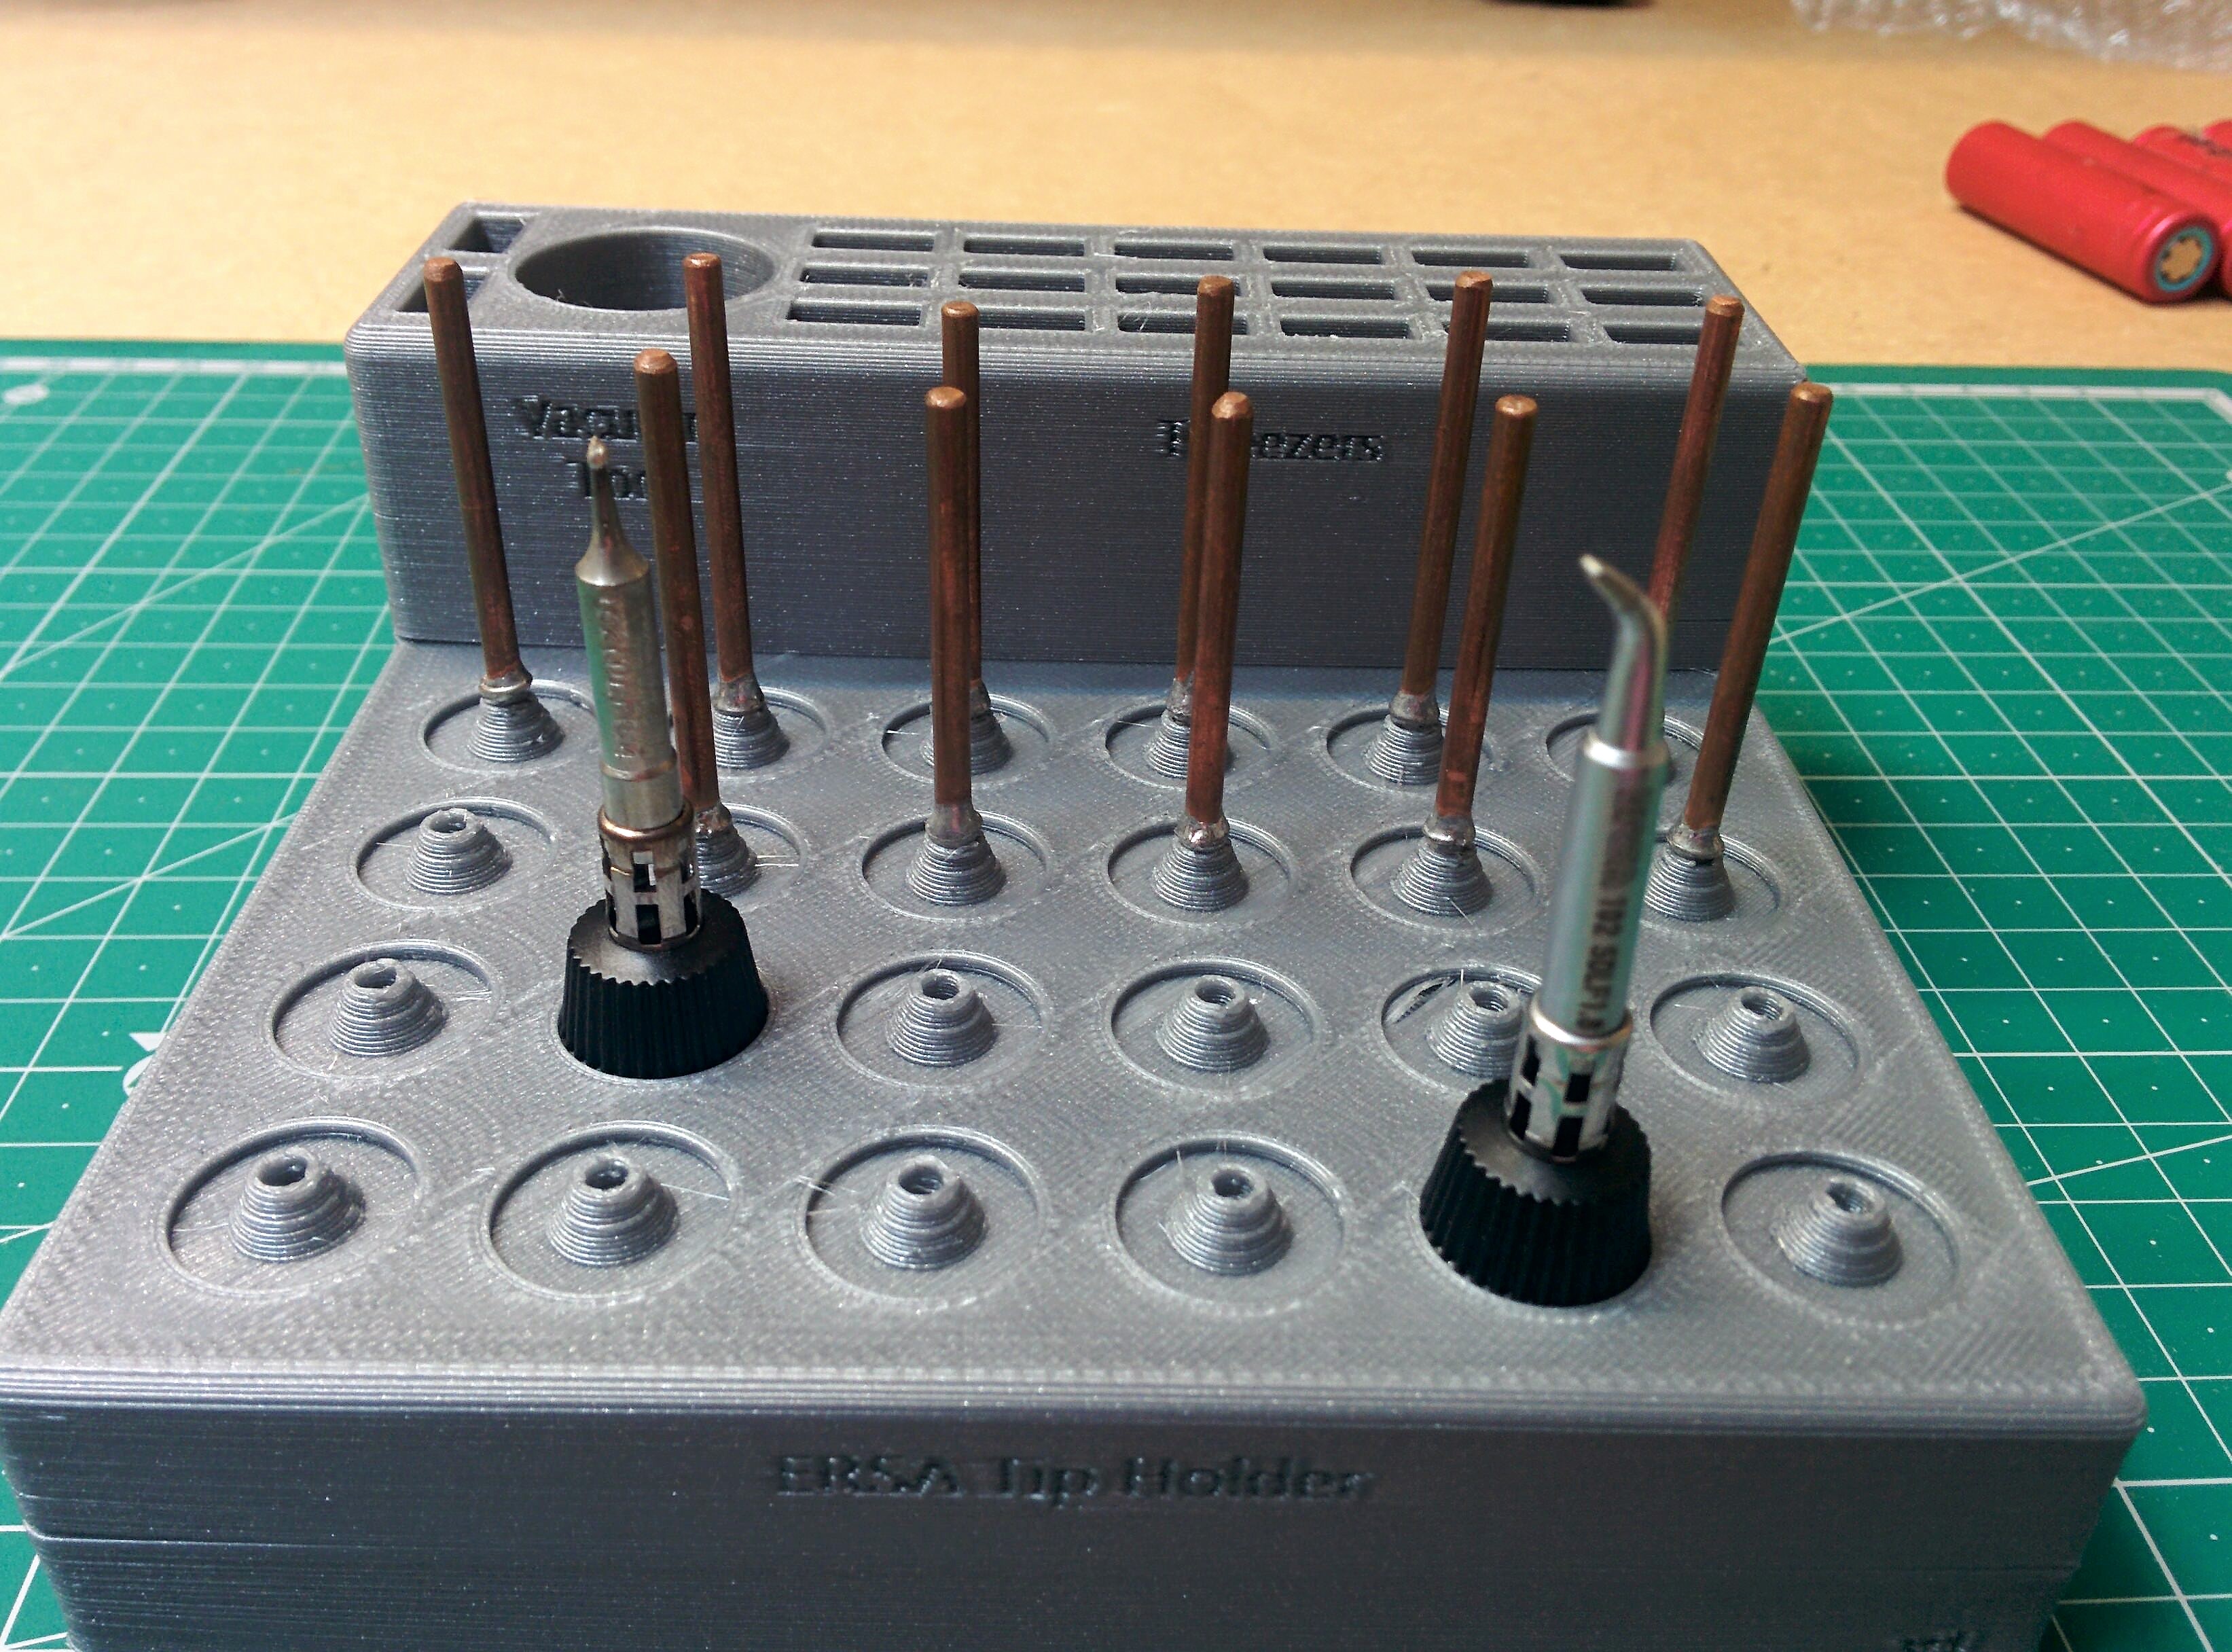
I-Tool Tips will snap fit the slot, but i'm using cooper bars to easy take or put the tips in place. Also cooper bars will allow you to use other brands.
This model is designed by myself and i'm the original author of it.
Print Settings:
- Printer: Original Prusa i3 MK2s improved
- Quality: 0.35mm Layer Height
- Filament: PLA in any stock color
- Print Time: 8.30h
Features:
- 1 x Vacuum Desolder Slot
- 18 x Tweezers Slots
- 2 x Tweezers Like Slots for other tools
- 24 x Tip Slots With Hole or snap fit
Tips Compability List:
- ERSA I-TOOL (Series 102 for i-Tool soldering irons)
- ERSA CHIP TOOL VARIO (Serie 462)
- JBC C105 Cartridges
What is in the box (Included):
- The plastic holder/stand as you see on first photo (Main photo) -- No tools, no tips, no bars
Instructions
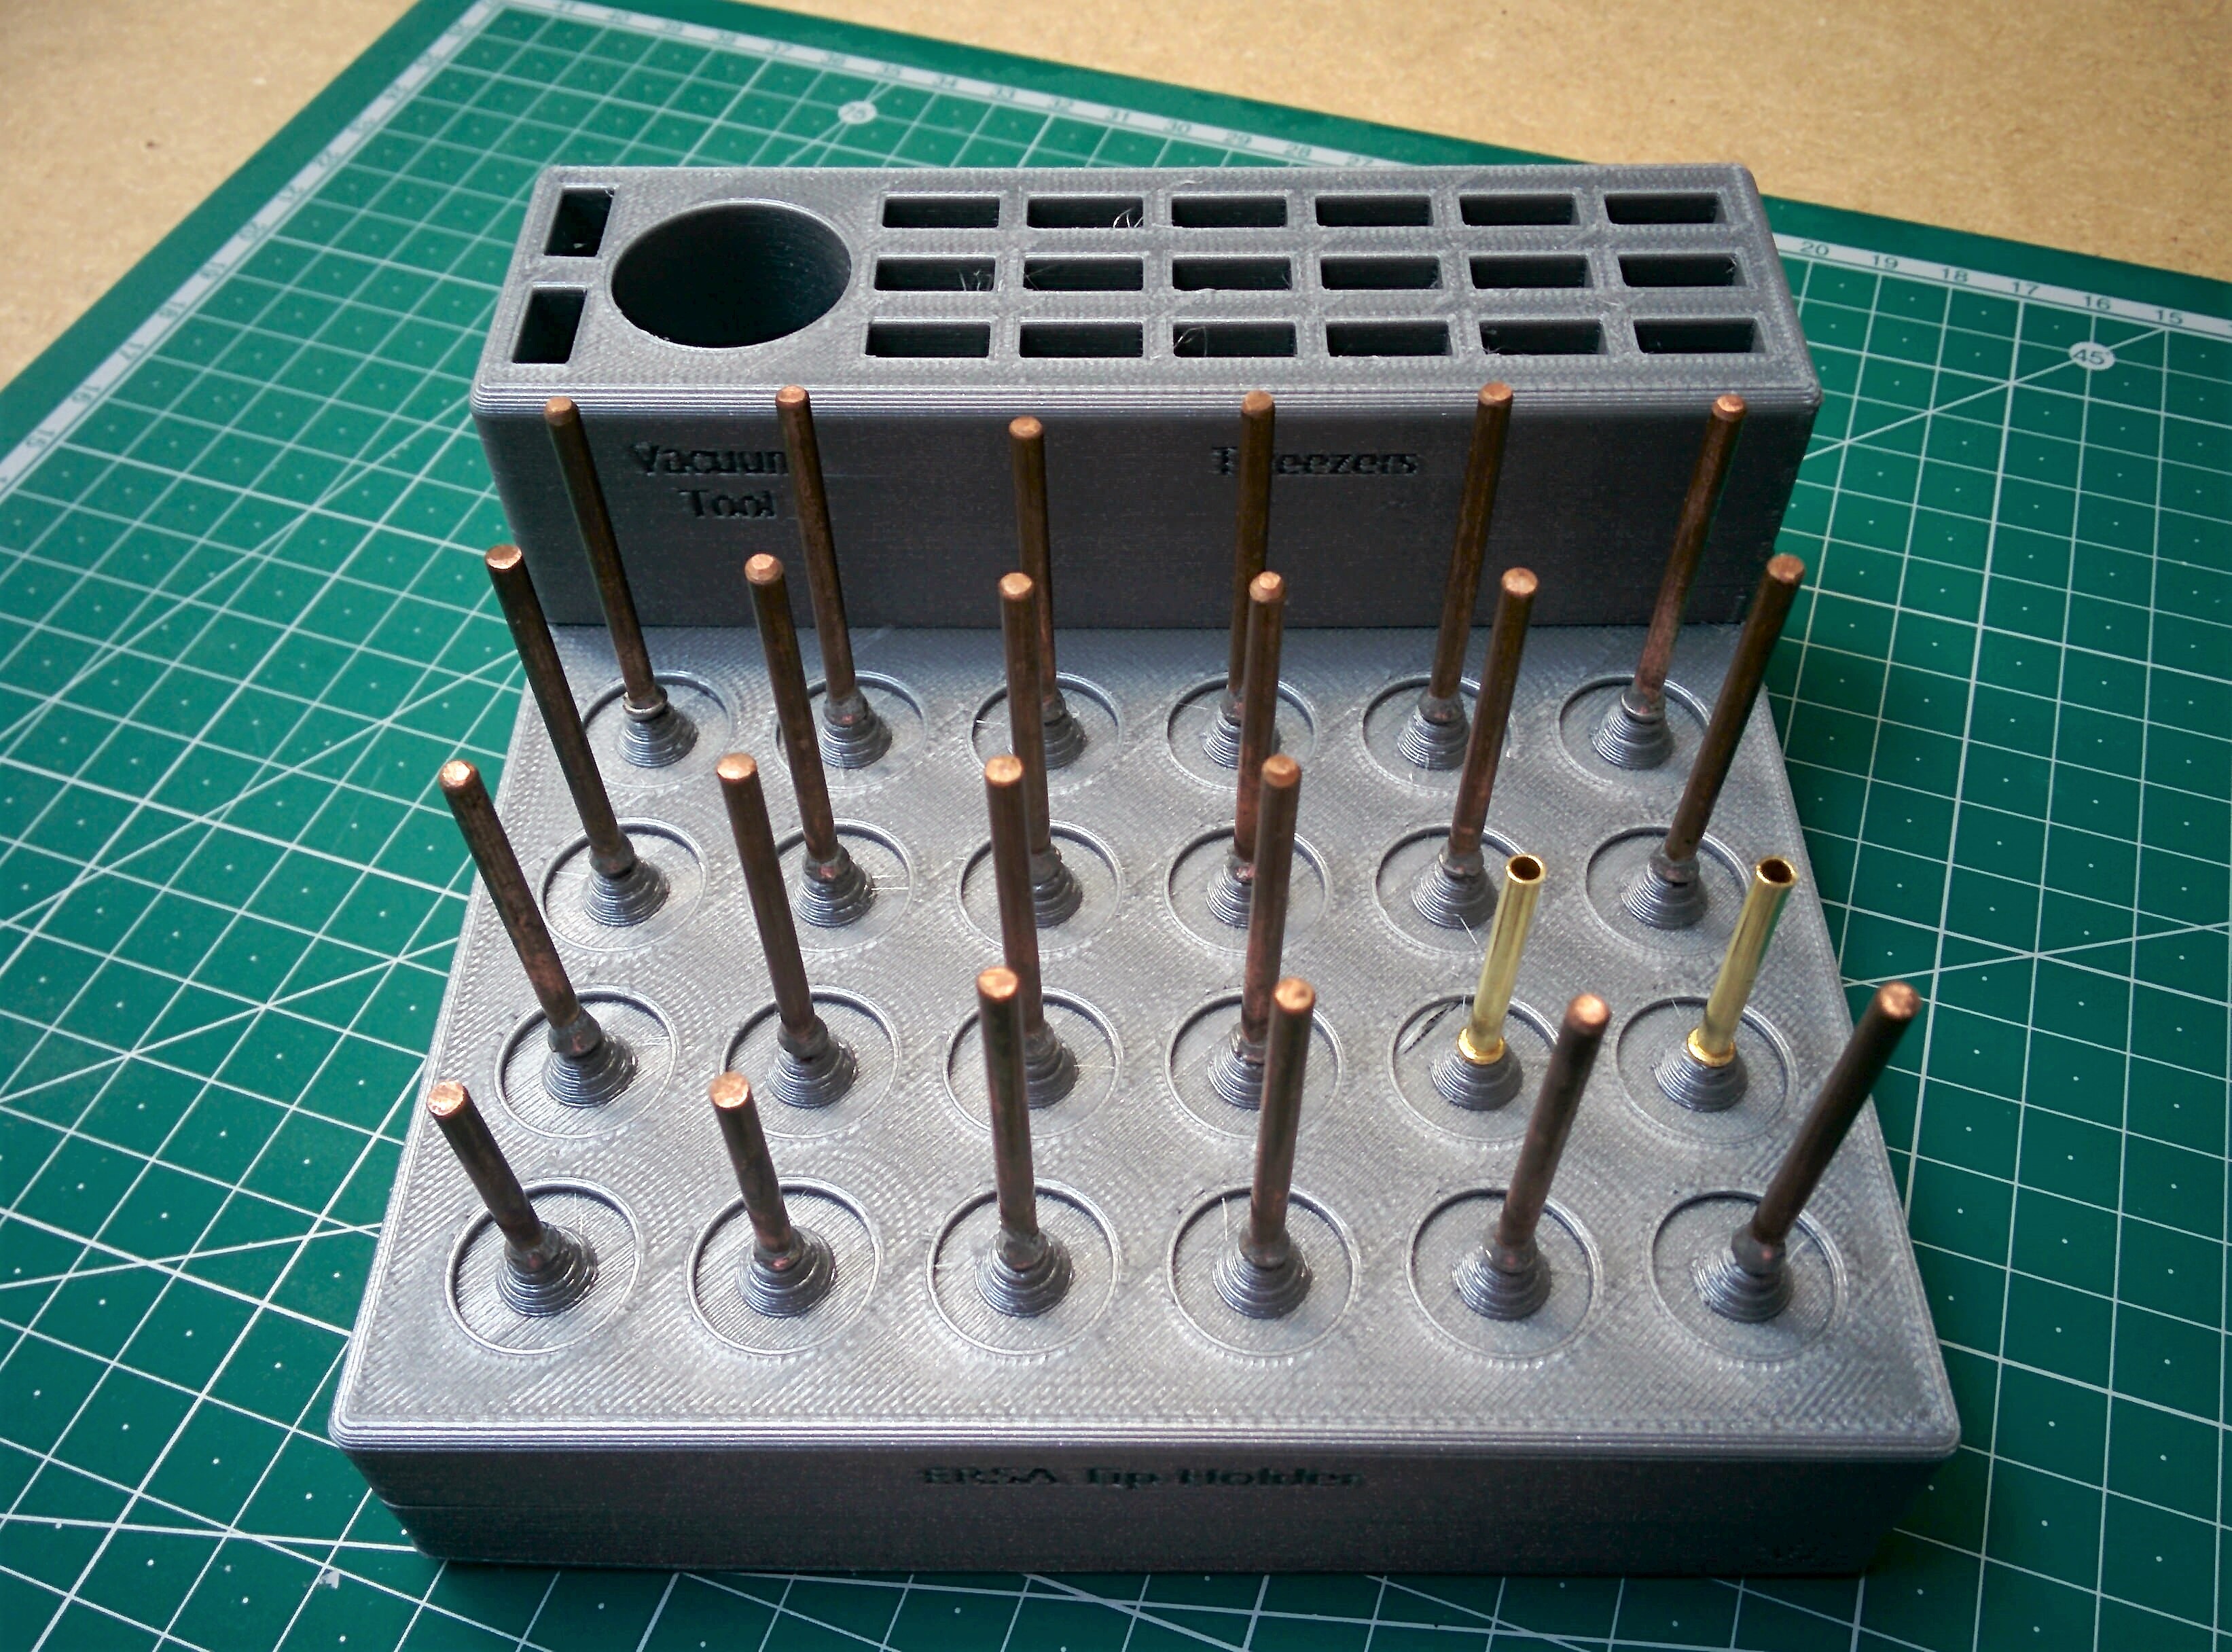
Fit Cooper bars into holes
- Buy "3N548 - Soldering tip holder sleeve for 0A50 and 0A52 (3mm)" from ERSA
- Alternatively buy a long cooper 3mm bar and cut it at your needs, after solder a wire into bar to make a ring.
- Place the bar into hole, use a hammer to push it down if needed
Fit bar into holes
Alternatively snap tips into slot without bars
Fit bar into holes
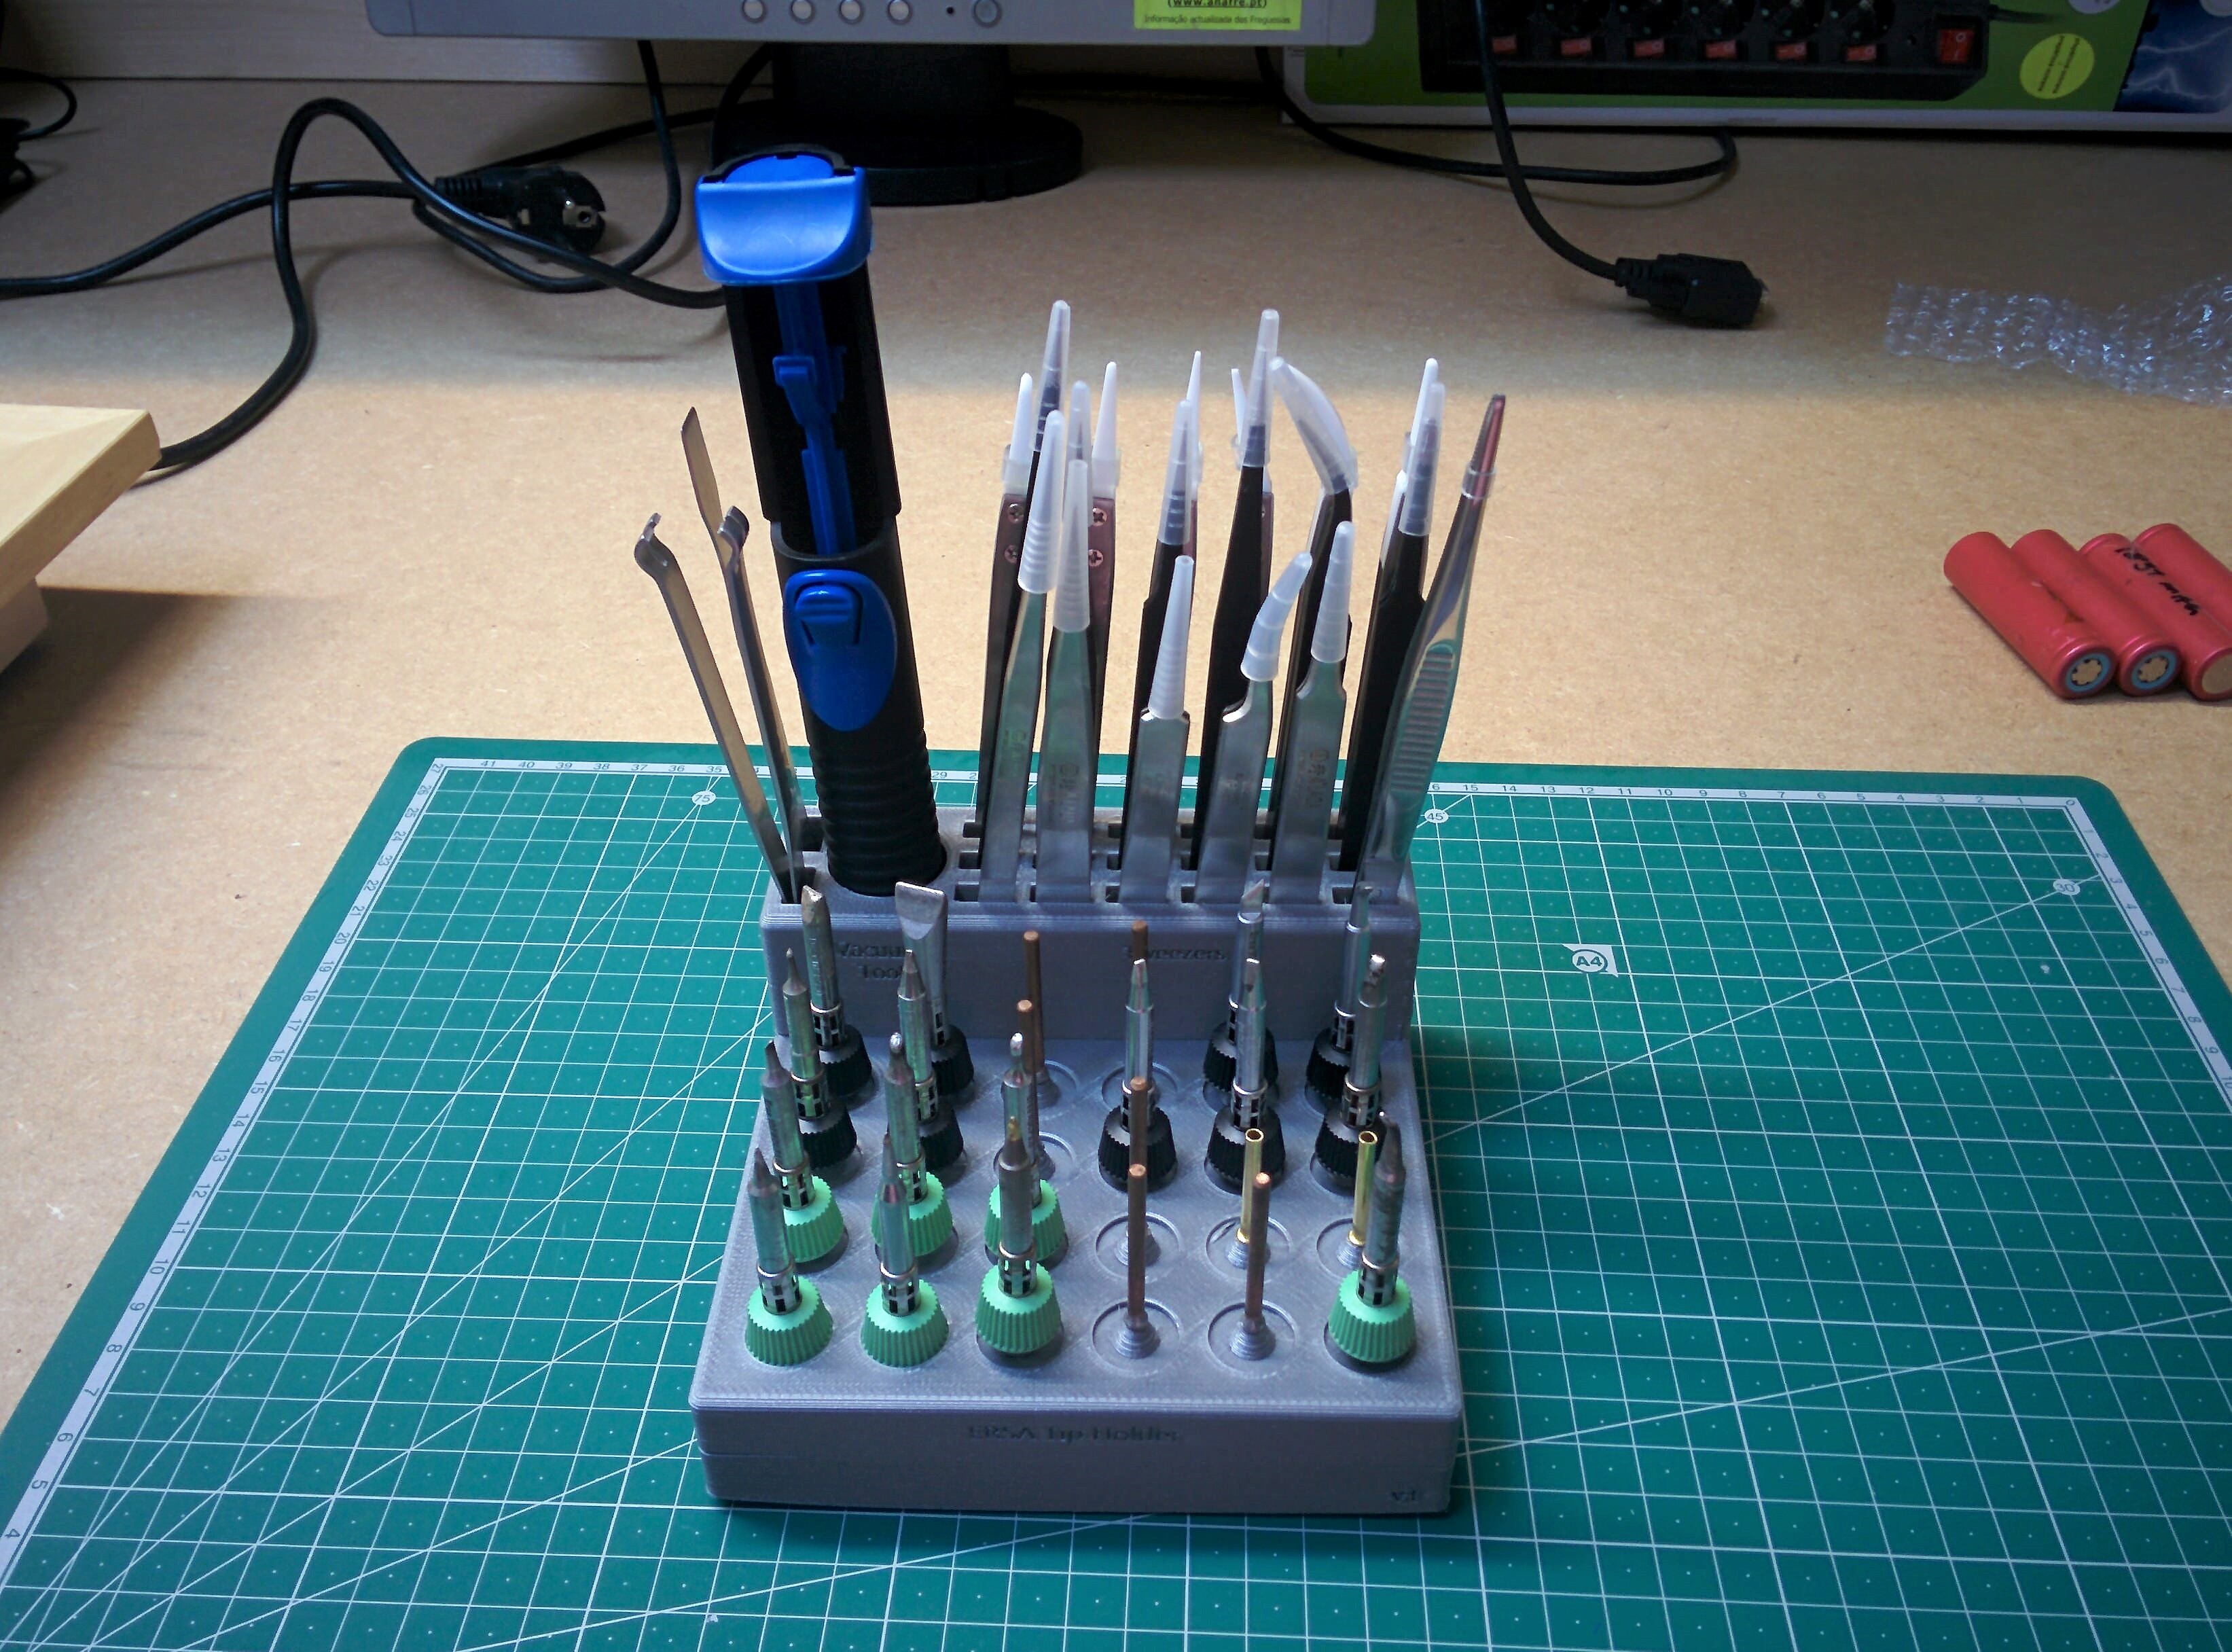
Populate the stand
Stack
stand into ERSA I-CON
- Buy or get 3M rubber feet, ensure that height is long enough to compensate ERSA curvy design.
- Place 1 feet at each ERSA upper
corner
- Place
3M tape at top of the rubber feets
- Align
and place the stand (With care, so you can remove if misaligned)
- If
all ok push it down to glue it better
- Populate the stand
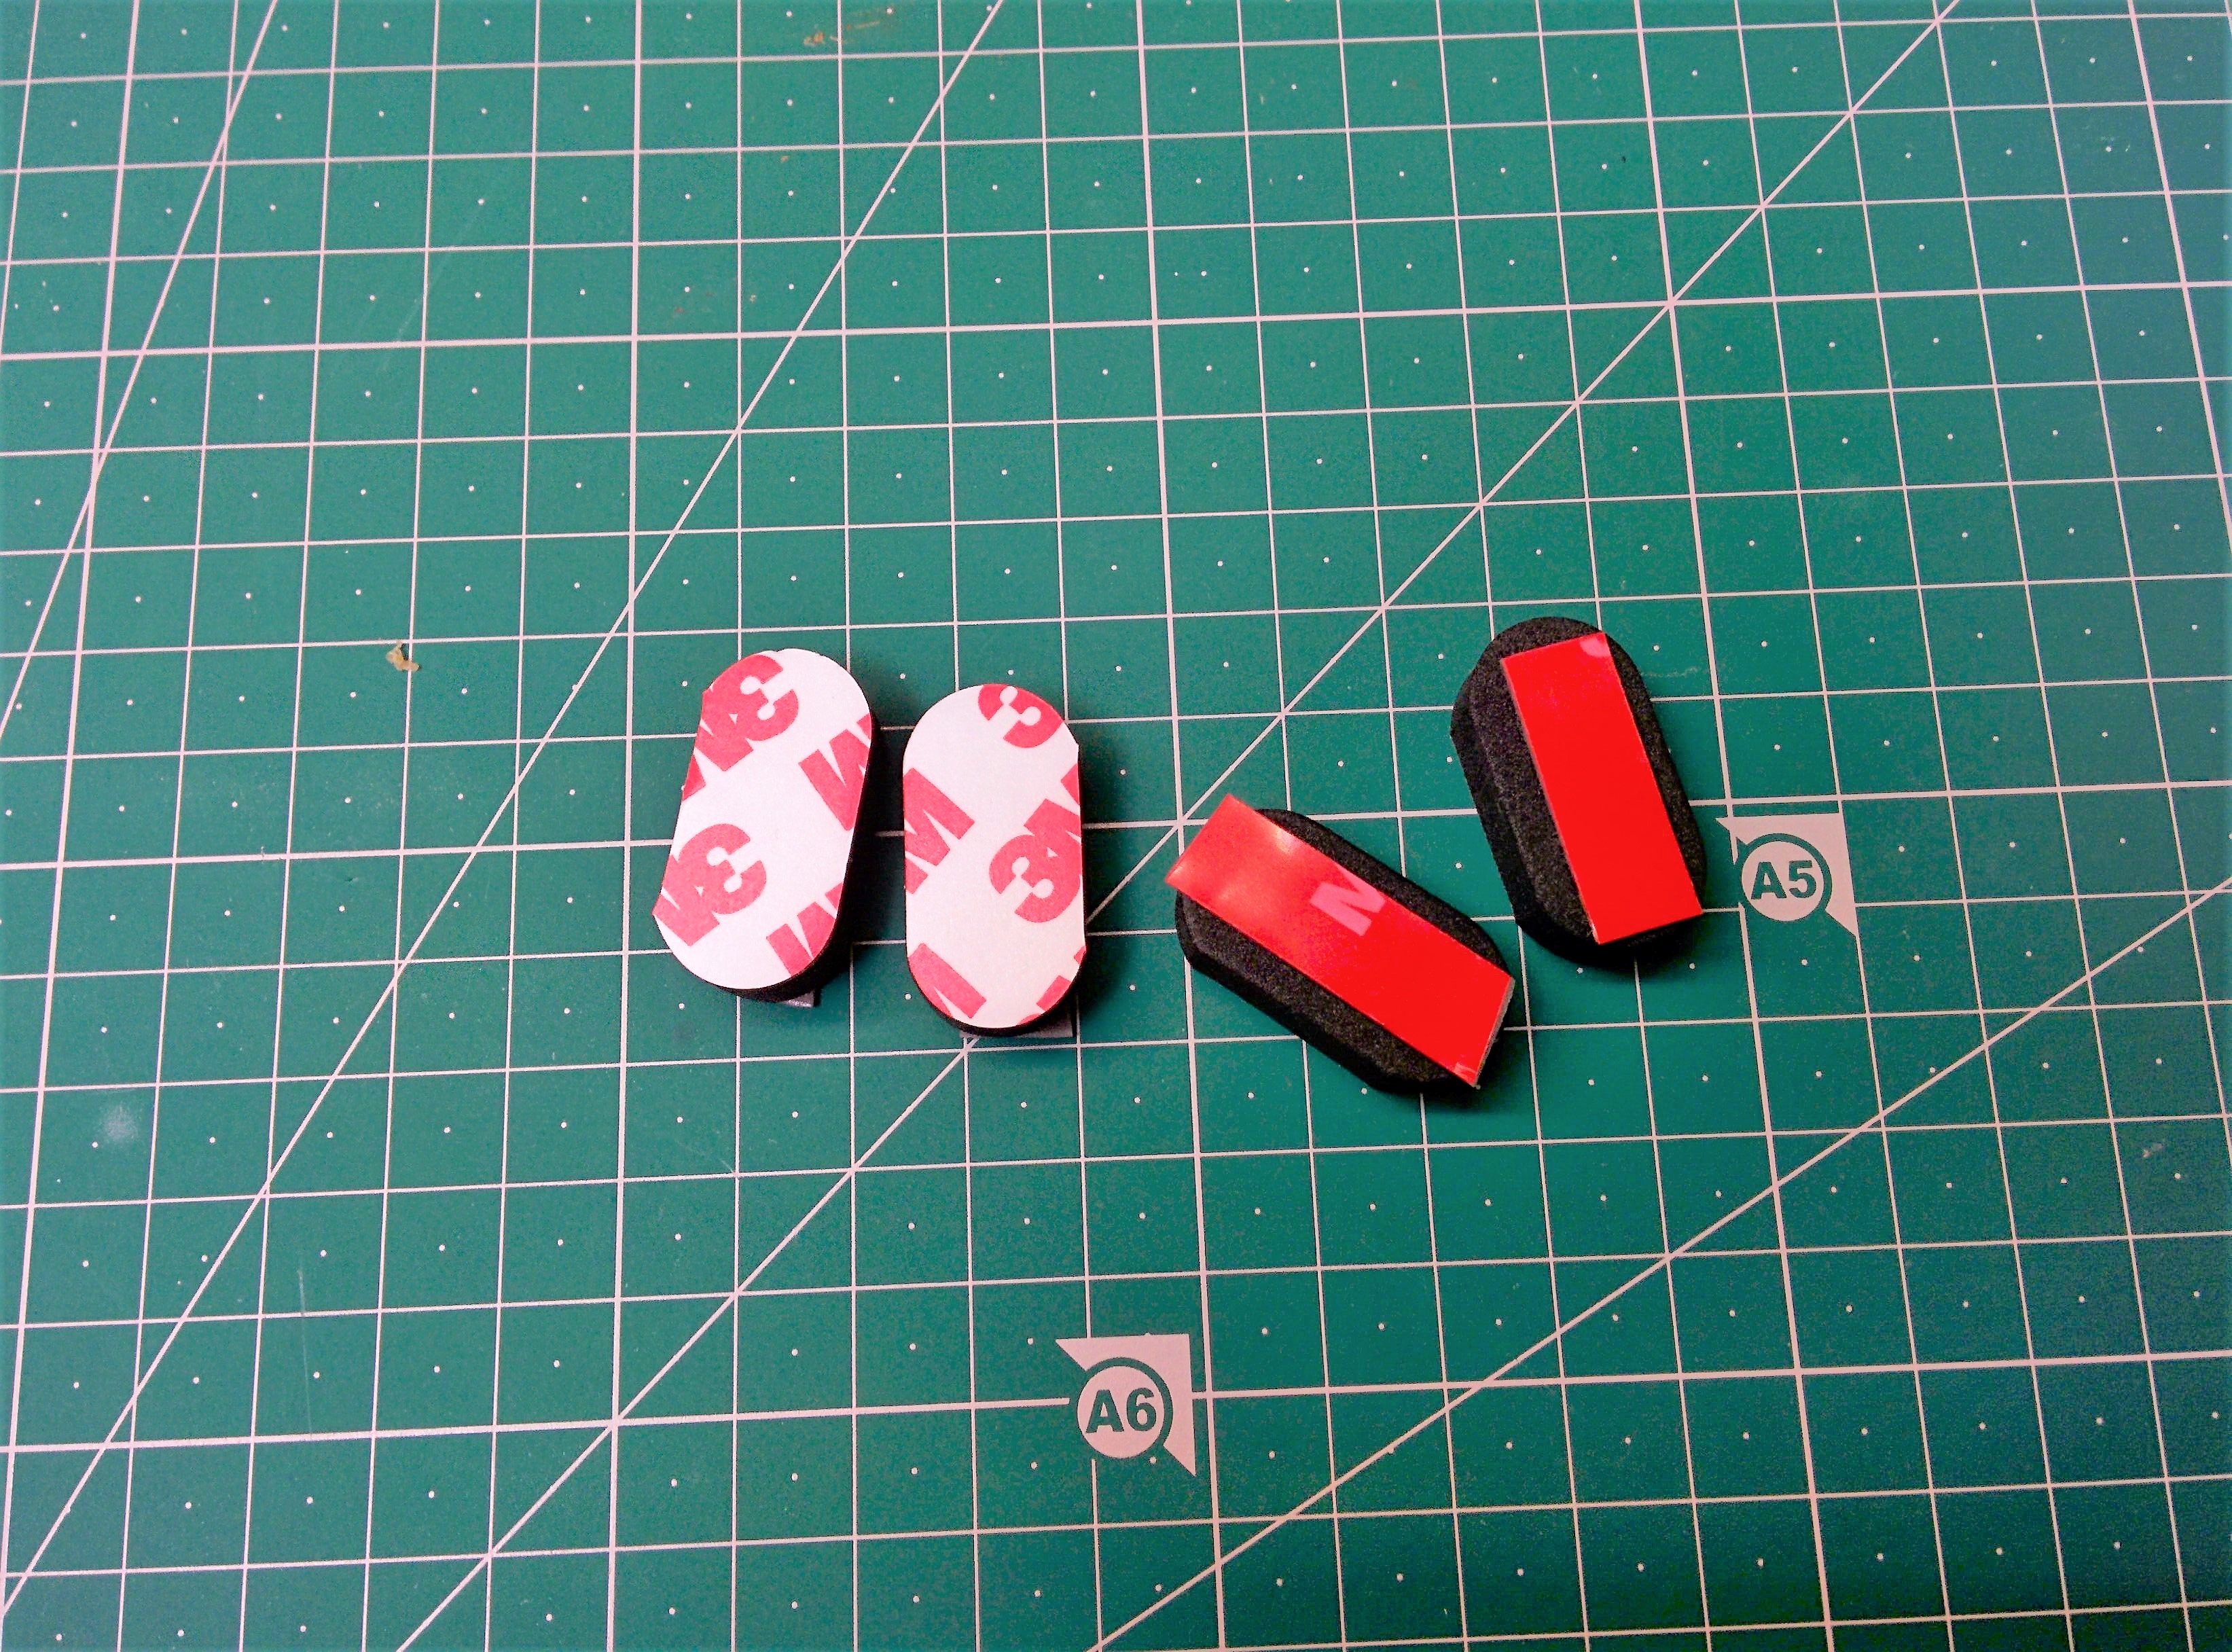
3M Rubber Feet Preparation
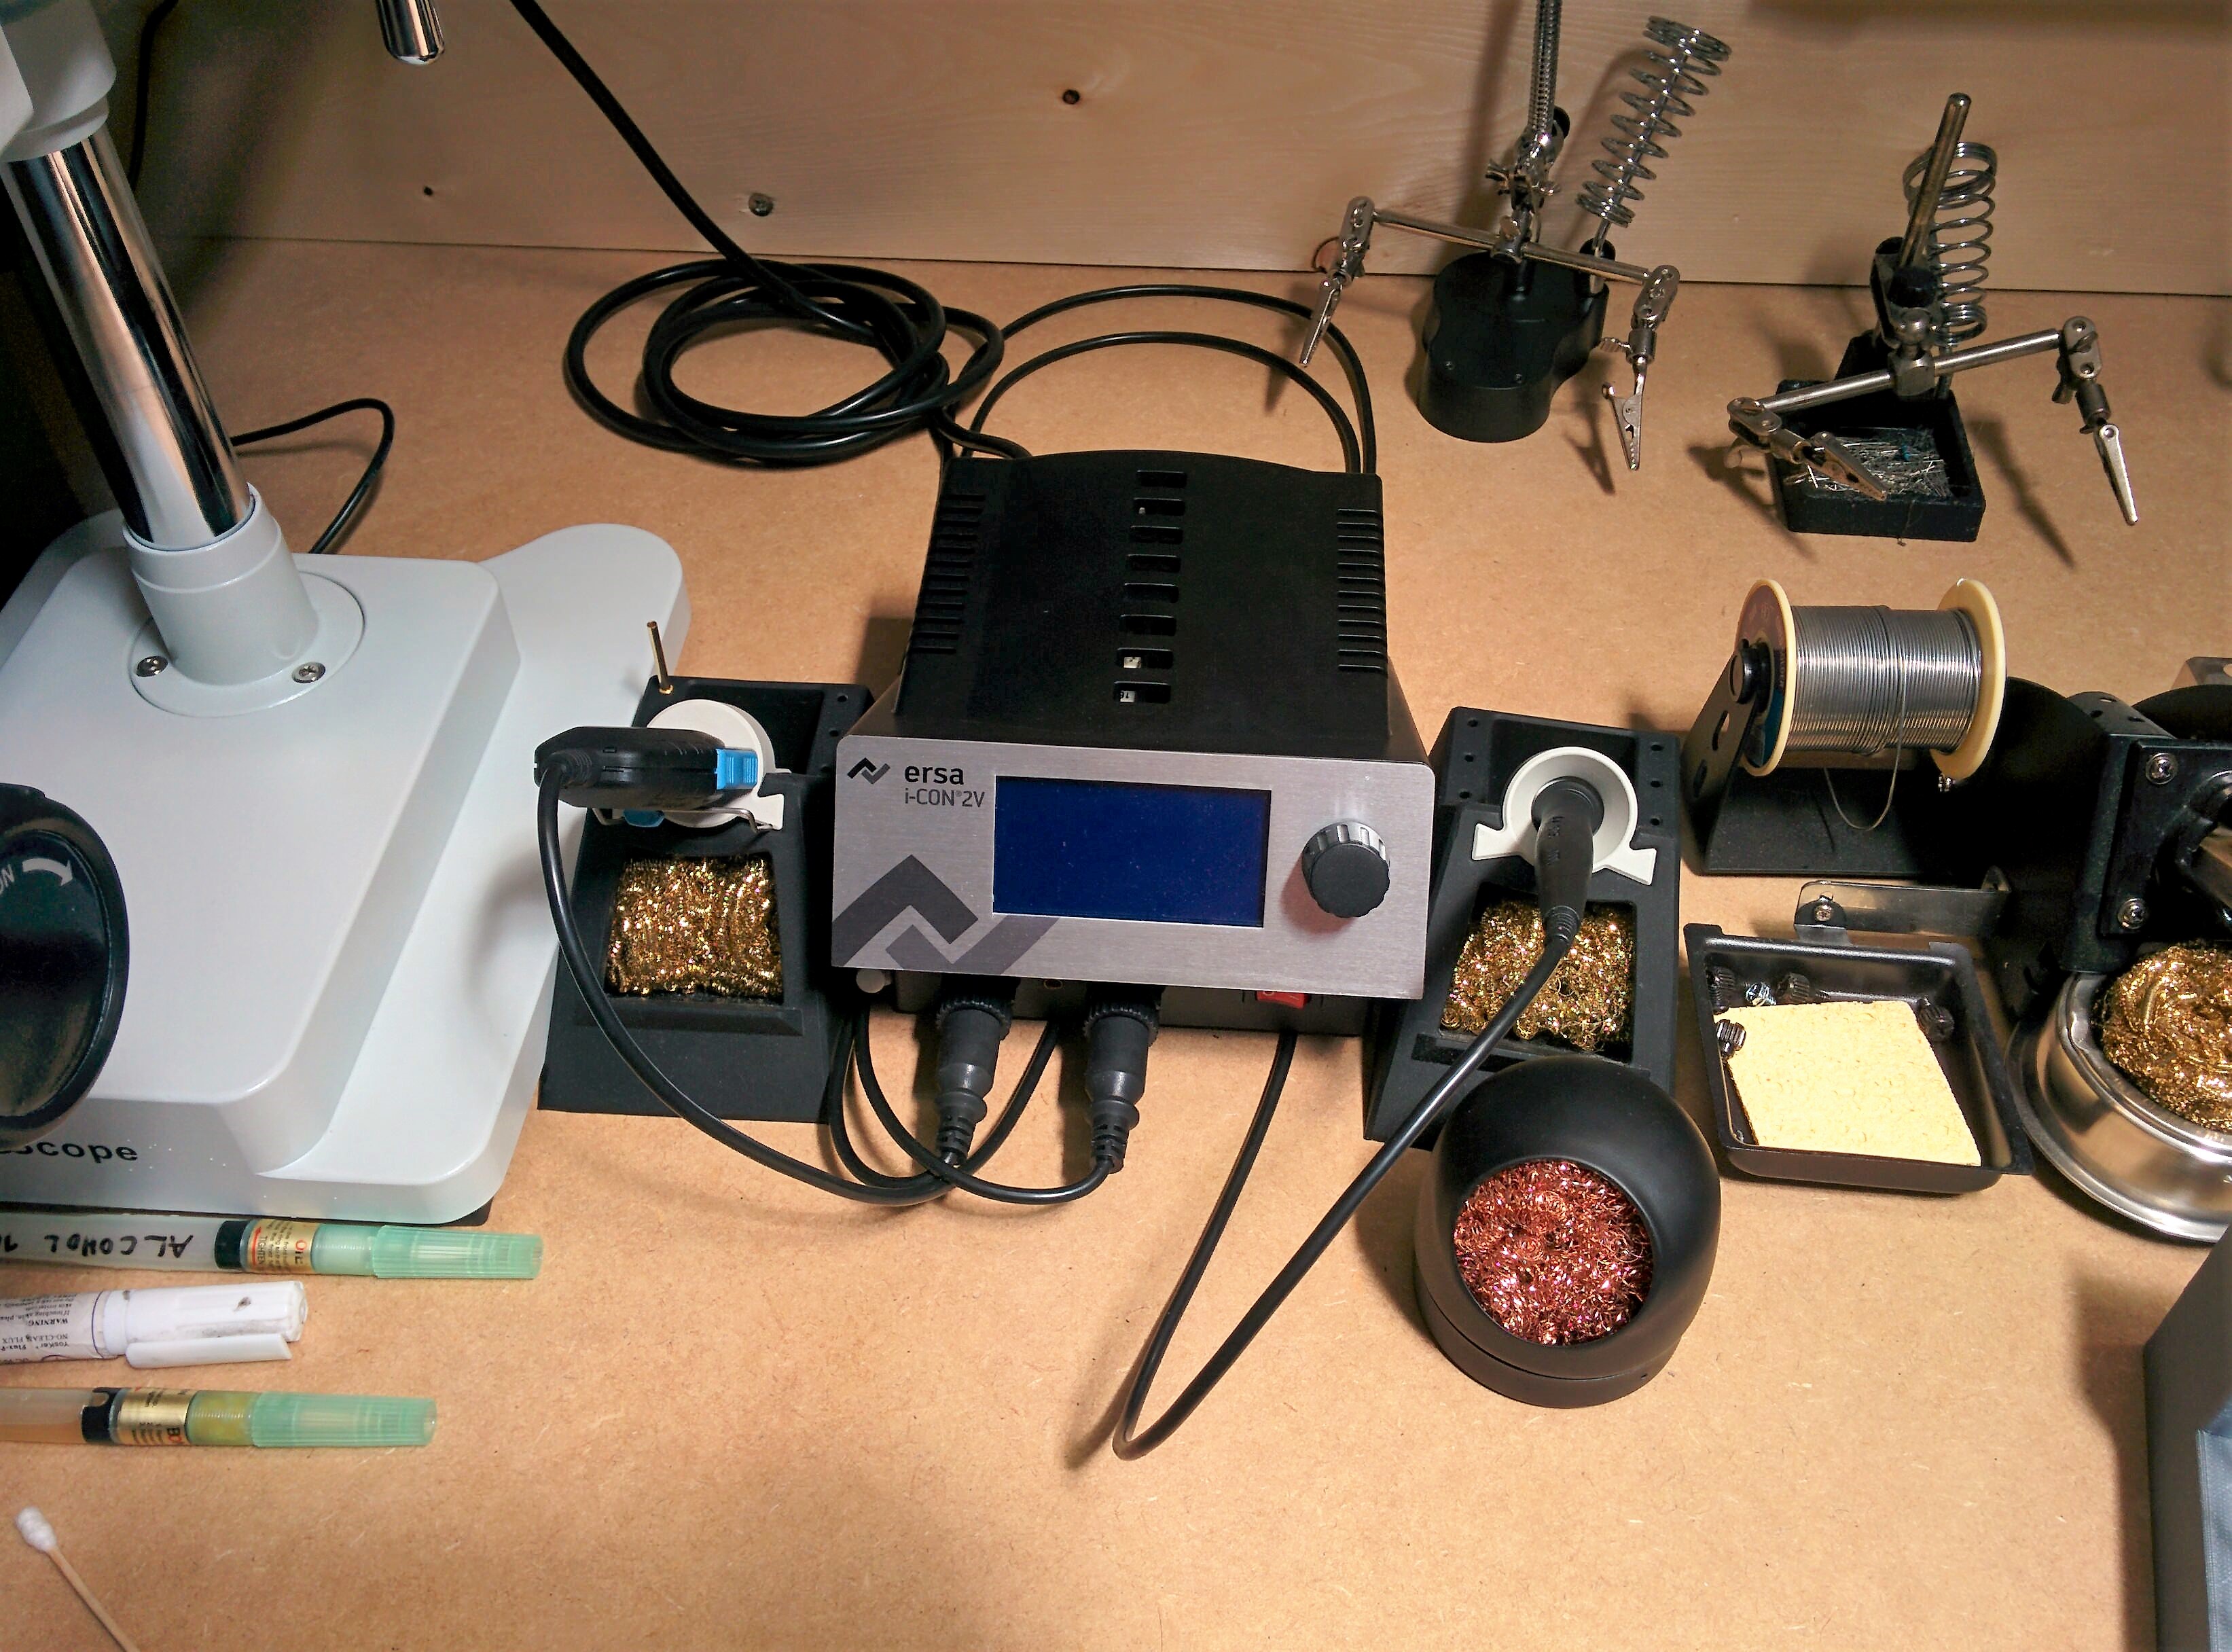
I-CON 2V Station
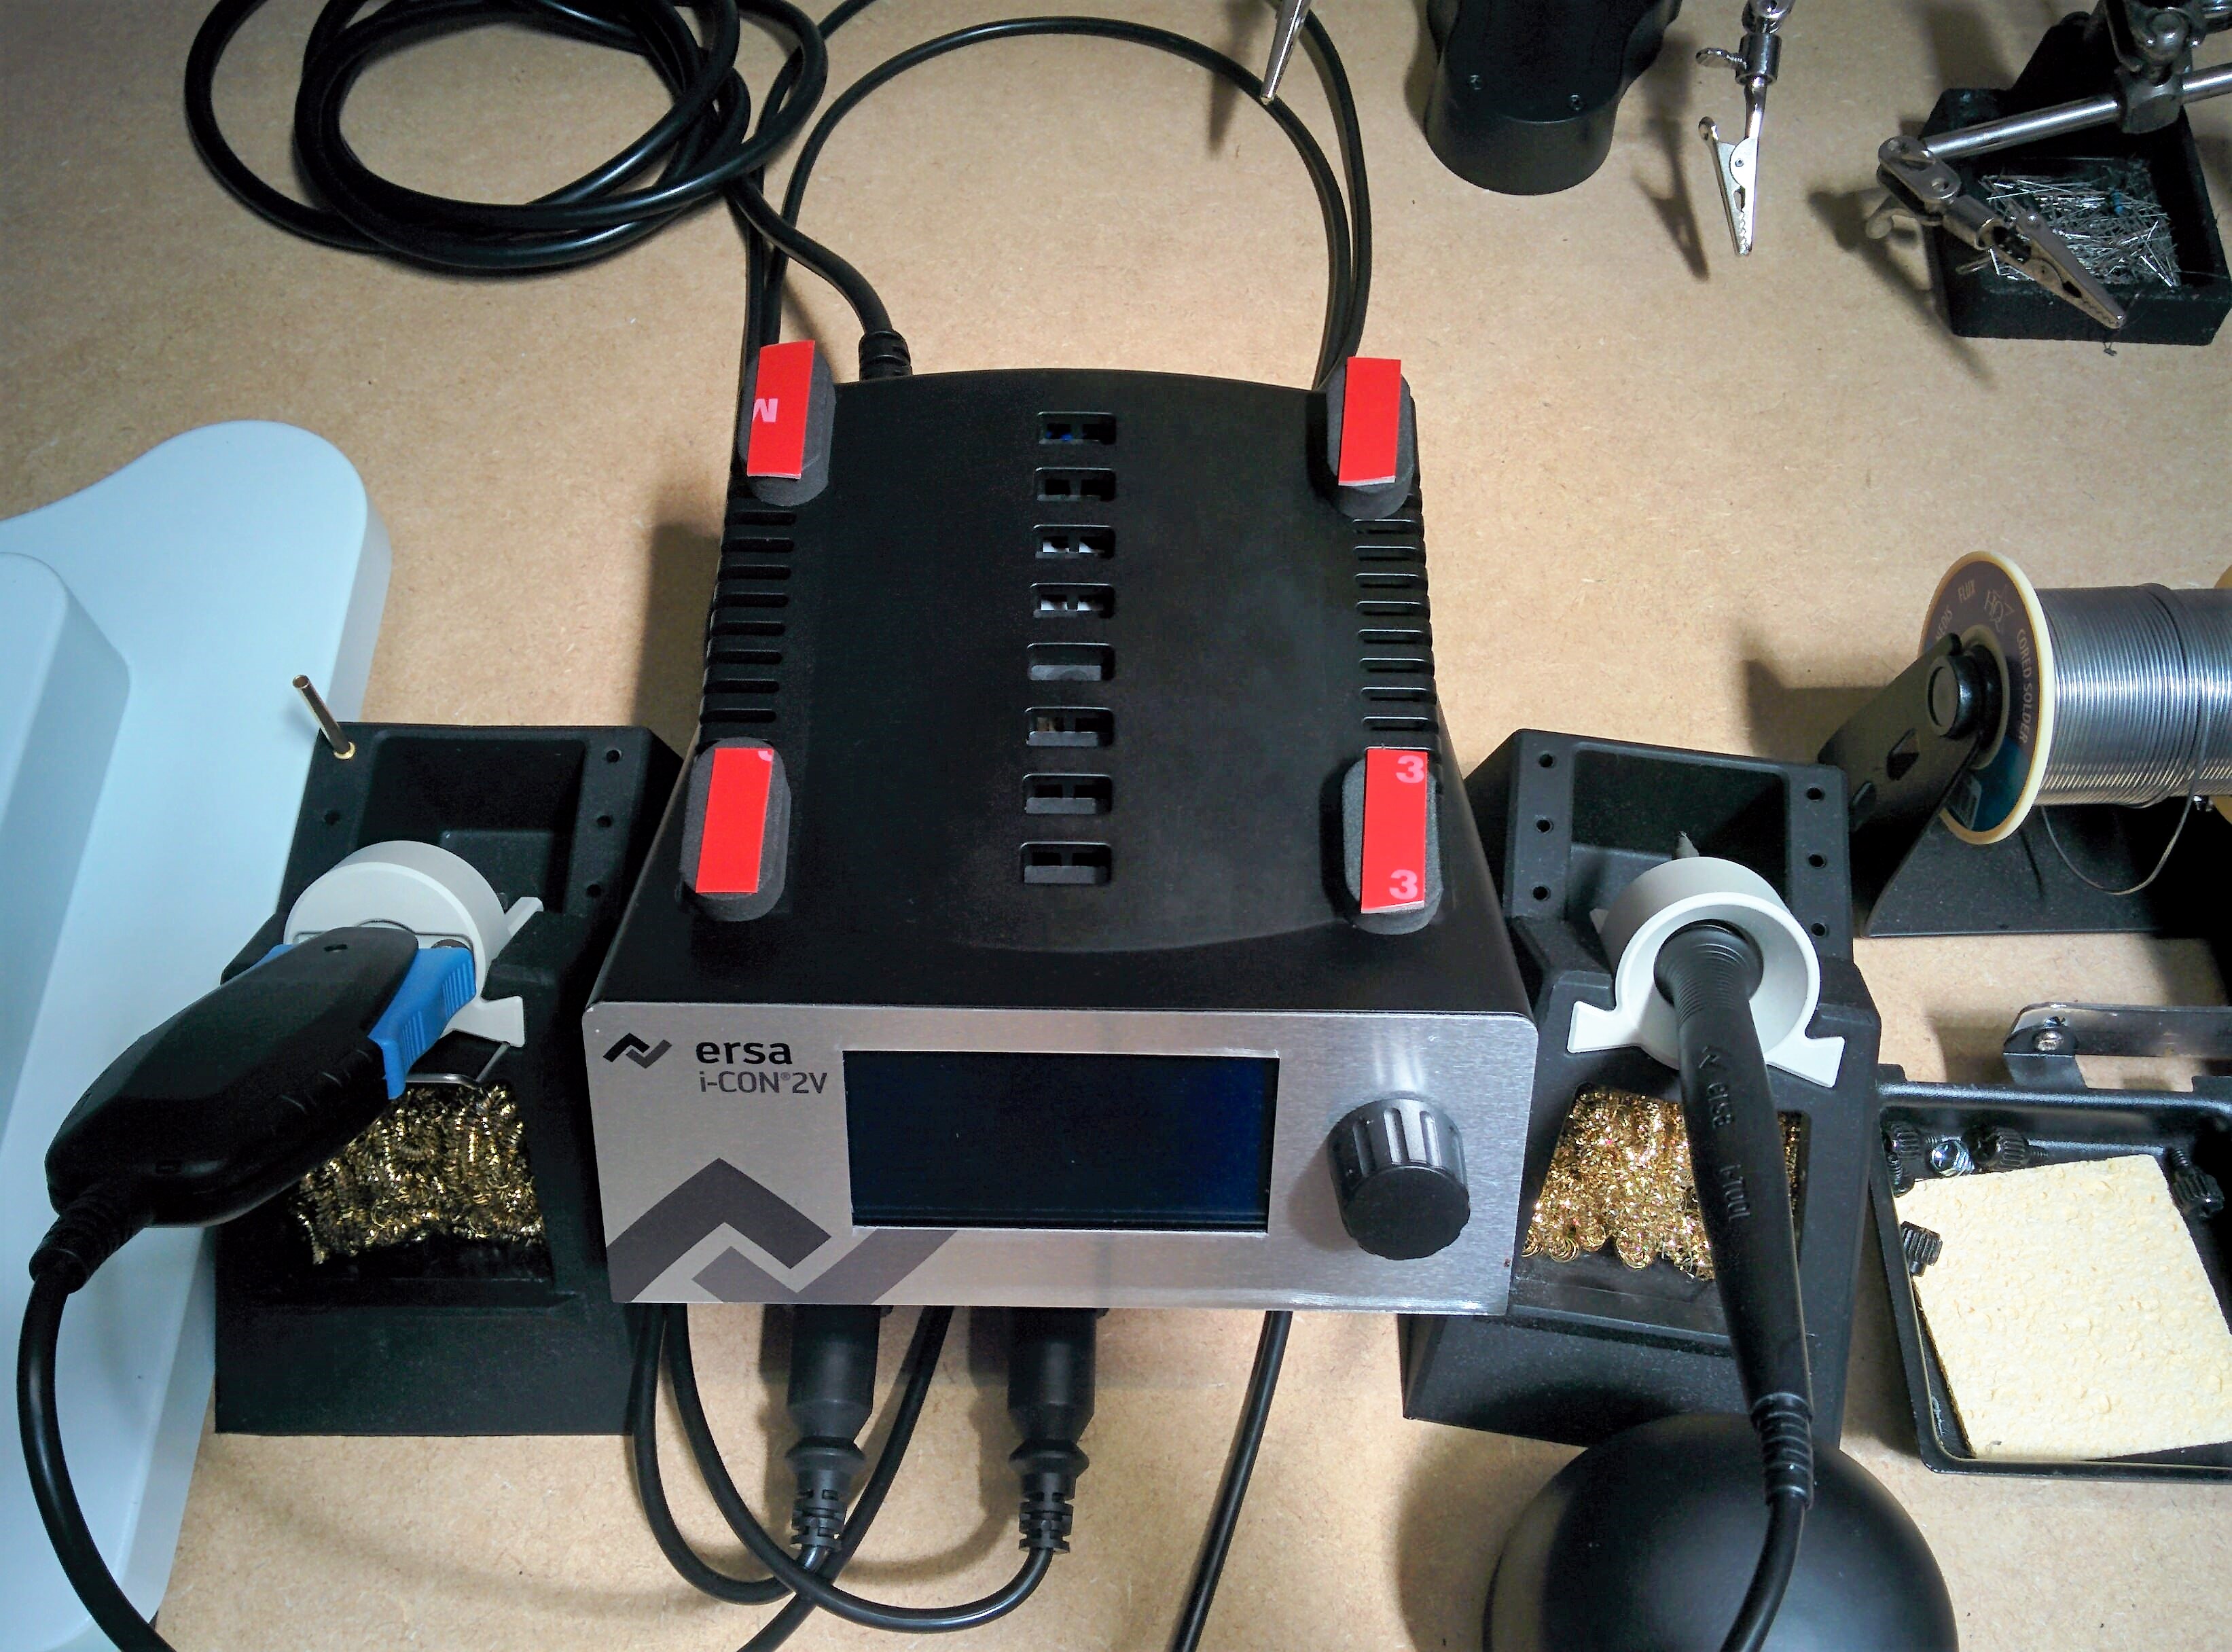
Place 3M Feets into I-CON
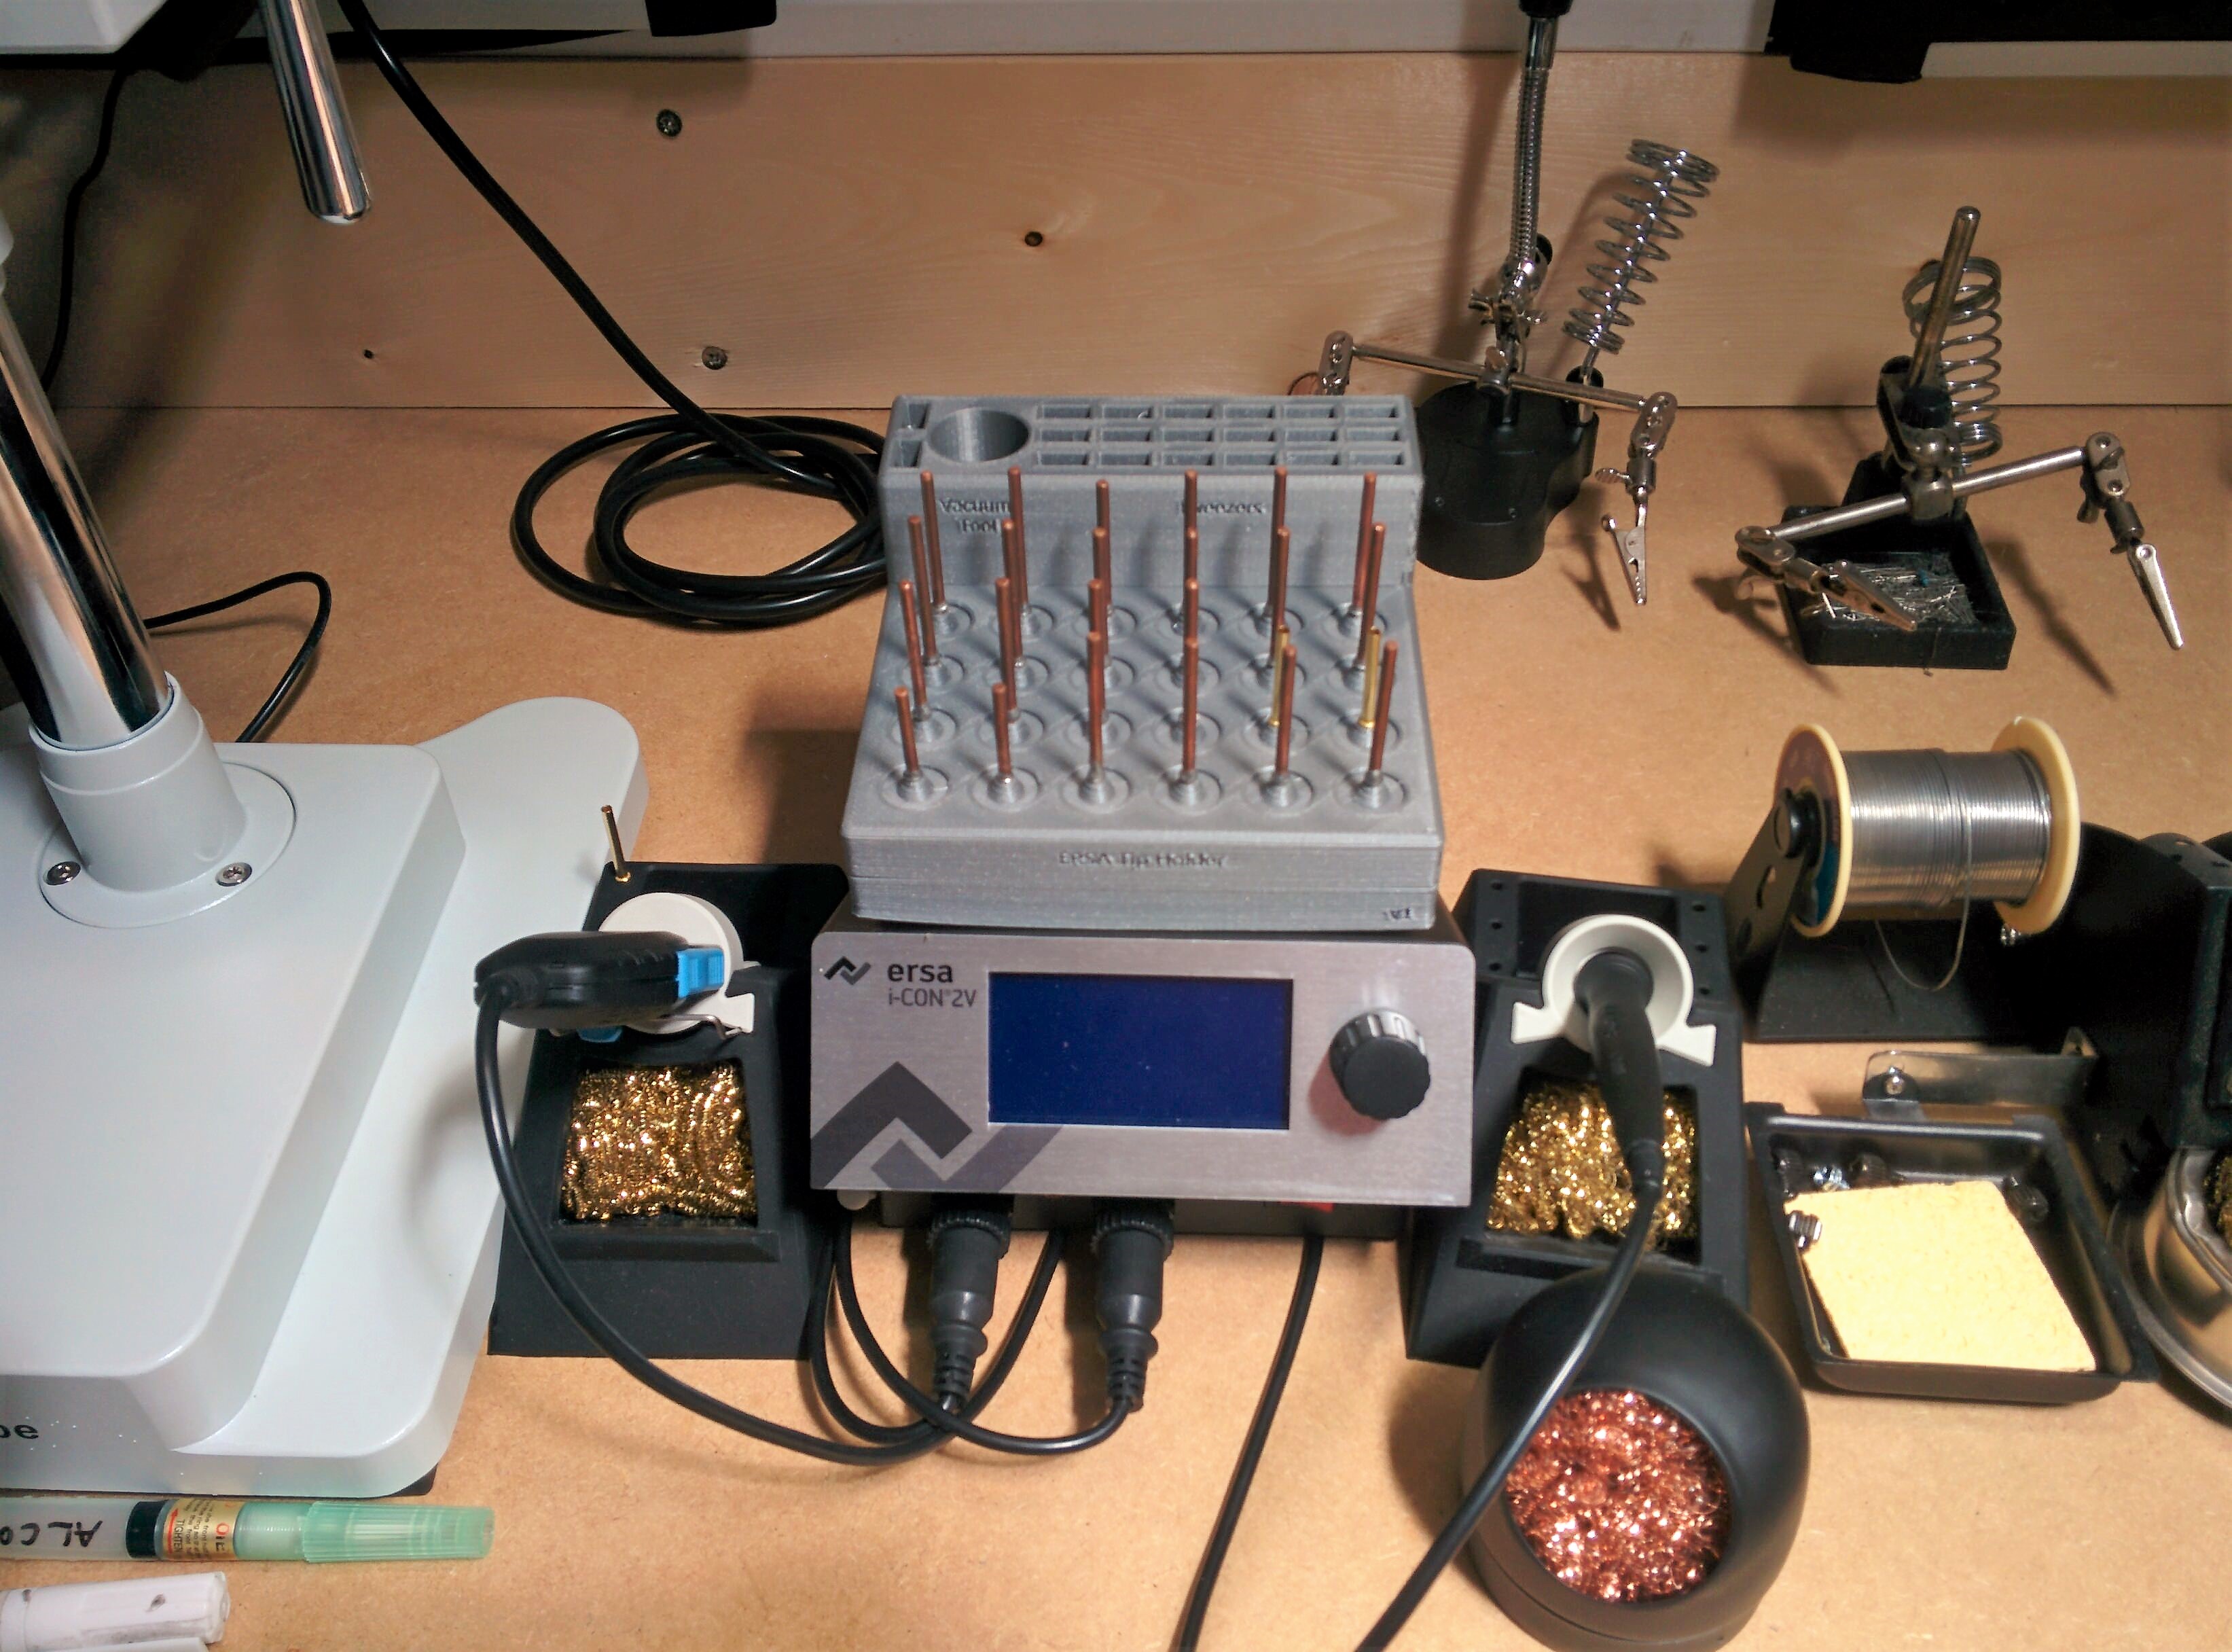
Place and align the model
Populate