UK Stock
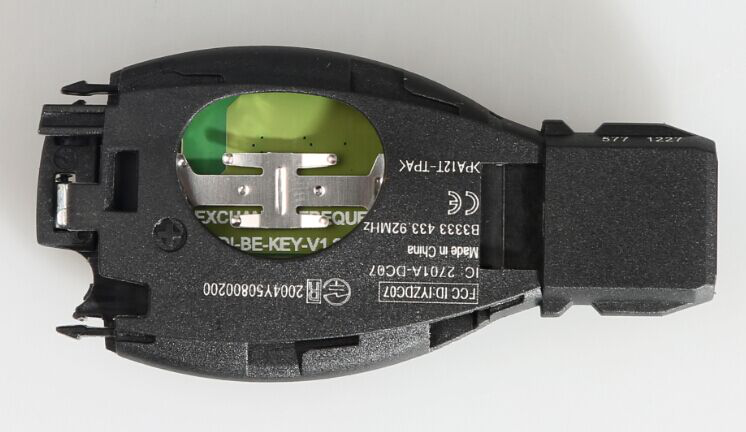
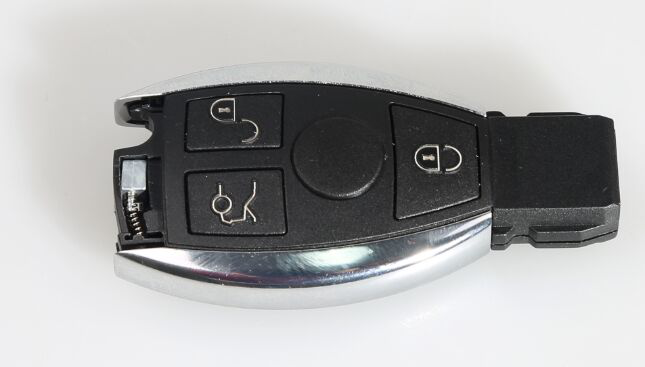
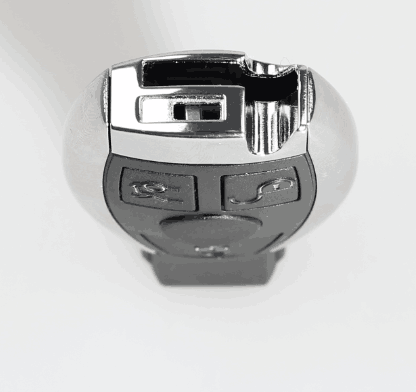
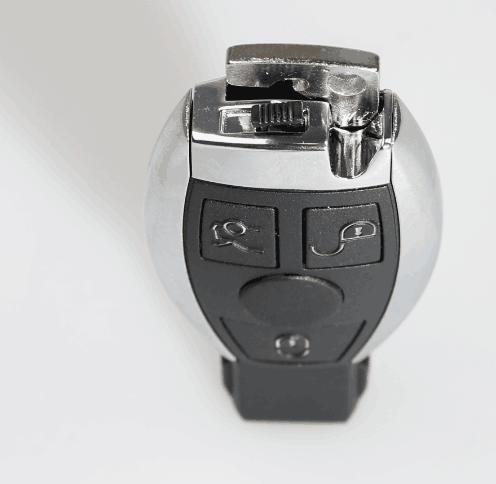
Remote Key Fob 3 Button 433MHz For Mercedes-Benz 2000+ BGA With Blank Blade.
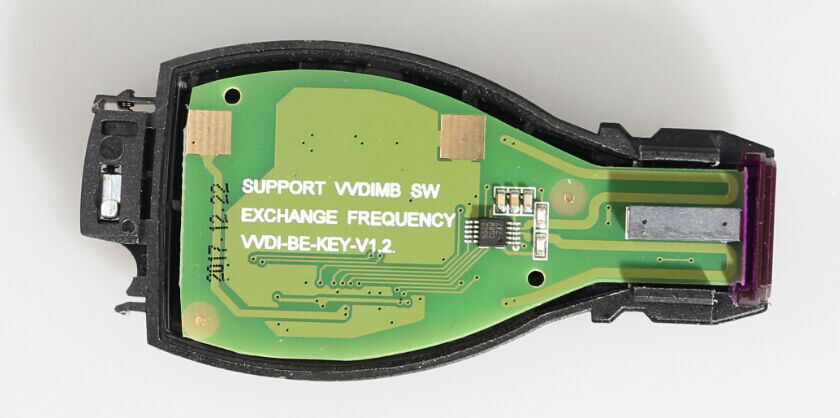
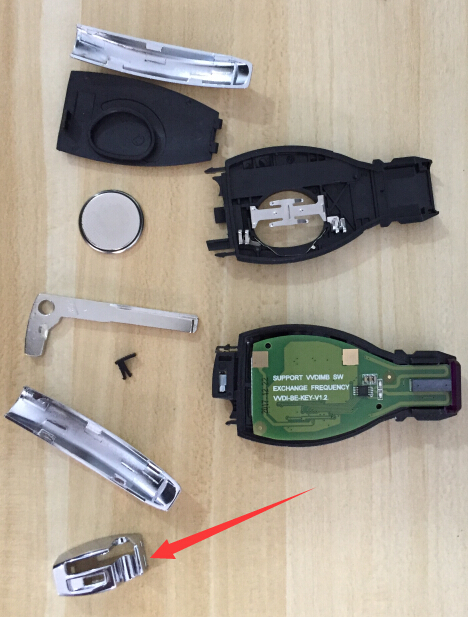
PCB: VVDI-BE-KEY-V3.5 XNBZ01EN
Top Reasons to Get Xhorse VVDI BE Key:
1. VVDI BE key support both 315mhz and 433mhz, you can change frequency via VVDI MB Tool software or remove the resistor.
2. Use BE Benz key, it is free with 200 points(equal 1 BGA Token).
Xhorse VVDI BE Key Pro Features:
More compatibility
New design
High Stability
High reliability
Digital Signature
VVDI BE key Pro improvements:
1. Fix the bug that W164/W639 EIS data doesn't synchronize the key.
2. Fix the bug/fault that the BE key stop work after repeatedly turn ON
the ignition without removing key out from EIS/EZS for example with work
on diagnostic...switch IGN OFF---ON for erase faults...then car not
start
3. Fix the bug/fault of trunk remote open on cars where power lifts on trunk door mainly...
4. Fix the bug that the BE key only sent RF signal for one time, after
the update, the RF signal can be sent for two times when press and
release the key.
5. Modify the rolling algorithm, fix some errors of BE key.
6. Add the pre-roll algorithm: the HASH value can roll ahead.
7. Adopt car-grade quartz crystal, improve infrared communication stability.
8. Boost the infrared signal when you press the button.
9. Support resetting the key frequency between 315MHZ and 433.92 in the way of VVDI MB tool or the PCB SMD resistor
Tip: VVDI MB tool has priority over the SMD resistor, which means if you
reset the key frequency with the VVDI MB tool at first, the SMD
resistor won't work, and you need to use the VVDI MB tool to erase the
frequency then use the SMD resistor.
How to assemble the case with VVDI BE key Pro improved version board?
This post shows the general guide on how to assemble VVDI BE Key Pro
improved version with the Smart Key Shell 3 Button for Mercedes Benz.
1. Put the VVDI BE key Pro improved version PCB into the case.
2. Cover the bottom case.
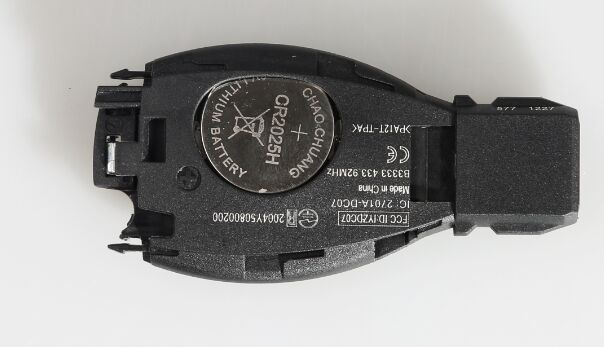
3. Insert the battery and cover the case.
4. Push the metal strips on both sides into the right position.
If the rear metal component is first assembled, then the metal strips on
both sides won't be able to pushed into the right position.
5. Here the rear metal button.
6. Put into the small key and start button.
If you want to disassemble the case, please do it from the last step to the first step.
Customer Satisfaction:
We are committed to providing excellent service. If you have any questions or concerns, please Contact Us.
Shipping:
-
We offer Free 1st Class Postage, should you prefer different postage options, please drop us a message.
- Tracking information will be provided.
Returns:
- We guarantee the quality. However, we offer 30 days return. If there are any issues, please contact us for a resolution.
Feedback:
Thank you for choosing OTOFIX Locksmith We hope you will enjoying your new item.
Your satisfaction is our top priority.
If you are pleased with your purchase, we would greatly appreciate it if you could take a moment to leave positive feedback.
Your feedback helps us continue providing excellent service to our valued customers.
If, for any reason, you are not completely satisfied, please reach out to us before leaving negative feedback, and we will do our best to address any concerns.
Thank you once again for your business.