

Feature:
- Completely sealed: Prevents moisture from being trapped inside the housing.
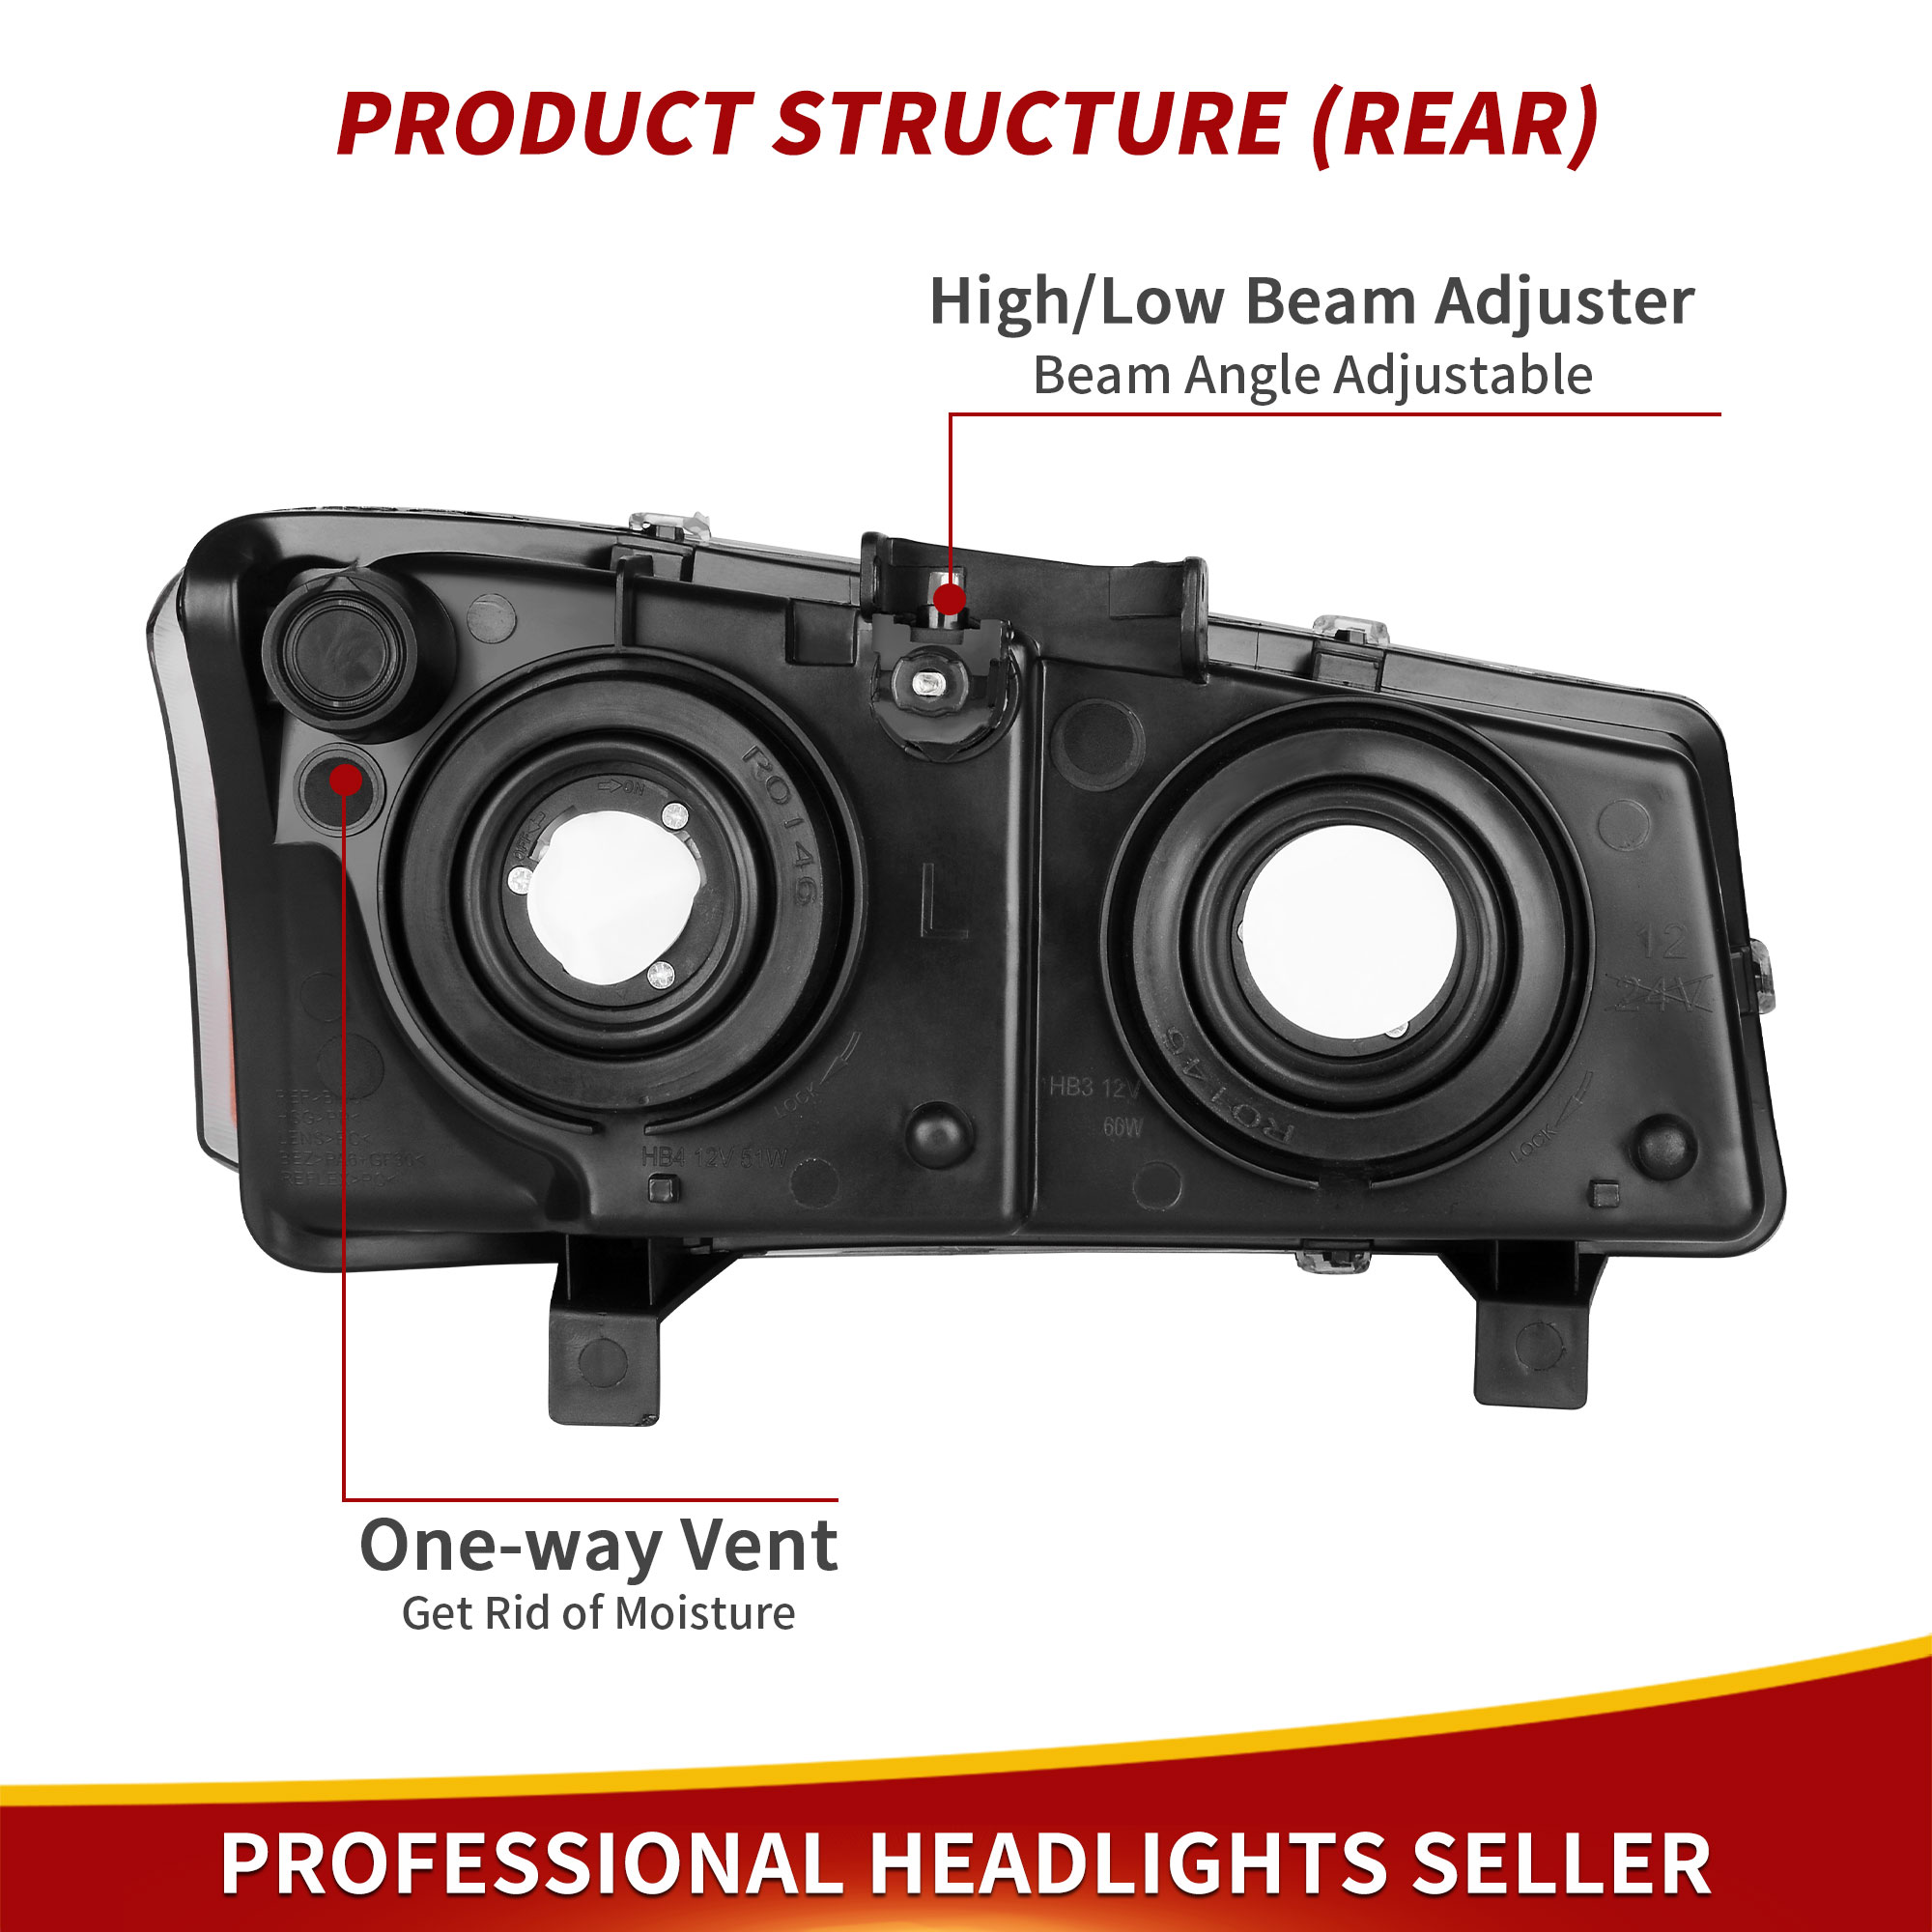
- One-way vent: Drives out moisture and avoids lens misting.
- Multi-surface reflectors: Increase light output & distance.
- PC lens: Impact resistance for an enhanced driving experience in any environment.
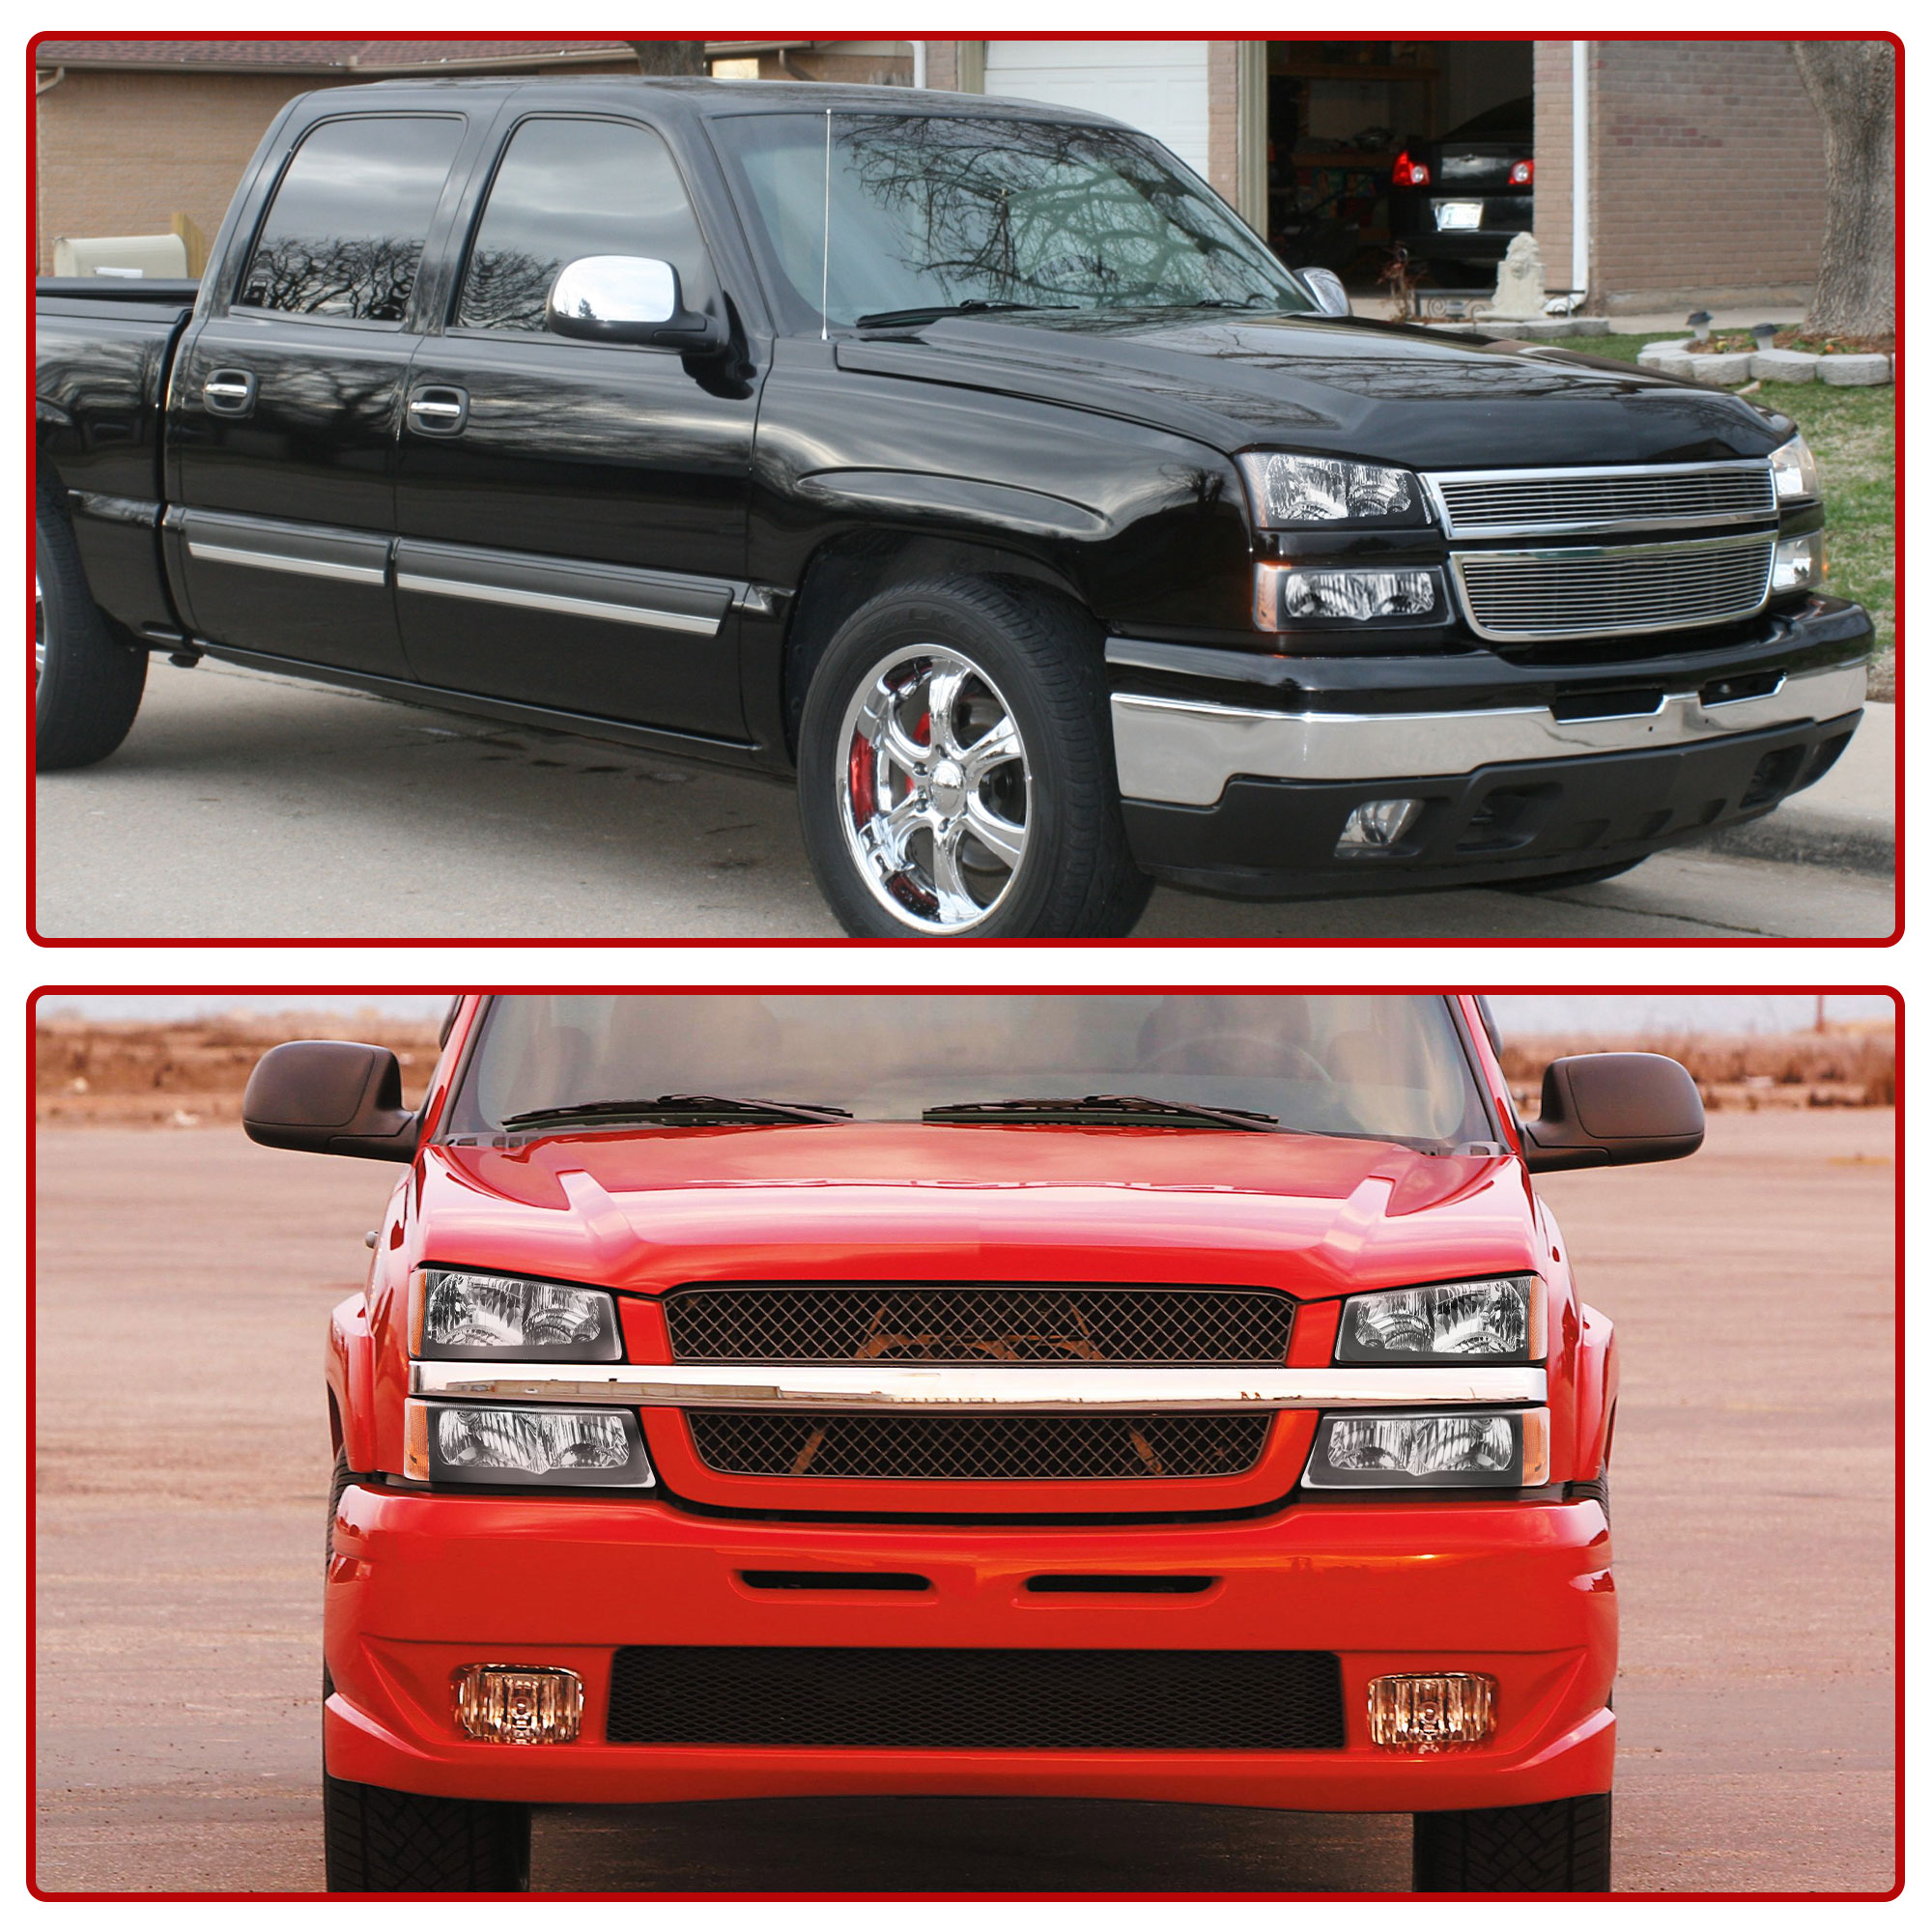
Fitment:
- For 2003-2006 Chevy Silverado 1500/1500 HD
- For 2003-2004 Chevy Silverado 2500
- For 2003-2006 Chevy Silverado 2500 HD/3500
- For 2007 Chevy Silverado 1500 Classic /1500 HD Classic /2500 HD Classic /3500 Classic
- For 2003-2006 Chevy Avalanche 1500/2500 Pickup (Without Body Cladding)
- Vehicle Compatibility Reference Number#: GM2502257,GM2503257,10396913,15199557,2503224,2502224,2521185,2520185,2502257,2503257,
10366037,10366038,15199556
Specification :
- Condition: 100% Brand New and High Quality
- Material: Plastic Housing / Polycarbonate Lens
- Color: Black Housing + Clear Lens
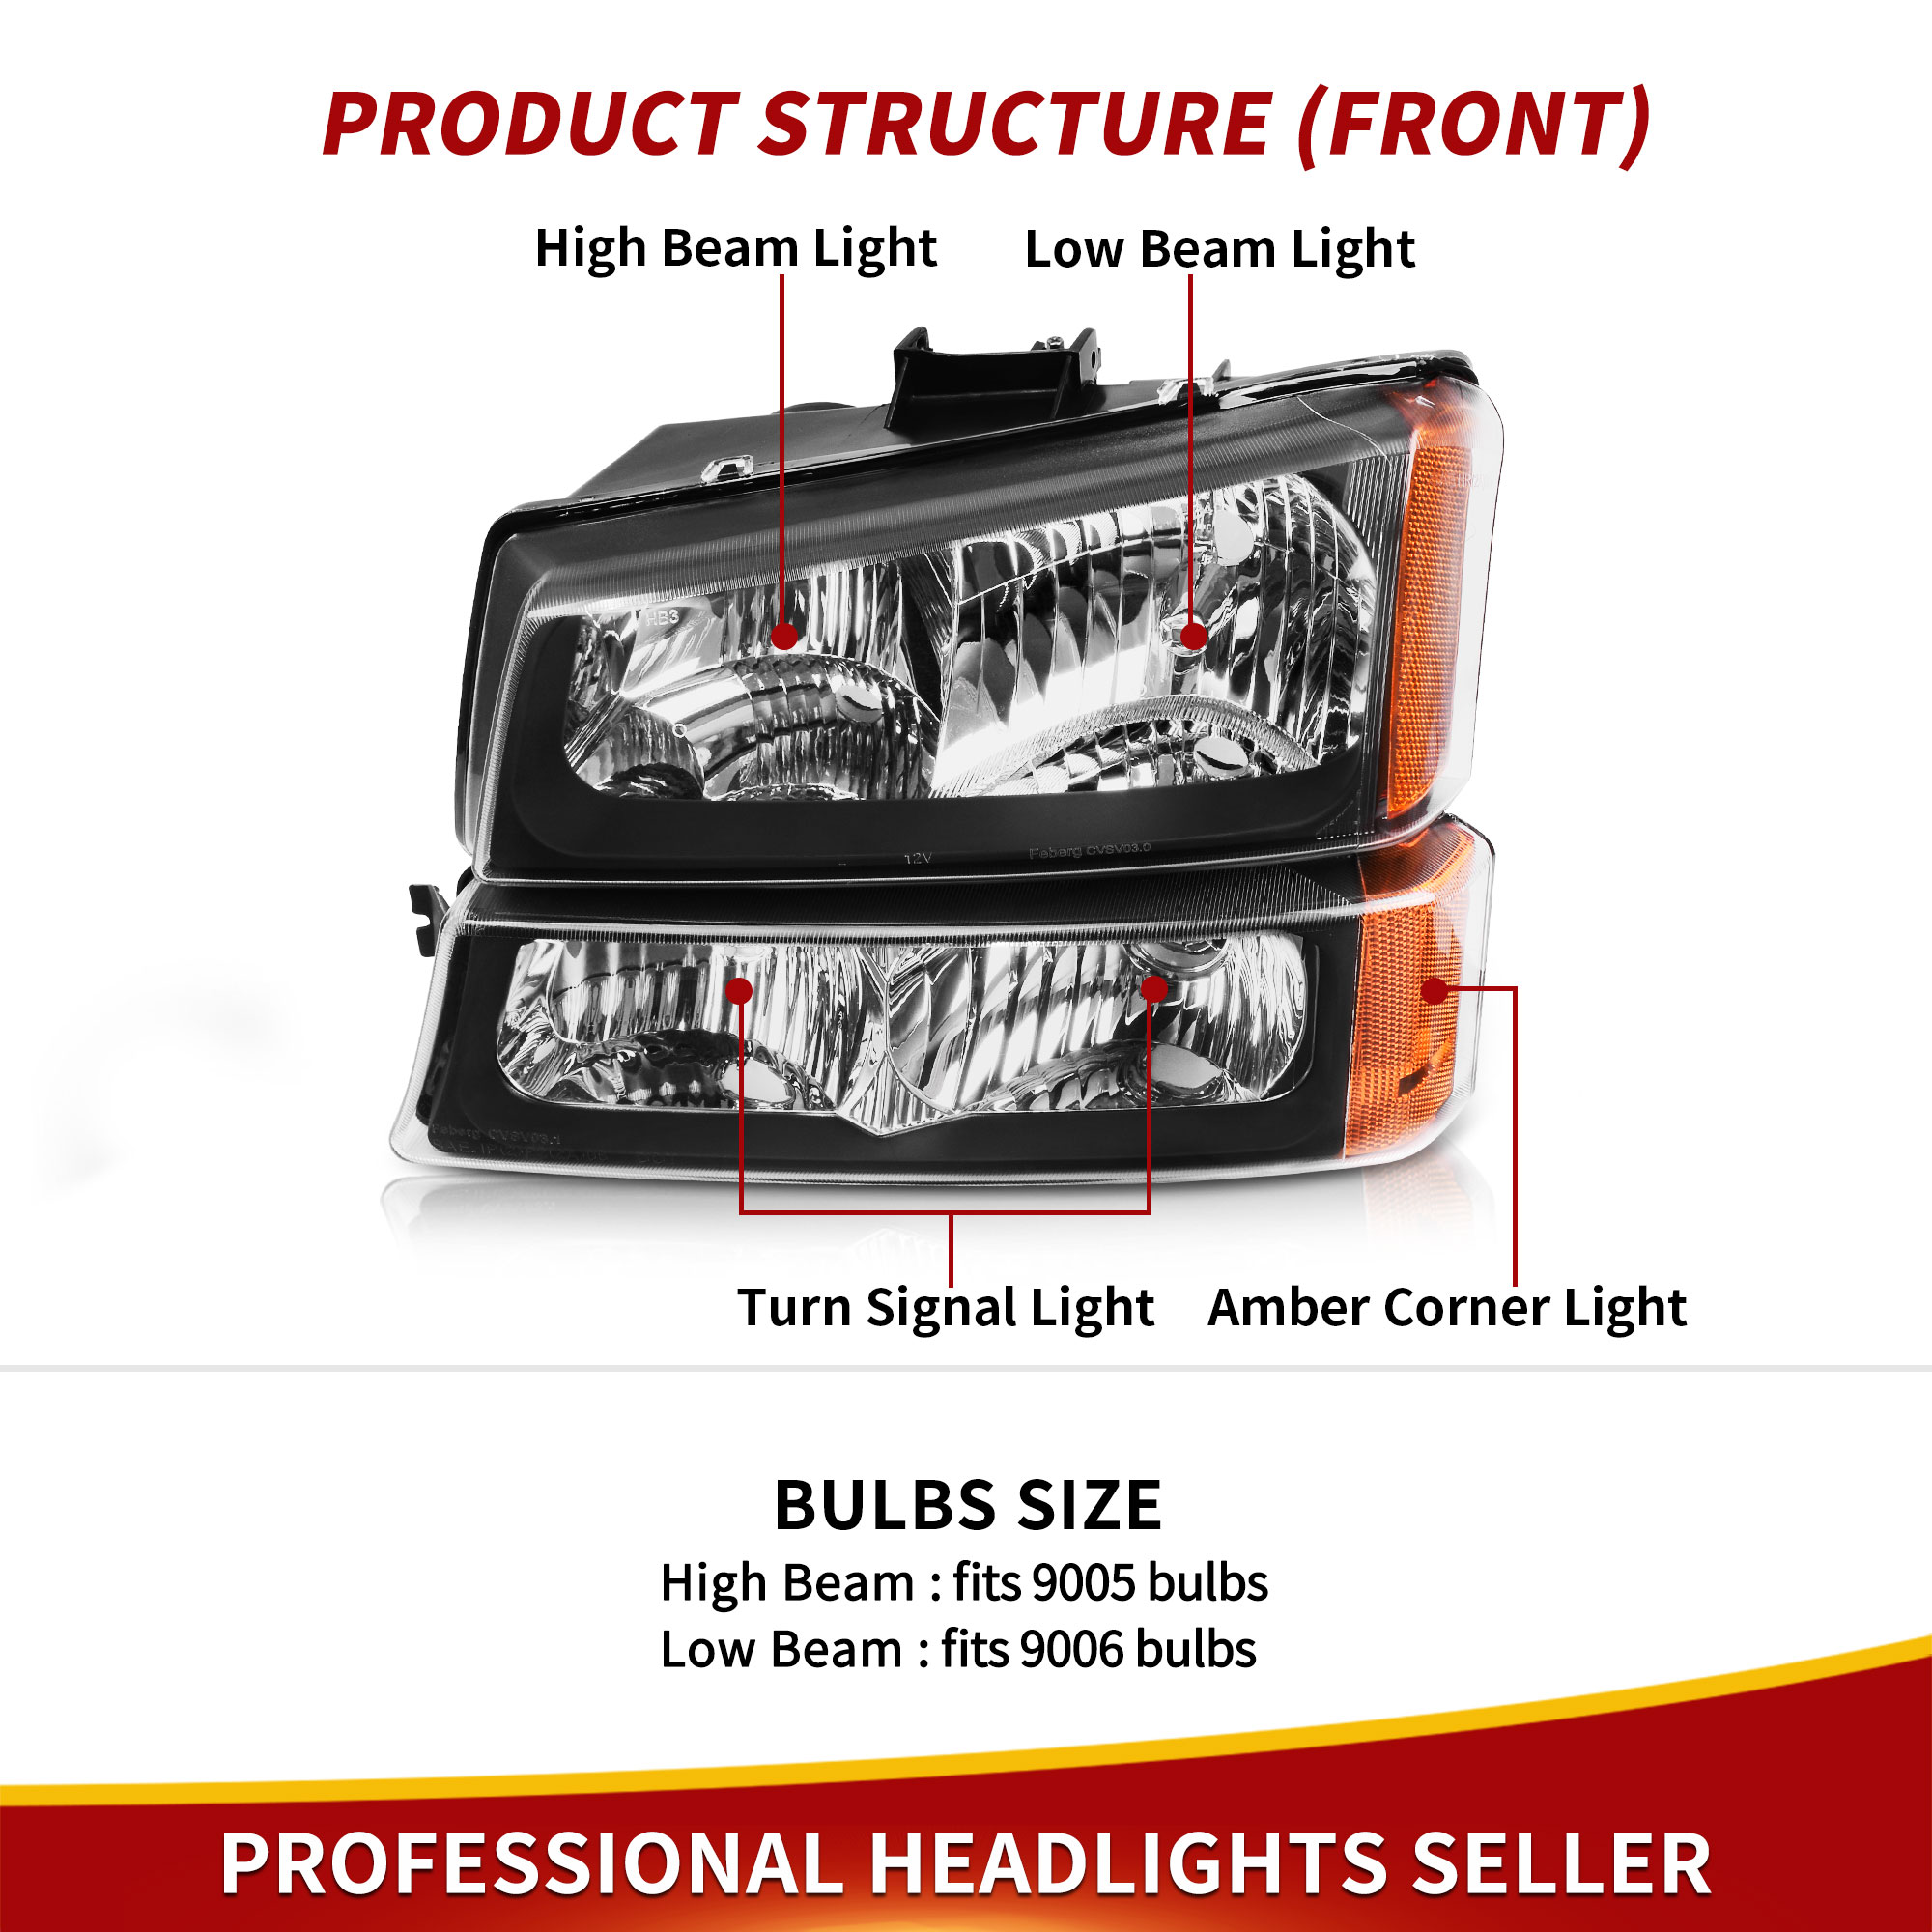
- Low Beam Bulb Type: 9006 HB4 (Bulbs not included)
- High Beam Bulb Type: 9005 HB3 (Bulbs not included)
Package Includes:
- 1 x Pair of Headlights
- 1 x Pair of Bumper Lights
Tips:
Before you begin to adjust the light, make sure to check the alignment of your lights first. Park the vehicle about 10 to 25 feet from the wall with the lights aimed at the wall. The centerlines of the headlights should not be any higher than 3.5 feet above the ground.
1. 【Find the adjustment screws】Firstly, locate the adjustment screws on your vehicle.
2. 【Adjust the headlights individually】The headlights should be adjusted one at a time. Put a rag or towel over a chair in front of the light you want to block. Covering the light assembly directly can damage the plastic lens.
3. 【Adjust the vertical field】The screw on the top of the light housing should be turned clockwise to raise the lights and counterclockwise will lower the light. The headlight should be adjusted until the top of the most intense part of the light beam shines directly on or just below the center of the tape line on the wall.
4. 【Adjust the horizontal field】The screw on the side of the light housing should be turned to get the right/left adjustment correct. Adjust the lens so that the most intense part of the beam is to the right of the vertical line.
5. 【Test your results】
Please Note :
Condensation DOES NOT Indicate Crack
It's normal when there is condensation accumulated inside headlights. Condensation occurs because a lot of reasons, such as temperature differences, low-pressure areas drawing moisture in winter, etc. It won't affect the optical functions of headlights
How to Drive Away Temporary Condensation
1. Check that vents aren't blocked and switch on the low beams for about 20 mins
2. Take the headlight bulb out and clear moisture
3. Put a silica gel packet in the housing to soak up the moisture

WE ACCEPT THESE PAYMENT METHODS
( 10% sales tax will be applied for orders shipped to Washington state by state law )


- 30 Days easy returns satisfaction guarantee.
- Items to be returned must be in original factory condition.
- Please enclose a note about item number and order id, your eBay ID and the reason of return.
On May 22, 2024 at 16:49:11 PDT, seller added the following information: