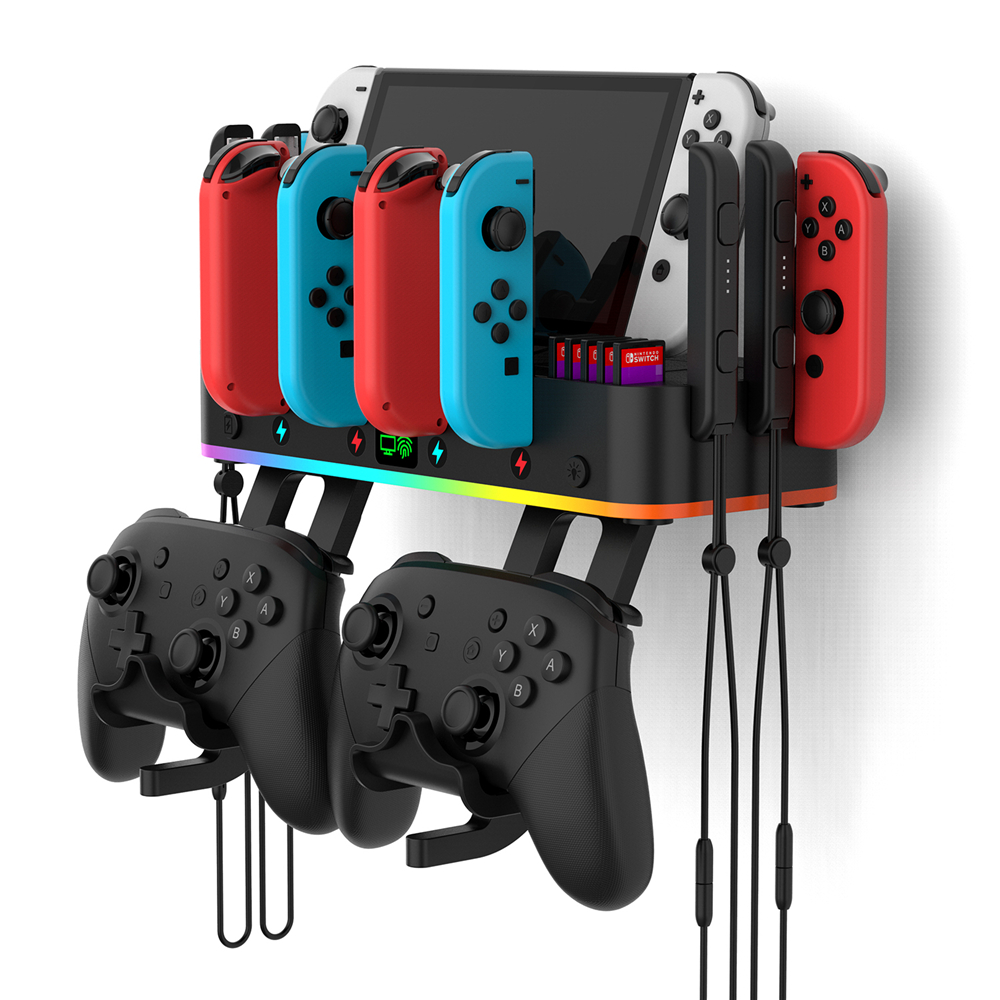
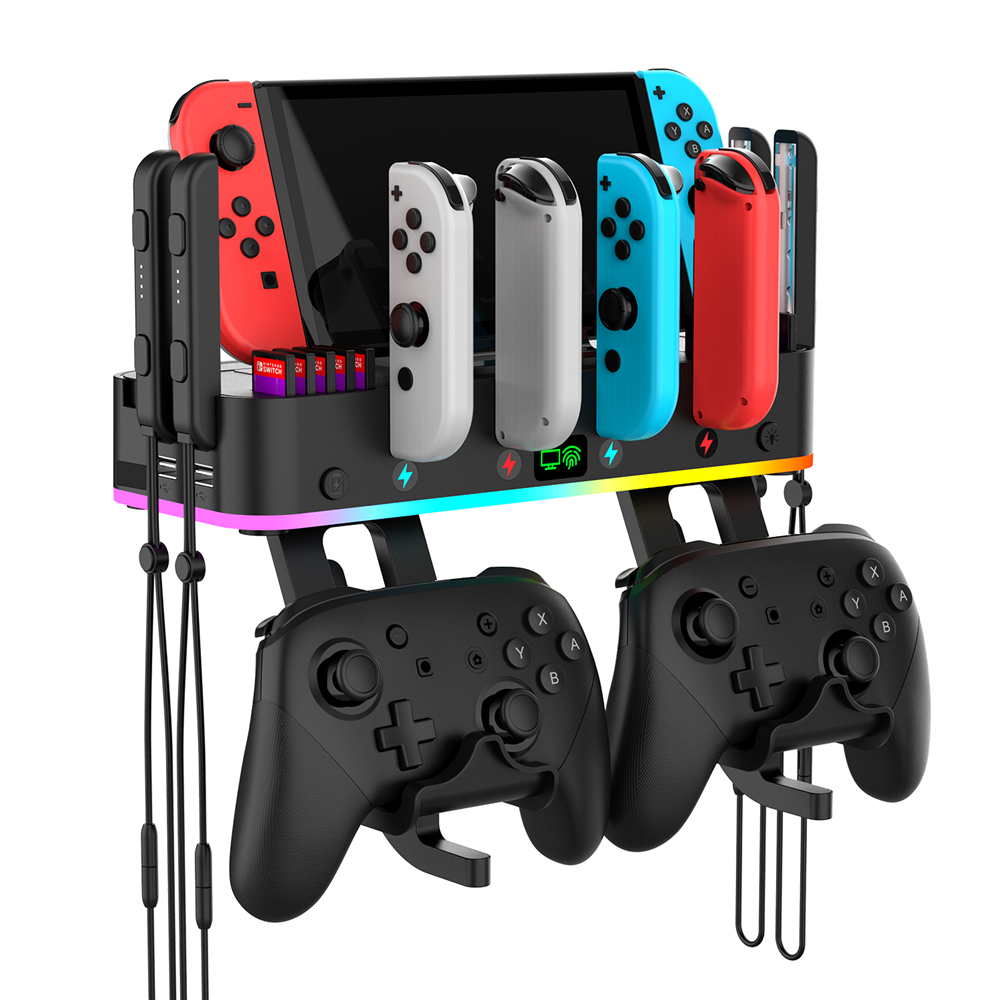
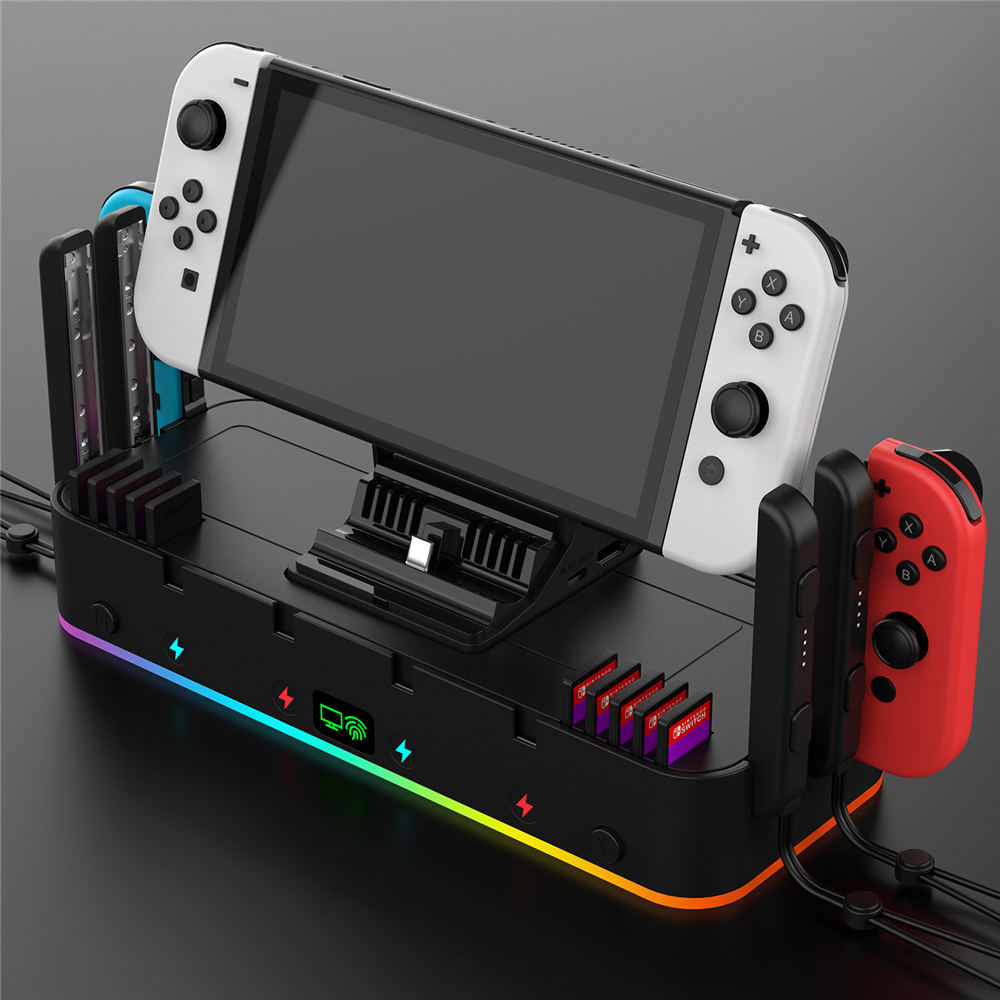
For Switch JC Charger Pro Controller Holder Switch Game Storage Tower For Switch OLED Charging Dock Station Wall mounting bracket
1.Working voltage: DC 5V-15V
2.JC charging time: about 3.5H
3.HDMI-compatible resolution: 1080P 60HZ
4.Working current: 1.5A-2.6A
5.JC charging current: 200mA*4
6.USB 2.0 3.0 with data: support (single port charging current limit ≤ 250mA)
Features.
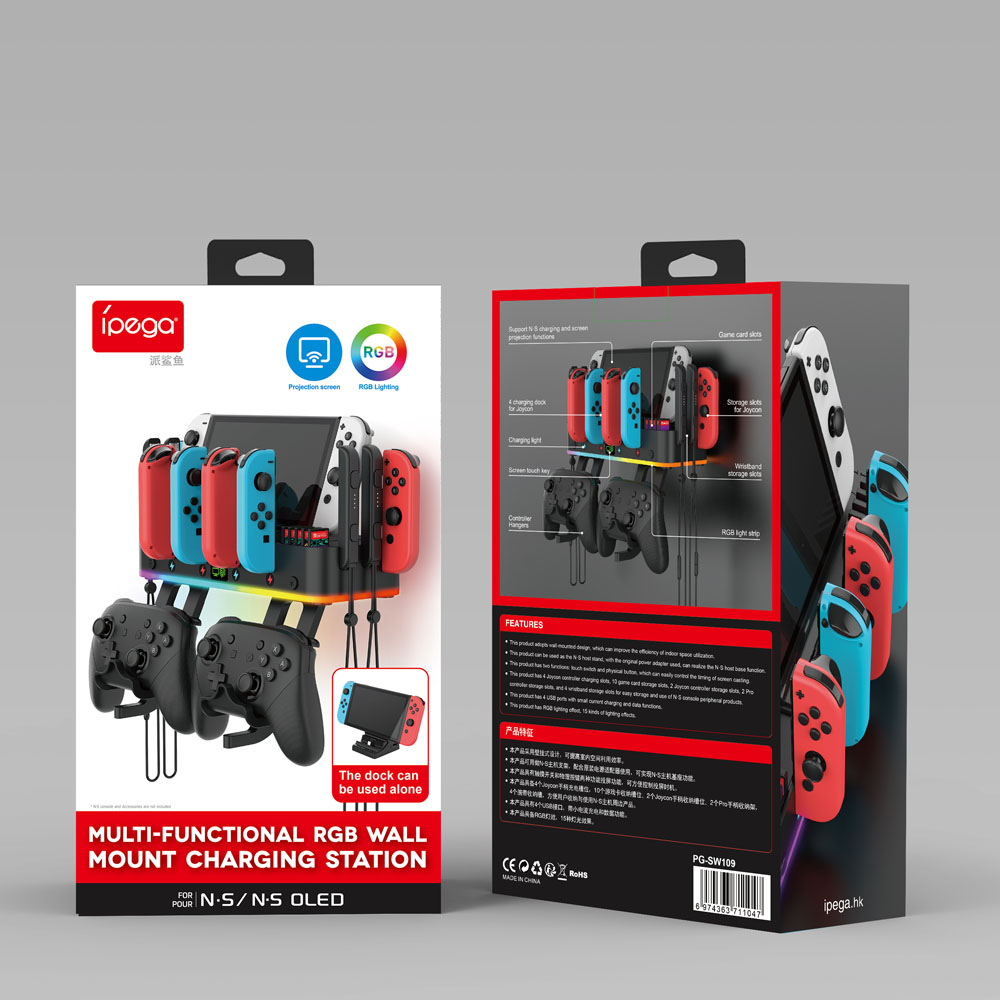
1.This product adopts wall-mounted design, which can improve the efficiency of indoor space utilization. 5. When the JC handle is placed in the charging slot, the product will charge the handle, and the charging indicator below the corresponding slot when charging
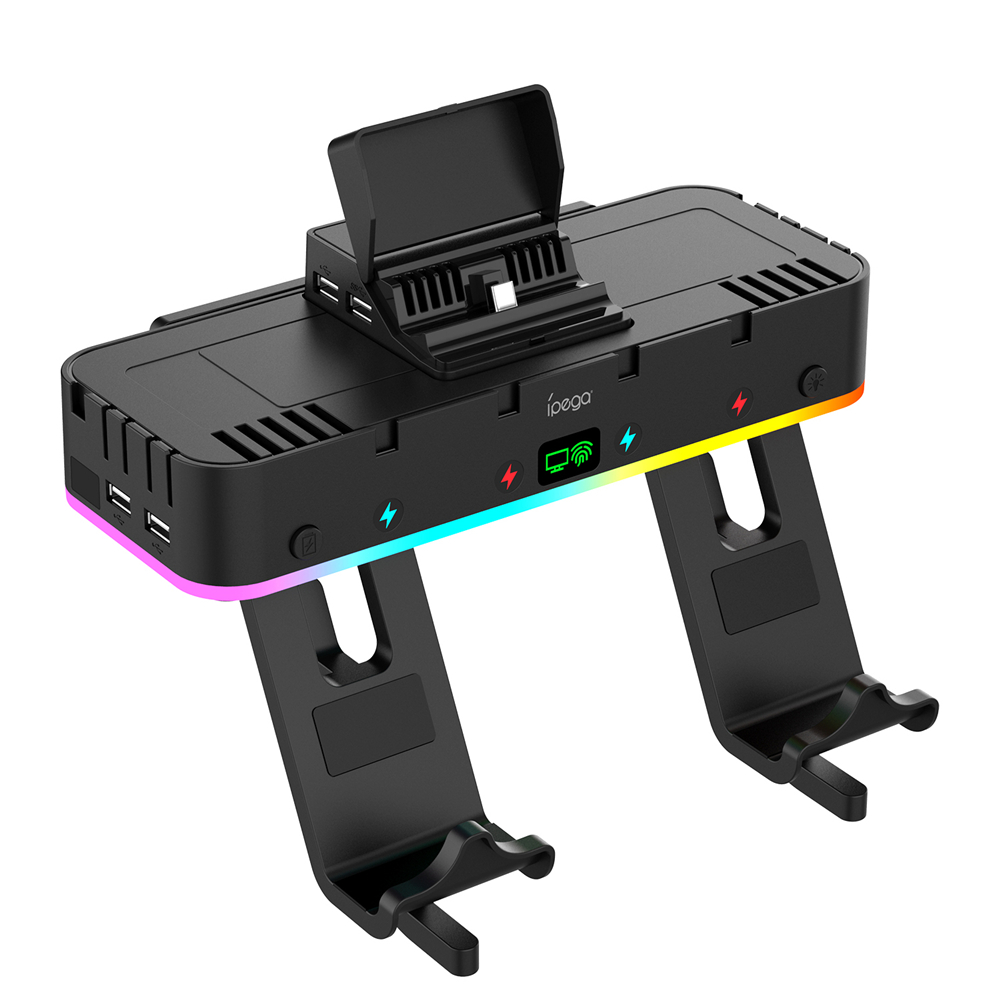
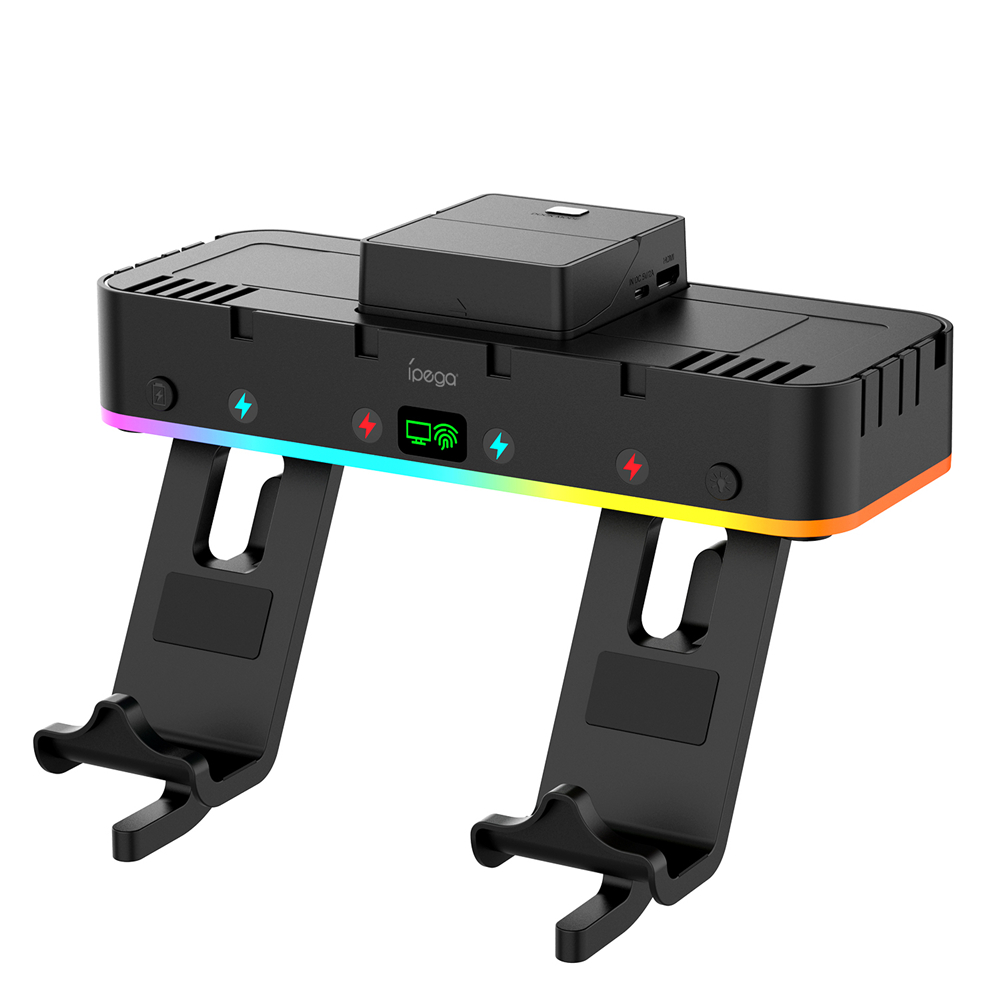
2. This product can be used as N-S host bracket, with the original power adapter to use, can realize the N-S host base function.
3. This product has a touch switch and physical buttons two functions of the screen casting function, can be convenient to control the timing of the screen casting.
4. This product has 4 JC handle charging slots.
5. The product has 10 game card storage slots, 2 JC controller storage slots and 2 Pro controller storage racks, which are convenient for users to store and use N-S host peripheral products.
6. This product has 4 USB ports with low-current charging (the adapter will be protected when charging cell phones or other devices that are not on the N-S platform) and data functions.
7. This product has RGB lighting effects, 15 kinds of lighting effects.
8. This product in the case of power work, the light effect will flicker and the device repeatedly restart 3-5 times is a normal phenomenon.
9. The power input of this product is only valid in the TYPE_C input of the screen projector.
10. Adapter power on, HDMI-compatible cable connected, the host will be inserted into the screen projector TYPE_C, the system will automatically cast the screen as a normal phenomenon.
11.N-S host in hibernation or standby can not be woken up by touching the keys and buttons host to cast the screen.
Installation:
1. In the suitable installation position, fit the wall mounting plate on the wall, put the level on the wall mounting plate, adjust the wall mounting plate so that the bubble in the level in the middle of the vertical bar on both sides indicates that the installation is at the right level, then mark the three screw holes position respectively, and then play the right size holes in the place where the marking has just been done, and then screw the screw fittings into the holes that have just been played, and then fix the wall mounting plate with the screws screw the wall mounting plate onto it;
2. Put the Pro handle organizer into the middle slot at the bottom of the base and then move it to the left and right sides respectively, and then install the screen casting box on the top of the base, and then snap the base into the arrow position as shown in the figure 2 below to make the base fixed on the wall mounting plate;


