?Compatibility Chart
1, You can distinguish specific model of an automobile by VIN(Vehicle Identification Number).
2, VIN(Vehicle Identification Number) consists of total 17 English letters and arabic digits.
3, VIN does not include the letters I (i), O (o), and Q (q) (to avoid confusion with numerals 1 and 0).
Audi A8 D3
A8 Quattro Base Sedan 4-Door 4.2L 2002-2010
A8 Quattro Base Sedan 4-Door 6.0L 2010
A8 Quattro L Plus Sedan 4-Door 4.2L 2005-2008
A8 Quattro L Sedan 4-Door 4.2L 2002-2010
A8 Quattro L Sedan 4-Door 6.0L 2005-2009
A8 Quattro Plus Sedan 4-Door 4.2L 2004-2009
S8 Base Sedan 4-Door 4.2L 2002-2003
S8 Base Sedan 4-Door 5.2L 2007-2010
?COMMON AIR SUSPENSION STRUT FAILURE INSPECTION
1.Abnormal Sounds
When the air suspension strut is damaged,it will give out an abnormal sound.
2.Poor Handling Stability
When the car passes over a rough road ,it bumps and cannot keep steady.
3.Air Leakage
Leaking air、seal gasket failed.
4.Car Body Slant
Under the condition of poor road (Bumpy Road),the body will collapse.
5.Irregular Tire Wear
The air suspension sturt needs to be replaced if tyre surface has uneven wear marks.
6.Over Bend
When you turn to brakes,tilt faster and the steering wheel will fail.
?Features of Air Suspension
?Consistent with the original standard specification
Adopt standardized design, unified manufacturing and quality control system to ensure the consistency of damping
?Improve comfort
Effectively absorb and damp shock impulses, improve ride comfort and extend the service life of related parts
?Long service life
Made with high-quality imported materials and advanced technology
?Enhance ride safety
Automatically adjust under different load conditions to maintain a constant height of the vehicle body and ensure driving safety
?OEM Part Number
Air Suspension Strut:
4E0616039 4E0616040 4E0616040AA
4E0616040AB 4E0616040AC 4E0616040AE
4E0616040AF 4E0616040AG 4E0616040AH
4E0616040AJ 4E0616040AK 4E0616040AM
4E0616040R 4E0616040S 4E0616040T
4E0616039AA 4E0616039AB 4E0616039AC 4E0616039AE
4E0616039AF 4E0616039AG 4E0616039AH
4E0616039AJ 4E0616039AK 4E0616039AP
4E0616039R 4E0616039S 4E0616039T
Air Suspension Compressor:
4E0616007E
4E0616007B
4E0616007D
4E0616007
4E0616005D
4E0616005F
4E0616005H
4E06005F
Air Suspension Valve:
4F0616013 4Z7616013
4E0616014B
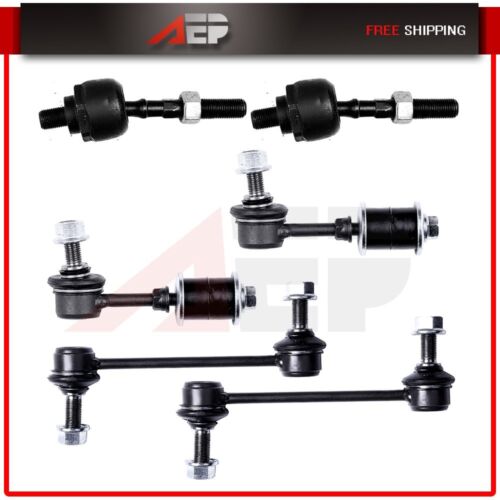
?Kit Includes
Pair for Front Left & Right Air Suspension Shock Struts Compressor Pump& 1PCS Valve Block
?Removal Guideline
Caution: Damage to the vehicle and air suspension system can be incurred if work is carried out in a manner other than specified in the instructions or in a different sequence.
To avoid the possibility of short circuits while working with electric components consult your owner's manual on how to disconnect your battery.
Consult your vehicle owner's manual, service manual, or car dealer for the correct jacking points on your vehicle and for additional care, safety and maintenance instructions. Under no circumstances should any work be completed underneath the vehicle if it is not adequately supported, as serious injuries and death can occur.
1.Set steering to straight ahead.
2.Lift vehicle and remove wheel.(picture 1)

3.Locate the shock, loosen and remove the air line. Remove the air line fitting from the air hose and discard. Reference technical service bulletin provided with our product for proper fitting usage.(picture 2)

4.Loosen and remove the upper control arm bolt. Remove upper arms from spindle assembly.(picture 3,4)


5.Loosen and remove the lower shock arm bolts.(picture 5)

6.Raise the hood and remove applicable trim paneling to gain access to the front shock towers.
7.Locate and remove wire harness from mounting bracket.(picture 6)

8.Disconnect the electrical connection.(picture 7)

9.Loosen and remove the three upper shock mounting bolts.(picture 8)

10.Now from the bottom side, slide the shock over the lower control arm. Remove shock slowly from mount area.(picture 9)

11.Carefully guide the wire through the hole while removing the shock.(picture 10)

12.Loosen and remove(4)top mounting bolts from shock.(picture 11)

13.Remove the top section.(picture 12)

14.Removal complete.
?Installation Guideline
Tighten all nuts and bolts to manufacturer's specifications during the installation process.
Do not remove the air fitting from the air strut. Doing so may cause damage and/or void warranty. Remove the white shipping pin from the new air fitting and insert the air line until fully seated.
1.Installation is in the reverse order of air strut removal.
?Note
- This item is backed by our 1-year warranty. In the event this item should fail due to manufacturing defects during intended use, we will replace the part free of charge. This warranty covers the cost of the part only.
- Any modifications to an item of any kind before contacting us will void any and all warranty coverage for this item. Please contact us before modifying the part so that we have the opportunity to correct the situation.
- Please double confirm the compatibility as well as the OEM number before purchasing.
- Instruction is not included. Professional installation is recommended.