Specification:
|
Input Voltage |
AC 85-265V |
|
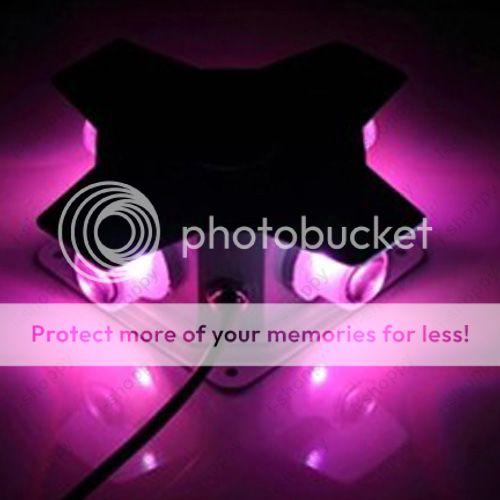
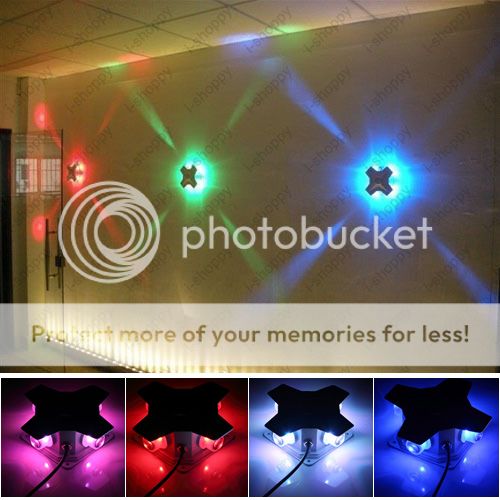
LED |
high power LED |
|
Power consumption |
12W:4
x 3W; |
|
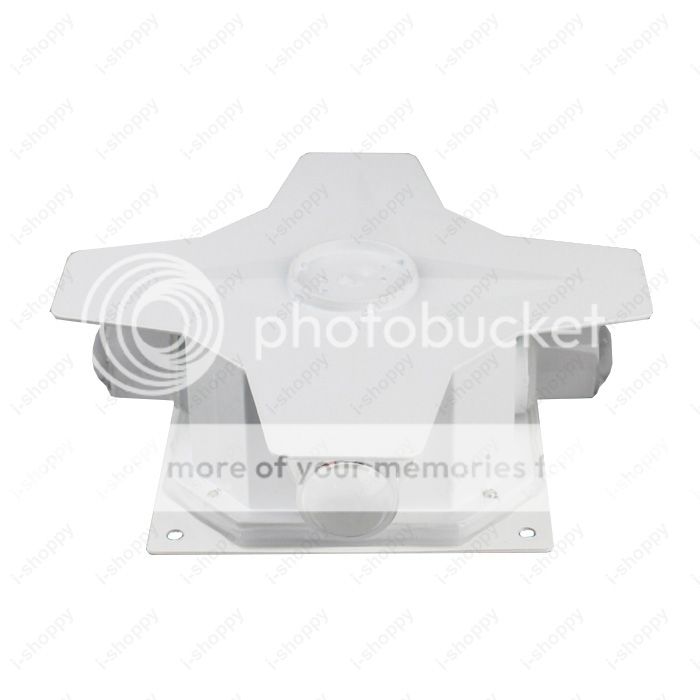
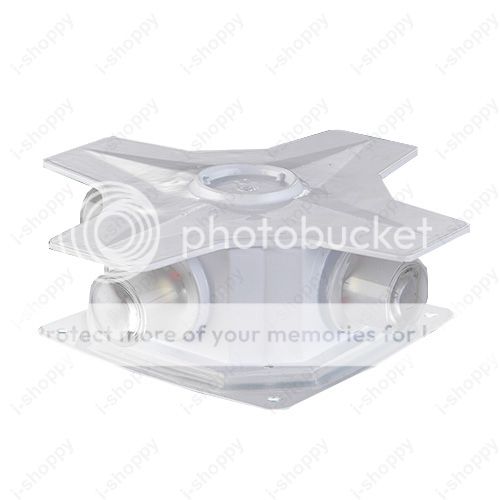
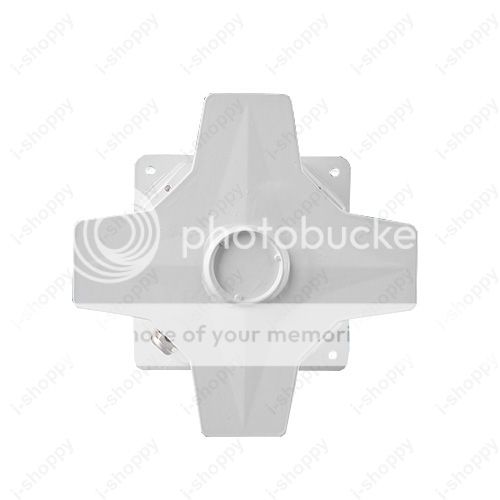
Shell Material |
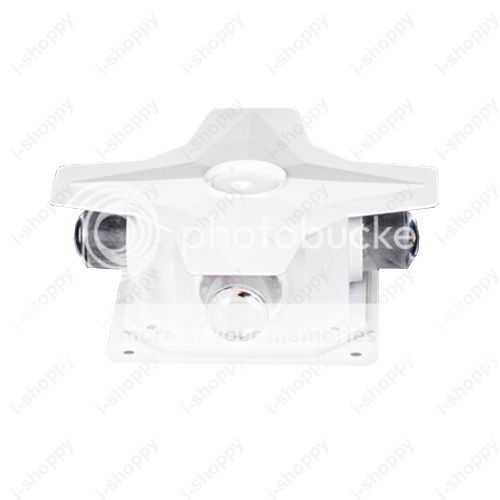
die-cast aluminum,
PC |
|
Heat Sink Material |
Aluminum alloy |
|
Shell color |
Painted White |
|
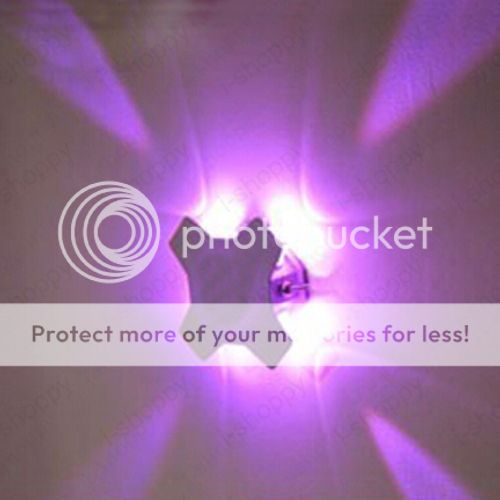
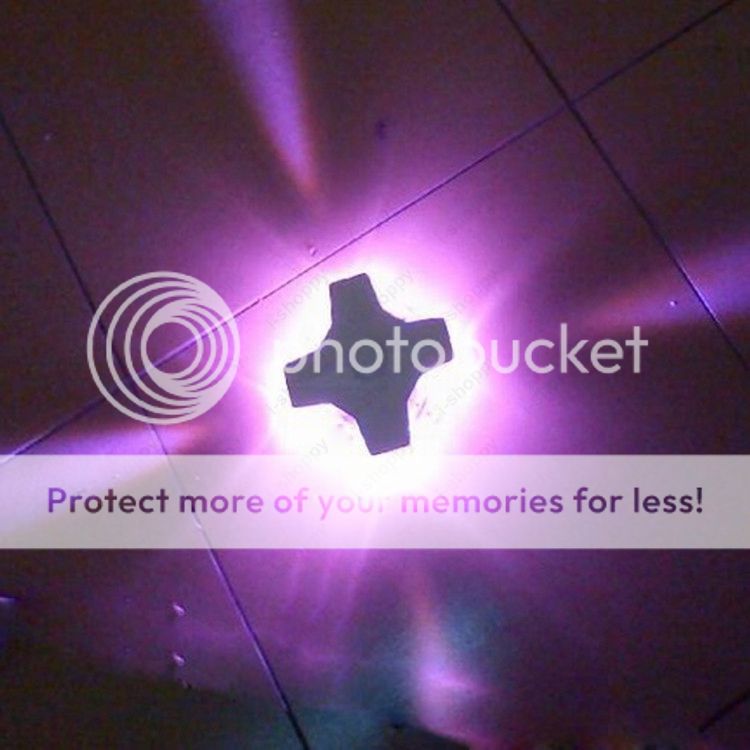
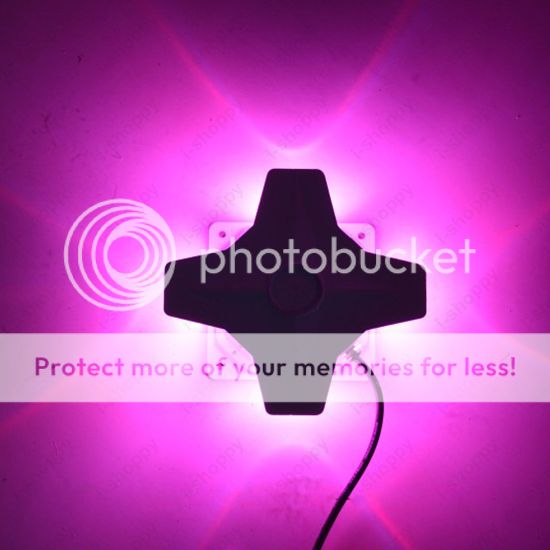
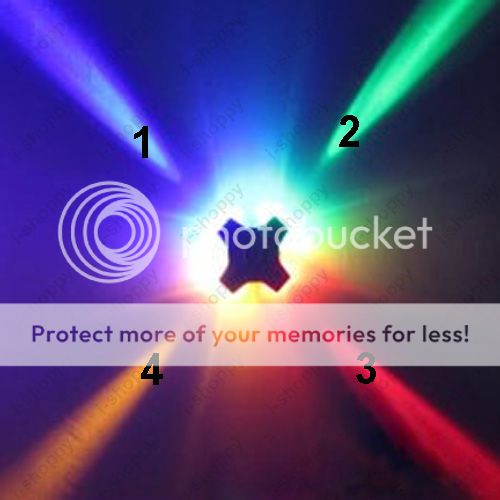
Emitting
light color |
Purple |
|
Body temperature |
<60°C |
|
LED working temperature |
<65°C |
|
Lumens |
600 lumens |
|
Bean Angle |
30° |
|
Color Rendering Index |
Ra>84 |
|
Control mode |
Driver controlling |
|
Life |
50,000h |
|
Safety assurance |
RoHS |
|
Waterproof Rank |
IP65 |
|
Dimension: |
185mm (W)/7.28" x 185mm (L)/7.28"
x 60(H)/2.36" |
Dimension:

Features:
•
Long lifespan
• Instant start, no flashing
• Solid State, shockproof
• Waterproof
• save power more than 90% by ordinary bulbs
• Long time working, 12 hours/day is perfect, produce low heat
• No RF Interference
• No mercury or other hazardous materials, accord with RoHs
• Working environment -20℃-40℃, suitable for unusual climate
• Low maintenance cost
• Easy to install
• Protection Rating: IP65 (waterproof,
dustproof, anti-leakage of electricity, anti-corrosion)
How to
install?
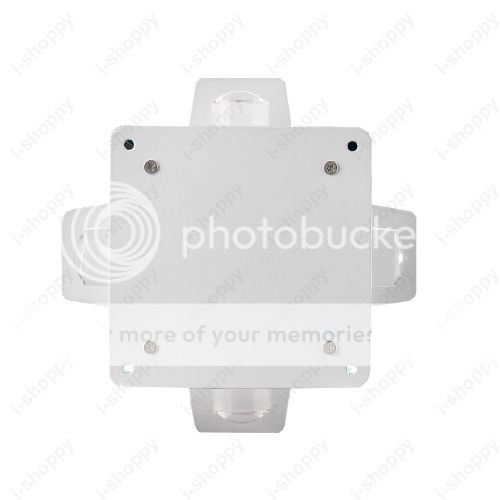
Surface Mounted:
This
fixture does need to be hard wired. Professional installation is recommended.
Steps to install:
1. Use a
screwdriver to screw out the bolts which connected the mounting base and main
fixture.
2. Fix
the mounting base on the wall (wooden wall, using self-tapping screw to fix;
cement wall, drill holes to install; if you have a suitable electric box to fix
this wall light, that would be easier to install.).
3.
Connect the power cords of the wall lamp to the 110V or 220V circuits (no
distinction between the live line and zero line, one for live line and the other
for zero line. If the wires were pretty long, please roll into a circle and
place in a vacant position in lamp-chimney).
4. Put
the main fixture onto the mounting base, aim at the bolt hole, then fix the
screws.