The manufacturing steps of our GRP parts (hand lamination)
1. Model and mold making
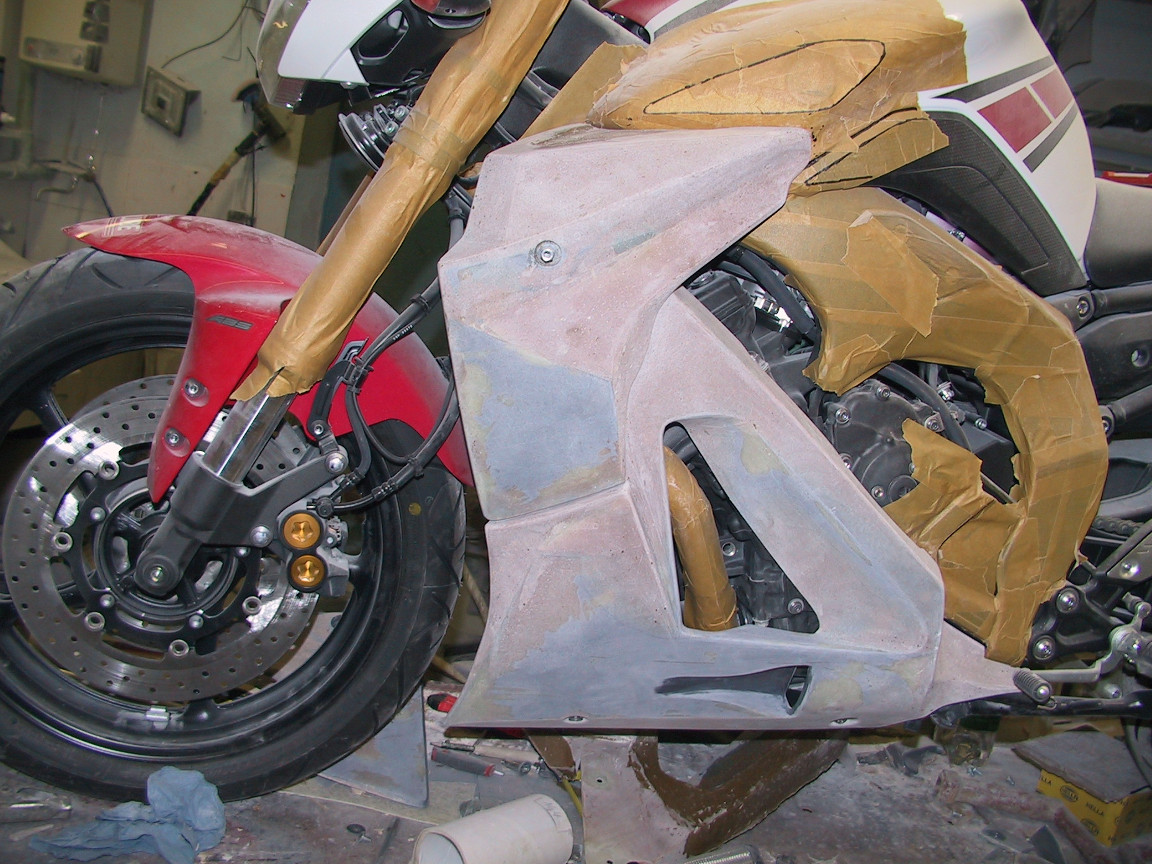
Each of our fairing pieces has been developed specifically for each motorcycle model. Starting with model making, in which the later workpieces are designed and constructed. After the idea is in mind and the first sketches are made, the prototype is modeled using clay, cardboard, putty and other malleable materials. Using this prototype, a negative mold is then created from mold making resin and fiberglass fabric.
2. Apply separating layer
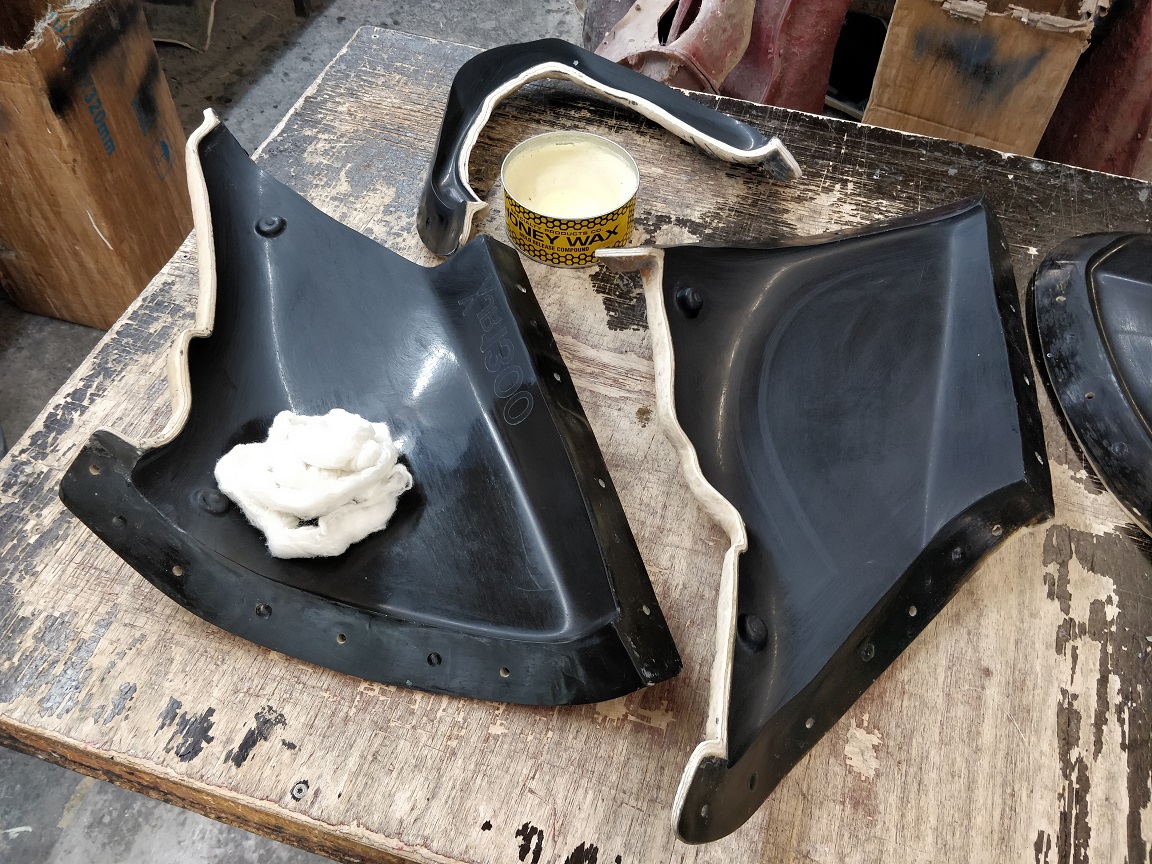
To begin with, a separating layer of wax is applied to the mold and then polished with a cotton cloth after it has taken effect. This avoids a connection between the mold and the workpiece.
3. Apply top coat
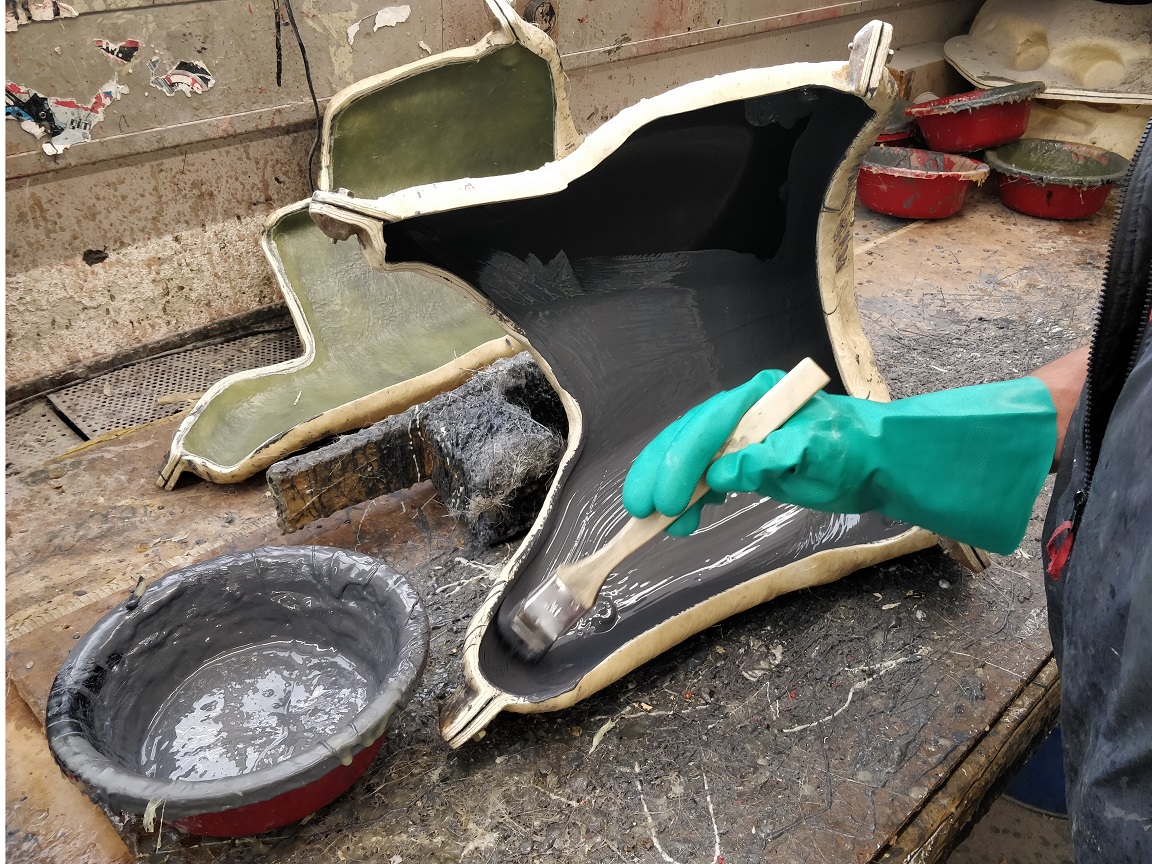
After the separating layer has completely dried, the top layer resin (gelcoat) is applied. This layer forms the later surface and has special surface properties compared to laminating resins. The top layer must then dry a little.
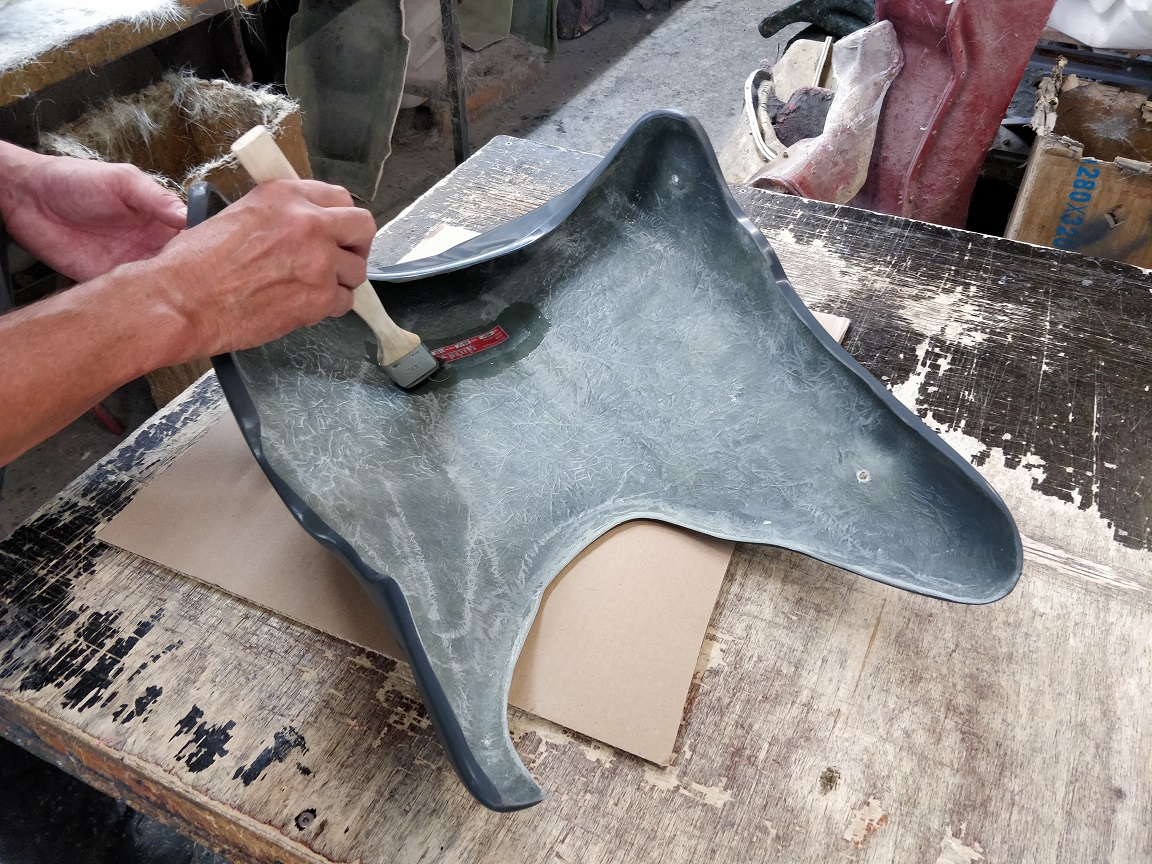
4. Laminate
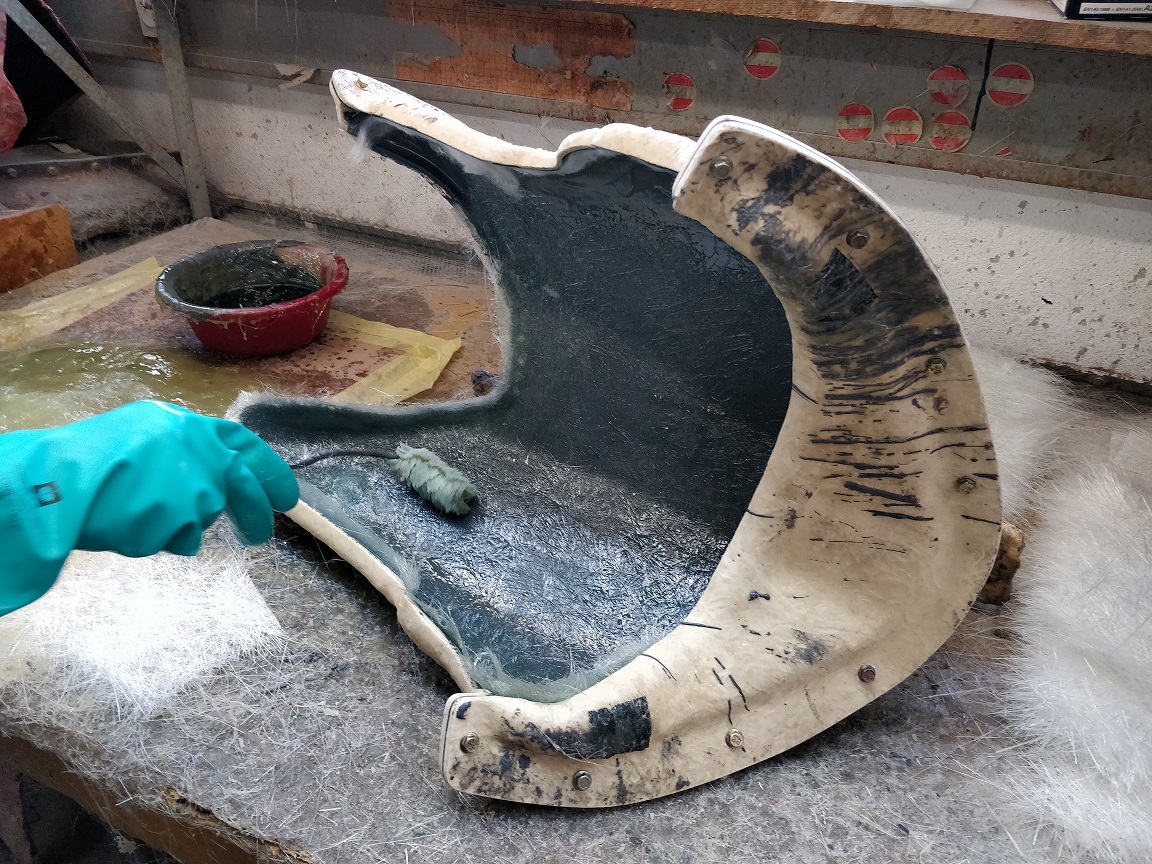
After the top layer has dried, the paneling part is laminated. Glass fibers and laminating resin are laminated by hand layer by layer. In general, the alignment of the reinforcing fibers is incorporated in the direction of loading. Everything then hardens for at least 24 hours at 25°C.
5. Molding
After drying, the molding follows. For this purpose, the mold is dismantled into its individual parts and the component can be easily removed thanks to the applied separating layer.
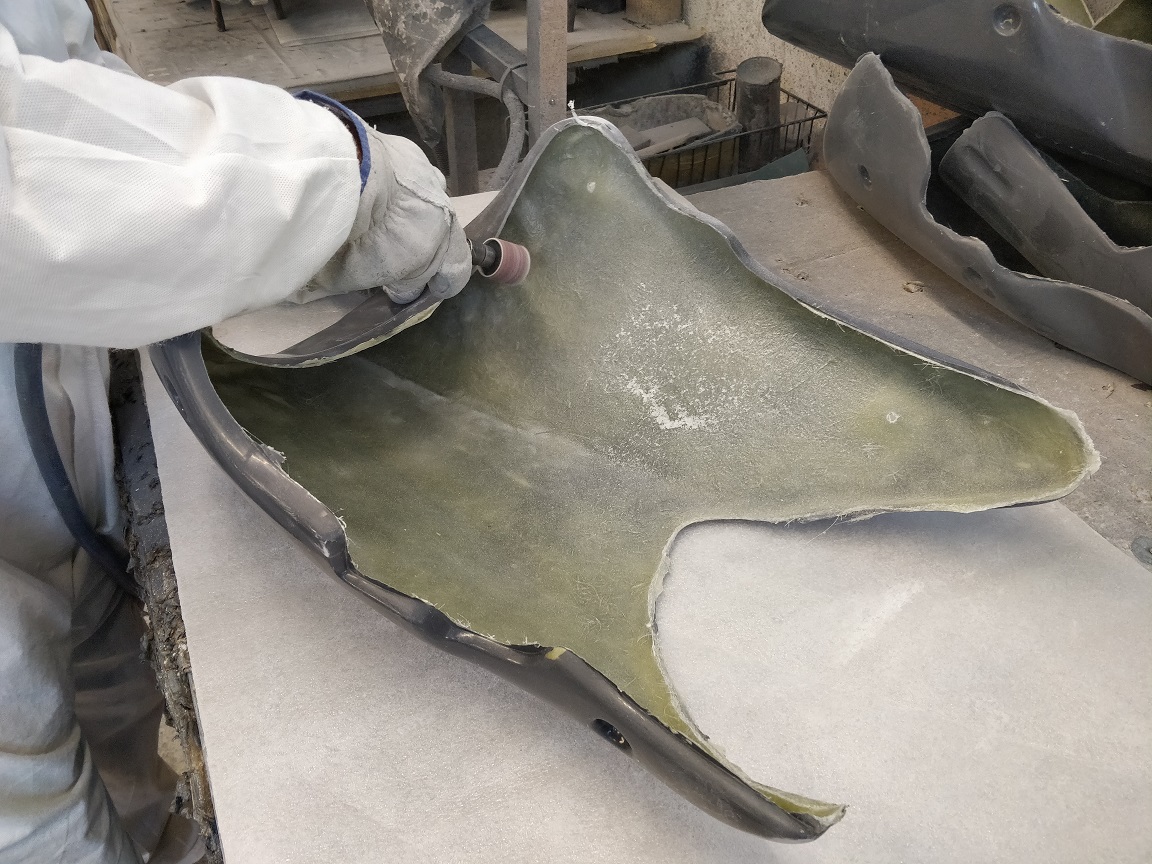
6. Sand edges
To ensure a clean finish on the workpiece edges, they are sanded down after shaping and thus brought into shape. The blank is now finished
7. Attach nameplate
Each of our trim parts that requires a TÜV entry has a nameplate laminated into it. This is clearly visible on the inside. This should be covered before painting.