
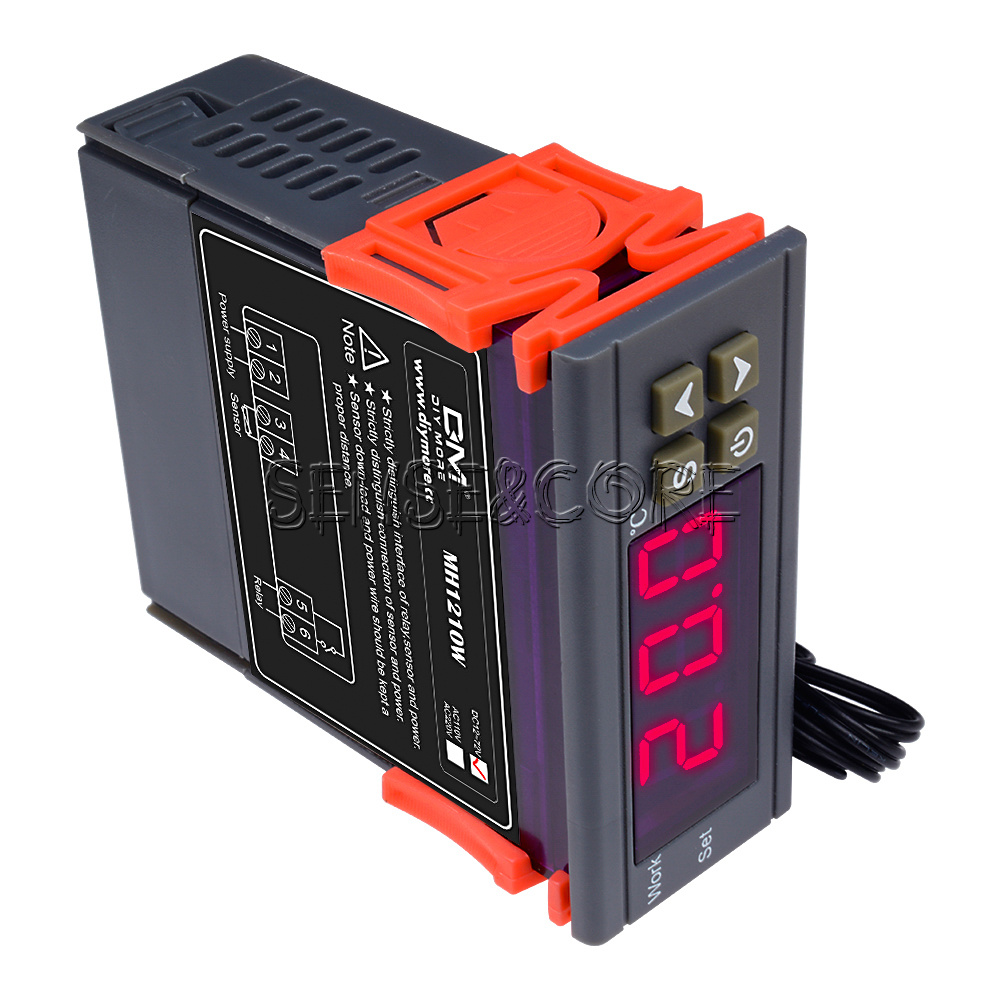
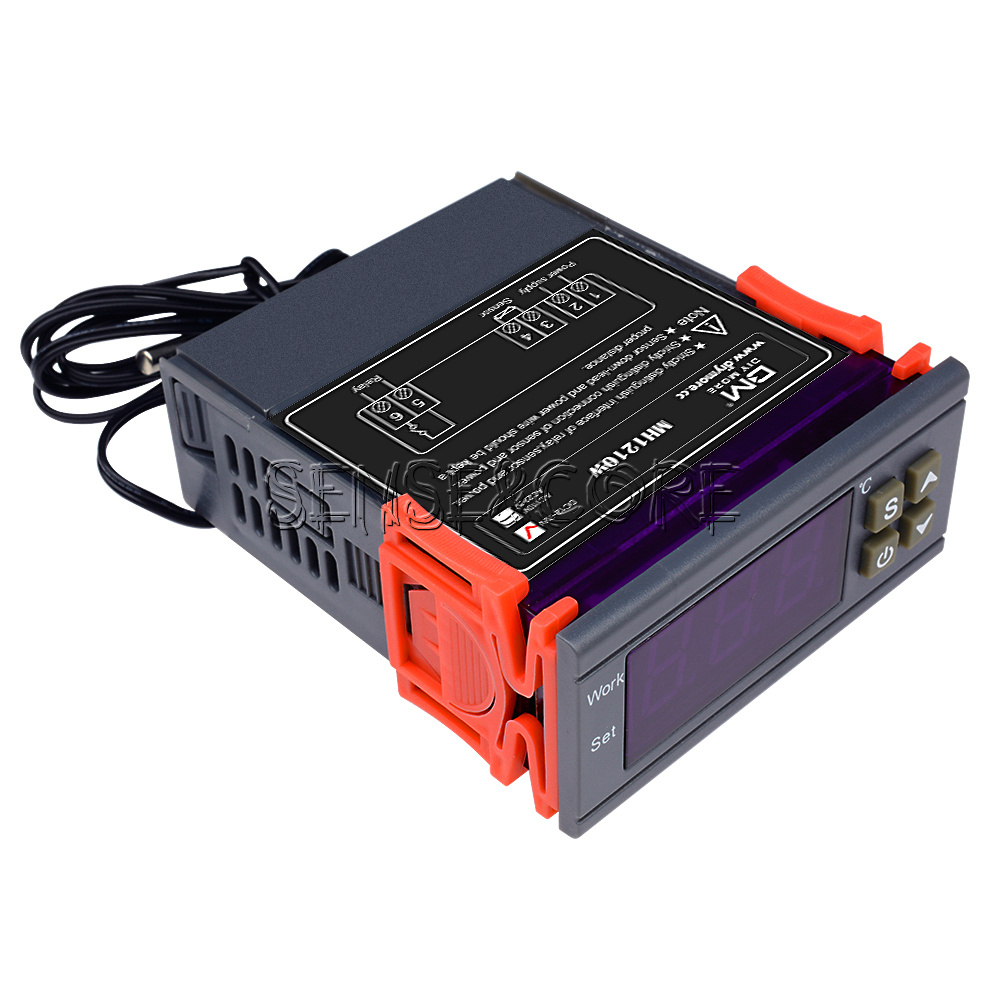
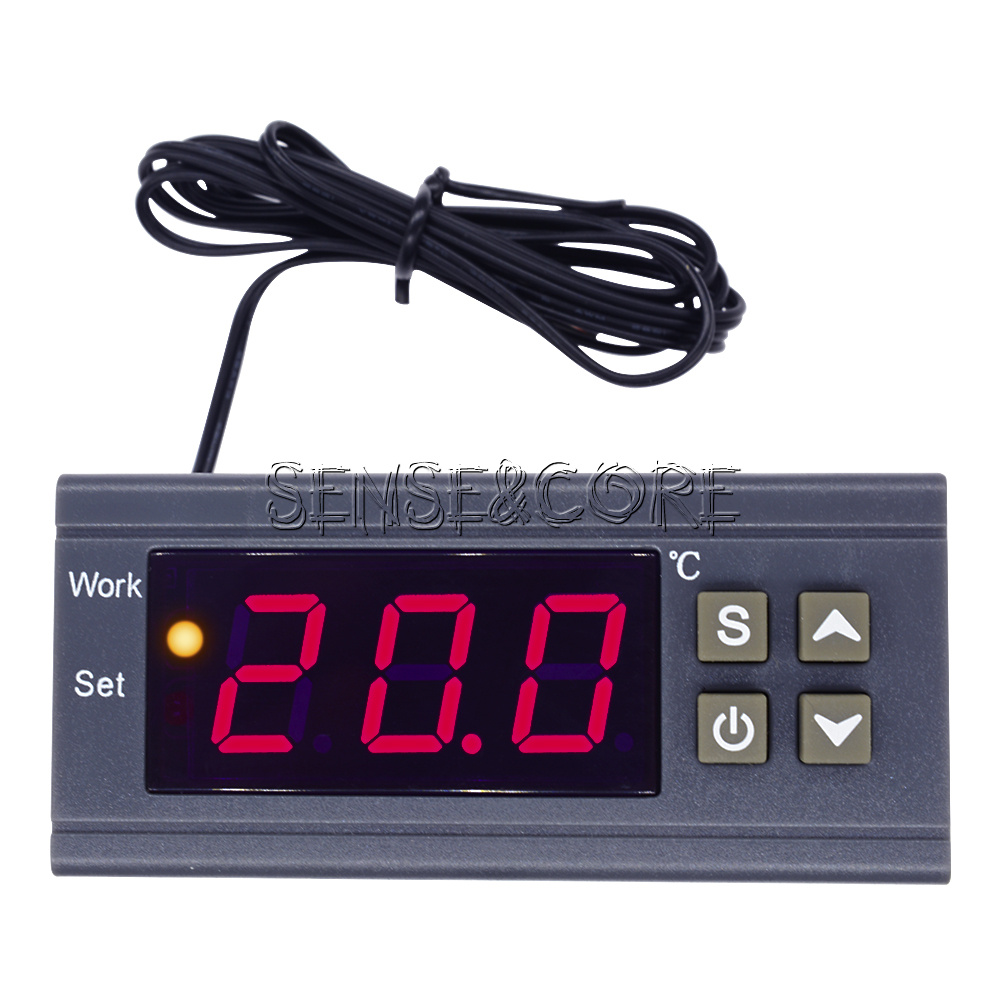

MH1210W DC 9-72V 10A Digital Temperature Controller Sensor Hygrometer Thermostat
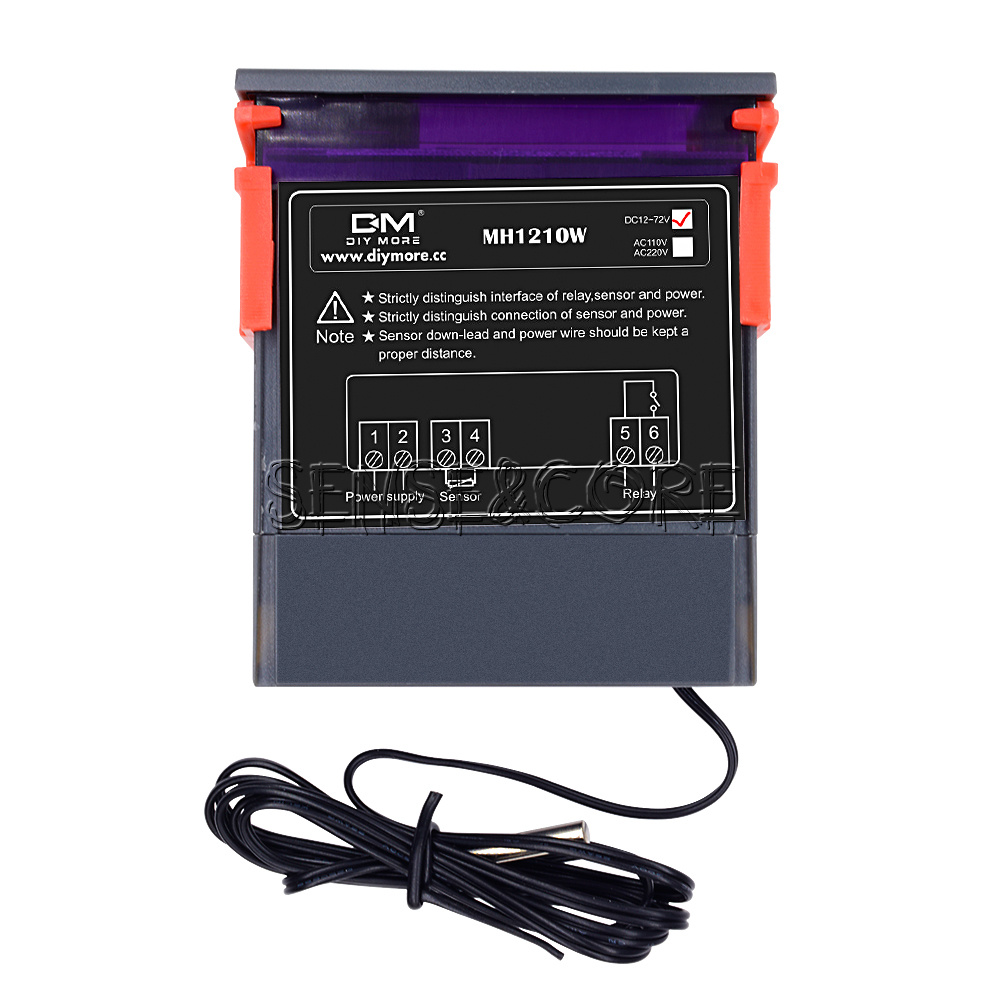
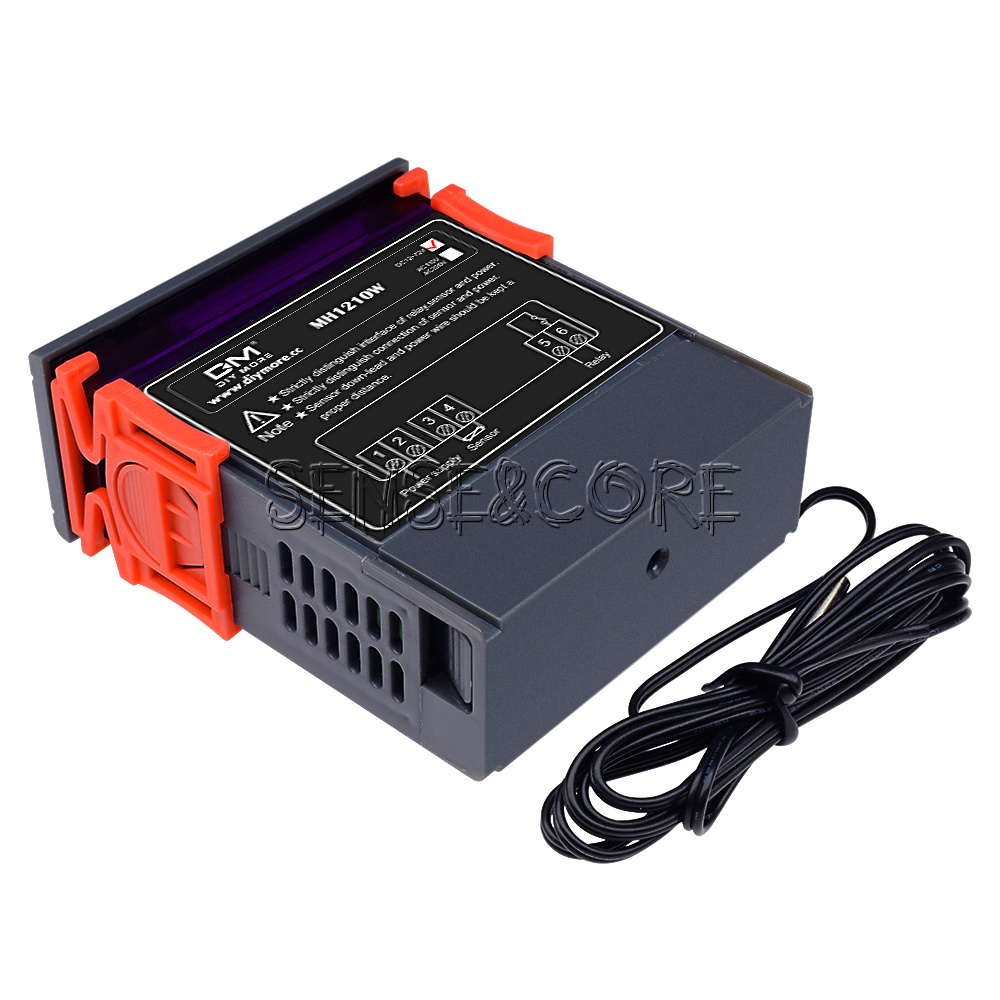
The working voltage is referenced on the product casing;
-40°C ~120°C: Measurement error ± 0. 5 ° C
-40°C~120°C: Temperature control accuracy: 1C display accuracy 0. 1°C
NTC25°C=10K B3435± 1% (1 meter long, regardless of positive or negative)
Power supply voltage: DC version is DC12~72VWorking environment: Temperature: -20 ° C ~ 70 ° C, humidity: 90% RH no condensation
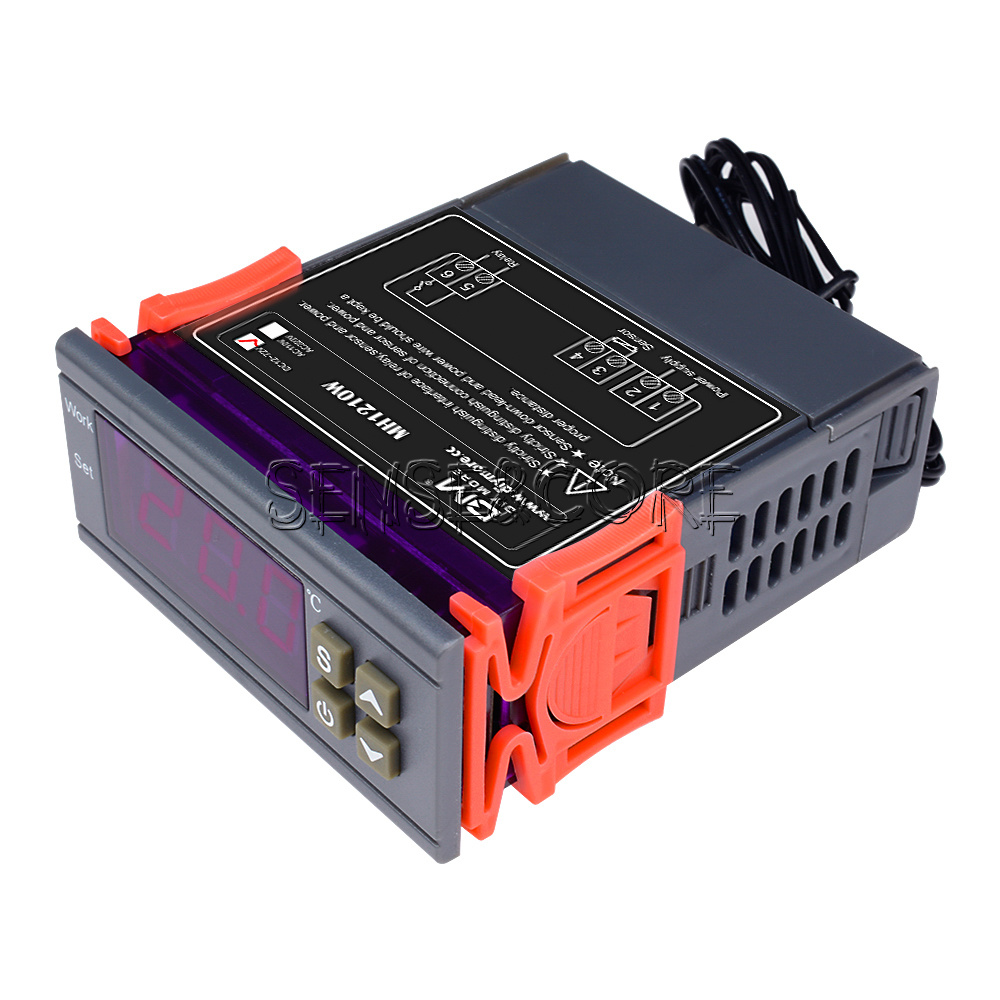
Product size: 75*85*35 (width, depth, height) mm
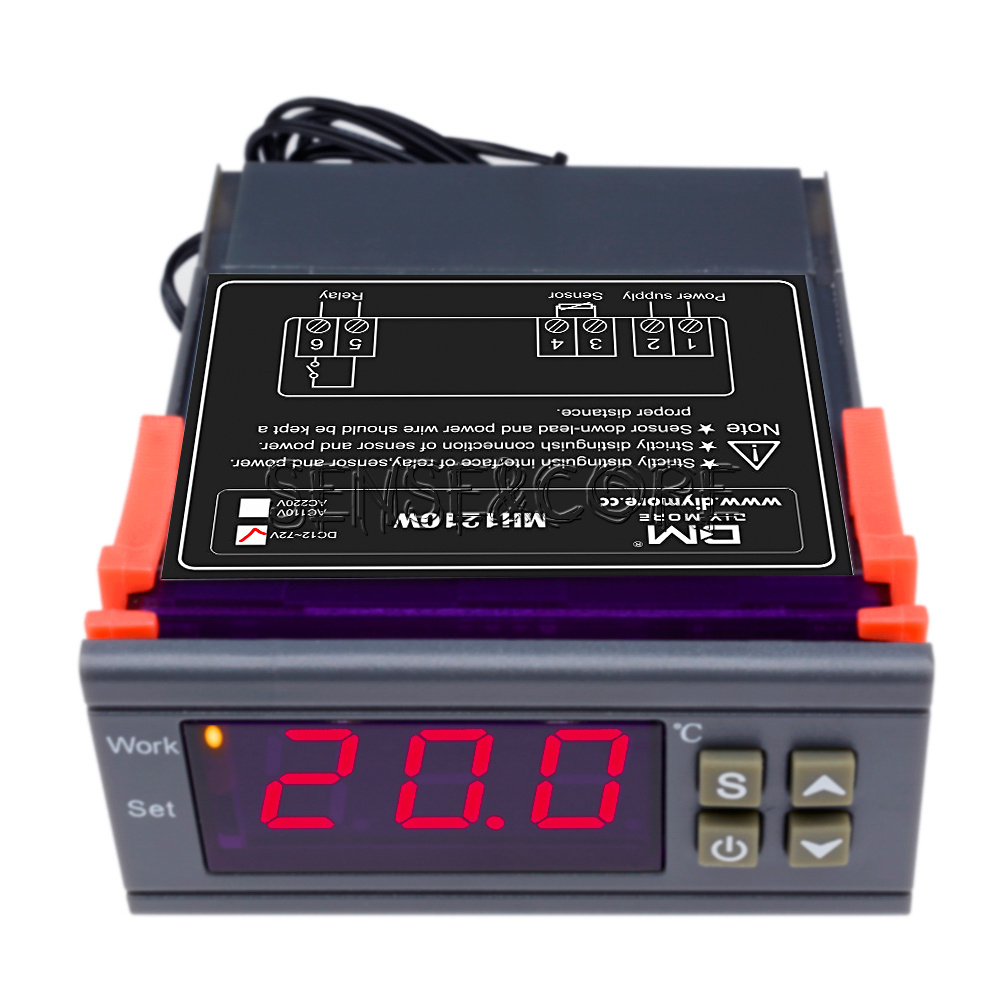
Press the S key for 3 seconds to enter the program menu code mode, which displays the code HC. Press the △ or ▽ key to cycle through the HC-CP-LA-PU-CA parameters. To enter a code, press the S key, press the △ or ▽ key to change the desired value and press SET to save and exit. . Control temperature setting: Short press S key (not more than 2 seconds) to display the factory default control temperature. Press △ or ▽ key to change the value well to save automatically. (Press and hold the △ or ▽ key for 2 seconds to quickly adjust the value.)
When the temperature control method (code HC) is set to H, for example, the set control temperature value is 28 ° C, and the temperature difference is 2 ° C. When the ambient temperature value ≥ the set temperature value (28 °C), the relay opens and closes the output load; when the ambient temperature value ≤ the set temperature value (28 ° C) - the return temperature (2 ° C) and the "delay" is set After the start time, the relay pulls up to start the output load; (if the delay function is not needed, the delay start (code PU) can be set to 0).
When the temperature control method (code HC) is set to C, for example, the set control temperature value is 28 ° C, and the temperature difference is 2 ° C.
1 long press the power button for 5 seconds to shut down, short press the power button to boot
2 In the temperature setting interface and mode setting interface, short press the power button to quickly save the settings and exit the setting interface.
Restore the factory default value: After pressing the “▲” button for 5 seconds, all the set parameters of the user will be restored to the factory default values.
Parameter lock: Press the ▼ key for 3 seconds to flash “0FF” to indicate that the user has set the parameter to be locked. In this way, the same operation flashes “ON” to indicate that the user has set the parameter lock to be released. (The user can only view and cannot modify after the parameter is locked, but the control degree adjustment is still valid
When the sensor is short-circuited or when the ambient temperature is detected above the upper temperature limit of 120 degrees, the flashing indicates that the HHH well closes the output load. When the sensor is open or detects that the ambient temperature is below the lower temperature limit of -40 degrees, the LLL is flashed and the output load is turned off.
In order to prevent high-frequency interference, the sensing time line during installation cannot be bundled with the power supply line and the negative-voltage equipment line, and separate wiring is required.
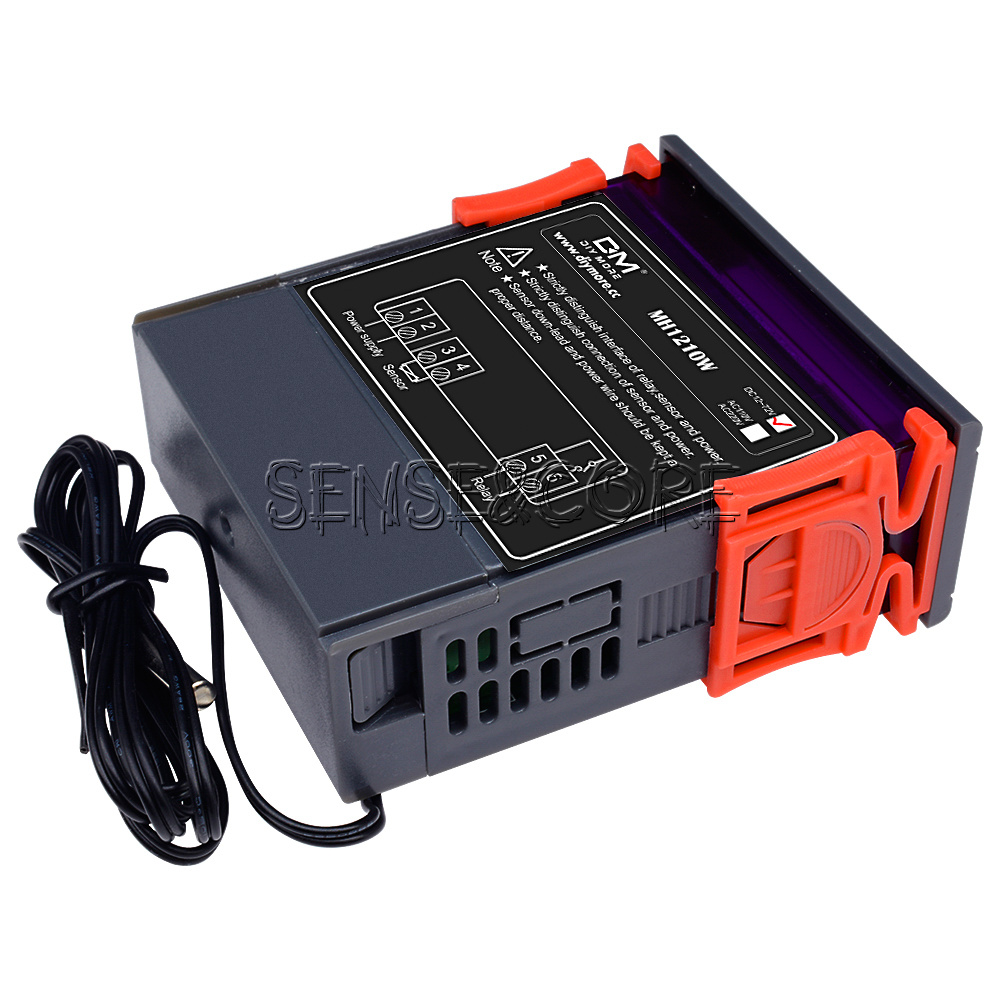
The power supply and the host shall indicate the voltage--cause, the deviation of the rated voltage value is not more than 1% of 0%. The sensor, power line and load output interface are strictly distinguished during installation.
The thermostat main unit cannot be installed in places where dripping water, old people, and children are within easy reach.
After wiring, check whether the line is correct and then energize, so as to avoid accidentally burning the temperature controller and load equipment. After installation, apply the protective cover to cover. Installation wiring diagram
1PCS*Digital MH1210W DC 9-72V 10A Temperature Controller Sensor Hygrometer Thermostat
We accept Paypal ONLY. It is easy and safe for you to pay by credit cards, debit cards, bank transfers and PayPal account balances.
We will arrange shipping for you within 24 Hours after payment cleared except the holidays.
We only ship to the confirmed address provided by PayPal. Before you pay, please make sure your address in PayPal matches the address you would like us to ship to. If not, please let us know before we sent you the package, or we will not be responsible for any loss. hope you could understand.
-We ship items to Worldwide. Thank you!
-we will ship out the order in 1-2 business days after payment cleared .Since it is international shipping ,delivery time is about 15--28 business days to arrive to most countries.
* We believe our items are so outstanding. We are convinced you will be happy with your Purchase.
* If you do not satisfy with our items. Please simply return to us within 30 Days in original condition. Just pay for the returned postage. Then we can issue full refund to you after the returned item arrived at our warehouse.
* Please include your eBay ID and item number with any email requests.
* When you satisfied with our product and services please leave us positive feedback.
* If you have got the package, please confirm "Delivery on time" For us.
* If a problem occurs, contact us immediately with any email request.
* Just contact us using the " Ask the seller a question" link on eBay.
Am 17.12.19 hat der Verkäufer die folgenden Angaben hinzugefügt: