Introduction:
Our store provide varieties of High Quality Suspension Products,
if this iterm can not meet your needs,
you can entry our store to find the products you need.
our products have One Year Warranty to ensure the quality.
Before you place the order,
please check the compatibility and the view Notes or contact us,
make sure it fits your vehicle.
we hope you enjoy your shopping.
Fit for
2006-2009 Audi A3
2006-2009 Audi A3 Quattro
2009-2013 Audi A3 Quattro AWD
2012-2014 Volkswagen Beetle
2007-2014 Volkswagen Eos
2010-2014 Volkswagen Golf
2007-2014 Volkswagen GTI
2005-2014 Volkswagen Jetta
2006-2014 Volkswagen Passat
2006-2009 Volkswagen Rabbit
2009-2014 Volkswagen Tiguan
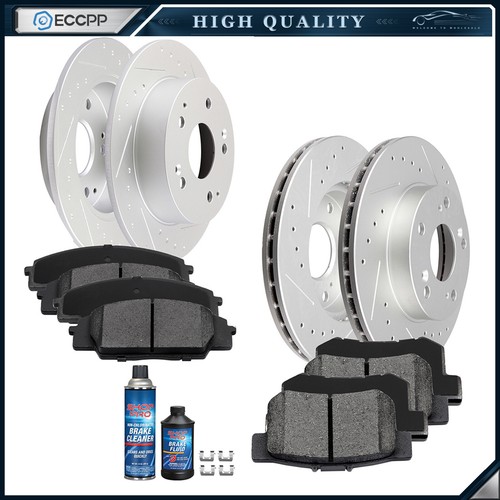
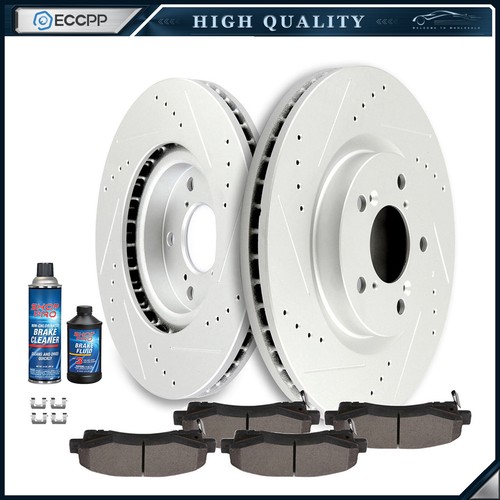
Package Includes:
1 x Part # Front Lower Left Ball Joint - K80662
1 x Part # Front Lower Right Ball Joint - K80663
2 x Part # Front Stabilizer Sway Bar Links - K80478
Please check above compatibility list to make sure it fits your vehicle.
Note:
Some of the parts we have grease fittings and other parts come factory sealed,
you may receive one of the parts.but don't worry,
this does not affect the performance or quality of the parts.
Ball Joint
Ball joints may be grouped into two classifications, load carrying and non-load carrying. Ball joints may be manufactured with forged, stamped, cold-formed, or screw-machined housings. The coil spring is seated on the control arm to which the load-carrying ball joint is attached. For example, when the coil spring is mounted between the lower control arm and the chassis, the lower ball joint is a load-carrying joint. In a torsion bar suspension, the load-carrying ball joint is mounted on the control arm to which the torsion bar is attached. A load-carrying ball joint supports the vehicle weight.

Ball Joint Replacement Guideline:
If there is a knocking or clunking noise in the area of the front axle when the car is traveling over road bumps, potholes or curbs, then there is usually a defect in a component of the wheel suspension.

Picture(A)
The side of the front axle from which the (vibration) noise is emanating can already be determined during a test drive. The type of noise also already provides certain indications for maintenance regarding which components might be faulty.


Picture(B)
1.Raise the vehicle and remove the front wheels.
2.To loosen the fastening screws and fixing nuts of the compression ball joint more easily, spray them with rust remover and allow to act for a few minutes.
Picture(C)
3.Loosen the fastening screws of the broken ball joint on the control arm and remove the nuts.


Picture(D)
4.Loosen and remove the fixing nut of the ball joint on the steering knuckle.
Tip:If the ball stud rotates, hold the ball stud in place with a hexagon socket.
Picture(E)
5.Remove the bad or worn ball joint from the control arm.
6.Loosen the compression ball joint on the steering knuckle using a suitable special tool.


Picture(F)
7.Clean the cone connection.
Tip:For better sealing and durability of the ball joint sleeve, a little silicone grease can be applied to the contact surface.
Picture(G)
8.Insert new compression ball joint in the control arm and steering knuckle and tighten with new fixing nuts.
9.Reinstall front wheels. Lower the vehicle and tighten the wheel studs to the tightening torque specified by the vehicle manufacturer.
10.Measure the chassis and adjust it using the various holes on the compression ball joint if necessary.
11.Finally, carry out a test drive.
Sway Bar
Sway bars transmit torsional forces occurring between the body and the chassis to the stabilizer of the particular axle. Depending on the design of the front or rear axle, they form the necessary connection for optimal interplay between wheel guidance and stabilizer. The body roll of the vehicle during cornering is minimized, ensuring safe roadholding.
Some control arm bushings can be replaced with the arm still on the vehicle; others require removal of the arm. On a few applications, control arm bushings are threaded into the control arm, but most are press fitted.
Press fitted bushings can be removed and installed with a bushing driver. Some may be removed with an air chisel, and some may be pressed into the arm with the retaining nut. This method can require periodic vibration of the control arm to coax the bushing into place.
Care must be used in bushing replacement to avoid damage to the control arm. To properly position the bushing, the weight of the vehicle must be on the suspension before tightening the nut on most designs. Check the service information for the vehicle for the proper procedure.
Replacement of other types of suspension bushings is generally straightforward. Consult the service information.

Sway Bar Stabilizer Link Replacement Guideline:
While driving, the following signs may indicate a faulty sway bar stabilizer link:
(1).Rattling and thumping noises on rough roads.
(2).Imprecise vehicle handling.
(3).Stronger inclination of the vehicle during cornering.
If the sway bar stabilizer link is found to be defective, it should be replaced as described below.


Picture(A)
1.Raise vehicle and remove front wheels.
Tip:Always check both stabilizer links and replace them in pairs if necessary.
2.Spray fastening nuts of the stabilizer link with rust remover and let act for a few minutes.
Picture(B)
3.Loosen the lower fastening nut of the stabilizer link at the stabilizer and remove.
Tip:If the ball stud also starts to turn, hold it with a suitable tool.
4.Press stabilizer link out of torsion bar.


Picture(C)
5.Loosen the upper fastening nut of the stabilizer link at the suspension strut and remove it.
Tip:If the ball stud also starts to turn, hold it with a suitable tool.
Picture(D)
6.Press stabilizer link at suspension strut out of bracket.


Picture(E)
7.Insert new stabilizer link at suspension strut.
Picture(F)
8.Tighten stabilizer link at suspension strut to the tightening torque specified by the vehicle manufacturer.
Tip:Secure the ball stud against twisting with a suitable tool.


Picture(G)
9.Insert new stabilizer link at stabilizer.
10.Tighten stabilizer link at stabilizer to the tightening torque specified by the vehicle manufacturer.
Tip:Secure the ball stud against twisting with a suitable tool.
Picture(H)
11.Remount the front wheels. Lower the vehicle and tighten the wheel studs to the tightening torque specified by the vehicle manufacturer.
Tip:Even if replacing the stabilizer link does not directly affect the chassis setting, we recommend checking the axle setting and adjusting if necessary after working on the suspension.
12.Conclude with a test drive.
Frequently Asked Questions
(1).How will I know that I have to renew my ball joint parts? Or replace them?
If your ball joint fails, you will listen to a strange sound while driving. And that sound may help you to realize that your ball joint has failed and you have to renew them.
(2).What happens if a ball joint breaks?
When a ball joint breaks, you will hear a mysterious noise inside your car wheel.
Your car tire will wear-out since your alignment will be broken, and you will feel the car getting out of control.
If the ball joint breaks completely, it can be separated, and things can turn sour quickly. The wheel will stop being nice and can even steer you off the road. It can be serious.
Broken ball joints will seriously affect the steering and suspension. It can even result in your wheel falling off the car.
(3).Are worn ball joints dangerous?
Yes, it can be quite dangerous. Because, a worn ball joint causes suspension damage, inspection failure, and breakage of related parts.
It might make your front suspension come apart while driving, so the wheels move in whatever direction inertia takes them. That can lead to a fatal accident.
(4).What happens if I don't replace ball joints?
If you don't want to replace your ball joints, then get ready to experience some serious issues. The old ball joints cause mysterious clunking noise or drifting steering. Once they are worn-out, it will seriously affect your steering and suspension. However, you do not need to change the ball joints if it is new.
(5).Do I need to grease new ball joints?
I would say it will be a wise decision if you grease your new ball joints. At least I will always grease a new one after the installation. Greasing a new ball joint will make it stronger and extend its lifetime because there is a minimal amount of grease inside. I suggest you do so after the first installation. Follow the instruction card.
(6).What is sway bar?
An sway bar (anti-sway bar, anti-roll bar, stabilizer bar) is a part of many automobile suspensions that helps reduce the body roll of a vehicle during fast cornering or over road irregularities. It connects opposite (left/right) wheels together through short lever arms linked by a torsion spring. A sway bar increases the suspension's roll stiffness-its resistance to roll in turns, independent of its spring rate in the vertical direction.
(7).What are the symptoms of a bad sway bar?
Some of the common symptoms of a bad sway bar bushing or sway bar links going bad are: clunking noise, rattling noise, knocking uneven noise road, lack of stability when driving and noise going over speed bumps. poor handling during turns.
(8).What happens when a stabilizer bar breaks?
Because a sway bar helps the car's suspension to put more pressure on loaded springs, a broken sway bar means that the car's suspension will not be able to handle corners as well or as quickly. While it is possible to drive with a broken sway bar, as a precaution do not take corners with excessive speeds.
(9).What is the most important tip to offer to help with anti-sway bar installation?
The most important thing is to ensure is that your wheels are not hanging. The suspension should be compressed so the control arms, etc. are at the same position they would be if the vehicle were sitting at ride height. This can be done by using ramps, a drive on lift, or simply loading the wheels if the vehicle is on jack stands or a two point lift. If this is not done the arc that the bar and suspension moves through due to the excessive travel can make things very difficult to line up.
(10).How long will it take to replace the front sway bar?
The front sway bar is a little more difficult than the rear sway bar install. But it isn't very hard at all. The only reason it takes longer is because you have to remove a couple of trays, so it still won't be a problem. If you are performing this upgrade yourself and you have the proper tools then this job shouldn't take more than 1-1/2 hours.