


Power: 50W
Voltage: 110V/60HZ, 220-240V/50HZ
Material: Metal
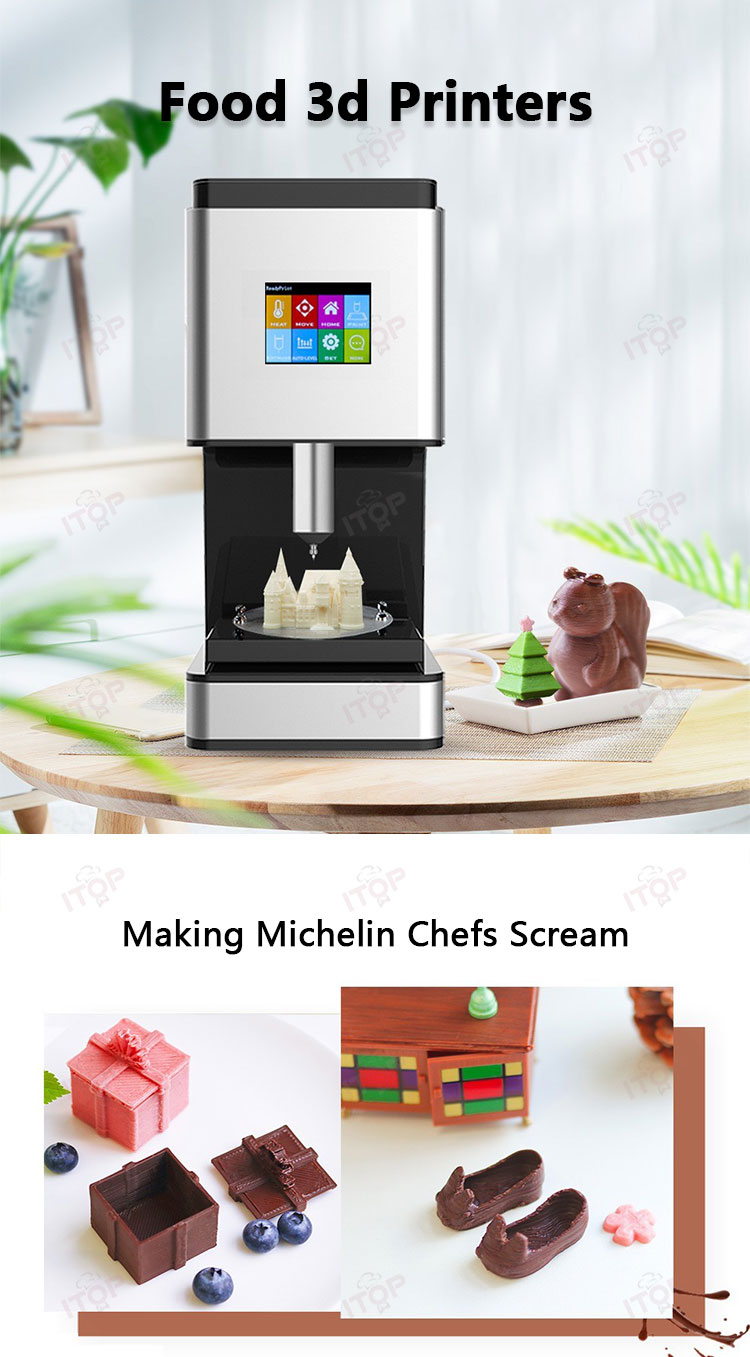
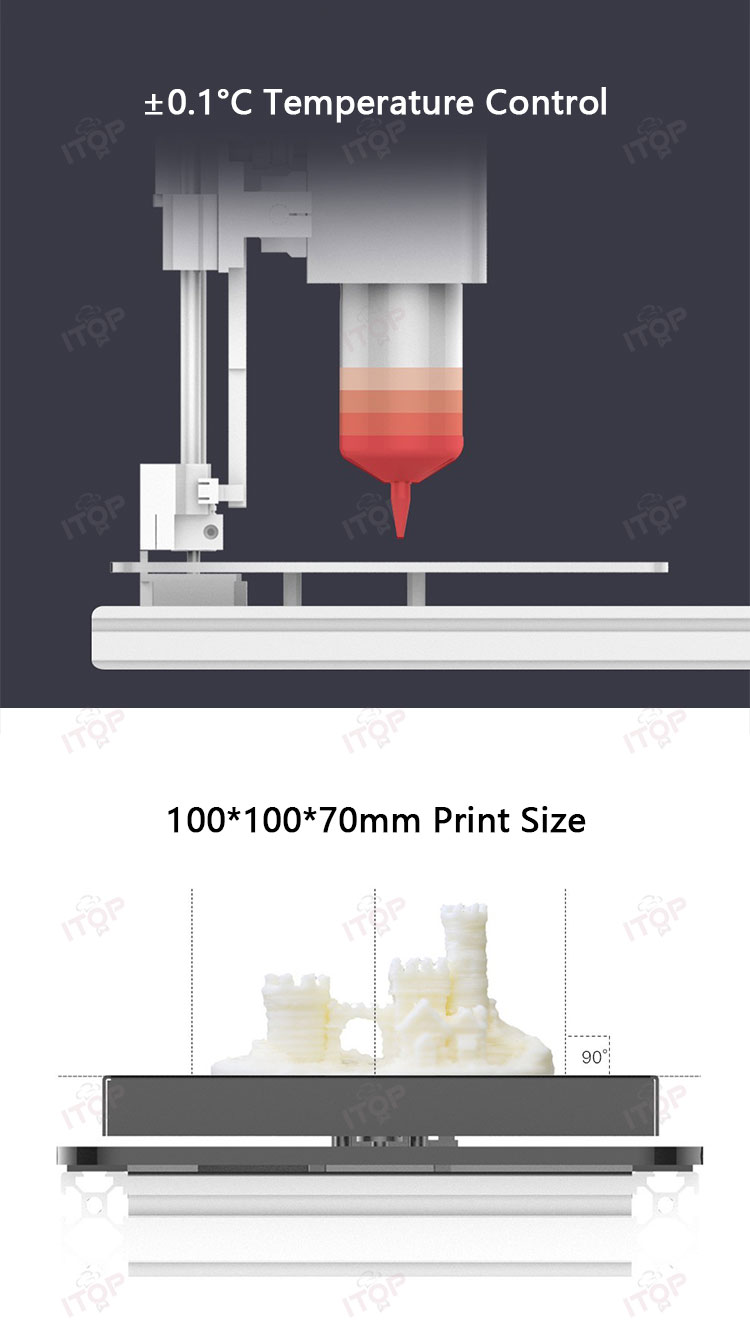
Printing Size: 10*10*7CM
Positioning Accuracy: XY Axis:0.1/100mm, Z Axis:0.01/100mm, E Axis:0.01/100mm
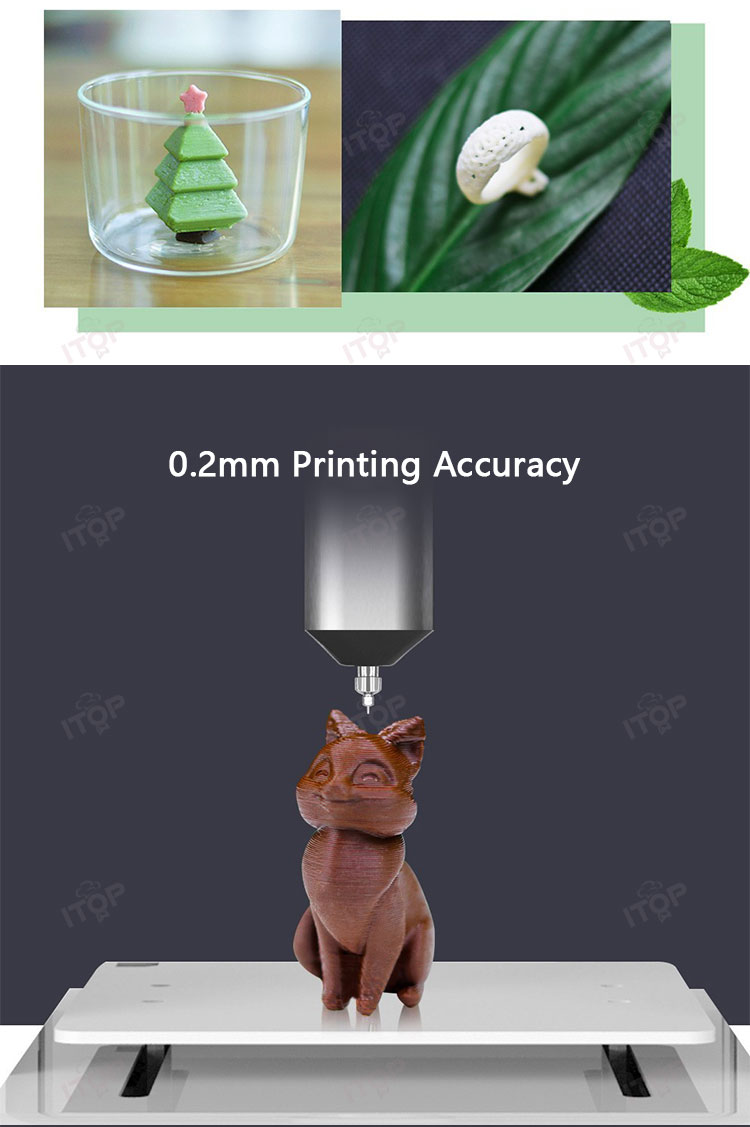
Printing Accuracy: 0.2mm
Operating System: Windows, Android
Nozzle Outlet Diameter: 0.6/0.84mm
Nozzle Quantity: 1
Printing Speed: 15mm-70mm/s
Product Size: 192mm*380mm*420mm
Weight: 12kg
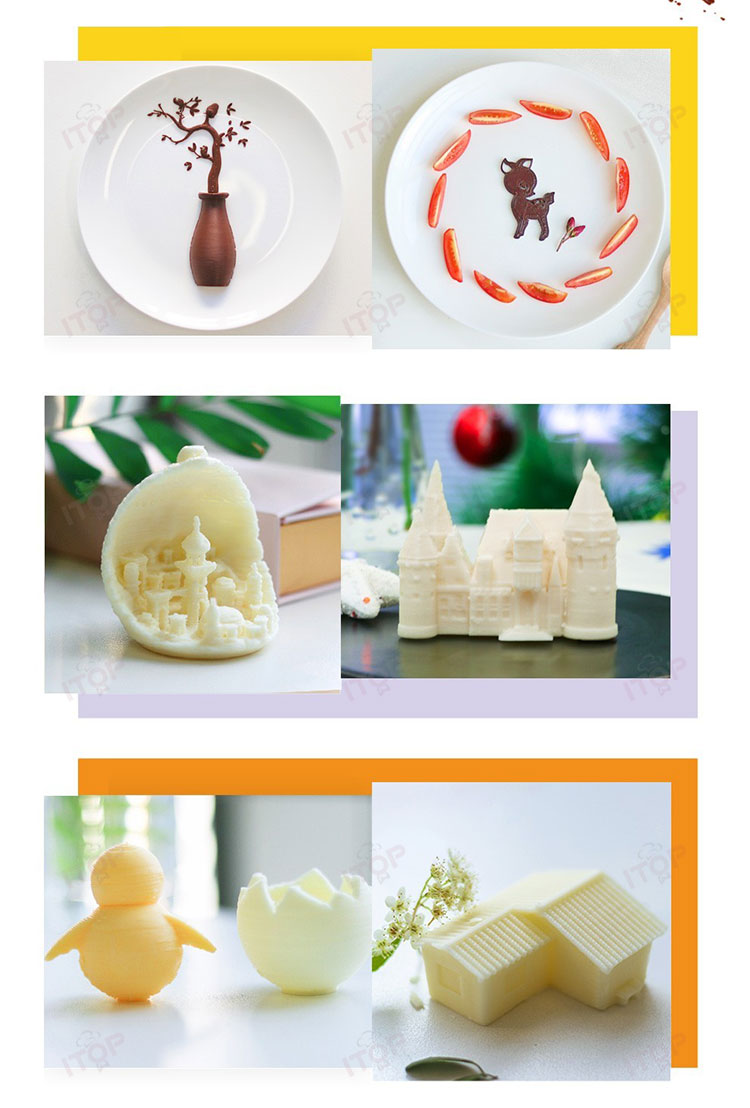
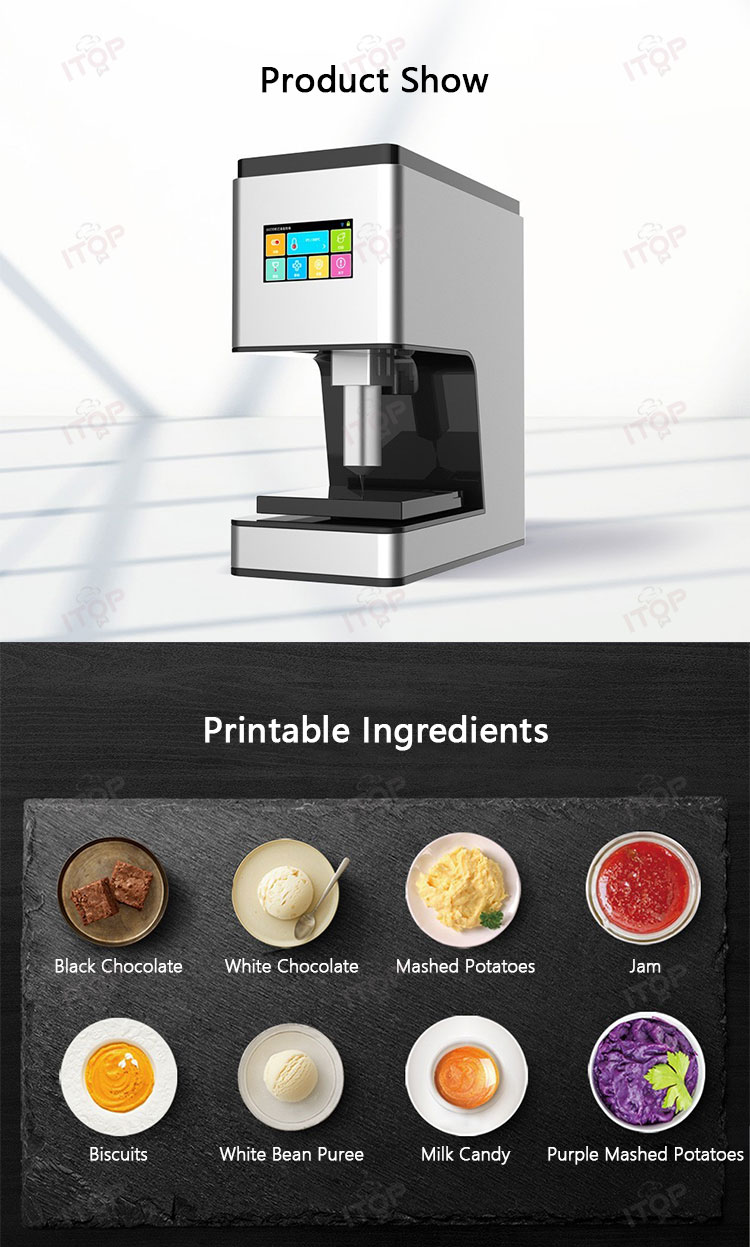
Printable Ingredients:
black chocolate, white chocolate, mashed potatoes, jam, biscuits,white bean puree, milk candy, purple mashed potatoes
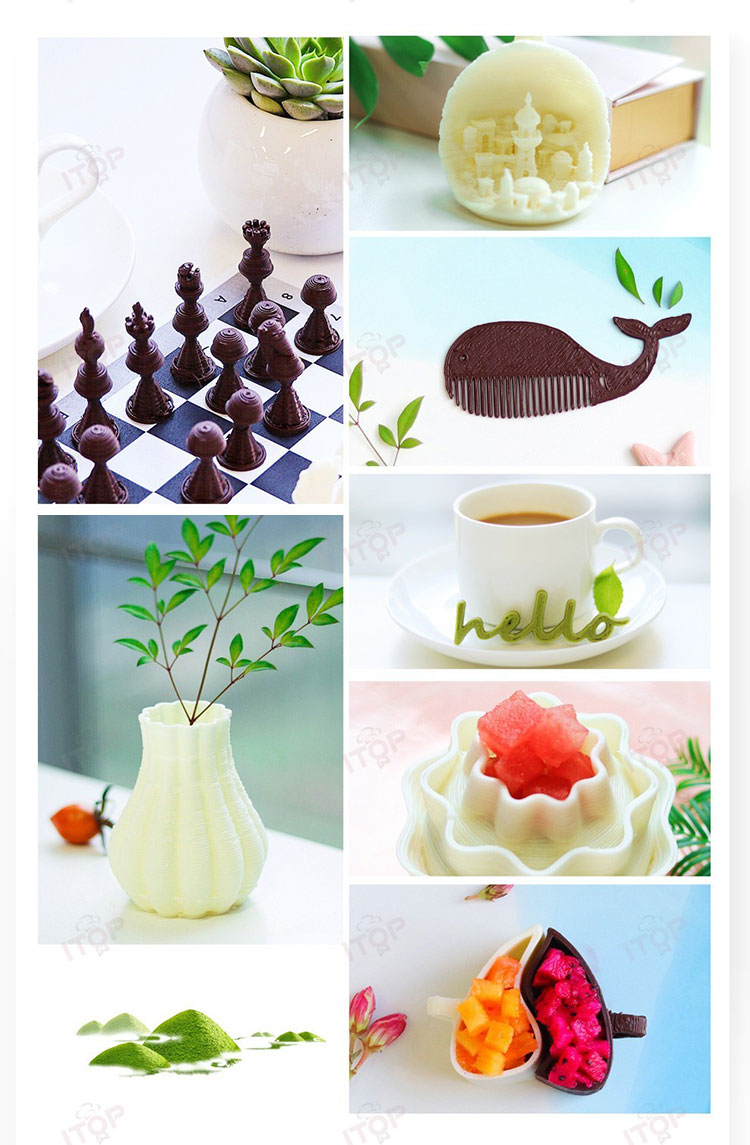
The machine with some free models can be used for 3D printing, or 3D printing can be performed after modeling
Preparation before first printing
Step 1: Find the Z-axis limit sensing switch located on the printing layout and stick the tape here.
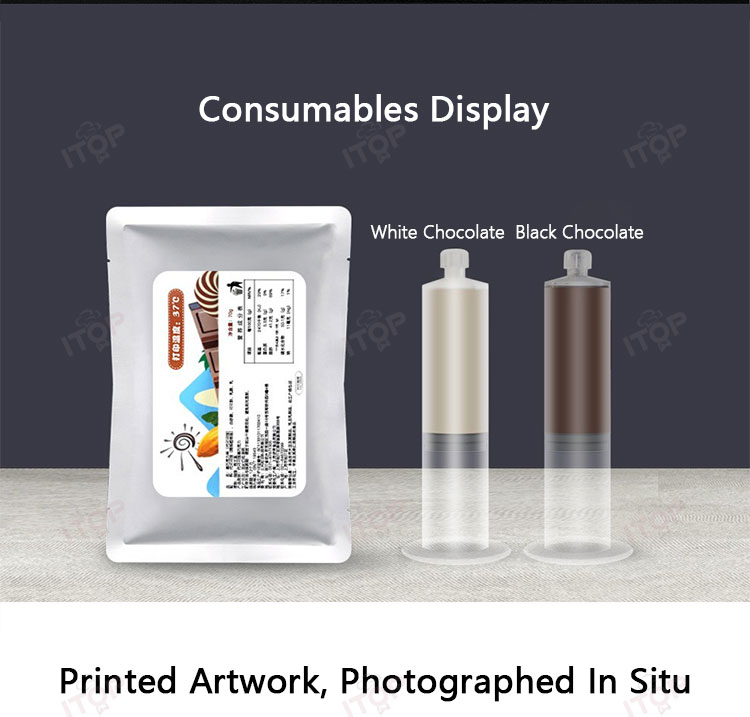
Step 2: Loading and changing materials
Return to the homepage, click on [EXTRUDE], select the corresponding extrusion ratio and extrusion speed, and then click on [OUT] to see that the screw on the E-axis (extrusion axis) moves to the maximum position (usually at a distance of 8cm).
Hold the print head and turn it 90 ° to the right to remove it. Thread the needle into the bottom of the print head, place the plastic container inside the nozzle, press it down, and rotate it 180 ° -270 ° clockwise. Then turn the print head left and turn it up (facing straight back).
Return to the homepage, click [MOVE], enter, select the corresponding extrusion ratio, click [Z+], and the print head will rise by about 4cm
Click on 【 EXTRUDE 】 in the bottom left corner, select the corresponding extrusion ratio and extrusion speed, and then click 【 IN 】 to see that there is a material wire extruded by 1mm.
Step 3: Click on the "preheating" button, set the corresponding temperature according to the ingredients, and preheat for a period of time (please refer to our "Ingredients Temperature Recommendation Table" for specific time). The default temperature setting is 37 ℃. Click "+" or "-" to adjust the temperature.
Note: Our recommended room temperature is 26 ℃.
Step 4: Place circular food grade oil paper on the printing platform and fix it with a magnet all around.
Step 5: Start printing
