|
Welcome
       Product Description
Eigenschaften:
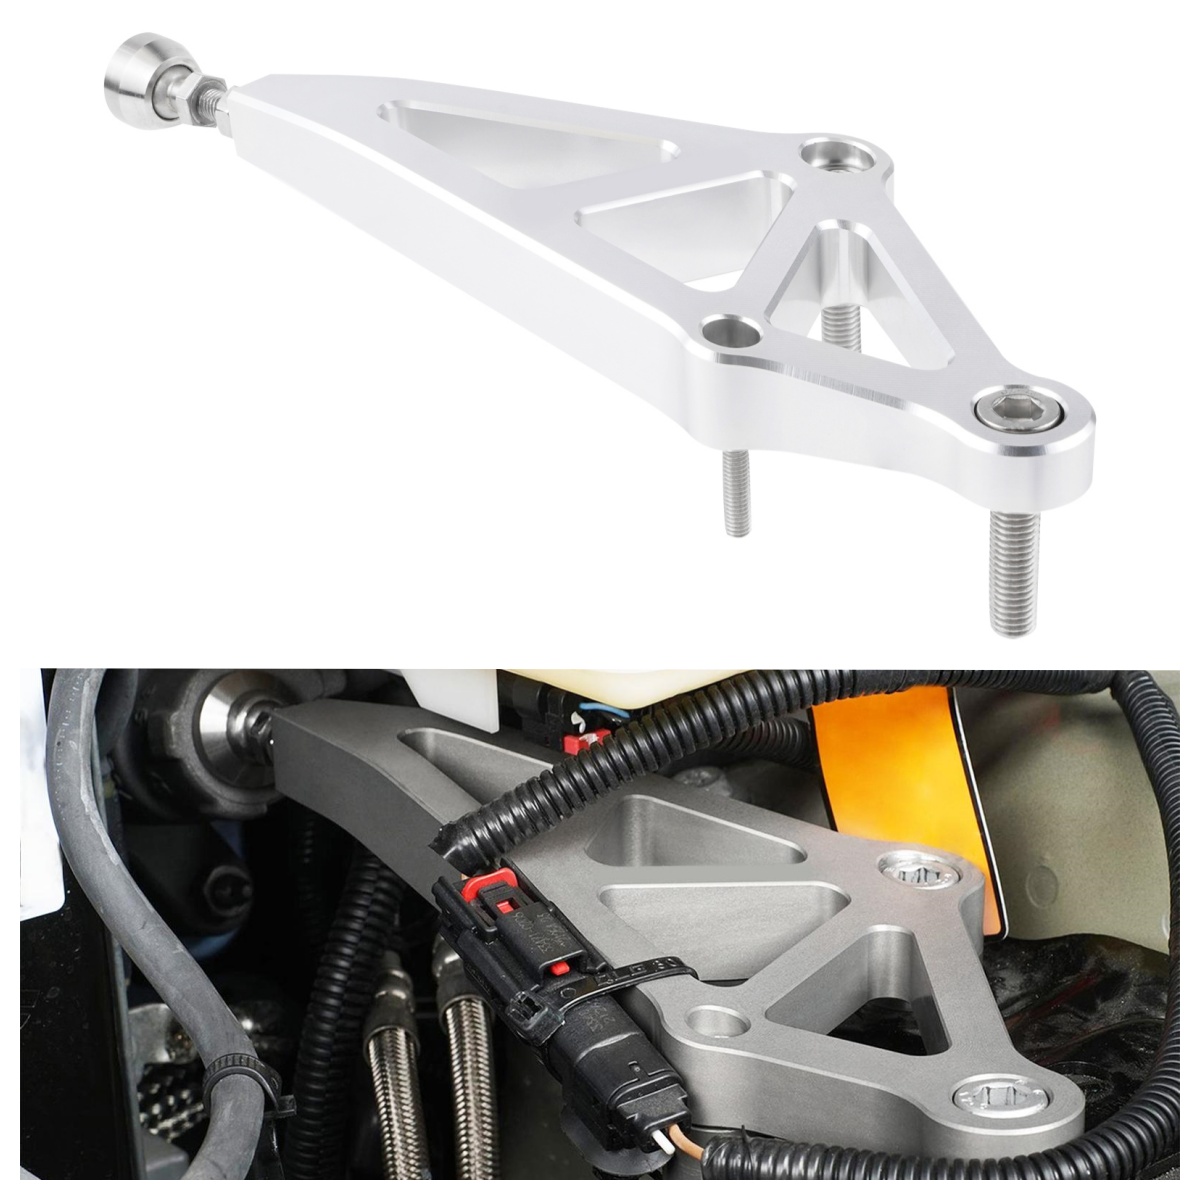
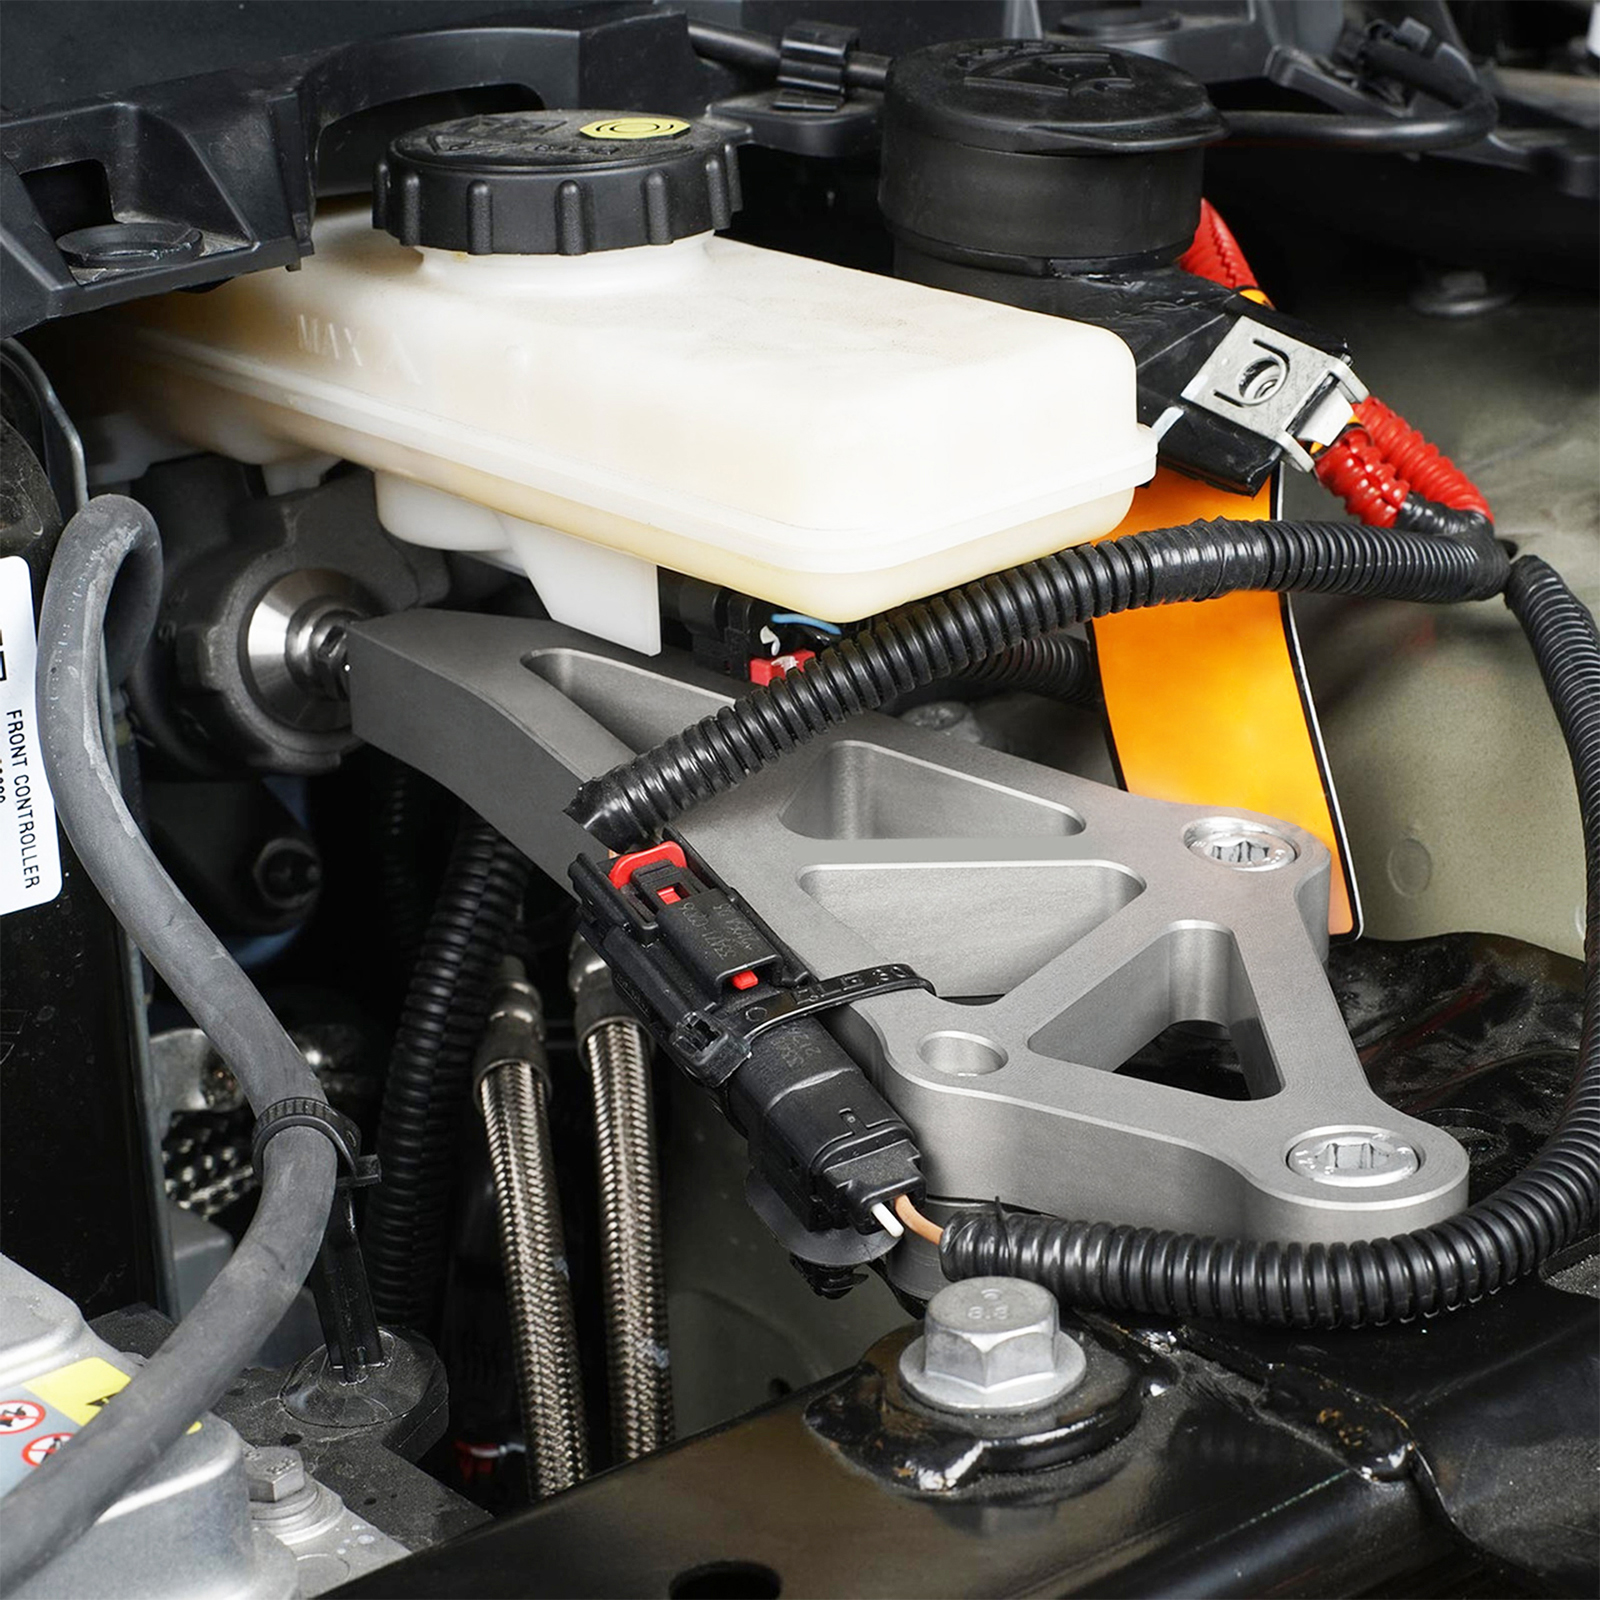
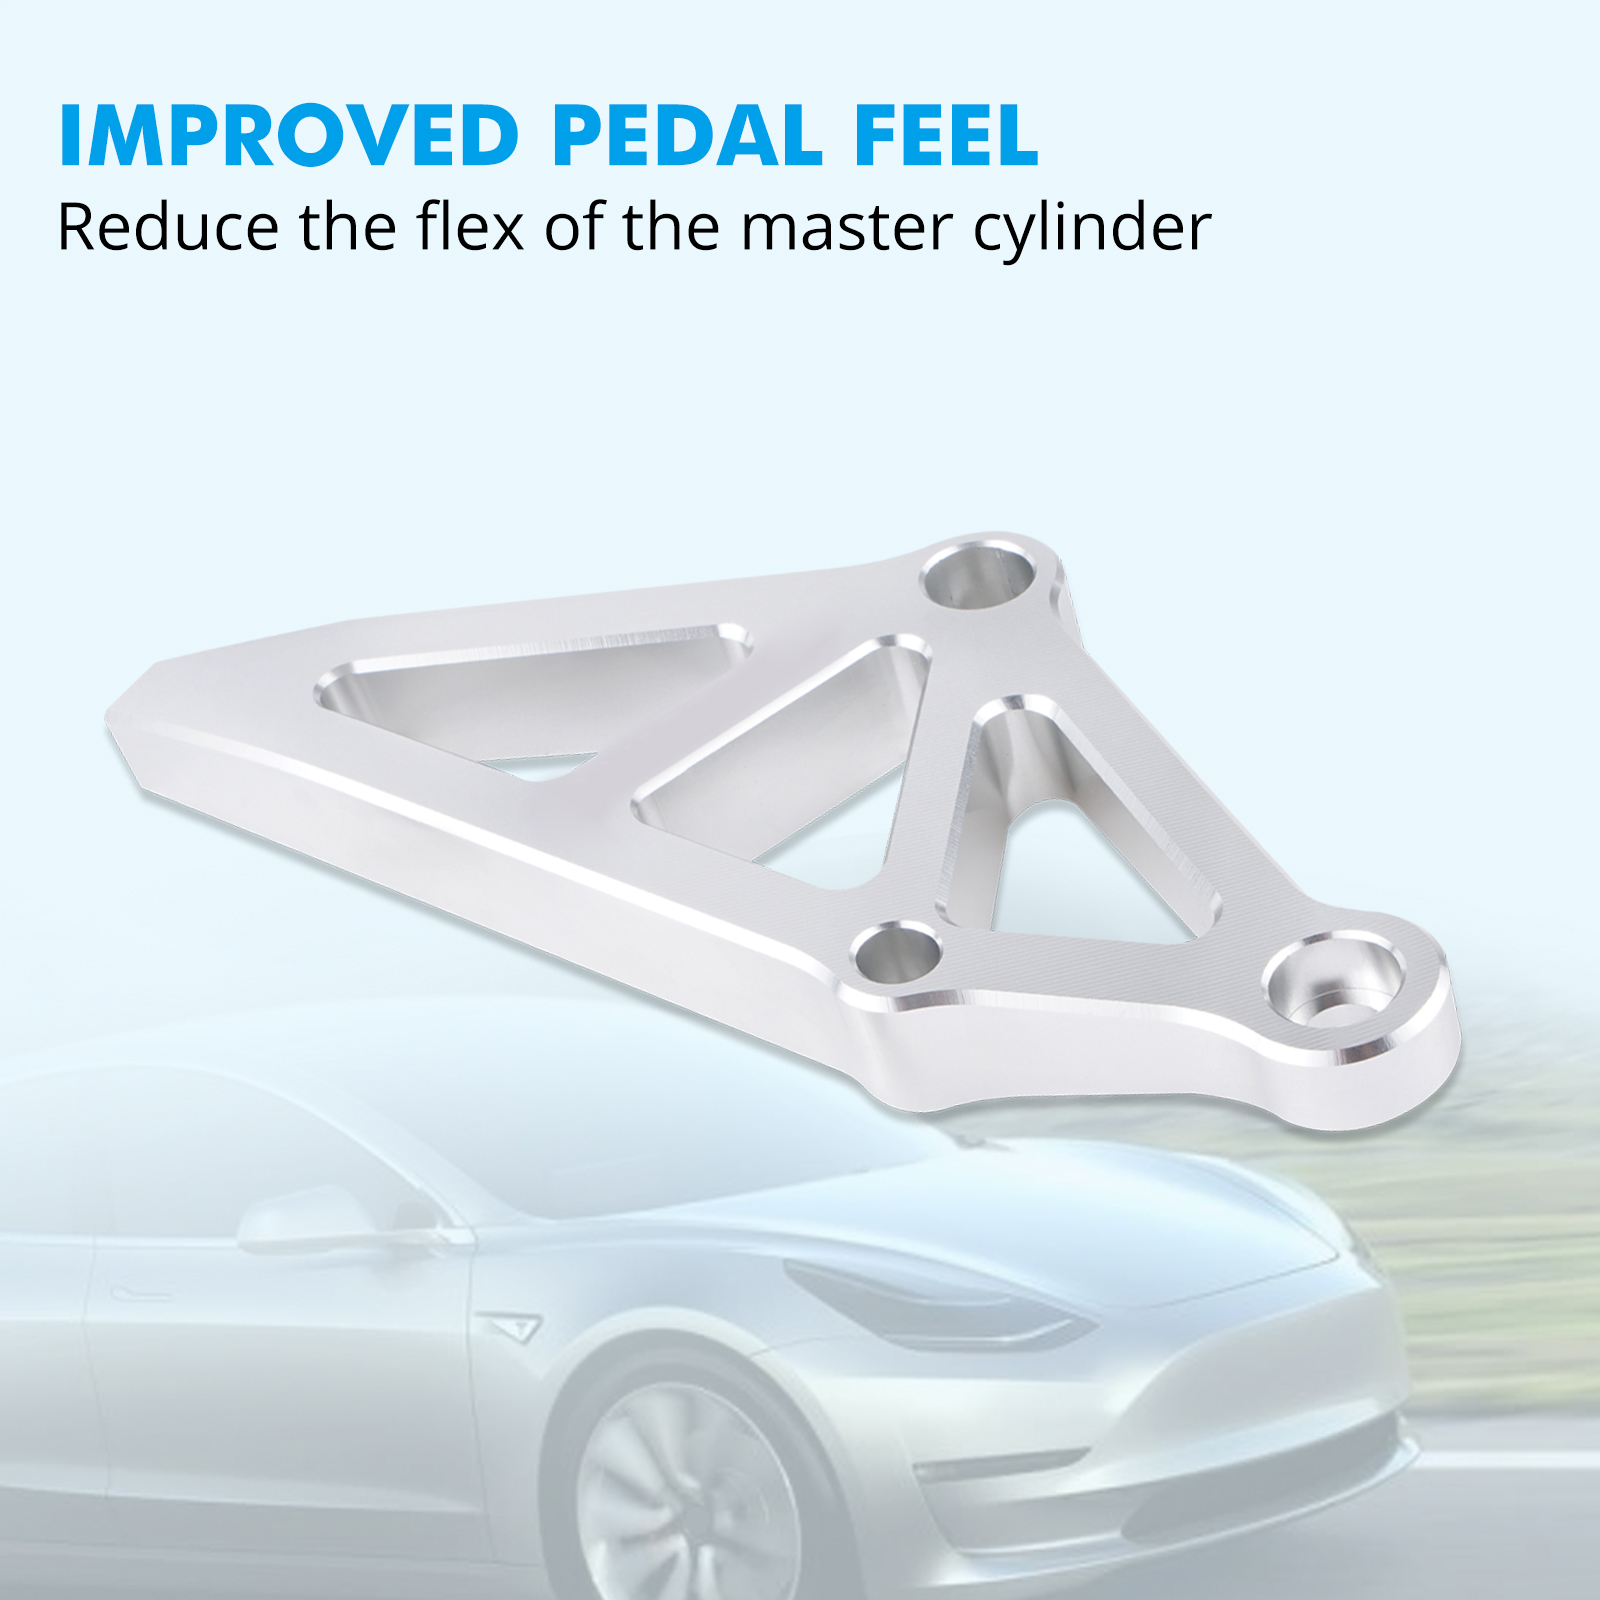
【Reduzierte Elastizität】Die Hauptzylinderhalterung bietet eine Brücke zwischen der Spritzwand, dem Hauptzylinder und dem Rahmen, wodurch die Biegung der Spritzwand, die mit dem Bremspedal verbunden ist, stark reduziert wird, die nicht stark genug ist, um auf die sich ständig wiederholende Kraft des Bremsens zu reagieren.
【Verbesserung der Steifigkeit des Bremspedals】Die BEVINSEE-Hauptzylinderhalterung reduziert die Biegung an der Spritzwand erheblich, so dass Sie jedes Mal, wenn Sie bremsen, ein festes Bremspedalgefühl erhalten.
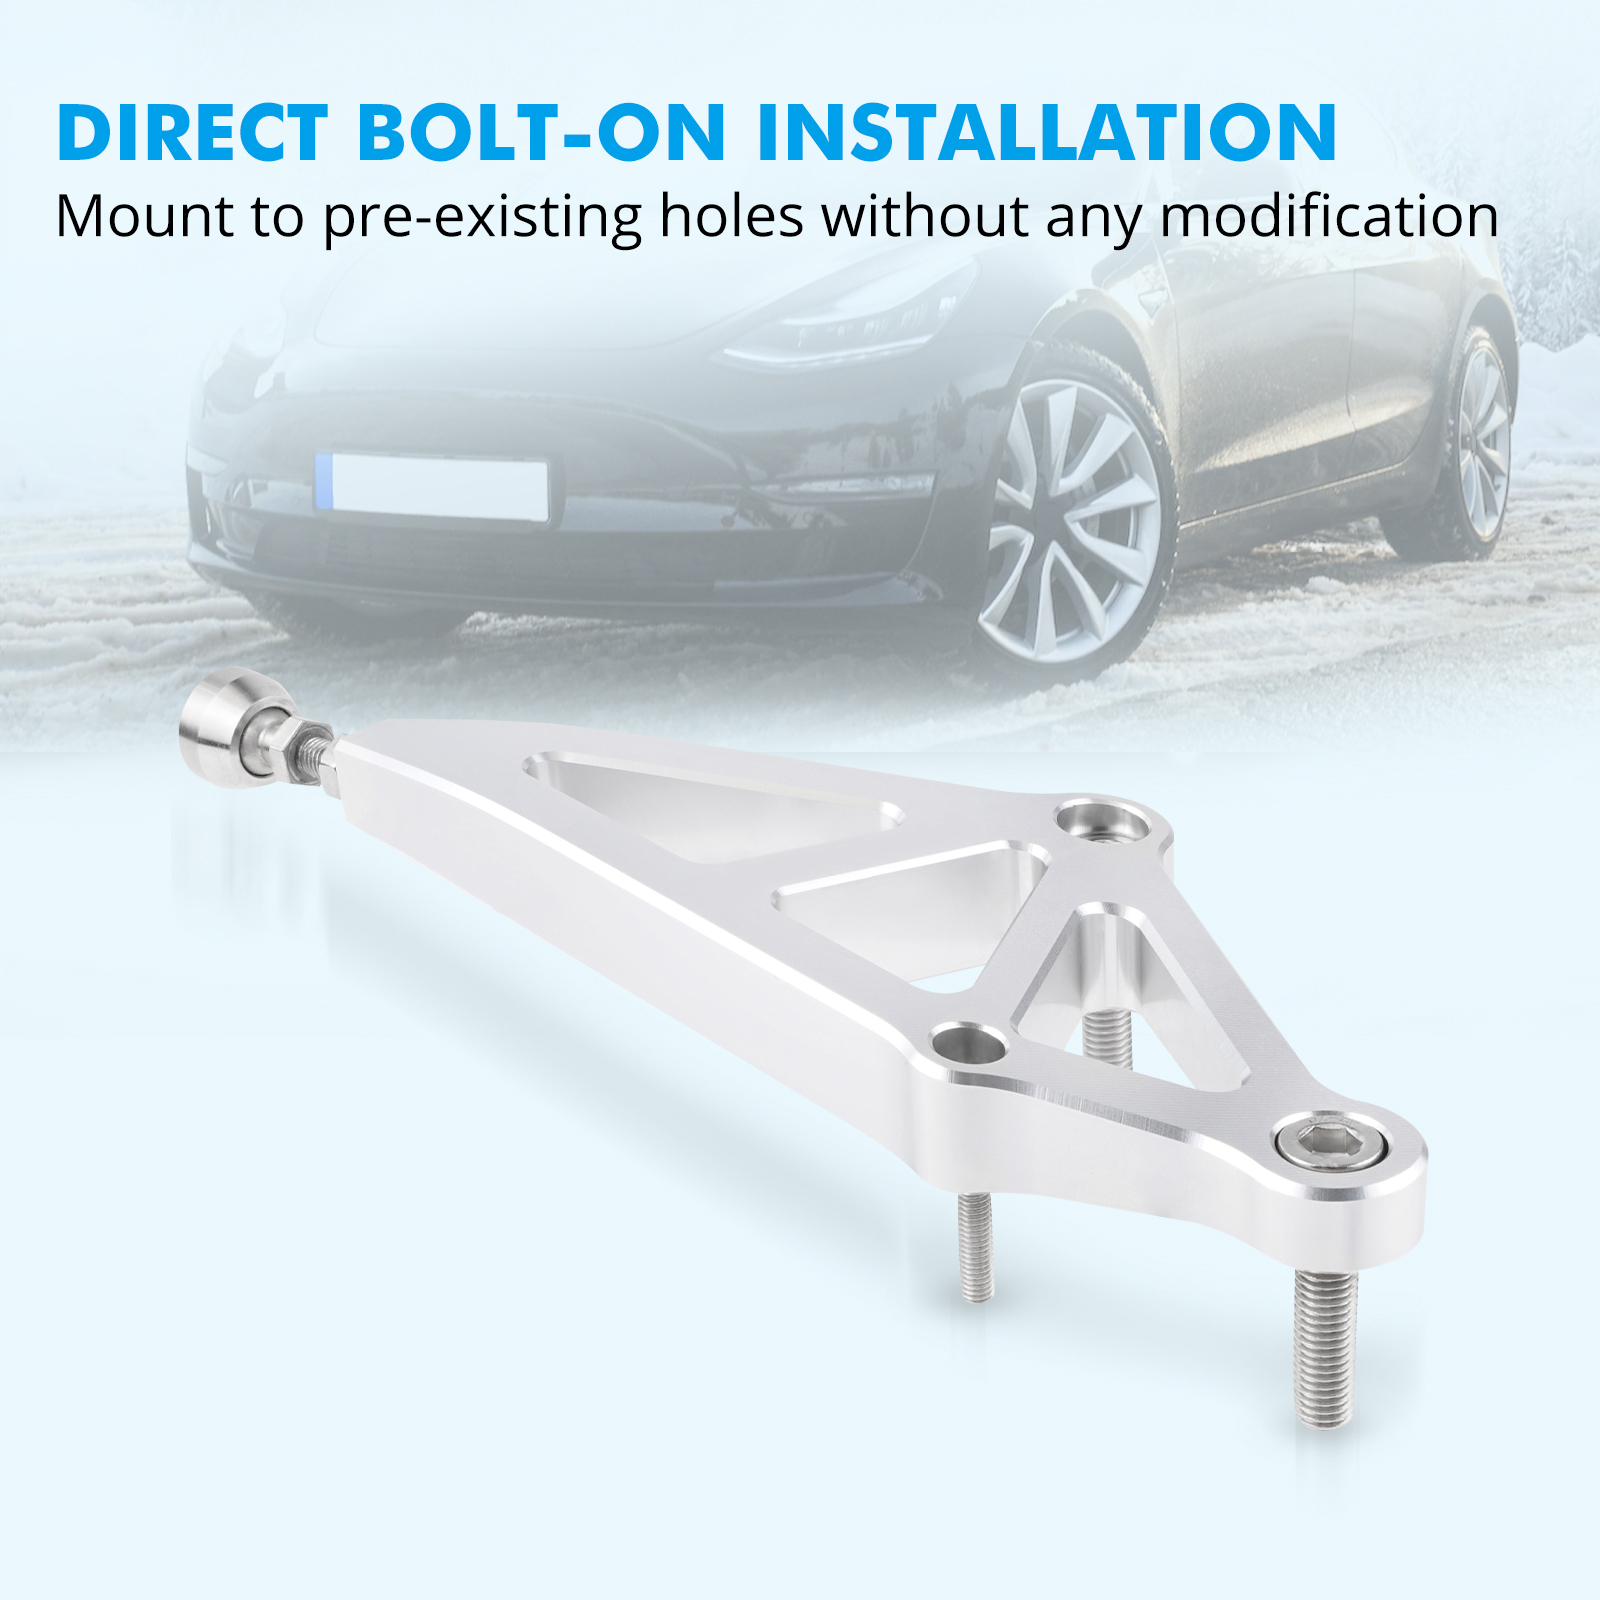
【Einstellbares Schraubendesign】Die einstellbaren Schrauben der BEVINSEE-Hauptzylinderhalterung ermöglichen ein Vorspannen auf dem Hauptbremszylinder, um die Verbindung weiter zu verstärken oder zu schrumpfen.
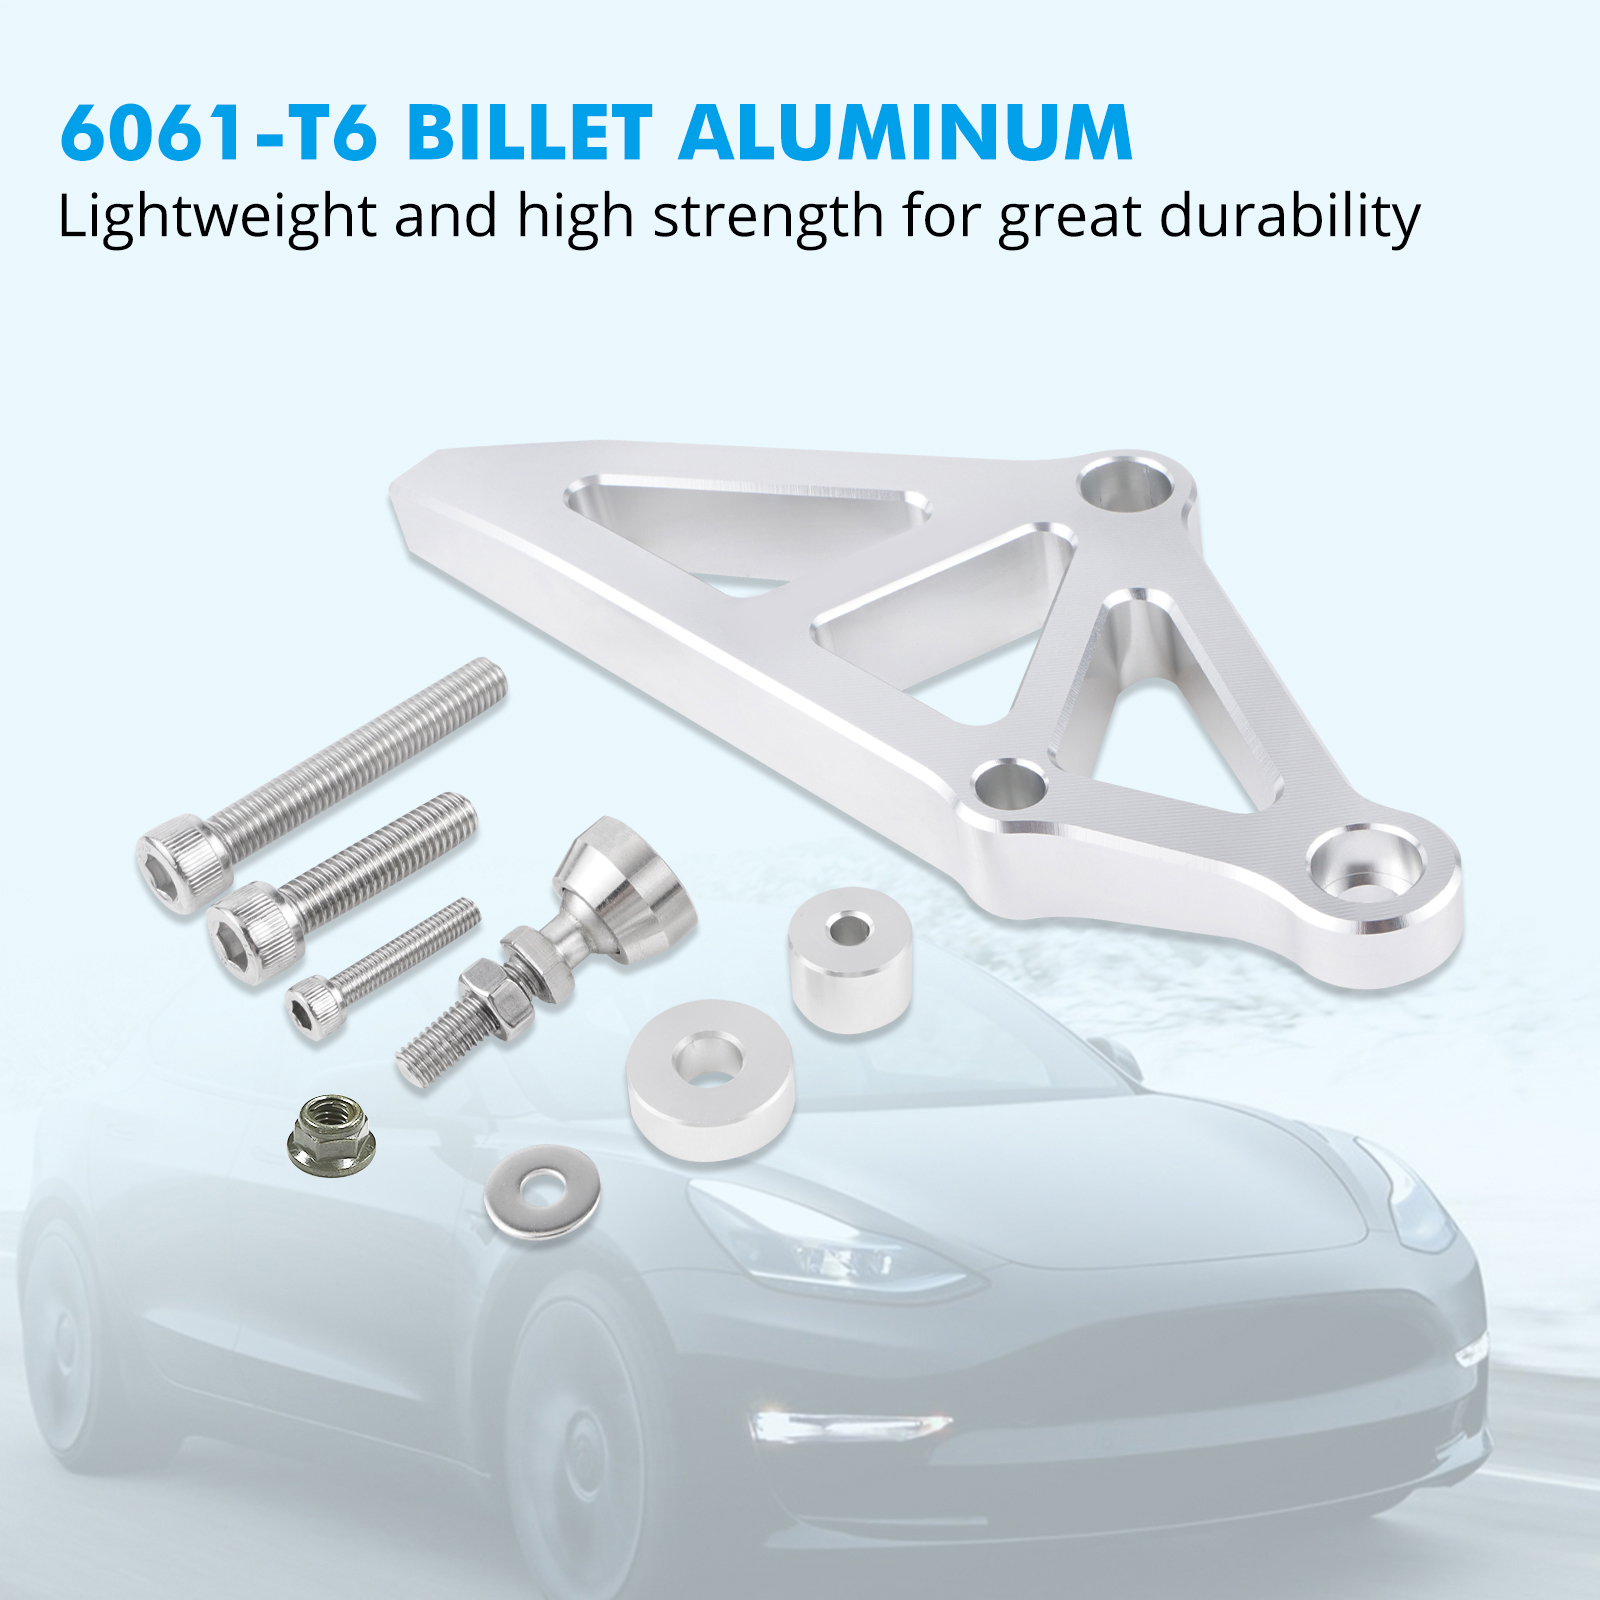
【Stabil und langlebig】Die Halterung ist aus einem großen Block aus Flugzeug 6061 Billet Aluminium gefertigt. Die Beschläge sind aus rostfreiem Stahl gefertigt.
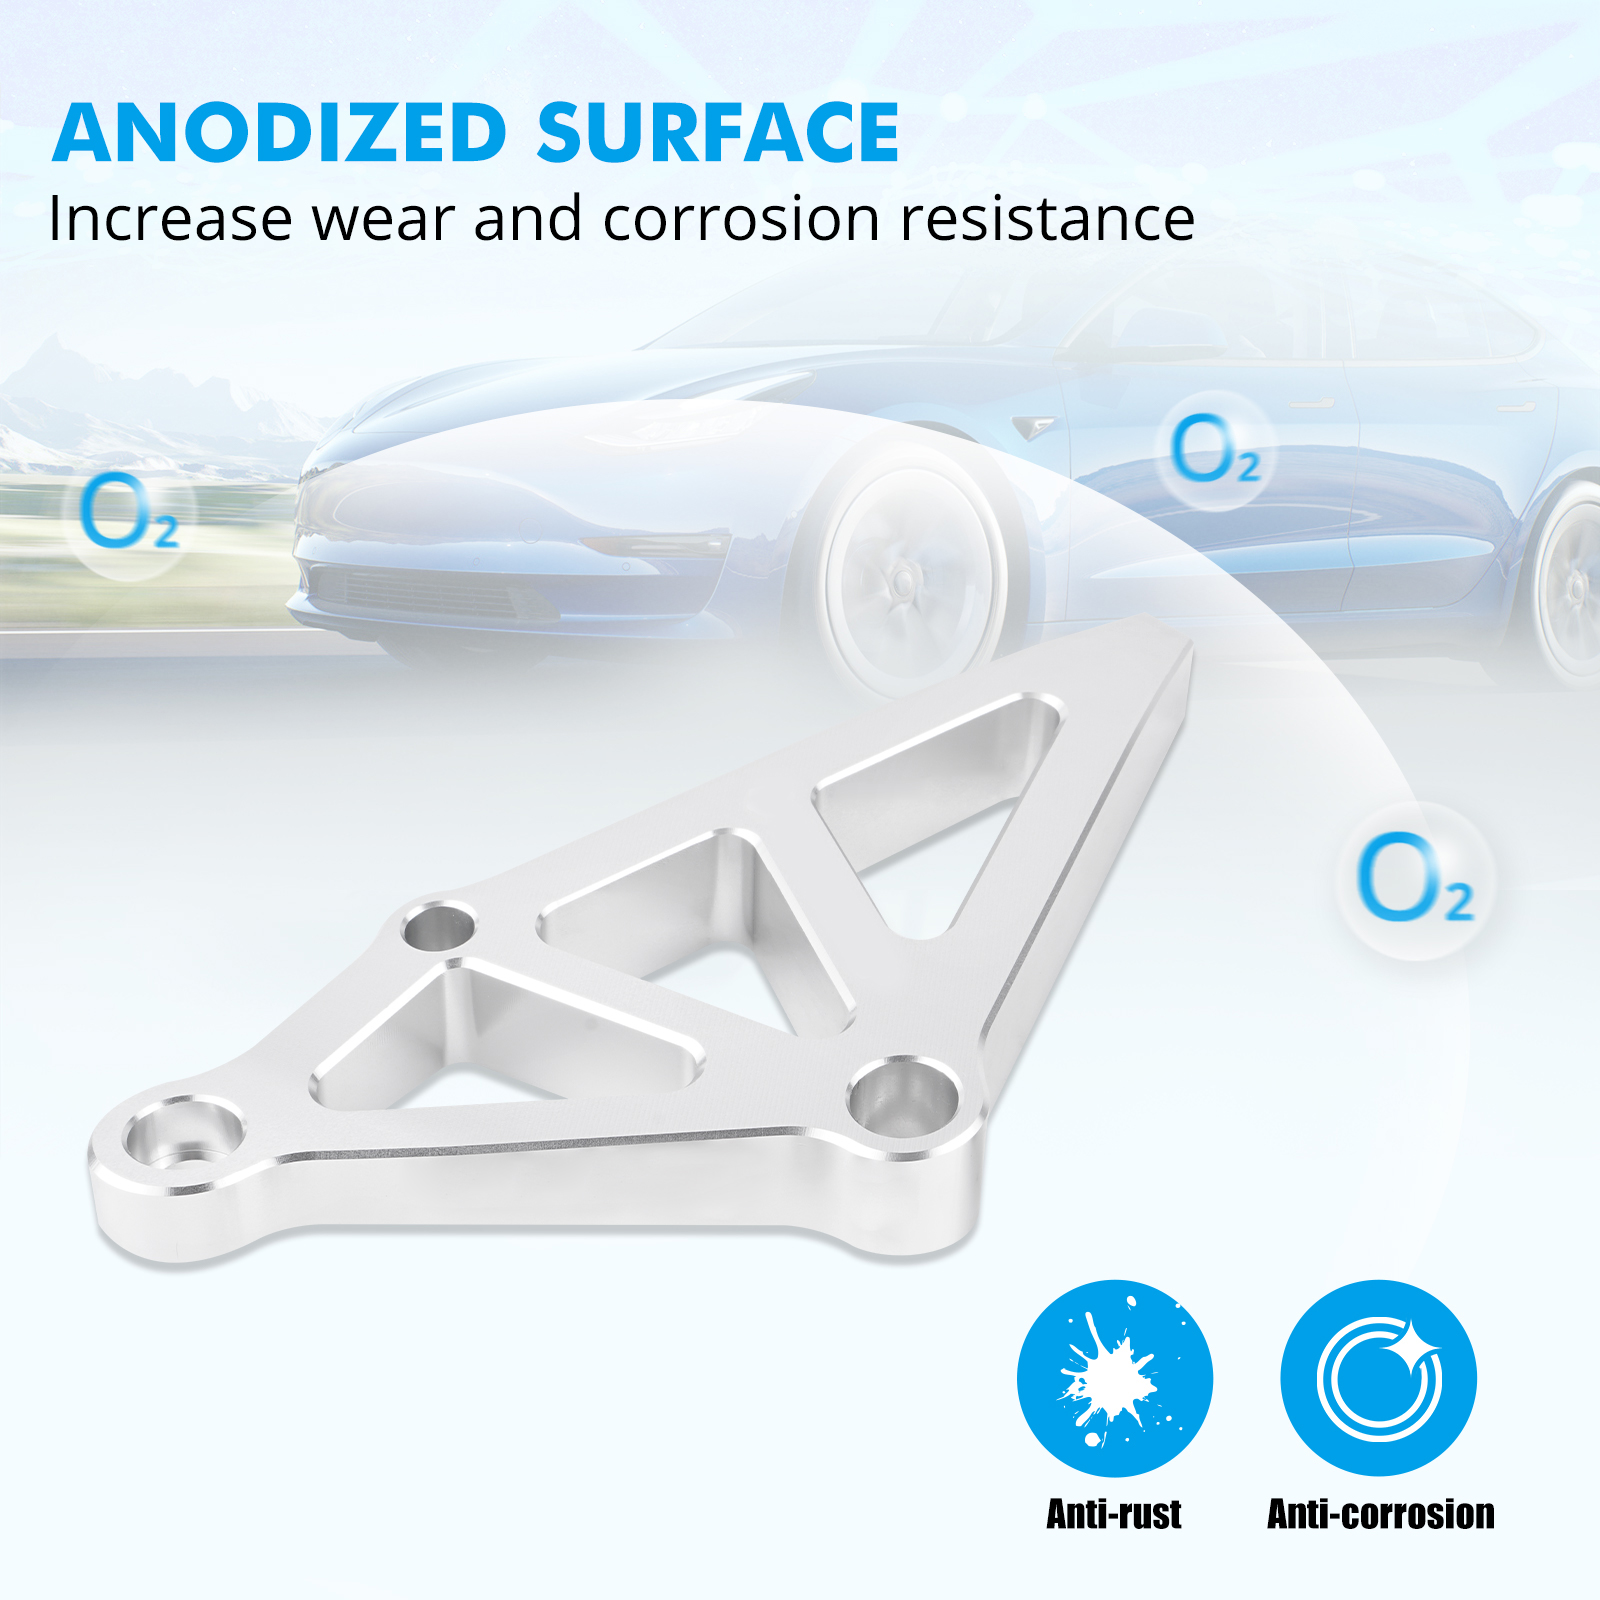
【Großartiges glänzendes Aussehen】Oberfläche eloxiert, korrosions- und abriebfest.
【Perfekte Passform】CNC-gefräst, hohe Genauigkeit.
Artikel-Spezifikationen:
Marke: BEVINSEE
Zustand: Brandneu
Material der Halterung: Aluminium-Legierung
Oberfläche der Halterung: Eloxierung
Verarbeitung: CNC-gefräst
Paket enthalten:
1X Haupt Bremszylinder Halterung (einschließlich aller notwendigen Befestigungselemente)
Anwendungen:
Für Tesla Model 3 LHD (RWD/AWD/AWD Performance) 2017-2023
Hinweis:
Passt nicht für RHD-Modelle
INSTALLATIONSMODUS:
Wenn Sie selbst Hand anlegen möchten, beachten Sie bitte die folgende Installationsanleitung:
Installationszeit: 0,5 Stunden
Erforderliche Werkzeuge: Herkömmliche Hardware-Werkzeuge, 5-mm-Sechskantschlüssel, 8-mm-Inbusschlüssel Hand, 10-mm-Schraubenschlüssel, zwei verstellbare 13-mm-Schraubenschlüssel
Schritte:
1. Entfernen Sie die vordere Ersatzbox.
2. Entfernen Sie die beiden in der folgenden Abbildung gezeigten Schrauben.
3. Schrauben Sie die Einstellschraube vollständig in die Halterung der Hauptpumpe.
4. Montieren Sie die Halterung der Hauptpumpe mit Dichtung an den beiden Löchern, die der Hauptpumpe am nächsten sind, mit dem beigefügten Zubehör.
5. Montieren Sie M6-Unterlegscheiben und -Muttern durch die Löcher am Träger.
6. Lösen Sie die Einstellschraube, bis der Sockel die Hauptpumpe berührt, aber ziehen Sie die Einstellschraube nicht mit einem Schraubenschlüssel an der Hauptpumpe fest. Auf;
7. Ziehen Sie die 13-mm-Kontermutter an der Einstellschraube mit einem Drehmoment von 67 Nm fest, um sicherzustellen, dass die Stütze in Kontakt mit der Hauptpumpe steht, aber ziehen Sie sie nicht zu fest an.
8. Setzen Sie den vorderen Ersatzbehälter wieder ein.DISCLAIMER
Disclaimer: nicecnc parts are not sponsored or endorsed by, or affiliated with the brands its parts fit, including Porsche, Subaru, Jaguar, BMW, Isuzu, Chrysler, Dodge, Jeep, Buick, Cadillac, Chevrolet, GMC, Volvo, Land Rover, Oldsmobile, Pontiac, Ford, Lincoln, Mercury, Acura, KIA, Nissan, Infiniti, International Harvester, Mitsubishi, Audi, Lexus, Toyota, Mazda, Volkswagen, Suzuki, Saab, Honda, Alfa Romeo, Saleen, Mercedes-Benz, Nash, Hummer, Freightliner, Datsun, Saturn, Turner, Geo, Lada, Fiat, Daihatsu, Opel, Vauxhall, Sabra, Tesla, Ram, Rover, Skoda, Healey, Mini, Smart, Scion, Renault, Seat, Peugeot, Merkur, Astra, Tucker, VW, Routan, Tiguan, Touareg, Jetta, Gti, Passat, Golf, Bosch, Denso, Holden, Chery, Mercedes Benz, Holden Special Vehicles, Hyundai, Trabant, Citro?n etc.
Payment Policy
 Shipping Policy
Return & Refund
Feedback
 About Item
Customer Satisfaction
Visit Our Store For Best Deal!

|
Am 15.09.2024 hat der Verkäufer die folgenden Angaben hinzugefügt: