


Store Categories
- Electronics
- Fashion
- Motors
- Home&Garden
- Others
Details
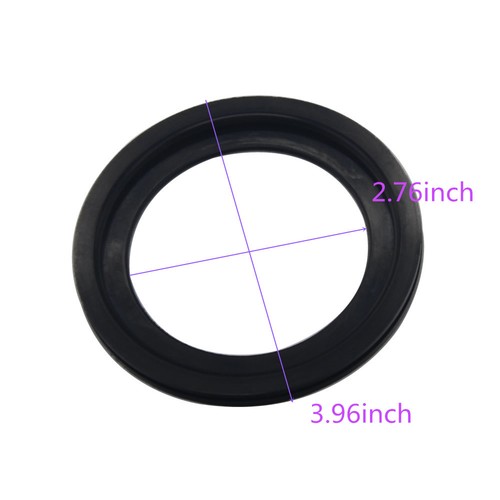
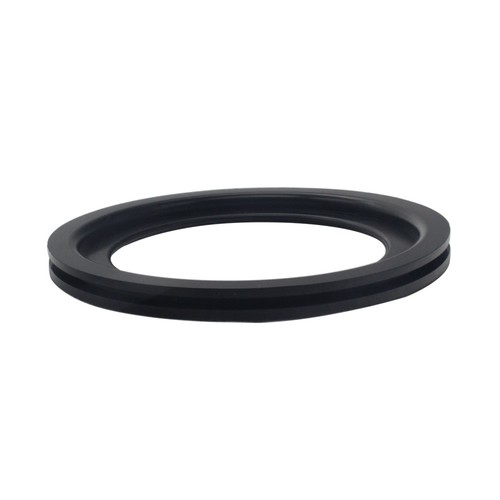
【Product Info.】:385311658 Flush Ball Seal Kit,developed to promote the benefits of security, ensuring a leak-proof mechanism. Prevents water from accidentally flowing for a better flushing action
✅【High Quality Material】:385311658 Flush Ball Seal Kit is manufactured with high-grade construction and premium grade rubber blend that offer reliability and durablity over time,providing you with a long-lasting material.Its construction is practically developed to secure and prevent water leakage for a more comfortable and cleaner use
✅【Fit for 300 / 310 / 320 Models】:Our flush ball seal is a perfect replacement part to properly fit dometic models:300/310/320 RV Toilet.Does not fit 210, 510 or other models not mentioned
✅【Save Time&Money】:Don't need to go out to buy a new toilet or pay for repairman,we understand everyday home project maybe a burden for home, therefore we give you 10 fast easy steps in below description for a quick installation.Anyone can do it and it takes only minutes to install with our step by step guide
[Feature]:
HARD-WEARING CONSTRUCTION - Manufactured to precision using premium grade materials that
offer durability over time, providing you with a long-lasting material.
LEAK PROOF COVERAGE - Developed to promote the benefits of security, ensuring a leak-proof
mechanism. Prevents water from accidentally flowing for a better flushing action.
PERFECT FIT FOR 300 / 310 / 320 MODELS - Our flush ball seals / flush ball gaskets are a perfect fit
for Dometic (TM) 300, 310 and 320 RV, motorhome and trailer toilets. These flush ball seals replace
Dometic (TM) flush ball seal kits # 385311658
[Easy Installation]:
Step 1: First, open the flush ball and keep open by depressing the flush pedal
Step 2: Then grab the underside of the old seal and remove by pulling seal towards you
Step 3: Once flush ball seal is removed, clean the rim and bowl of the gasket that was once rested
Step 4: Then, release the flush pedal and allow the flush ball to close
Step 5: Next, clean the flush ball thoroughly
Step 6: While the flush ball is closed, insert the new seal and press firmly outward until seal is correctly fitted
Step 7: Once the seal has been fitted, reopen the flush ball and spread a lubricant in the area where the gasket contacts the flush ball
Step 8: Finally, continue to pen and close the flush ball until gasket is properly secured
Step 9: Lastly, turn water supply back on and add water to the bowl while inspecting for any leaks or issues
Step 10: Double check for leaks, and then you are ready to go!
copyright © 2018 datacaciques
