AFunCrafter HTV Heat Transfer Vinyl 8 Sheets 11.8" x 9.8",Iron On Bundle for Cricut DIY T Shirts, Assorted Rainbow White Red Pink Yellow Orange Green Blue Accessories,Everyday Smart Machine Sport Flex
How To Use Heat Transfer Vinyl
1. Design Select and size your design in the software. Be sure to Mirror(flip) your mats before cutting.
2. Cut and Weed Out Excess Vinyl Make sure there are no wrinkles on the material. Cutting a small piece of vinyl for testing the settings.
Place Iron-on sheets, plastic side down, onto Cricut StandardGripcutting mat.
(If you do not have an electronic cutting machine like a Silhouette or Cricut, you can cut heat transfer vinyl by hand. )
3. How to heat transfer / iron on vinyl
Before transfer, preheat your base fabric for 3-5 seconds to remove wrinkles and moisture. If you use home iron, pls make sure no steam.
Place the transfer image-side down on the fabric.
Please do a test using a small piece of our patterned iron on vinyl or glitter iron on vinyl to test the temperature and pressure before doing it with your final artwork.
4. After Transfer
Cool peel. Start at one of the vinyl's corners.
Wait 24h before washing.
Do not dry clean or bleach.
Do not use fabric softener
for cricut: bladd: stander ; mode: iron on + (glitter vinyl: Custom, Glitter Iron-On)
for Silhoutte cameo: bladd: 3; force: 4 ; speed: 8 ; passes: 2
press time: 10-15 seconds
transfer temperature: 300F - 320F
Package Include:
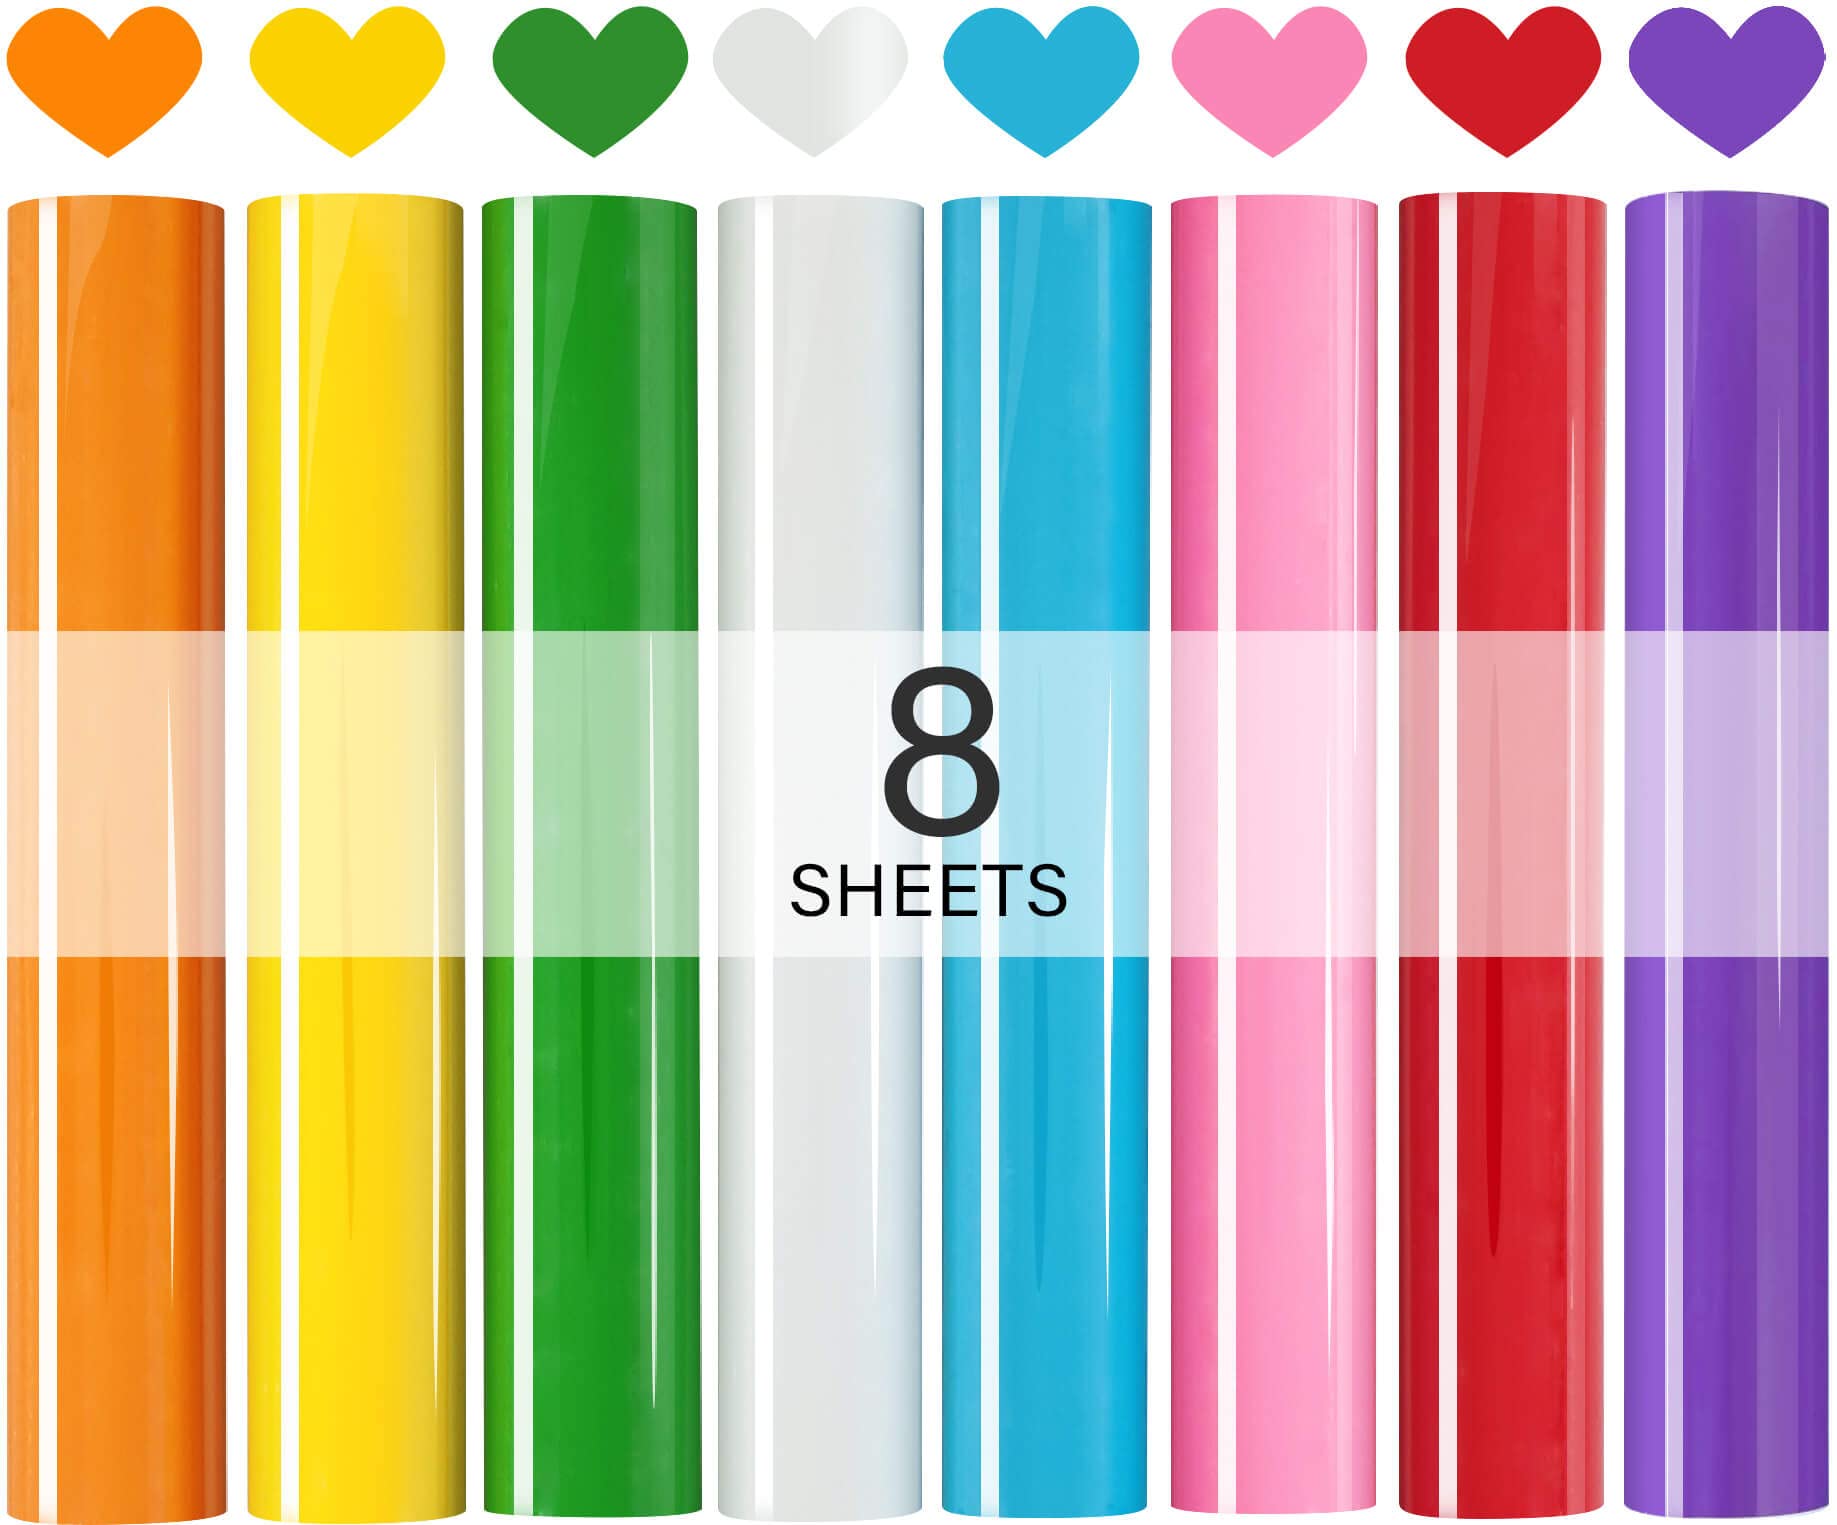
8 sheets of heat transfer vinyl bundle with most popular rainbow colors: yellow red blue white green pink orange
Durable and Waterproof
Our heat transfer vinyl bundle are flexible, durable and waterproof.
Heat Transfer Vinyl Projects Ideas
1. Design Your Own Style
2. personalize gifts for friends
3. A Great Team-Builder
Features
- EASY WEED & CUT & TRANSFEROur rainbow htv heat transfer vinyl sheet is thick and smooth, easy to cut and weed. Sensitive to temperature and pressure, it can be easily heat transferred on any shirt.
- SGS ECO-FRIENDLY & USING WIDELYIron On Vinyl Sheets is suitable for a wide range of fabrics such as Cotton, Polyester, and is the best ideas to personalize your DIY t-shirt, bag, hat and pillow
- GREAT STICKINESS & MACHINE WASHABLEWait at least 24 hours before washing, the htv vinyl won't peel, flake or crack even after repeated washing
- ASSORTED RAINBOW COLORIncluding 8 sheets of heat transfer vinyl with the most popular rainbow colors: yellow red blue white green pink orange
- GREAT SERVICEPlease feel free to contact us regarding to any questions or concerns. If the heat tranfer vinyl can't cut properly, well send you a replacement set absolutely FREE or refund!