New update

Extension Tray Compatible with Cricut Explore Air 2 & Explore 3 Tray Extender
Christmas Greeting Words Silkscreen Stencil Reusable Self-Adhesive Mesh Stencils
Mini Paper Pouncers Sponge Applicators Ink Blending Brushes Stamping Sponge Head
Halloween Christmas Metal Cutting Dies For DIY Scrapbooking Embossing Craft Card
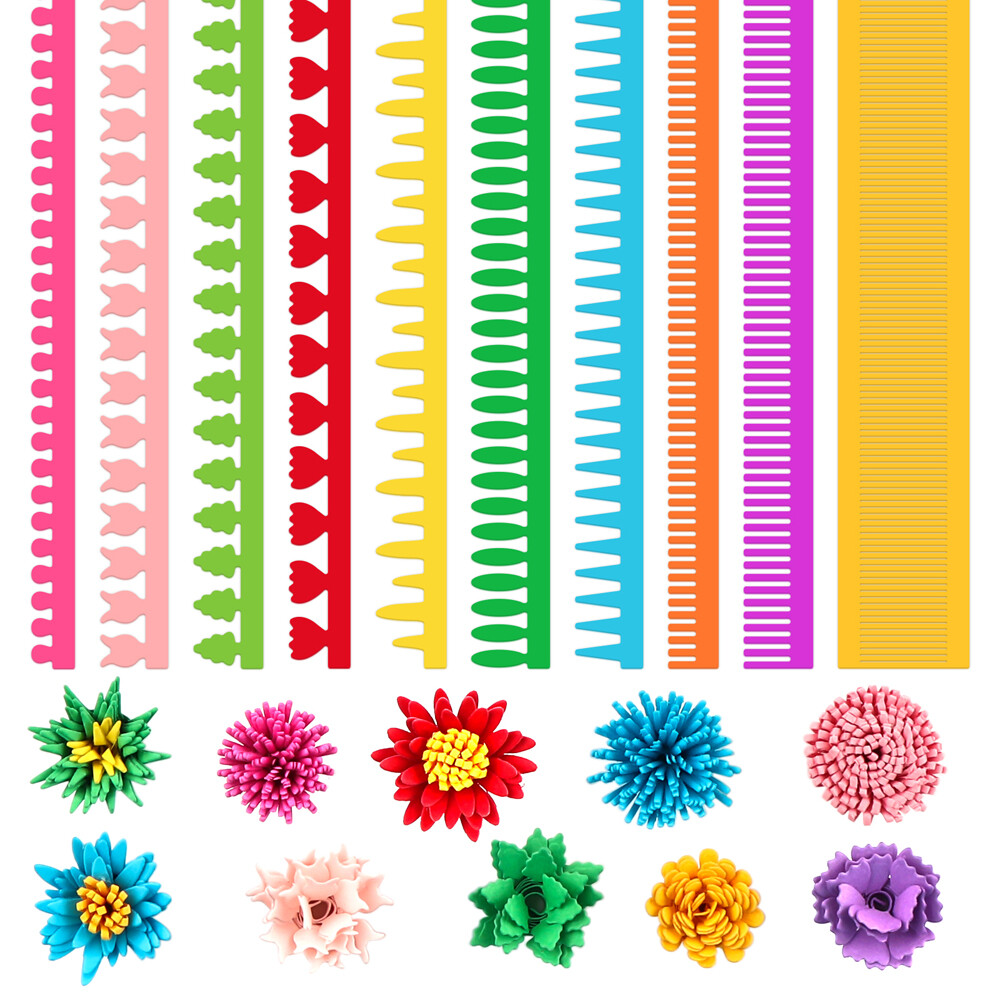
Christmas Flowers Cute Animals Metal Cutting Dies Stamp Set DIY Craft Album Card
2024 Landscape Desk Calendar Scratch Off Sticker For Home Office Desk Decoration
Christmas Animal Bird DIY Silkscreen Stencil Reusable Self-Adhesive Mesh Stencil
Christmas Animal Rabbit Metal Cutting Dies Stamp Set For DIY Craft Card Making
Circle Rectangle Metal Cutting Dies Flat Shaker Covers For DIY Craft Card Making
Mini Manual Die Cutting and Embossing Machine For DIY Scrapbooking Craft Cards
Multifunction Clear Acrylic T-Square Ruler Scrapbooking Measuring Drafting Tools
Christmas Decor Hot Foil Plate Dies For DIY Scrapbooking Embossing Craft Cards
Low Stick Mat Stick and Stamp Mat Laser Cut Template For DIY Clear Stamps Craft
Bottle Television Dimensional Shaker Domes For DIY Scrapbooking Craft Cards
10PCS/Lot 7.6x9.4inch Storage Pockets Envelopes For Cutting Die Stamp Collection
UK Plug Hot Stamping Foil Machine Bronzing Machine For DIY Craft Card Making
5mm Multicolor Quilling Paper Strips Paper Quilling Tools DIY Craft Home Decor
5 Sheet Heat Resistant Clear Acetate Sheets For Heat Embossing Shaker Cards
3D Rollded Flowers Metal Cutting Dies For DIY Scrapbooking Embossing Craft Cards
6PCS/set Clear Plastic Storage Bag Envelopes Cutting Dies and Stamp File Pockets
Animals Flowers Gift Box Metal Cutting Dies Stencils DIY Scrapbooking Craft Card
Vintage Flowers Clear Rubber Stamps Stamping Seal Scrapbooking Album Craft Card
Book Cover Guide Stainless Steel Metal Bookbinding Cover Tool Scrapbooking Tools
Paper Pouncers Inking Sponge Ink Applicator with Storage Cases DIY Craft Tools
Clear Plastic Storage Binder Folder Organizer Cutting Dies and Stamp File Pocket
7PCS/set Creative Positioning Tools Card Corners Helper Craft Measuring Ruler
0.8mm Tip USB Hot Foil Pen Heat Active Pen DIY Scrapbooking Craft Card Making
Mini Die Cutting Machine With Cutting Pads For DIY Scrapbooking Embossing Craft
A4 Clear Storage Folder Book Binder Collection Cutting Die and Stamp File Pocket
A6 Clear Sticker Photo Storage Album Cutting Dies Stamp Storage Organizer Folder
Illuminate your projects with Toner Foil – Adding a touch of brilliance to your creations!
Toner foil is a versatile and innovative material, perfect for adding a metallic finish to a wide range of projects. Widely used in the printing industry for labels, stickers, and business cards, toner foil consists of a thin foil layer coated with a heat-activated adhesive. This adhesive allows the foil to bond seamlessly with toner ink, found in laser printers and copiers.
Key Features & Benefits:
-Toner foil delivers a captivating metallic finish, adding luxury and sophistication to any project.
-Available in numerous colours and finishes.
-Heat-activated adhesive ensures effortless application and a strong bond with toner ink.
-User-friendly, toner foil can be applied using a laminator.
-Versatile, toner foil is suitable for printing, cardmaking, scrapbooking, and DIY projects.
EASY DIY Foil with a Laminator and Laser Printer
Step 1: Print your patterns on regular paper or card stock with your laser printer;
Step 2: Next, roll out your toner-reactive foil over your paper, shiny side up. Make sure it covers all of the black ink on your paper;
Step 3: Trim the foil so that it fits perfectly over the sheet of paper;
Step 4: Place a piece of card stock over the top of the foil to hold the metallic foil in place;
Step 5: Now that you have sandwiched your foil between the two pieces of paper, run it through your laminator. Sometimes you need to do this twice or three times just to make sure the foil reacts to the toner as well as you want it to;
(TIP: Make sure your laminator is warmed up properly before use. )
Step 6: Your foil will be attached to the bottom sheet of paper. Peel it off slowly.
Usage Instructions:
-Design with toner ink on your chosen material.
-Cut toner foil to size and cover the printed area completely.
-Run the paper through a laminatin machine to activate the adhesive and bond the metallic layer to the toner ink.
-Allow the paper to cool before peeling off the toner foil, unveiling the stunning metallic finish.
*NOTE:It’s important to note that toner foils are not suitable for hot foil stamping, and specialised reactive toner foils are required for toner foiling.