Back to the beginning...
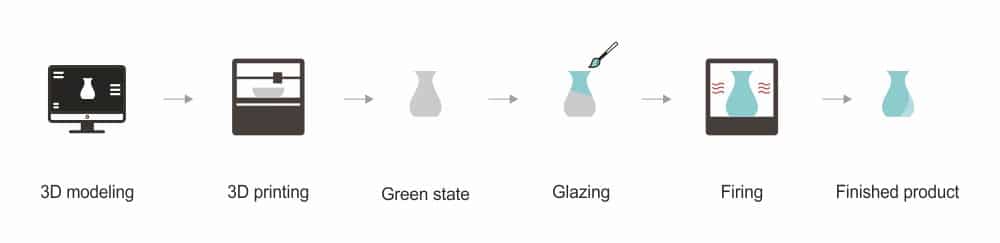
Never worked with clay before? Not sure what the process is? Read through below for all the info you need to turn your wet piece of clay into a beautiful, functional masterpiece!
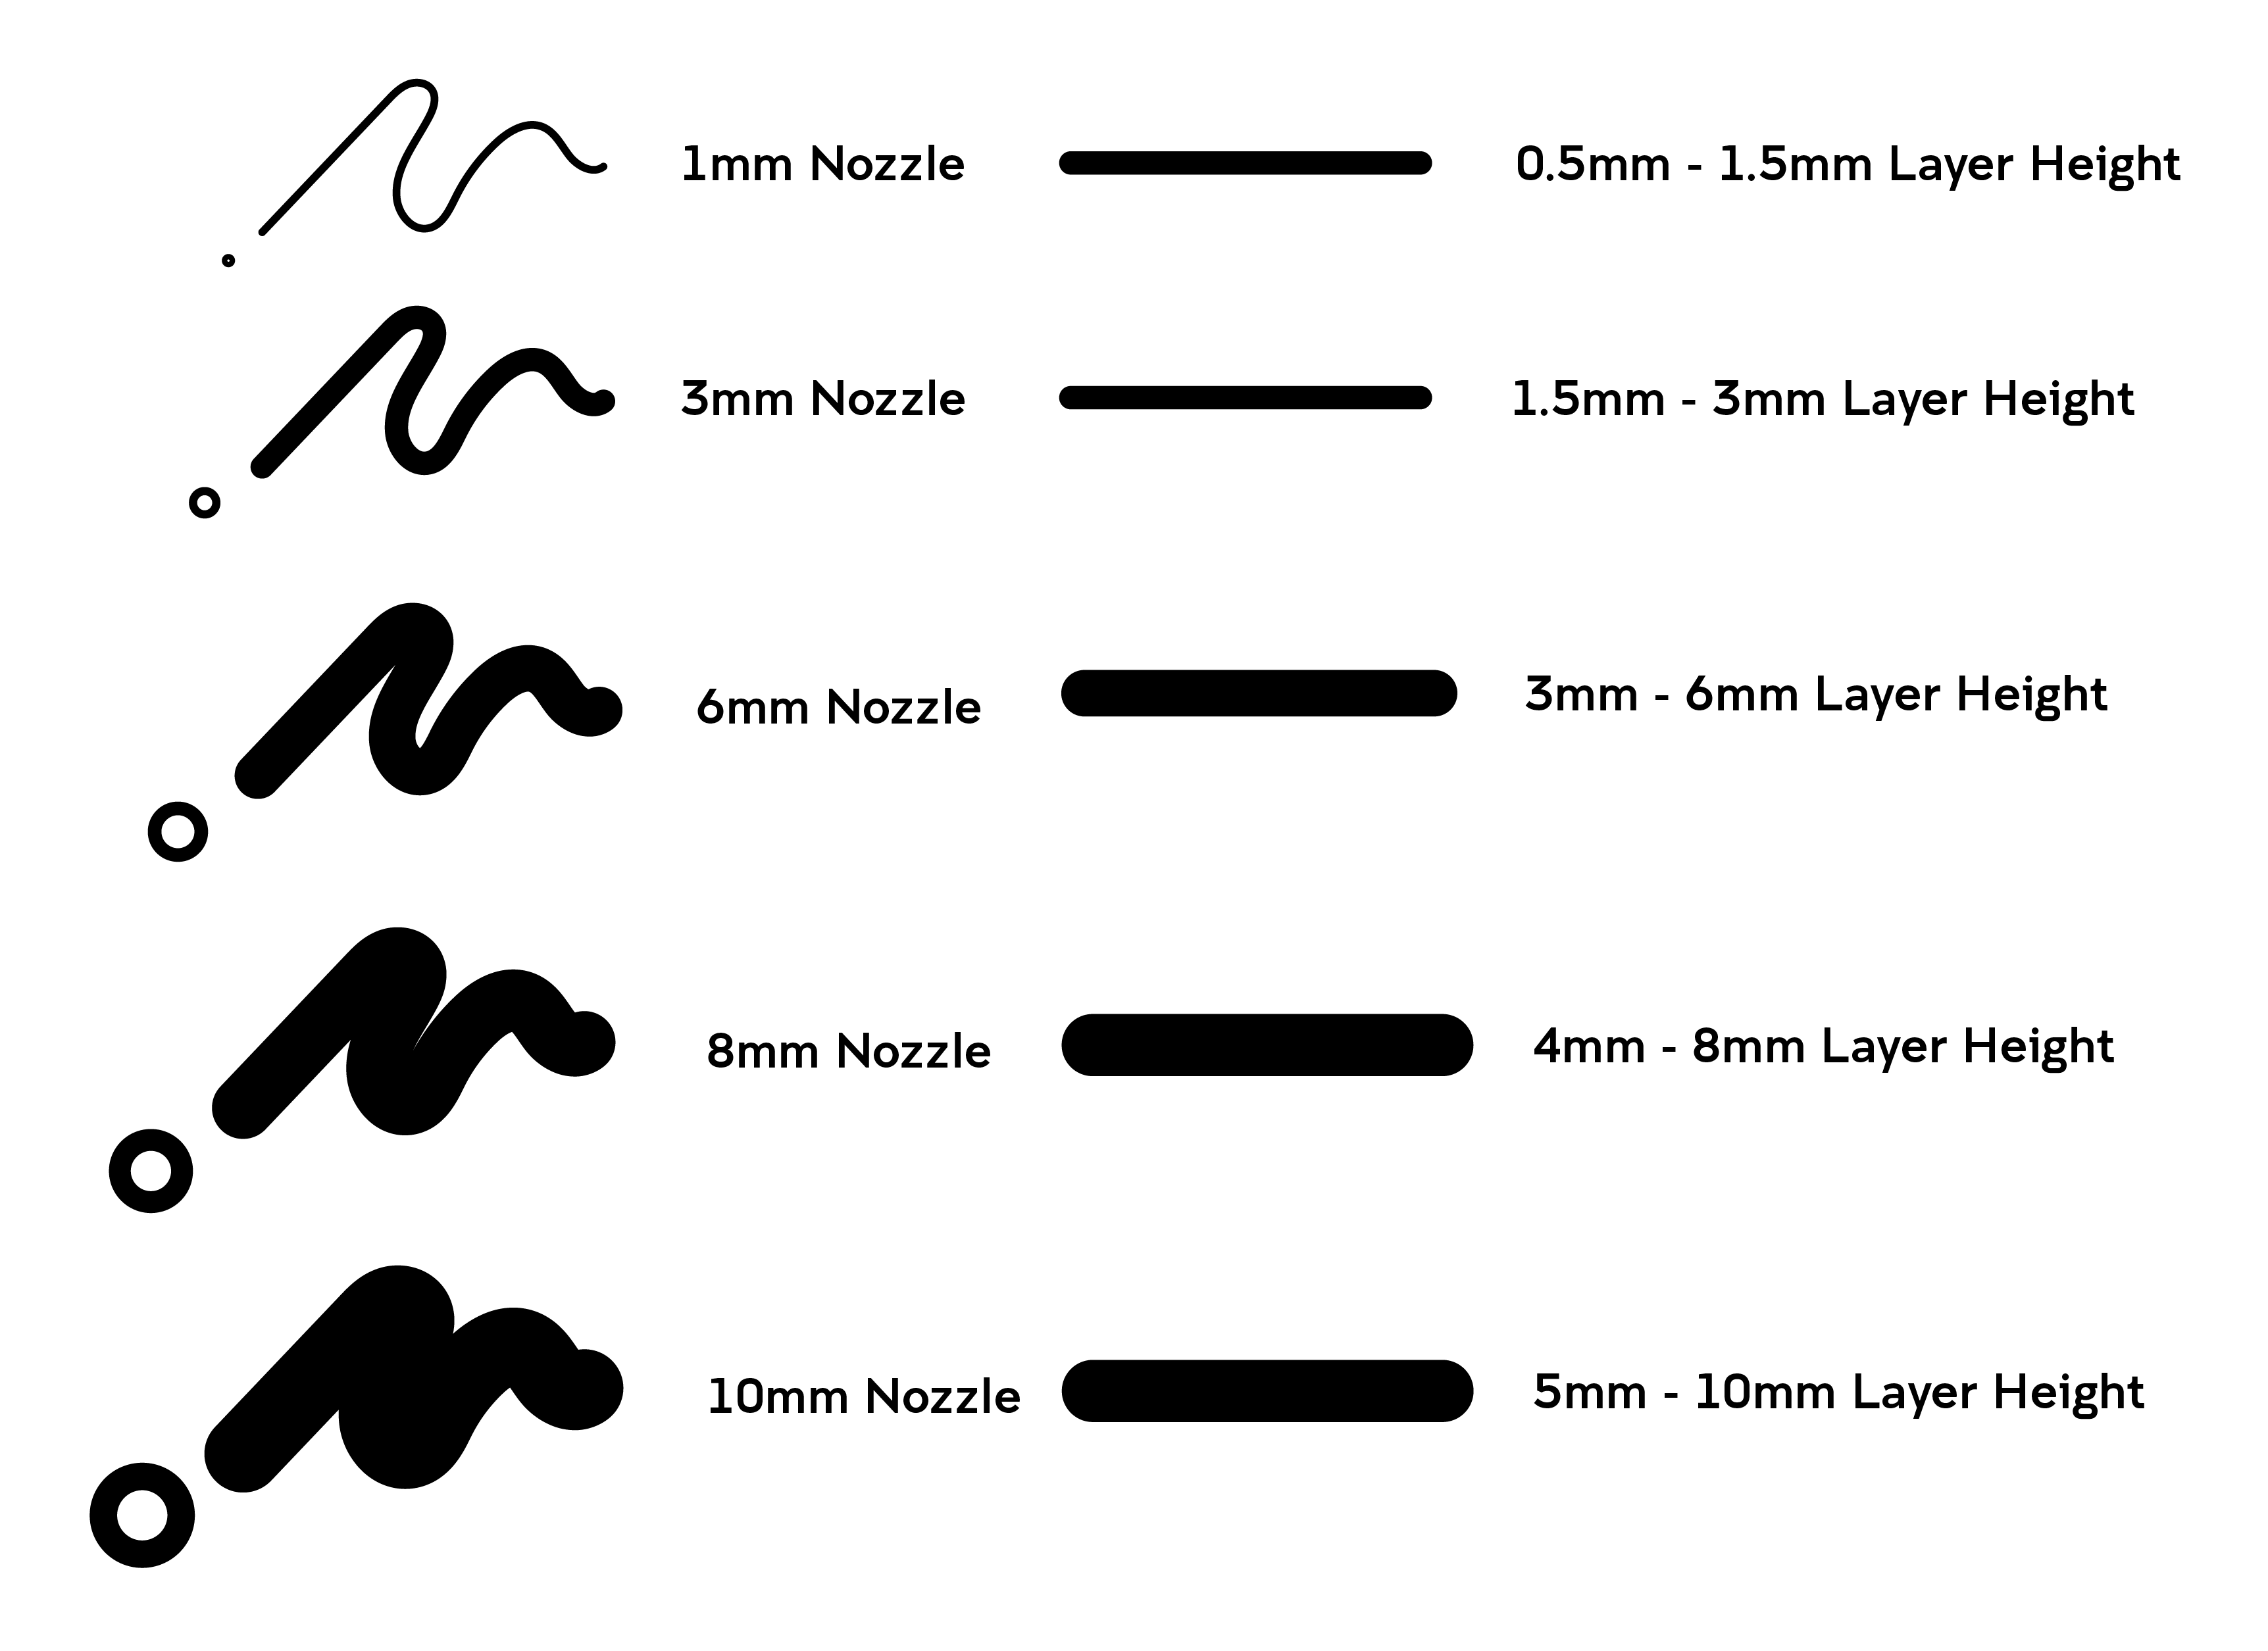
Layer Heights
Before getting started designing or slicing your file you will need to take the size of the nozzle and the corresponding layer height into account. If your layers are too high in relation to the size of your nozzle the clay won’t join together. Whilst layers that are too small run the risk of over-extrusion, pushing too much clay on top of each other, which can cause clogging or ruin prints. Below you will find a guide for recommended layer heights based on the nozzle sizes we have at the DFL.
Similarly to our plastic 3D printers, to print a file on the clay 3D printers you will need an .stl file. This file type can be generated in most 3D Modelling programs, just look for the export button and choose .stl.
Slicing
Once you have your .stl file it will need to be cut into layers or slices so that the 3D printer can build it. We use a slicing program called Cura and have pre-programmed all the print settings in this program.
Slicing programs will generate a new file type known as G-Code. Think of G-code as a set of instructions that tells the printer where to move and how much clay to extrude. This is the file that will be loaded into the clay printers and used to create your designs!
Design Considerations
Wall Thickness
The thickness of a print wall is defined by the thickness of the extrusion. For clay extrusion printing you should not give your model a wall thickness. If you do the printer will possibly try and print the inside and outside wall depending on the settings in your slicing software. When modeling for these machines you need just defining a single wall path. If you do want a double, triple or thicker wall this is set in the slicing software. The default will be for the path you draw to be the centre of the extrusion or combination/multiples of extrusions.
Holey Files
A well drawn file produces a good print. Think about the path that the printhead will follow and the more continues that this movement is the cleaner will be your clay print. It is preferable to have a so-called watertight 3D file. By this it is meant that there are no holes in your shape and that all the surfaces form one continuous shell. Slicing programs are improving all the time at dealing with these problems but not all 3D files will slice perfectly.
Support
Support for overhangs made in slicing programs is often not possible to print in clay. The answer is to add support shapes in your 3D model or alter the model. For example if printing a portrait, under the chin often overhangs too much for the layers to build out. In your modelling program build in a narrow 45 degree wedge under the chin that will print and then this can be cut away when the print is finished and the clay gets stiff.
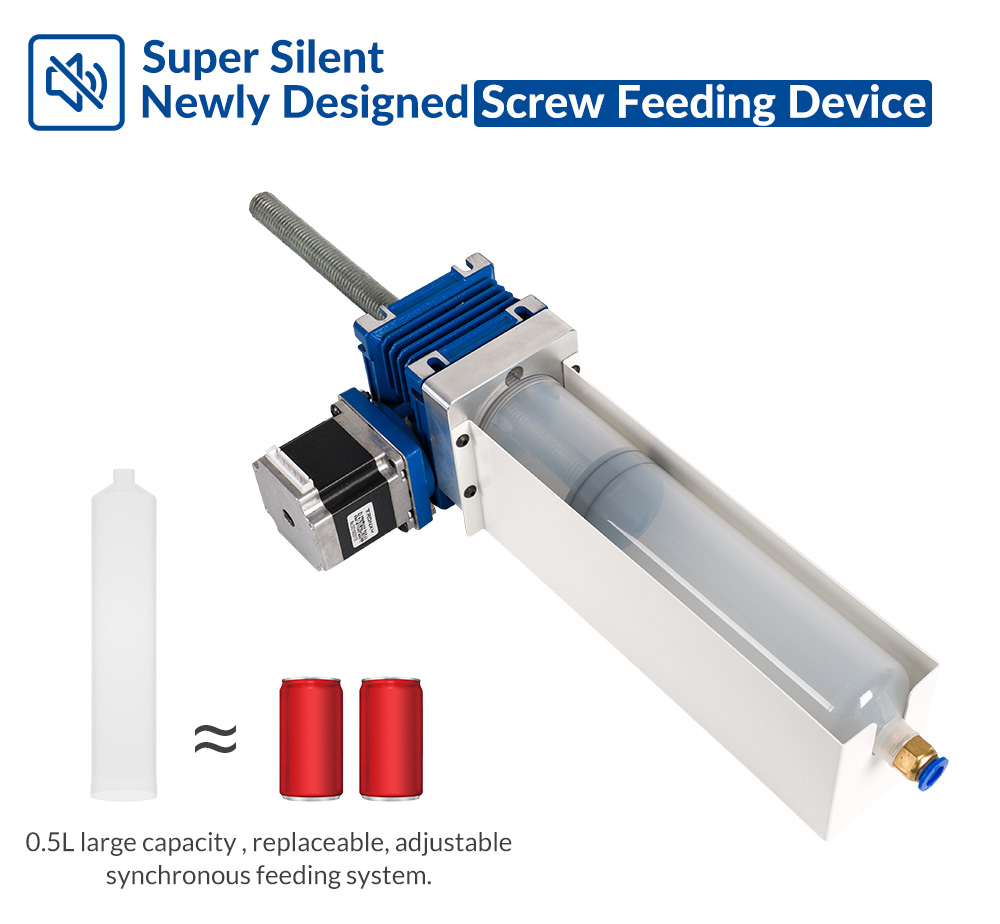
Clay Consistency
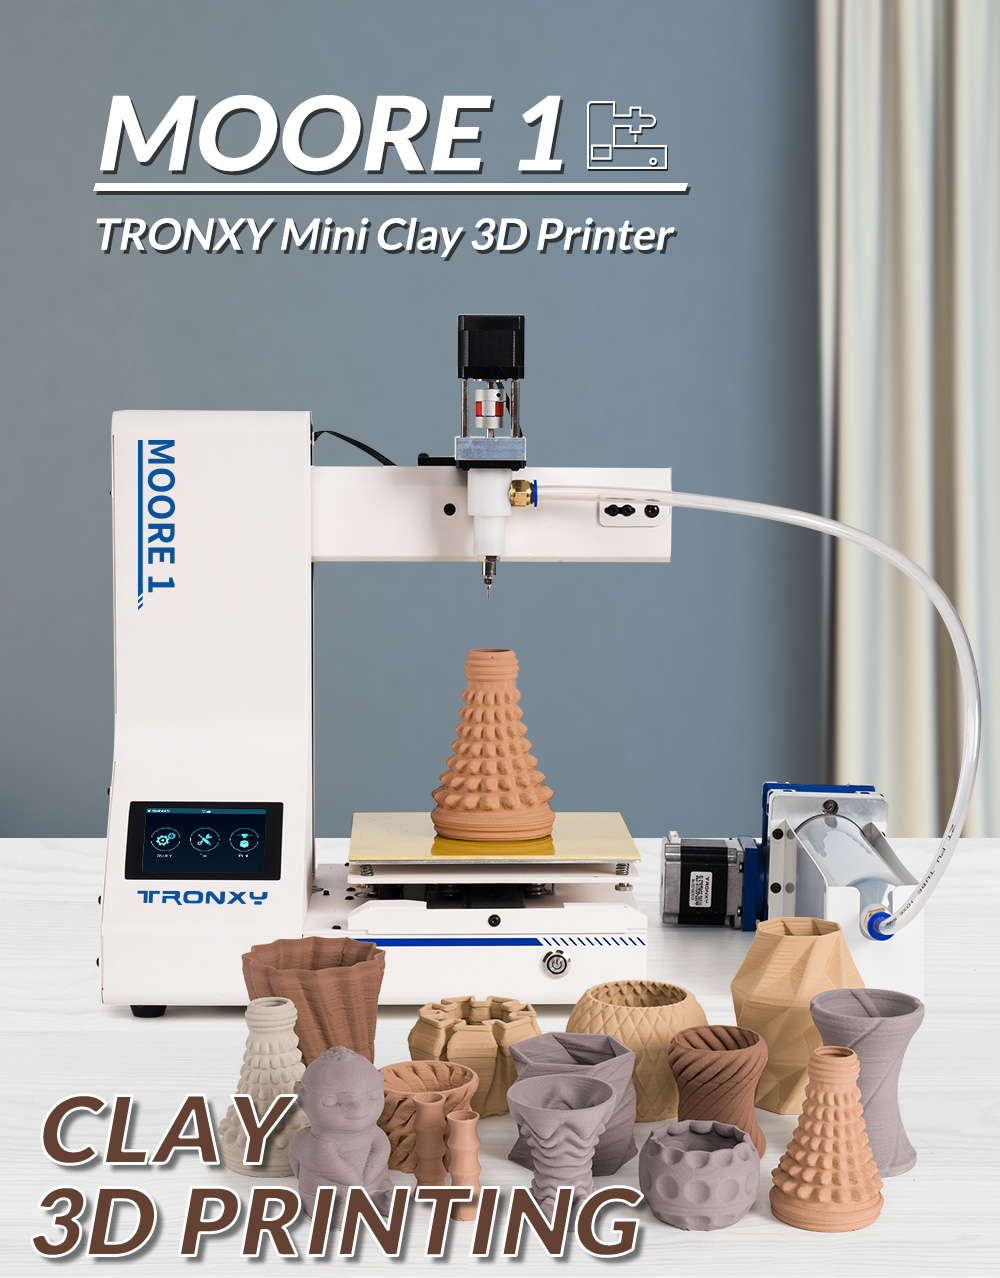
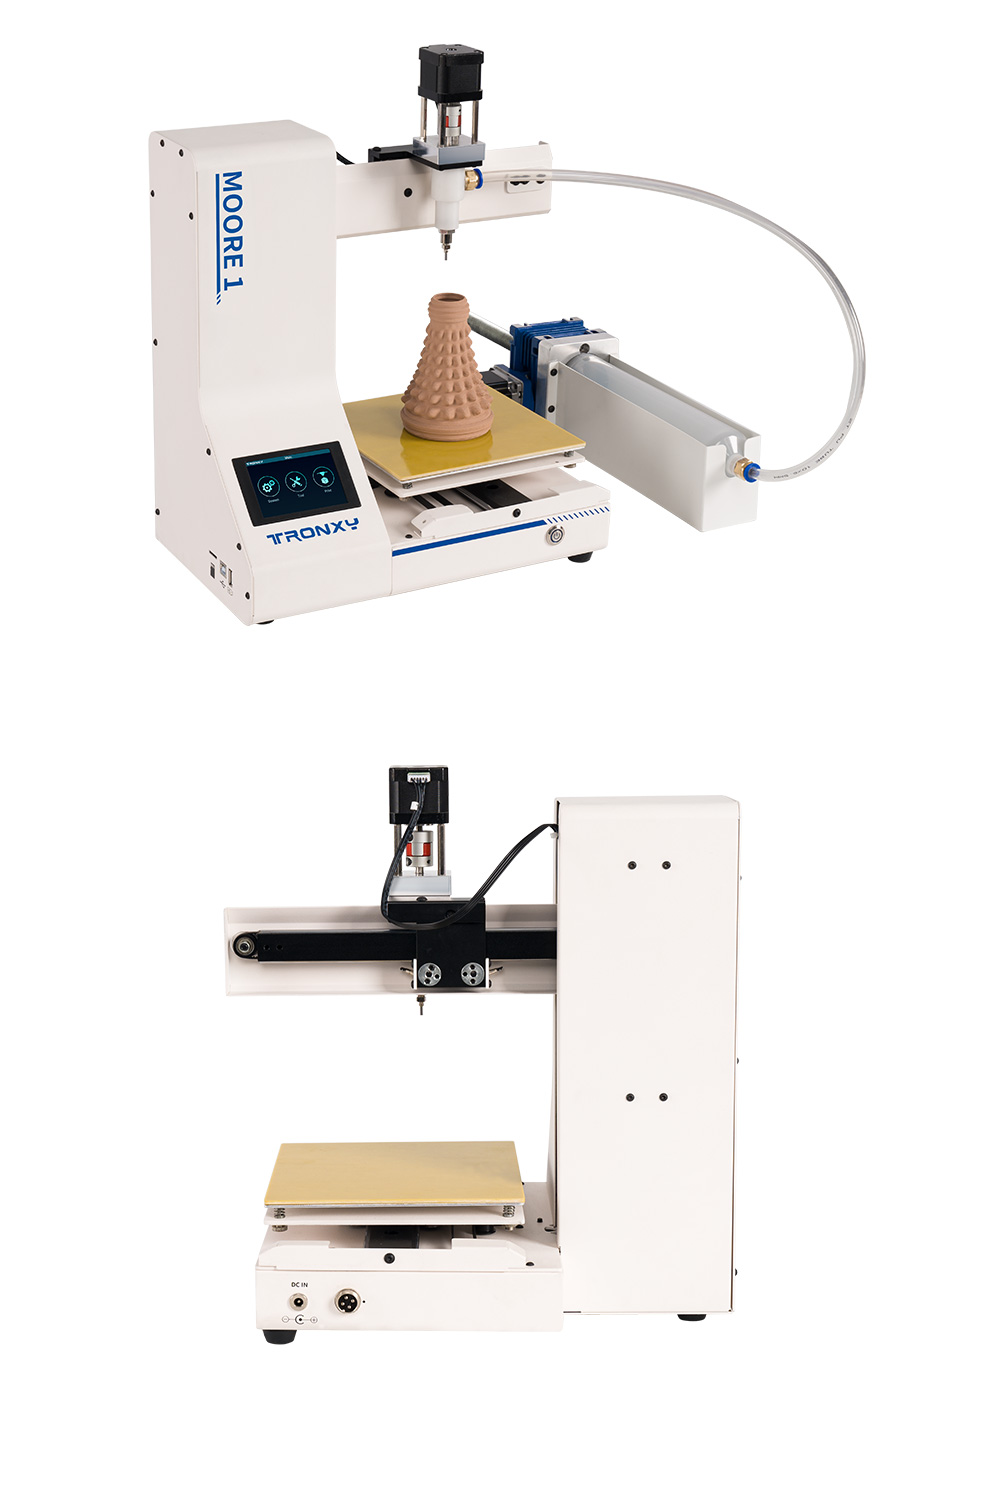
The consistency of the clay is critical when it comes to loading the tubes and for achieving smooth prints. The clay consistency will depend on the machine you wish to use. The Moore 1 requires clay slightly wetter than throwing consistency.