SD Drive for Atari 8-bit with few hardware changes:
- no more SD CARD NOT DETECTED - AVR and SD card talk to each other with no odd resistor dividers - just direct connection with SPI communication made the proper way
- AVR runs at 3v3
- tiny AVR in QFN package, thus 14MHz at 3v3 possible and real
- 402 SMD elements used
- level shifting between SIO and AVR removed! Atari reads 3v3 at SIO port
Buttons and LEDs
- Pressing left button selects next drive (D1: -> D2: -> D3: -> D4:)
- Pressing right button cycles through drives in opposite direction
- 2 buttons pressed together - resets the device; loader contained in SDRIVE.ATR will load after next Atari reset
- 6 LEDs indicate as follows:
- two red ones indicate SD card activity and error
- another 4 LEDS indicate selected drive: D1: PINK, D2: BLUE, D3: GREEN, D4: ORANGE
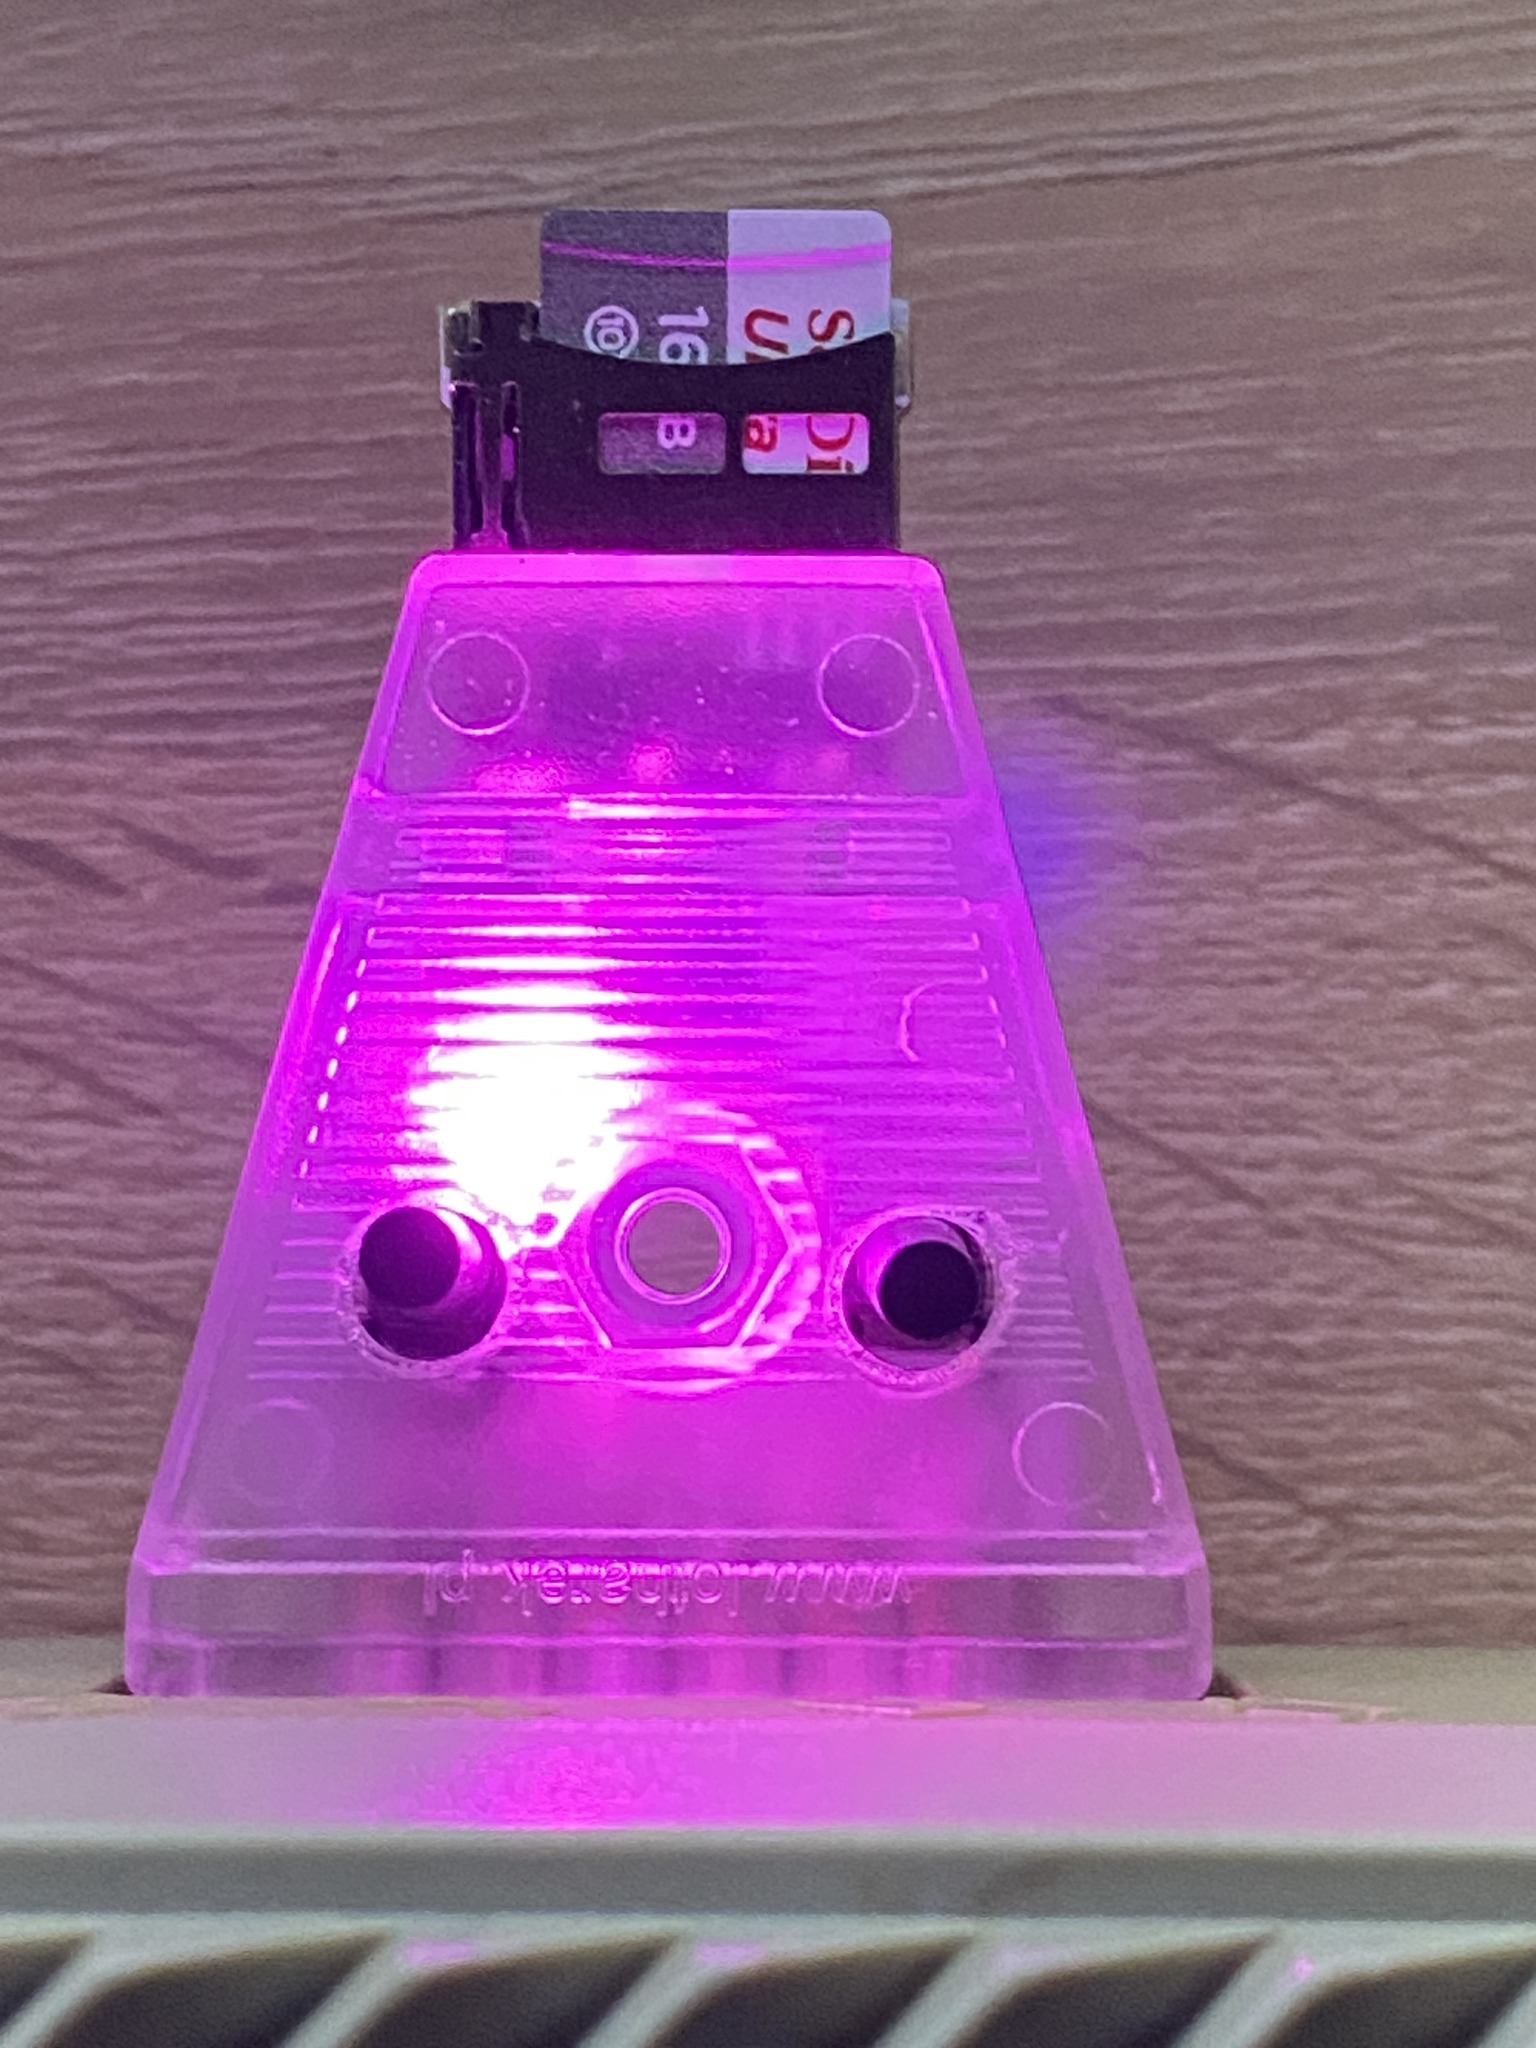 | 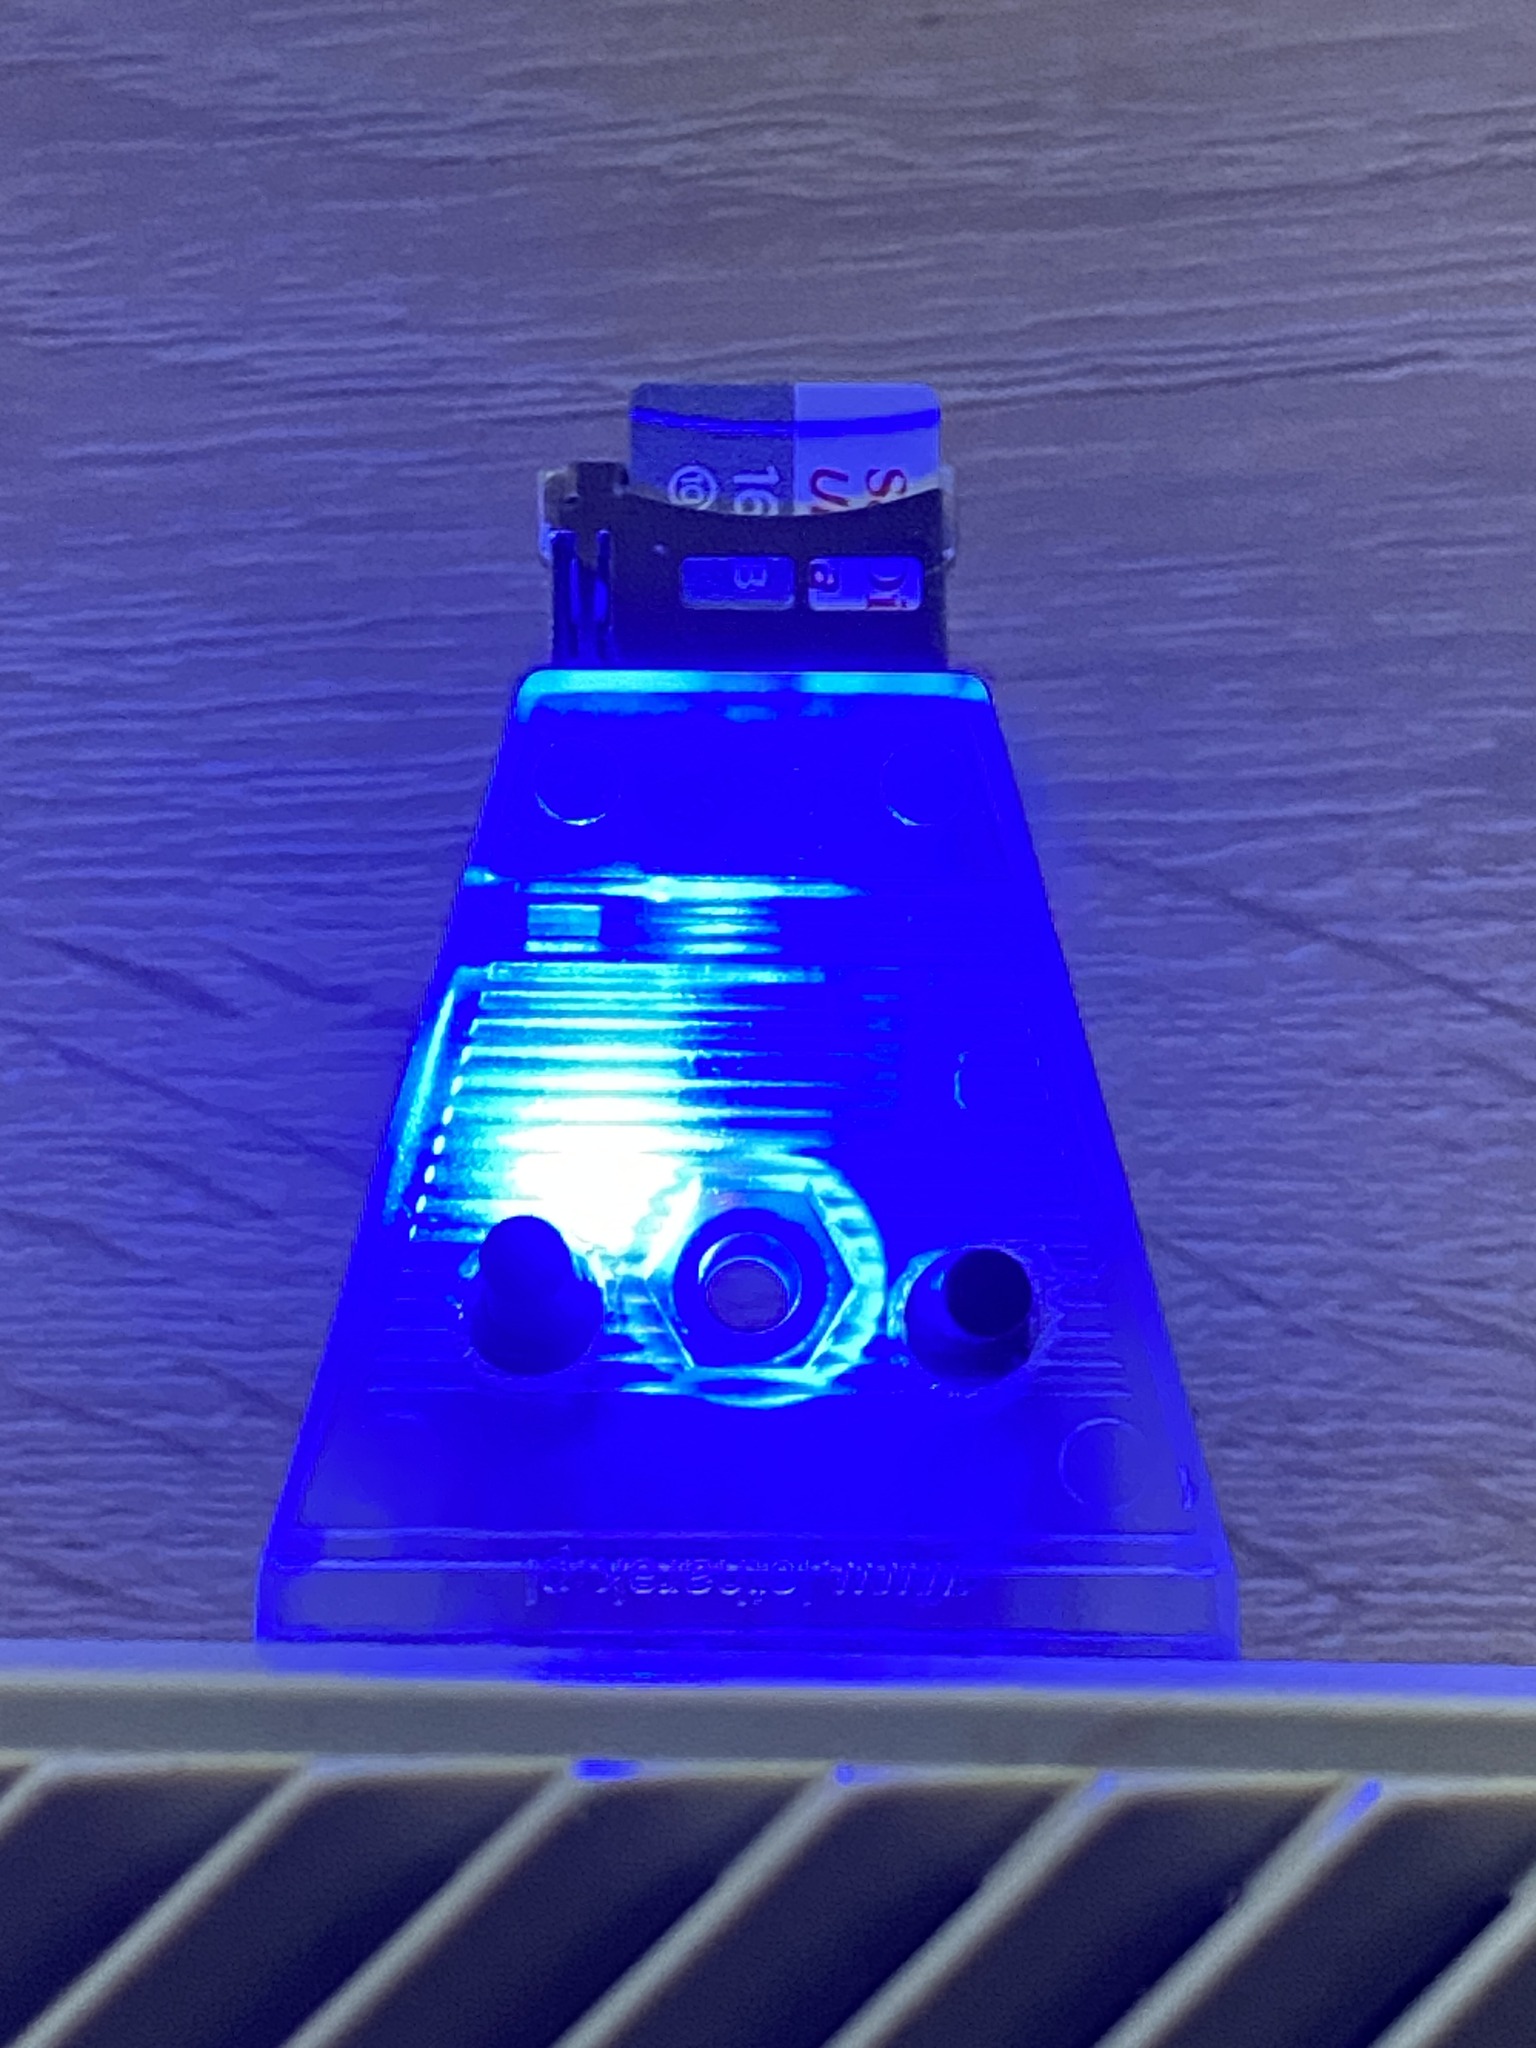 | `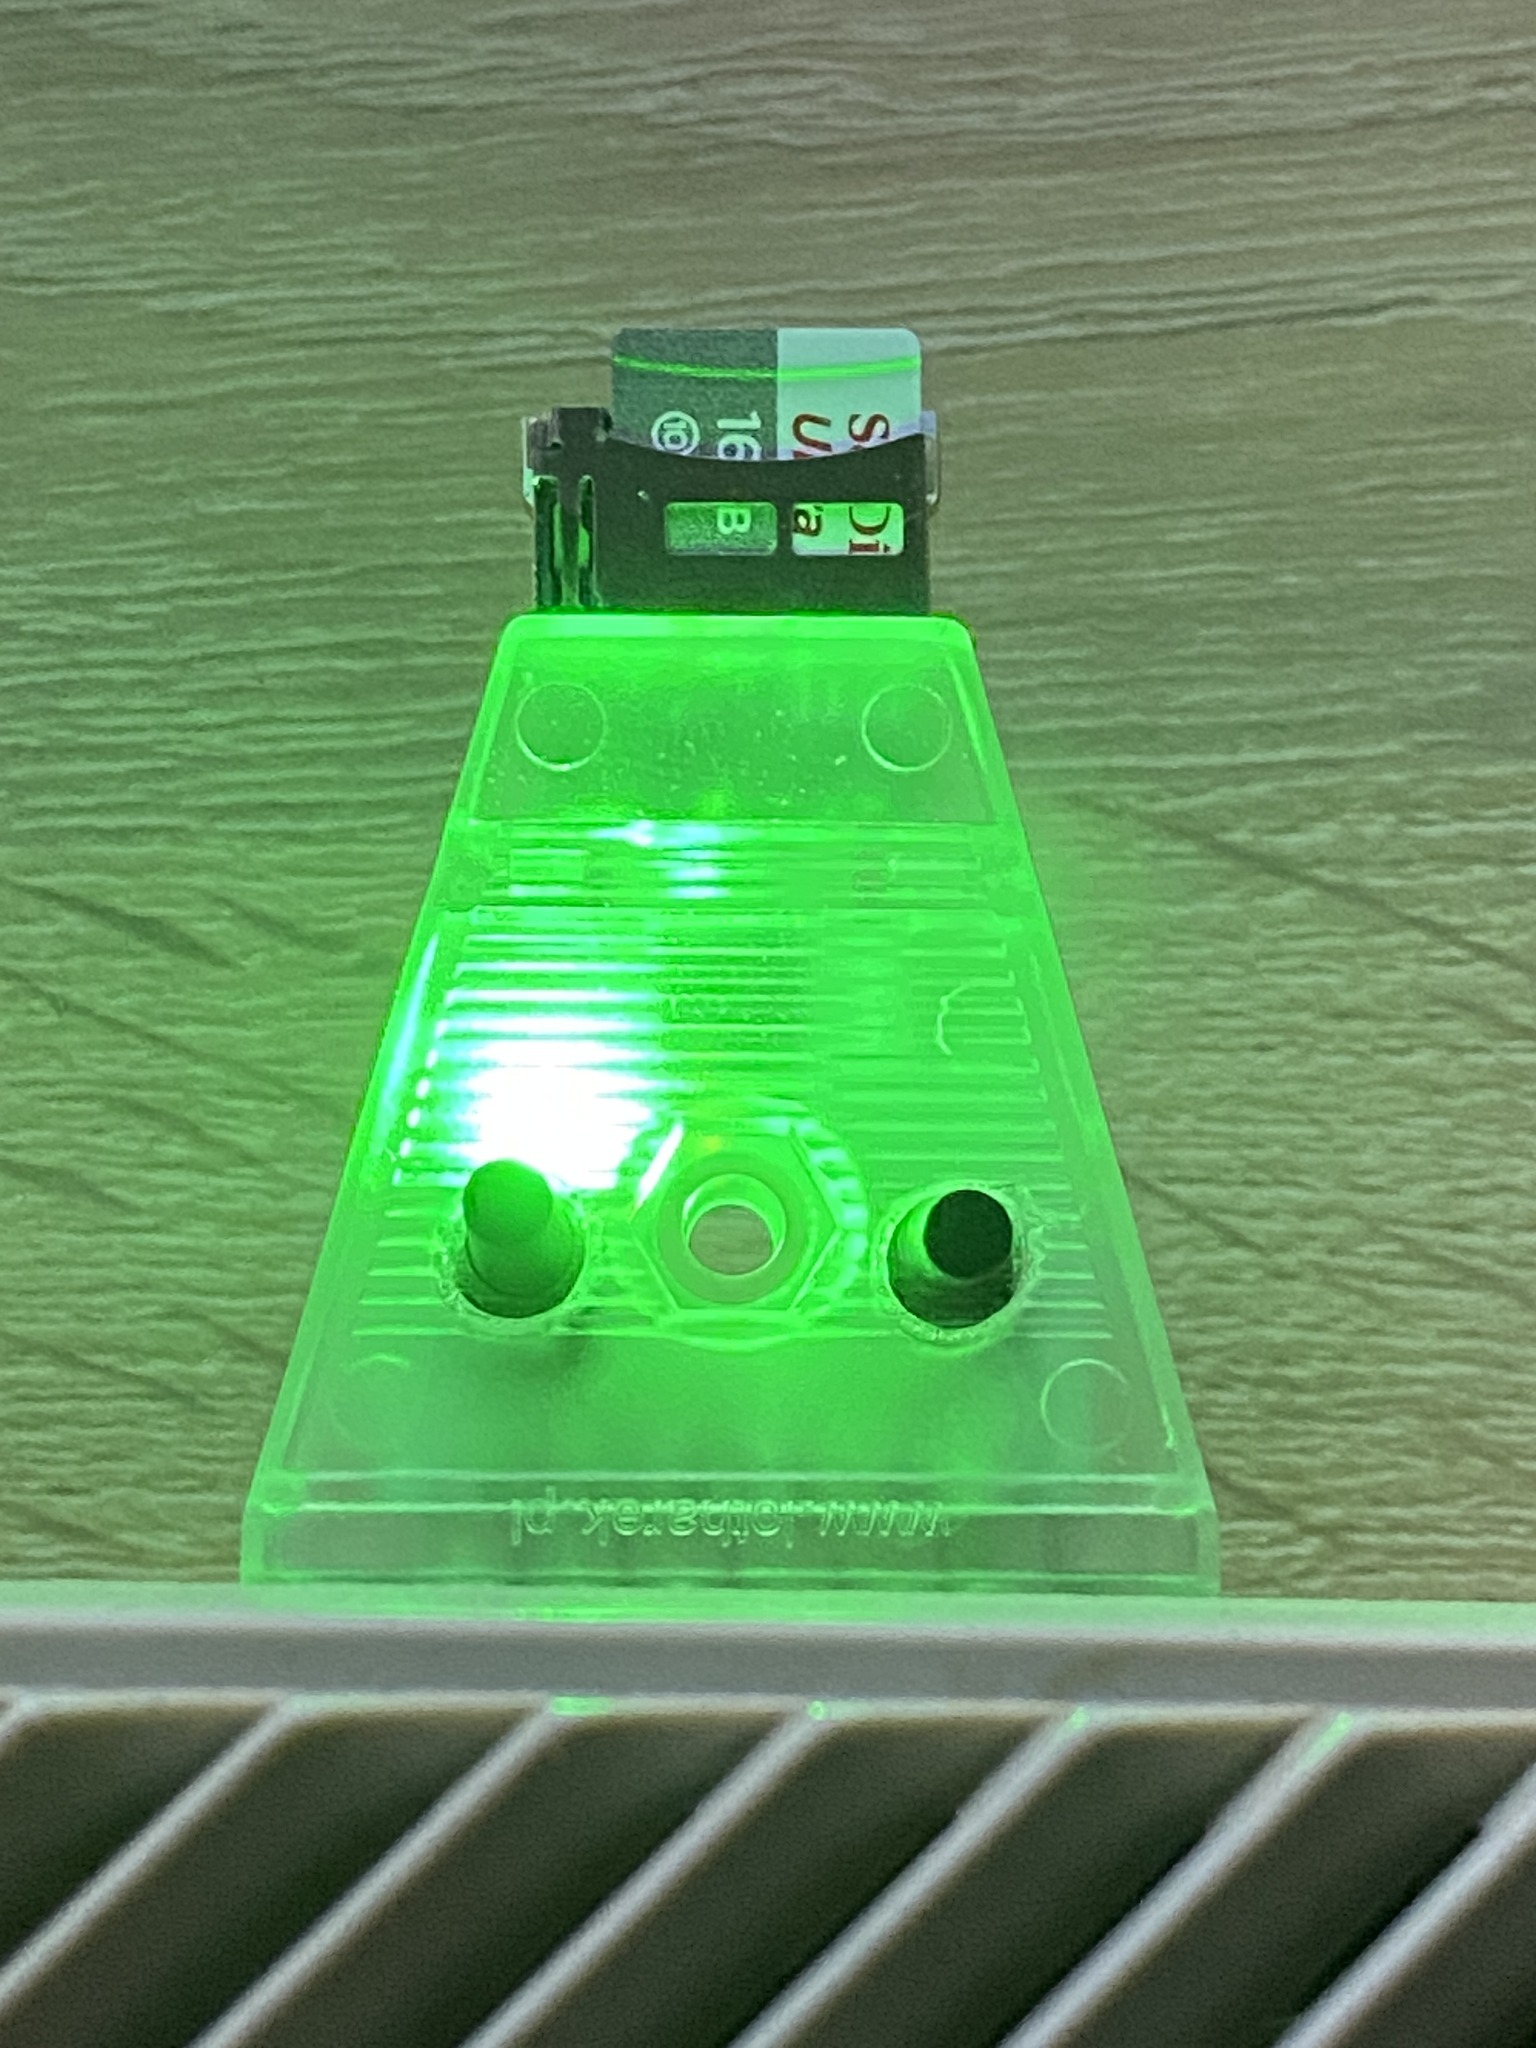 | 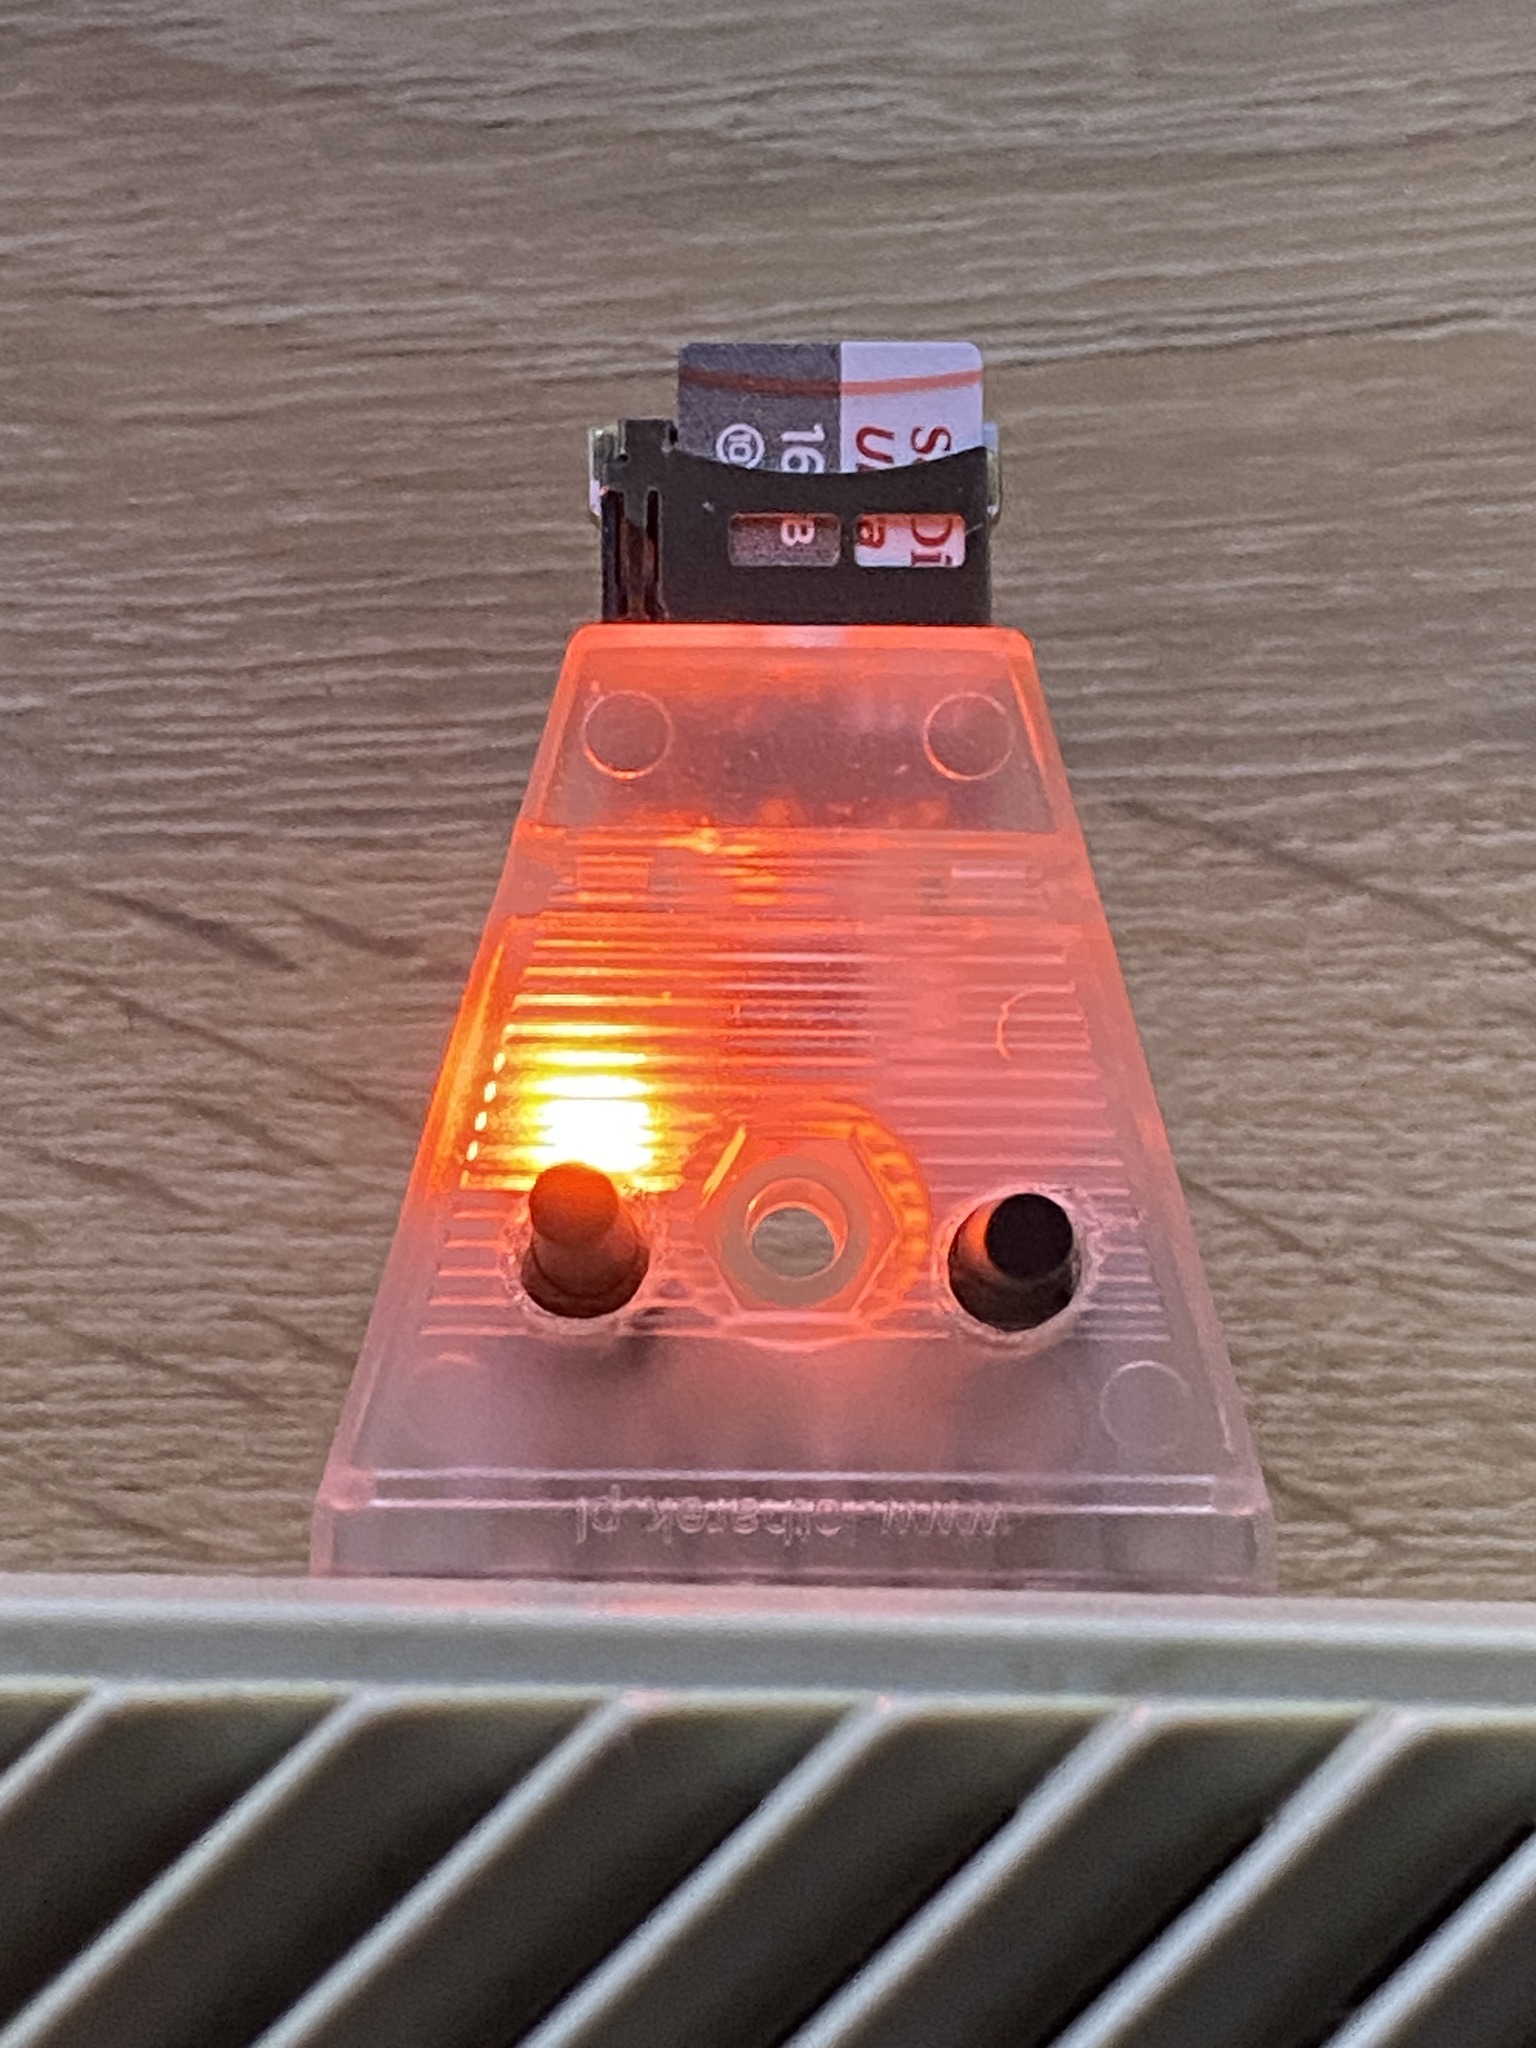 |
| PINK | BLUE | GREEN | ORANGE |
| Slot D1: selected and used as Atari disk drive no 1. | Slot D2: selected and used as Atari disk drive no 1. | Slot D3: selected and used as Atari disk drive no 1. | Slot D4: selected and used as Atari disk drive no 1. |
How to use?
- Get decent microSD card
- Format it to FAT32
- Put SDRIVE.ATR file on it
- Put also some games and demos. You can use subfolders
- Insert SD card into the SD Drive Mini
- Connect it to Atari SIO port and power on
- All LEDS should power on creating white coloured light
- Red LED shall blink once indicating that the SD card has been detected
- Choose files you want and assign them to drives D1: -> D4: slots using Tab, cursors and Return
- Reset the Atari
- File assigned to D1: shall load (remember to hold Option to disable Basic if required)
- To select another slot press left and right buttons - device will indicate which slot is active with proper colour. Reset your Atari again
- To start file selector again (SDRIVE.ATR), reset SD Drive Mini by holding both buttons on the device and then reset Atari