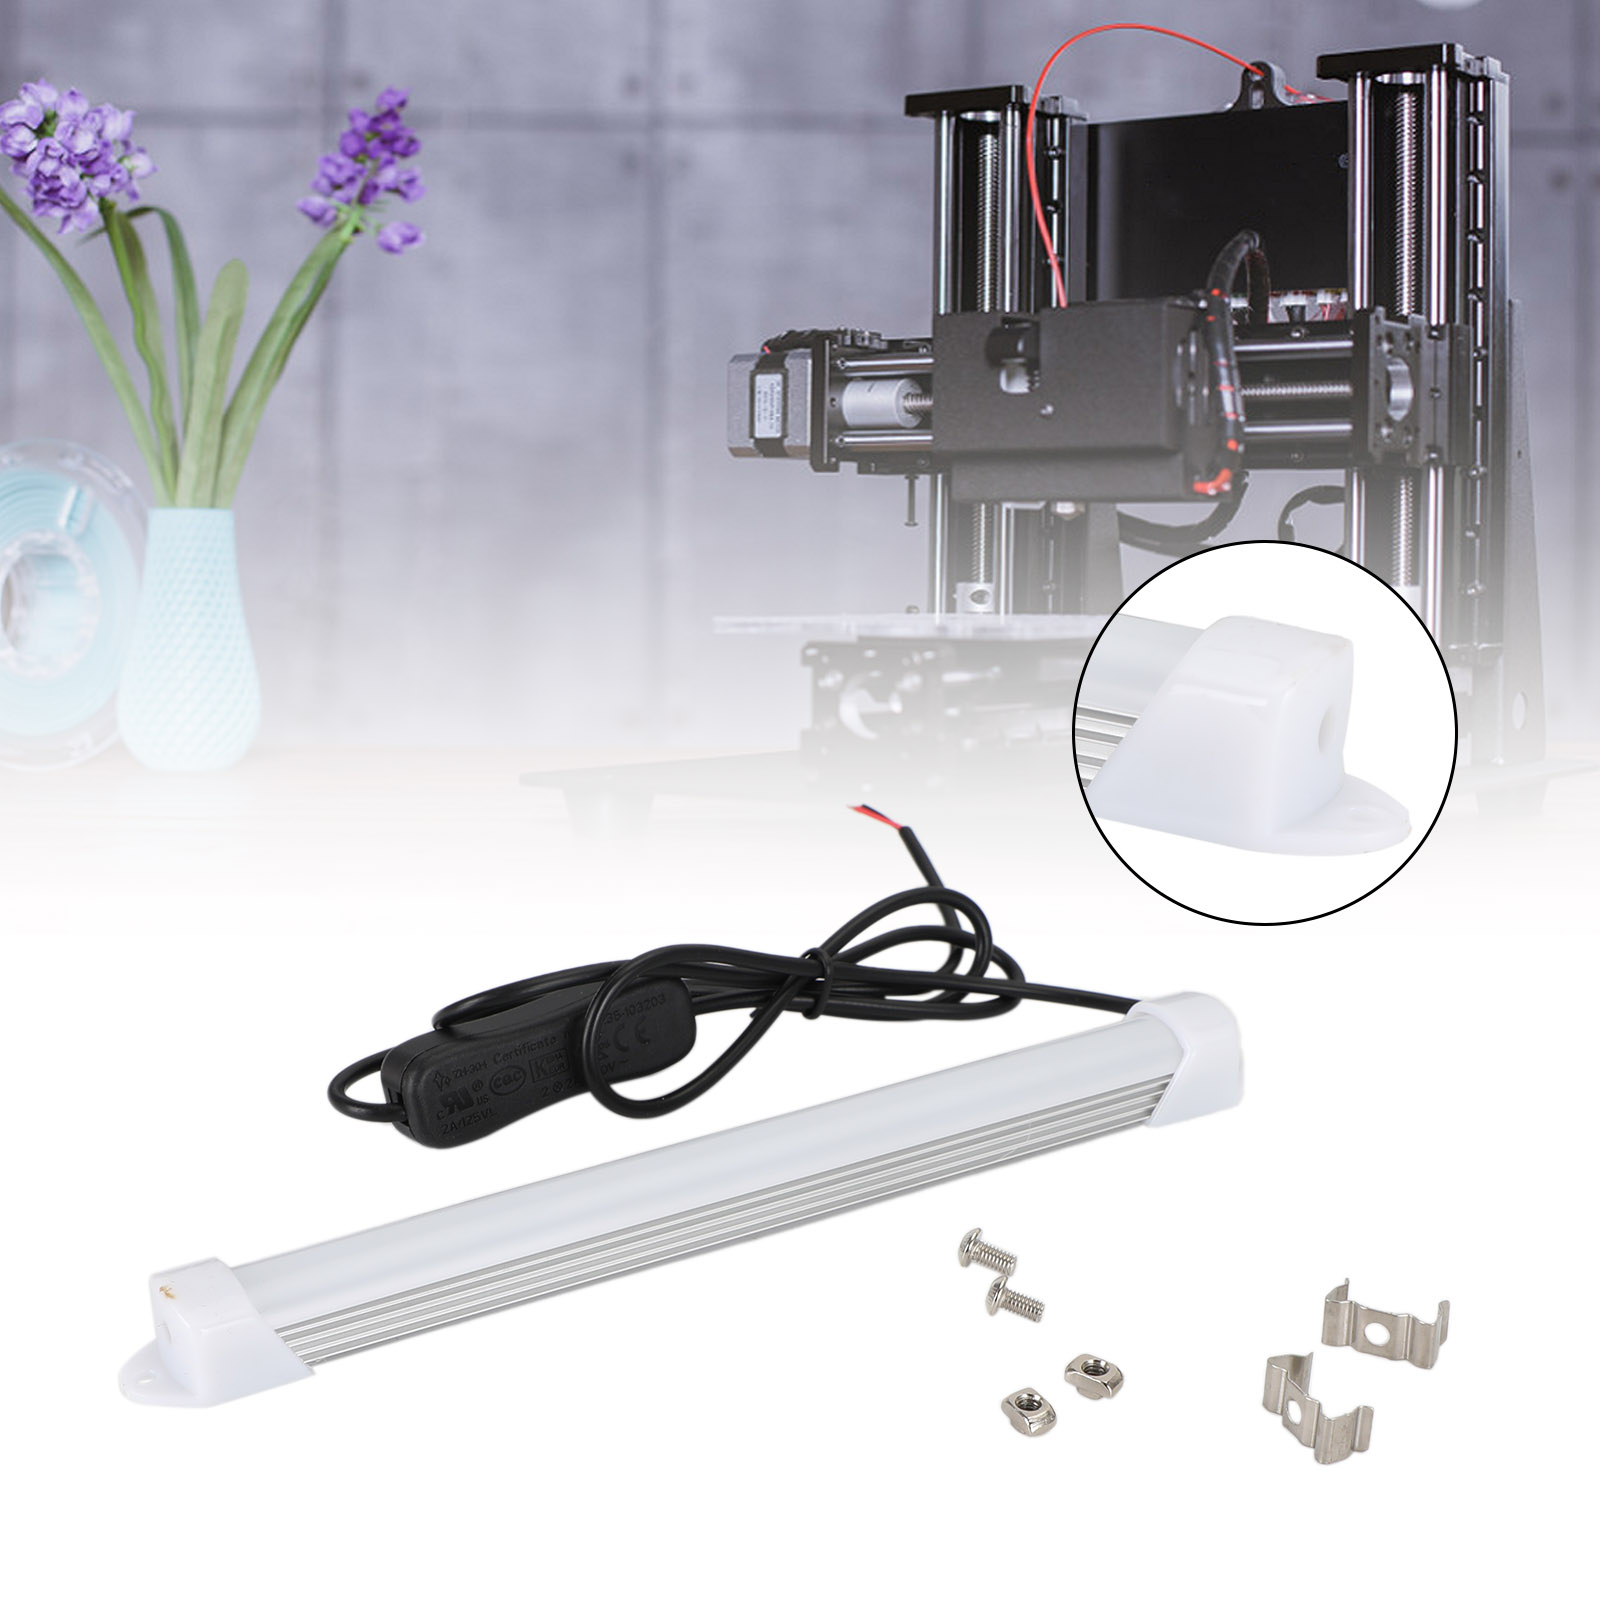
LED Lamp Light 24V Bulb Upgrade Kit for Creality 3S V2 Ender-5 3D Printer TG
Switch type not dimmable Led Strip Light 24V Lighting Bulb Upgrade Kit for Night Ender-3/3S/3 Pro/V2 Ender-5 Creality 3D Printing Accessories
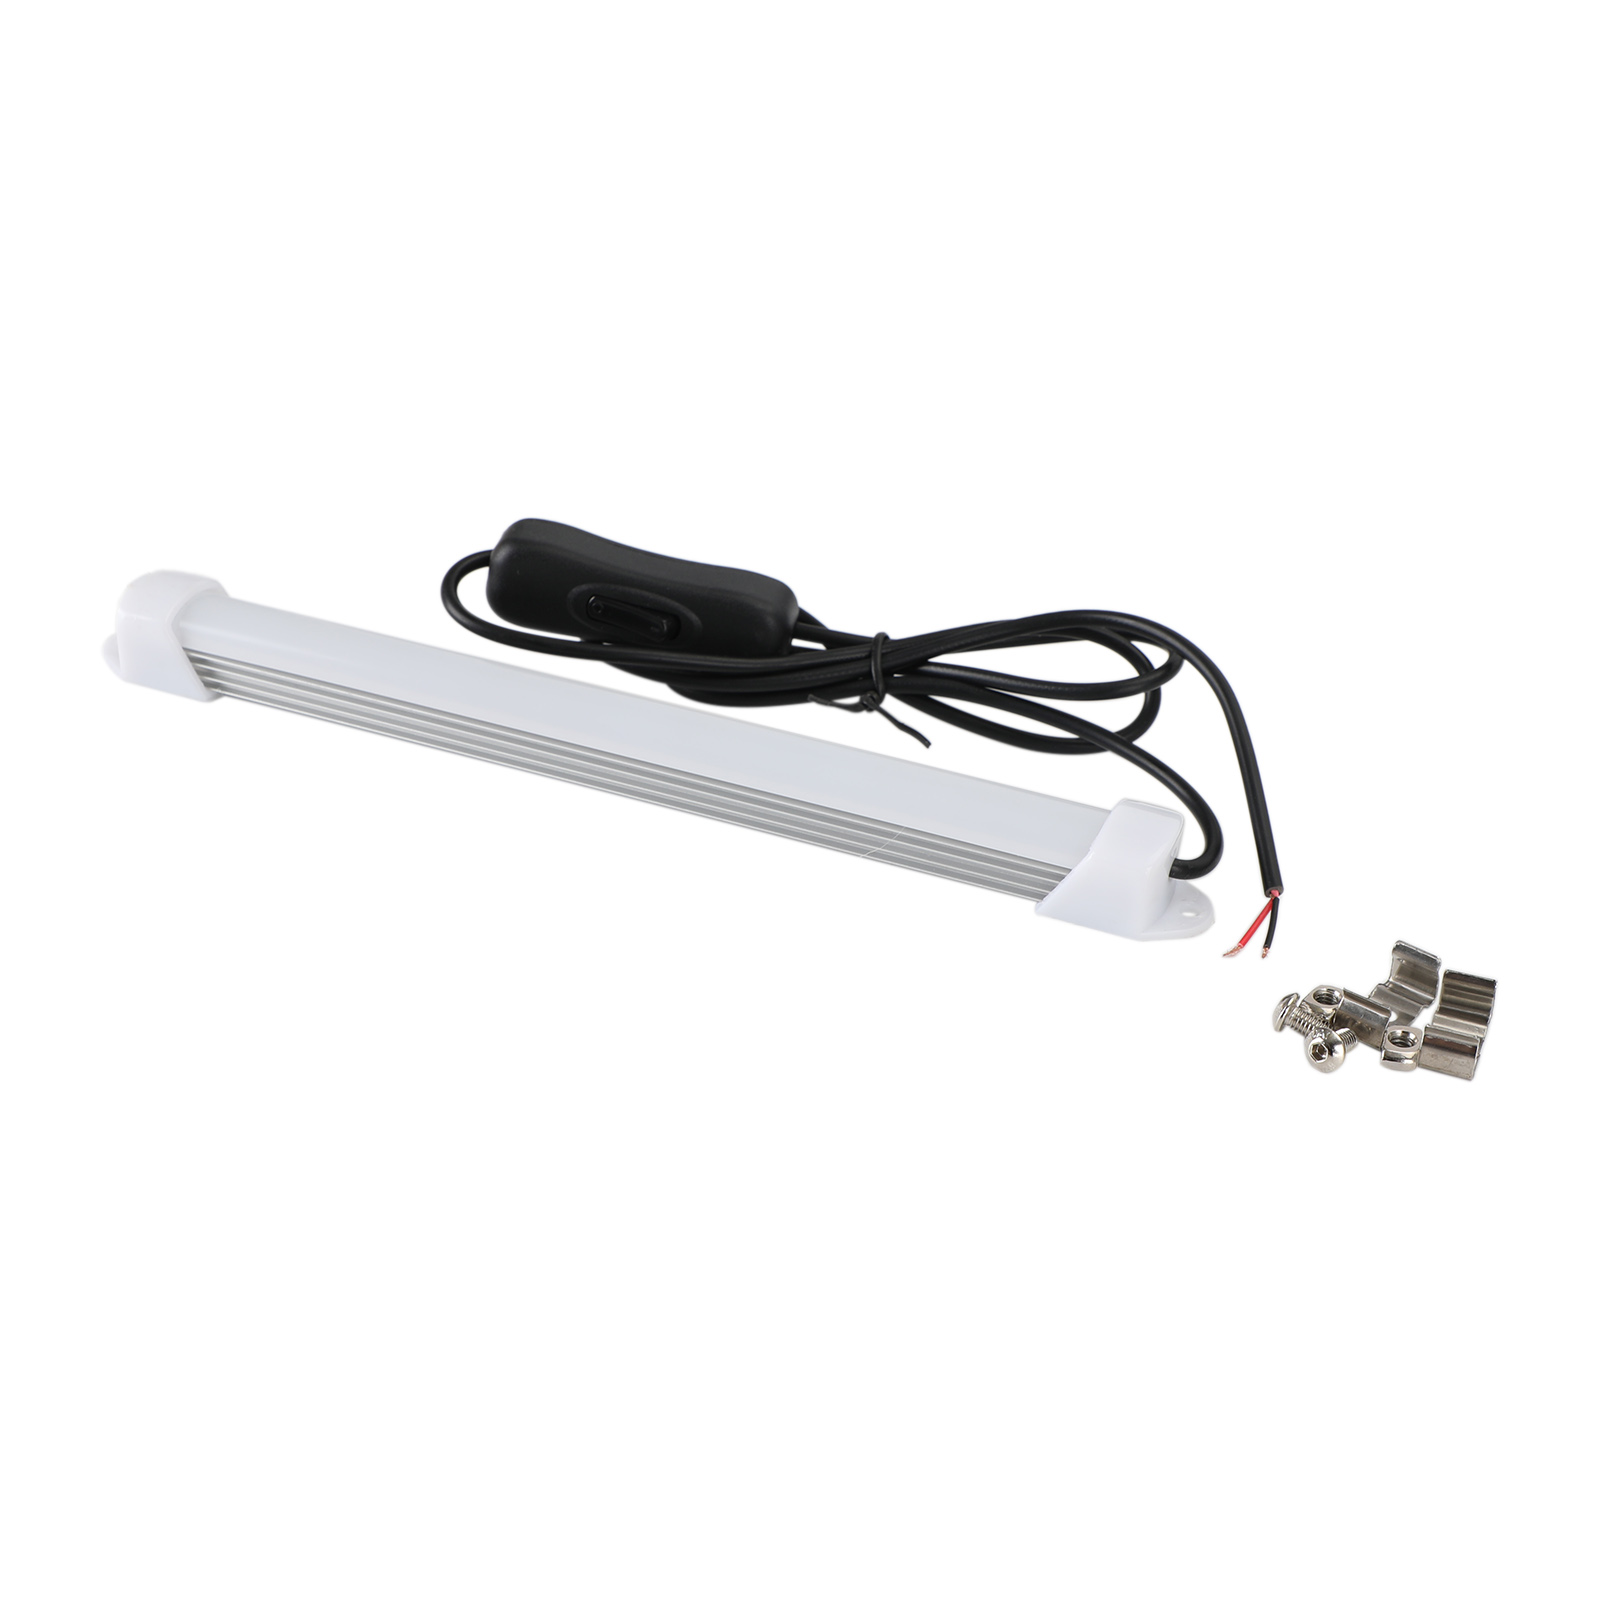
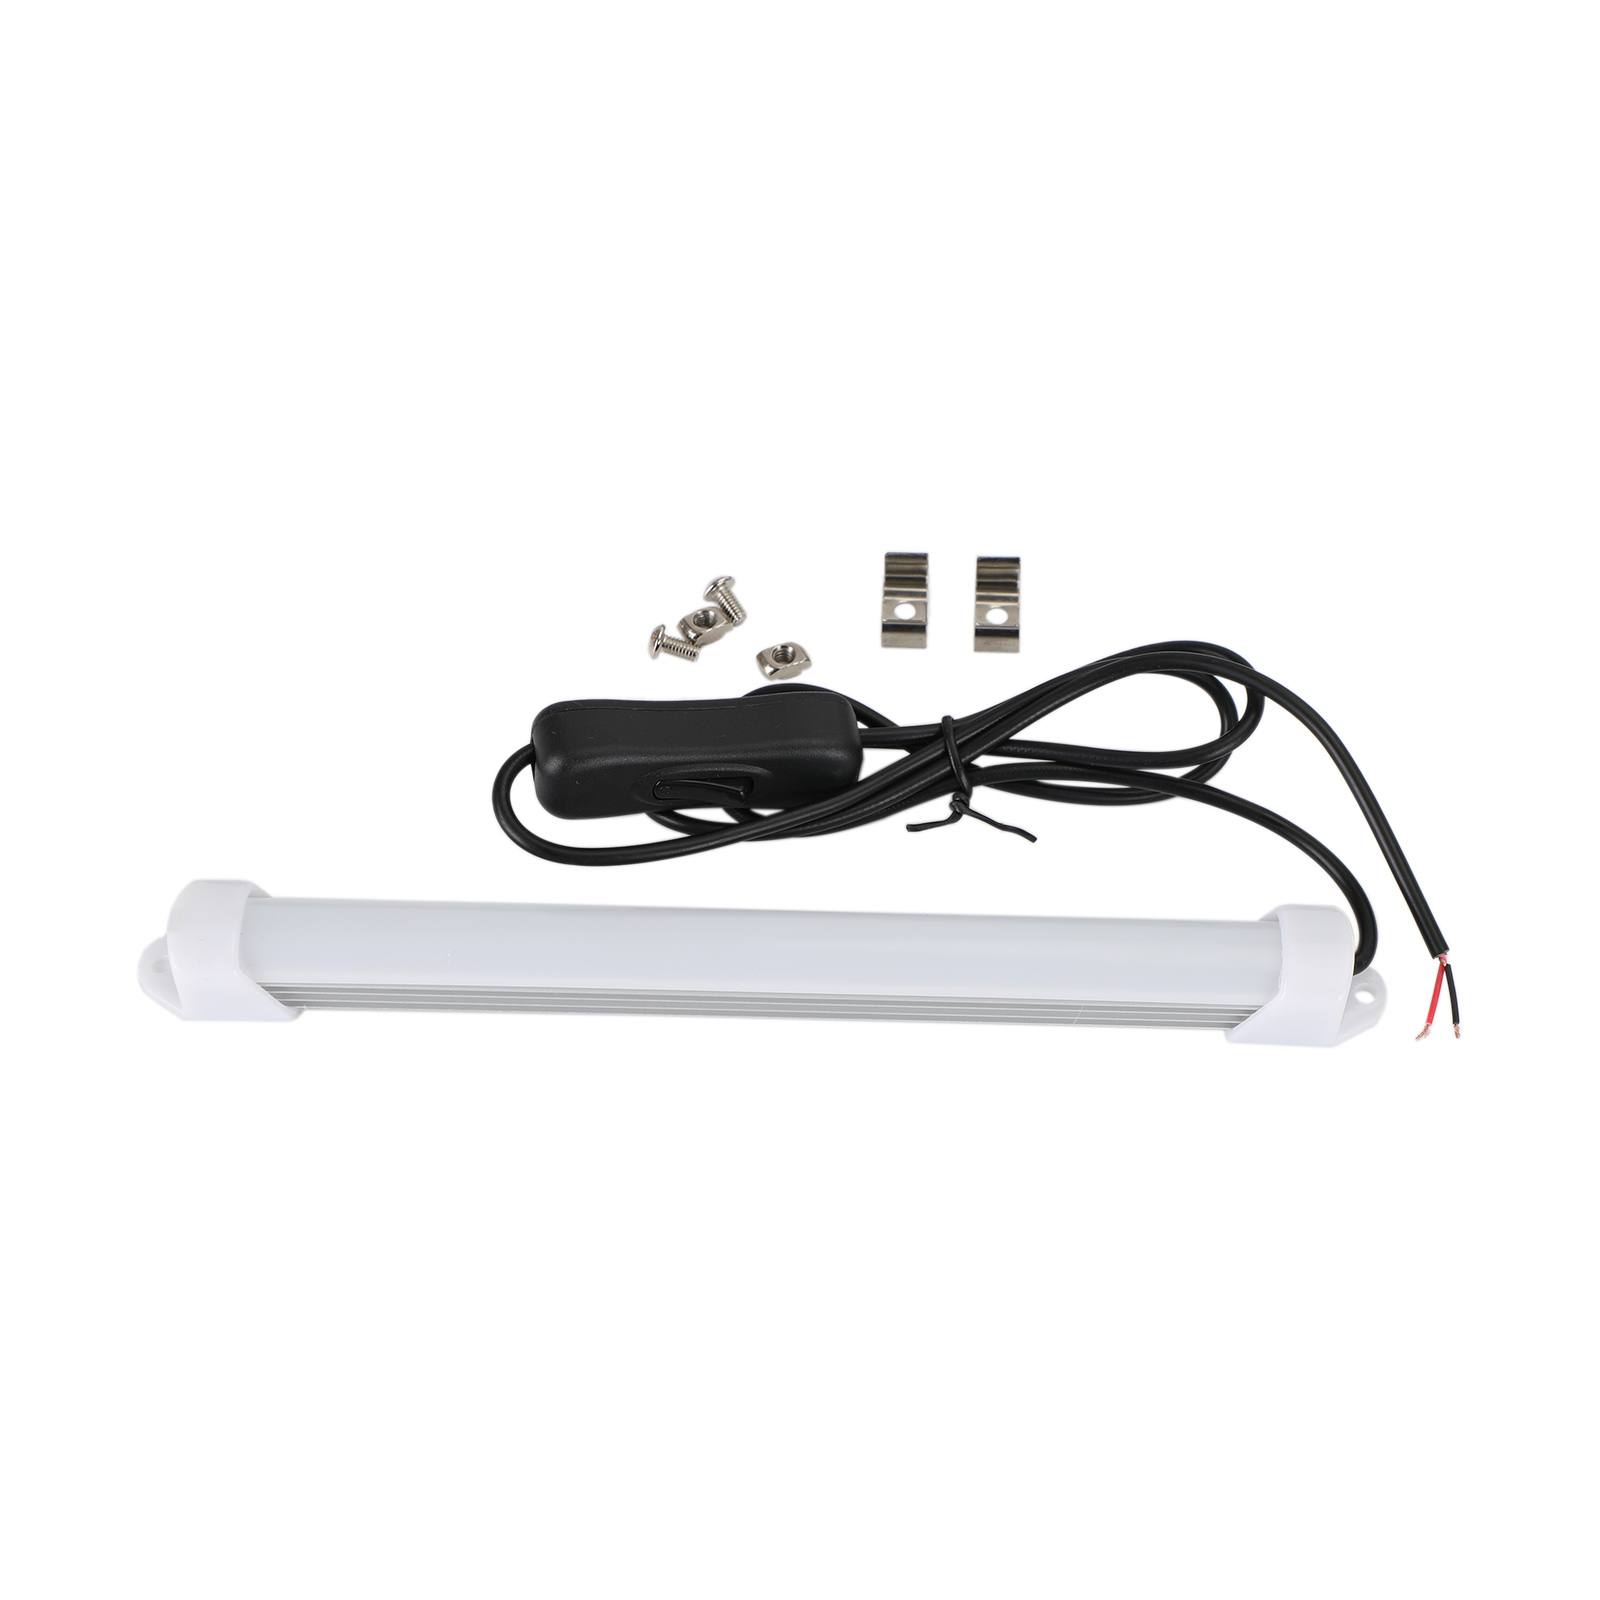
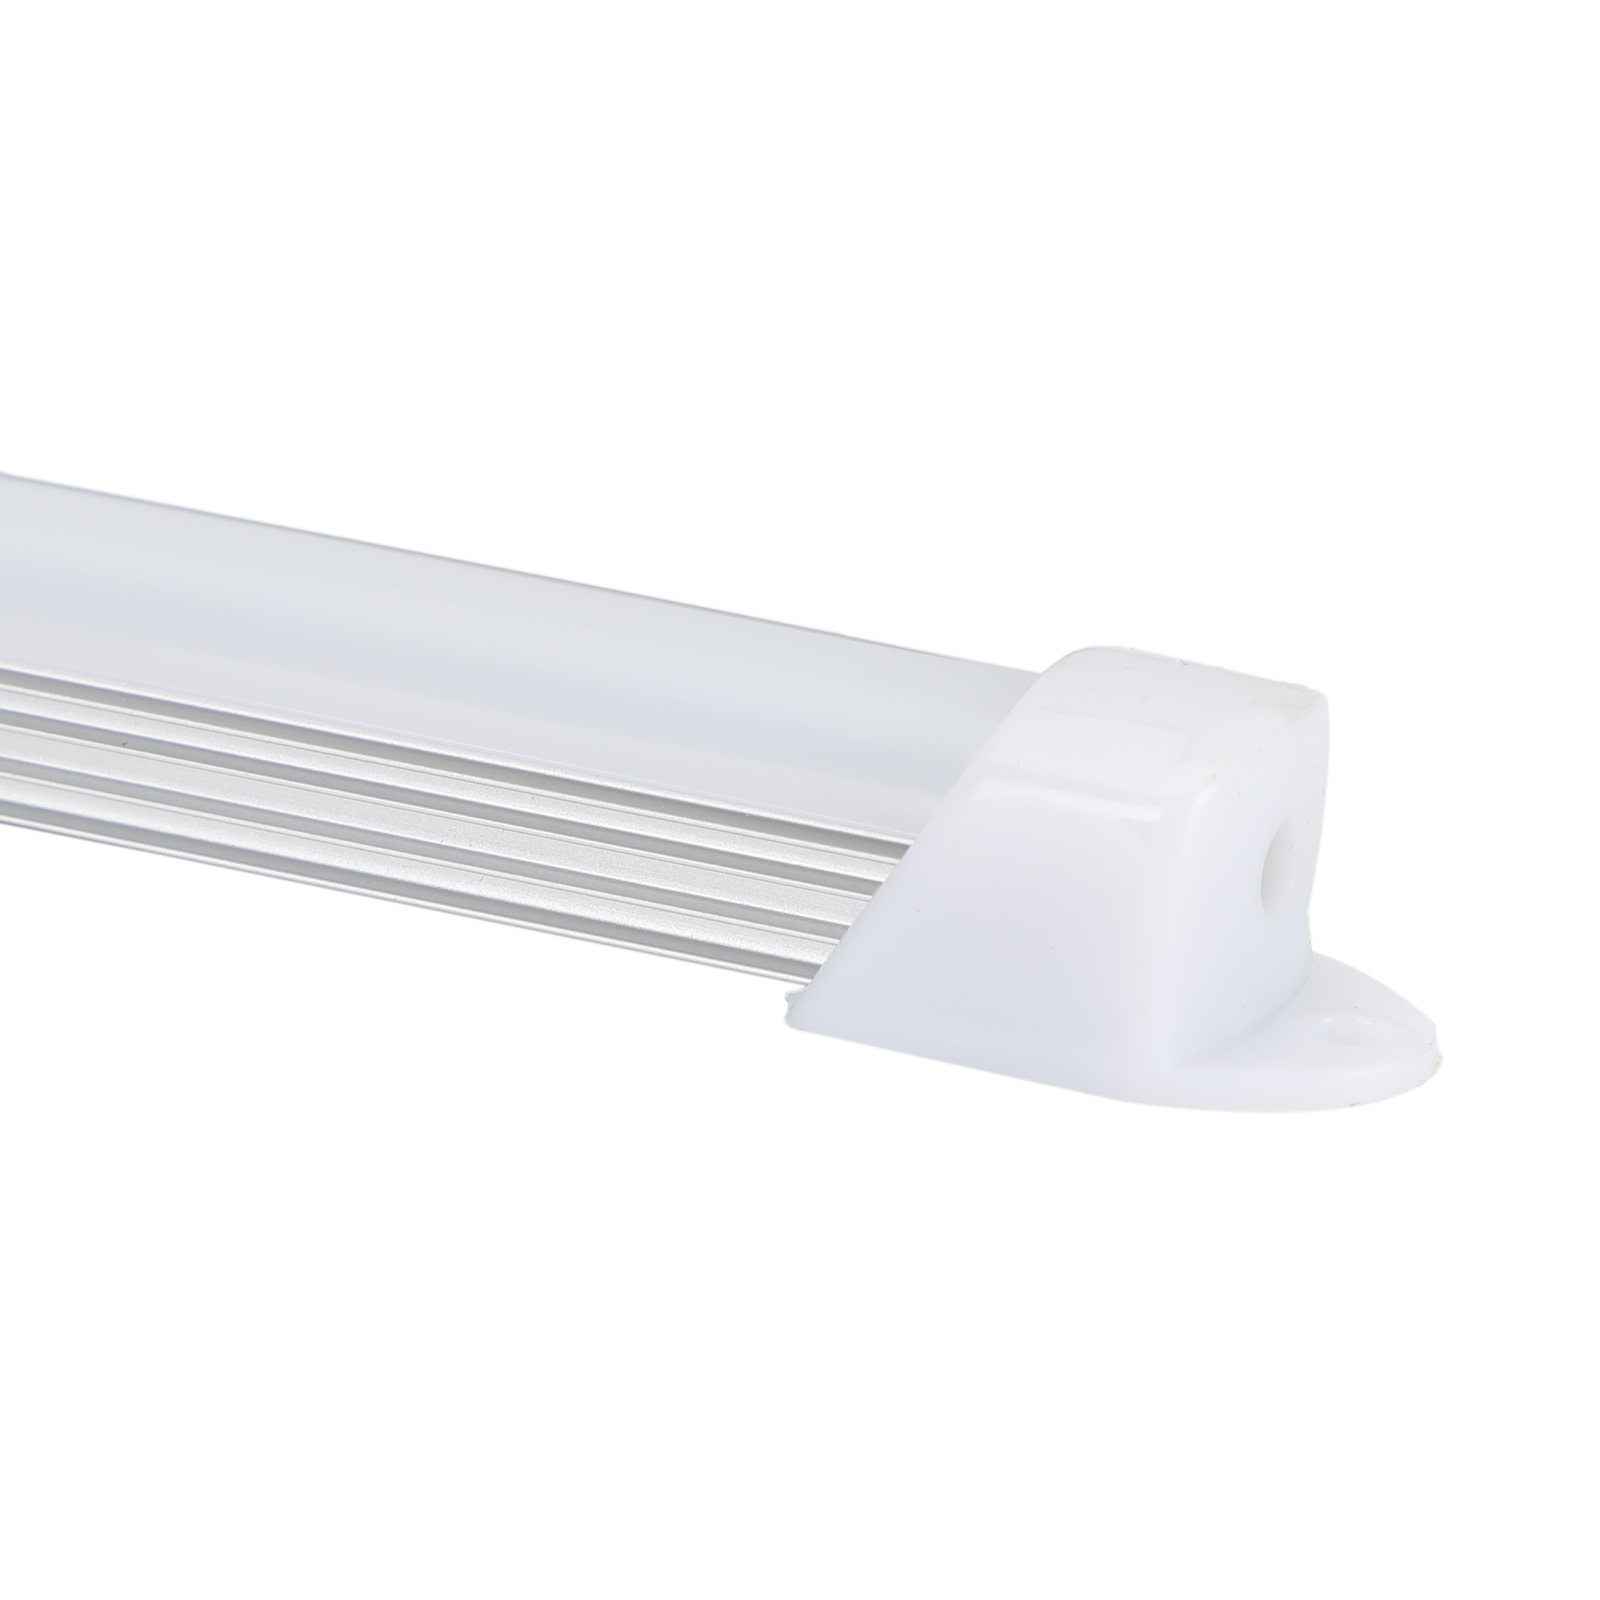
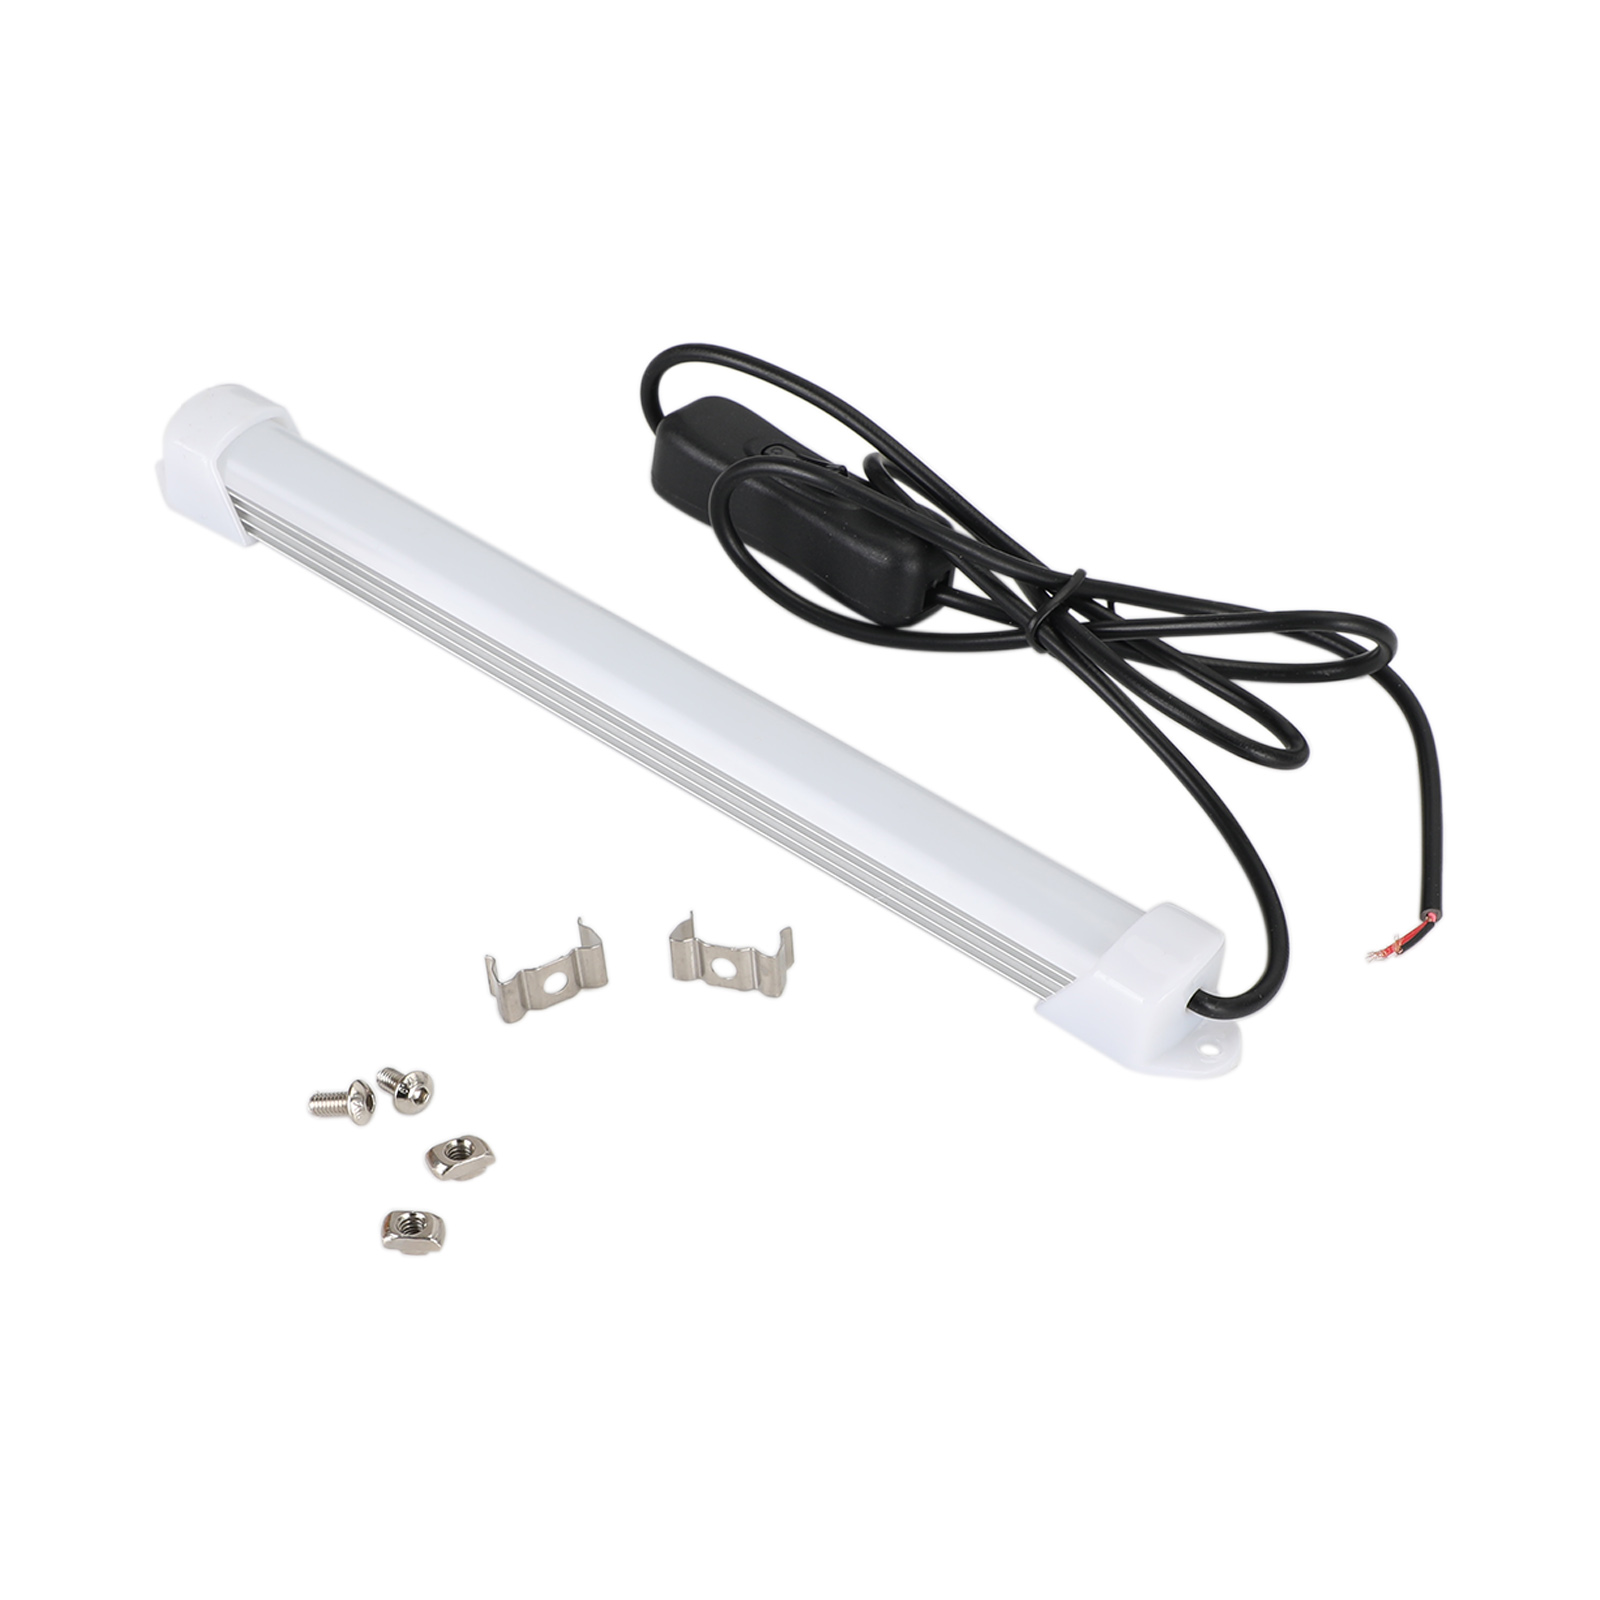
Feature: The diffused light source has uniform light, non-glaring and reasonably arranged chips, high-quality PC mask, ensuring uniform and soft light, eliminating dark areas, realizing planar light, and diffusing light to prevent multiple ghosts, ensuring eye comfort. High-quality LED patch, high brightness and no flicker. The use of high-quality LED patches ensures long service life while ensuring luminous efficiency, and avoids stroboscopic damage to the eyes and affects the shooting effect. High efficiency. 1 watt LED = 3 watt incandescent lamp, brighter and more power-saving. Energy consumption is greatly reduced Diffuse soft light. The light derived from the light guide plate is once again diffused and softened, making the light source softer and more comfortable. Long life. Use high-efficiency, high-quality LED chips to ensure a long-lasting, stable and durable light source High heat dissipation and not hot. Using high-quality aluminum as the LED light stand, it will not be hot after long-term use, so you can use it without any worries Two-way heat dissipation. The LED base is made of lightweight profiles, with thin grooves on both sides, two-way heat dissipation, and no heat. 180 light guide. The 180° curved diffuser on the front can radiate light in a wide range. Suitable for Creality Ender-3/3S/3 Pro/V2, Ender-5/5 Pro 24V models etc.
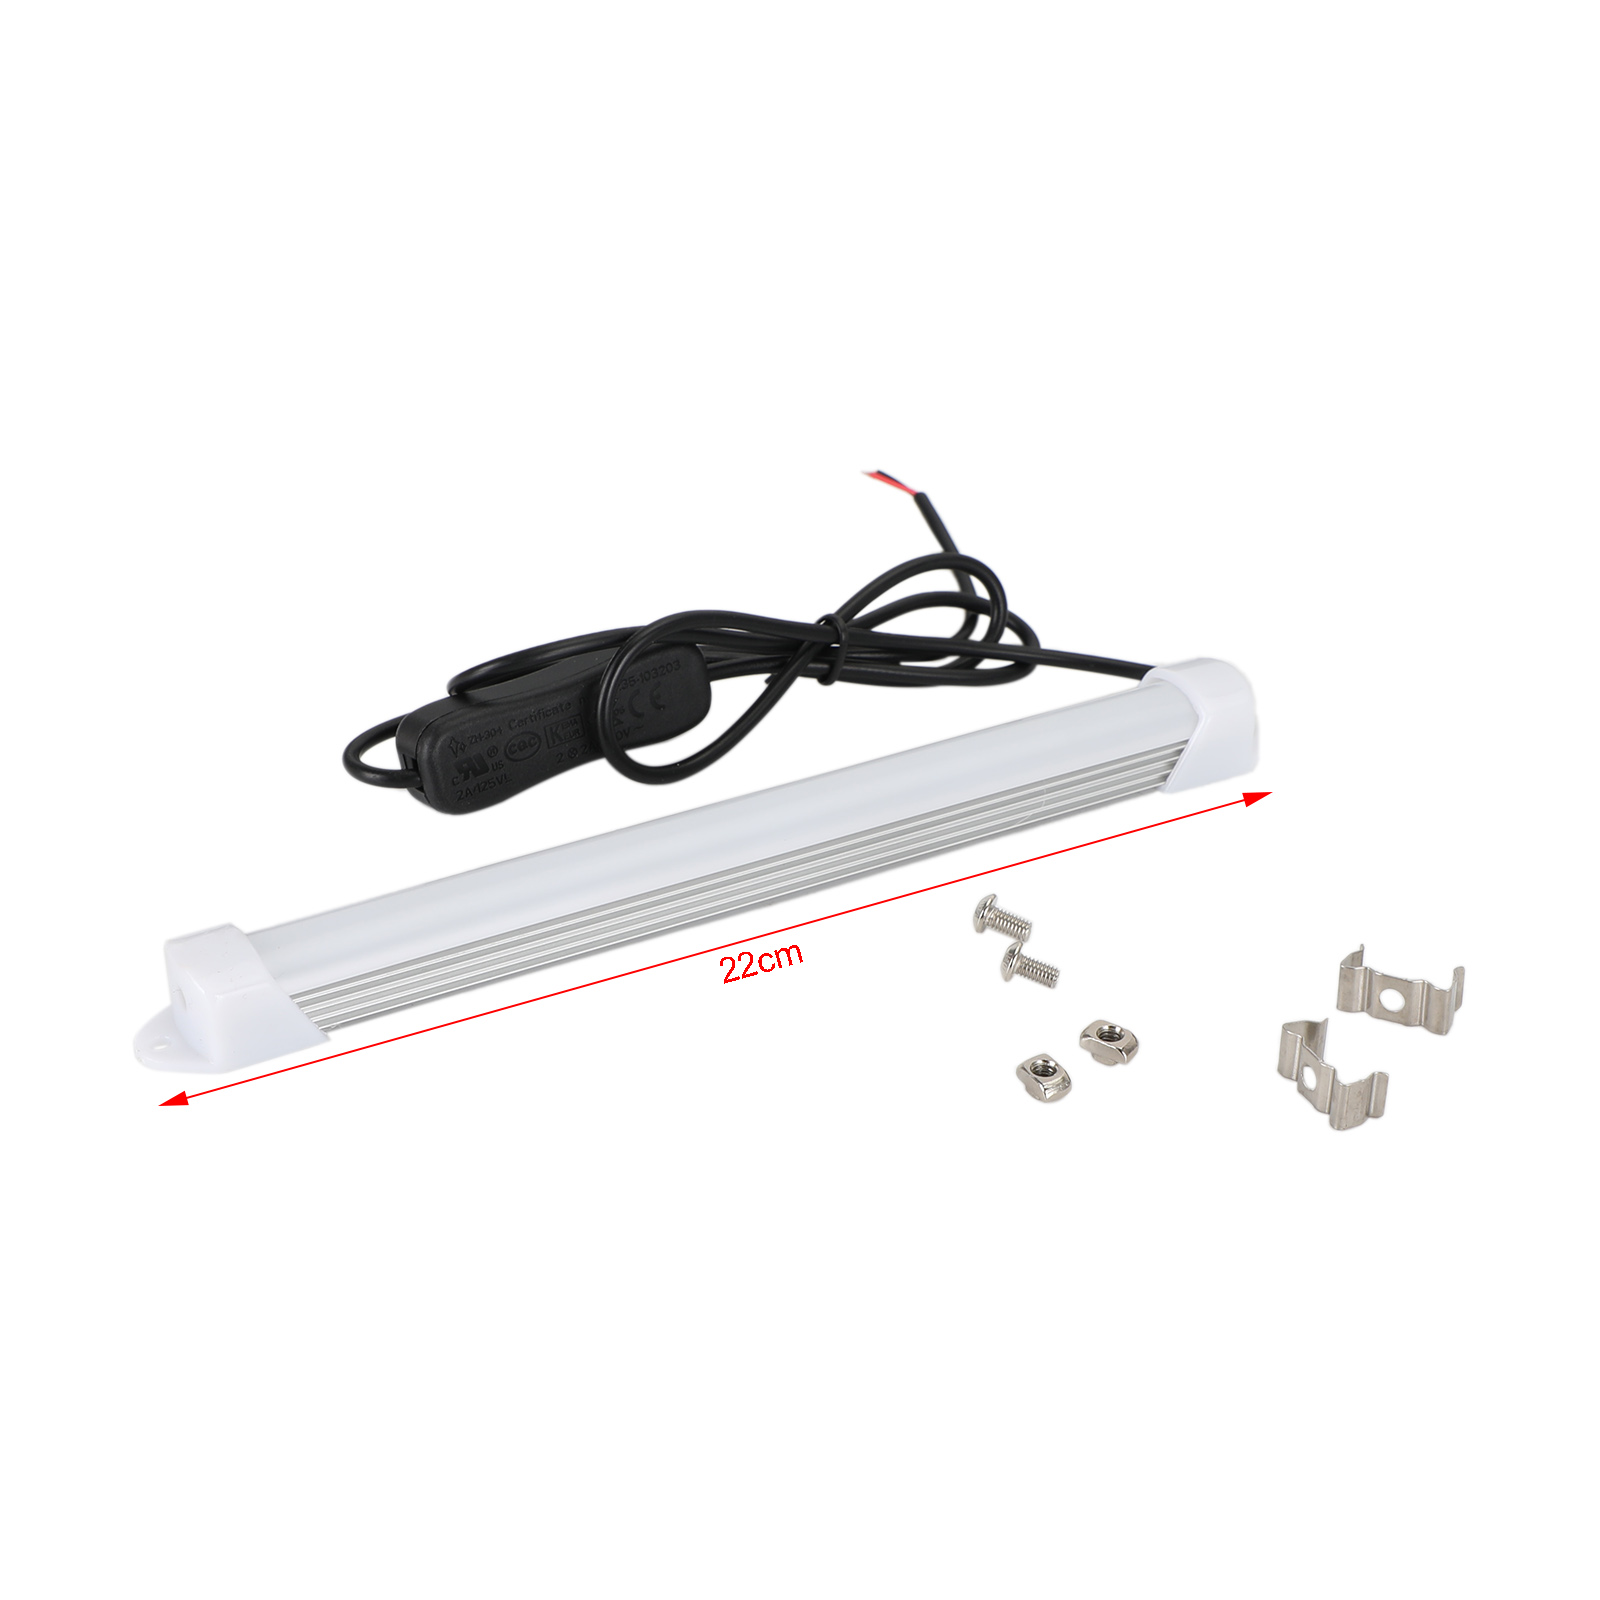
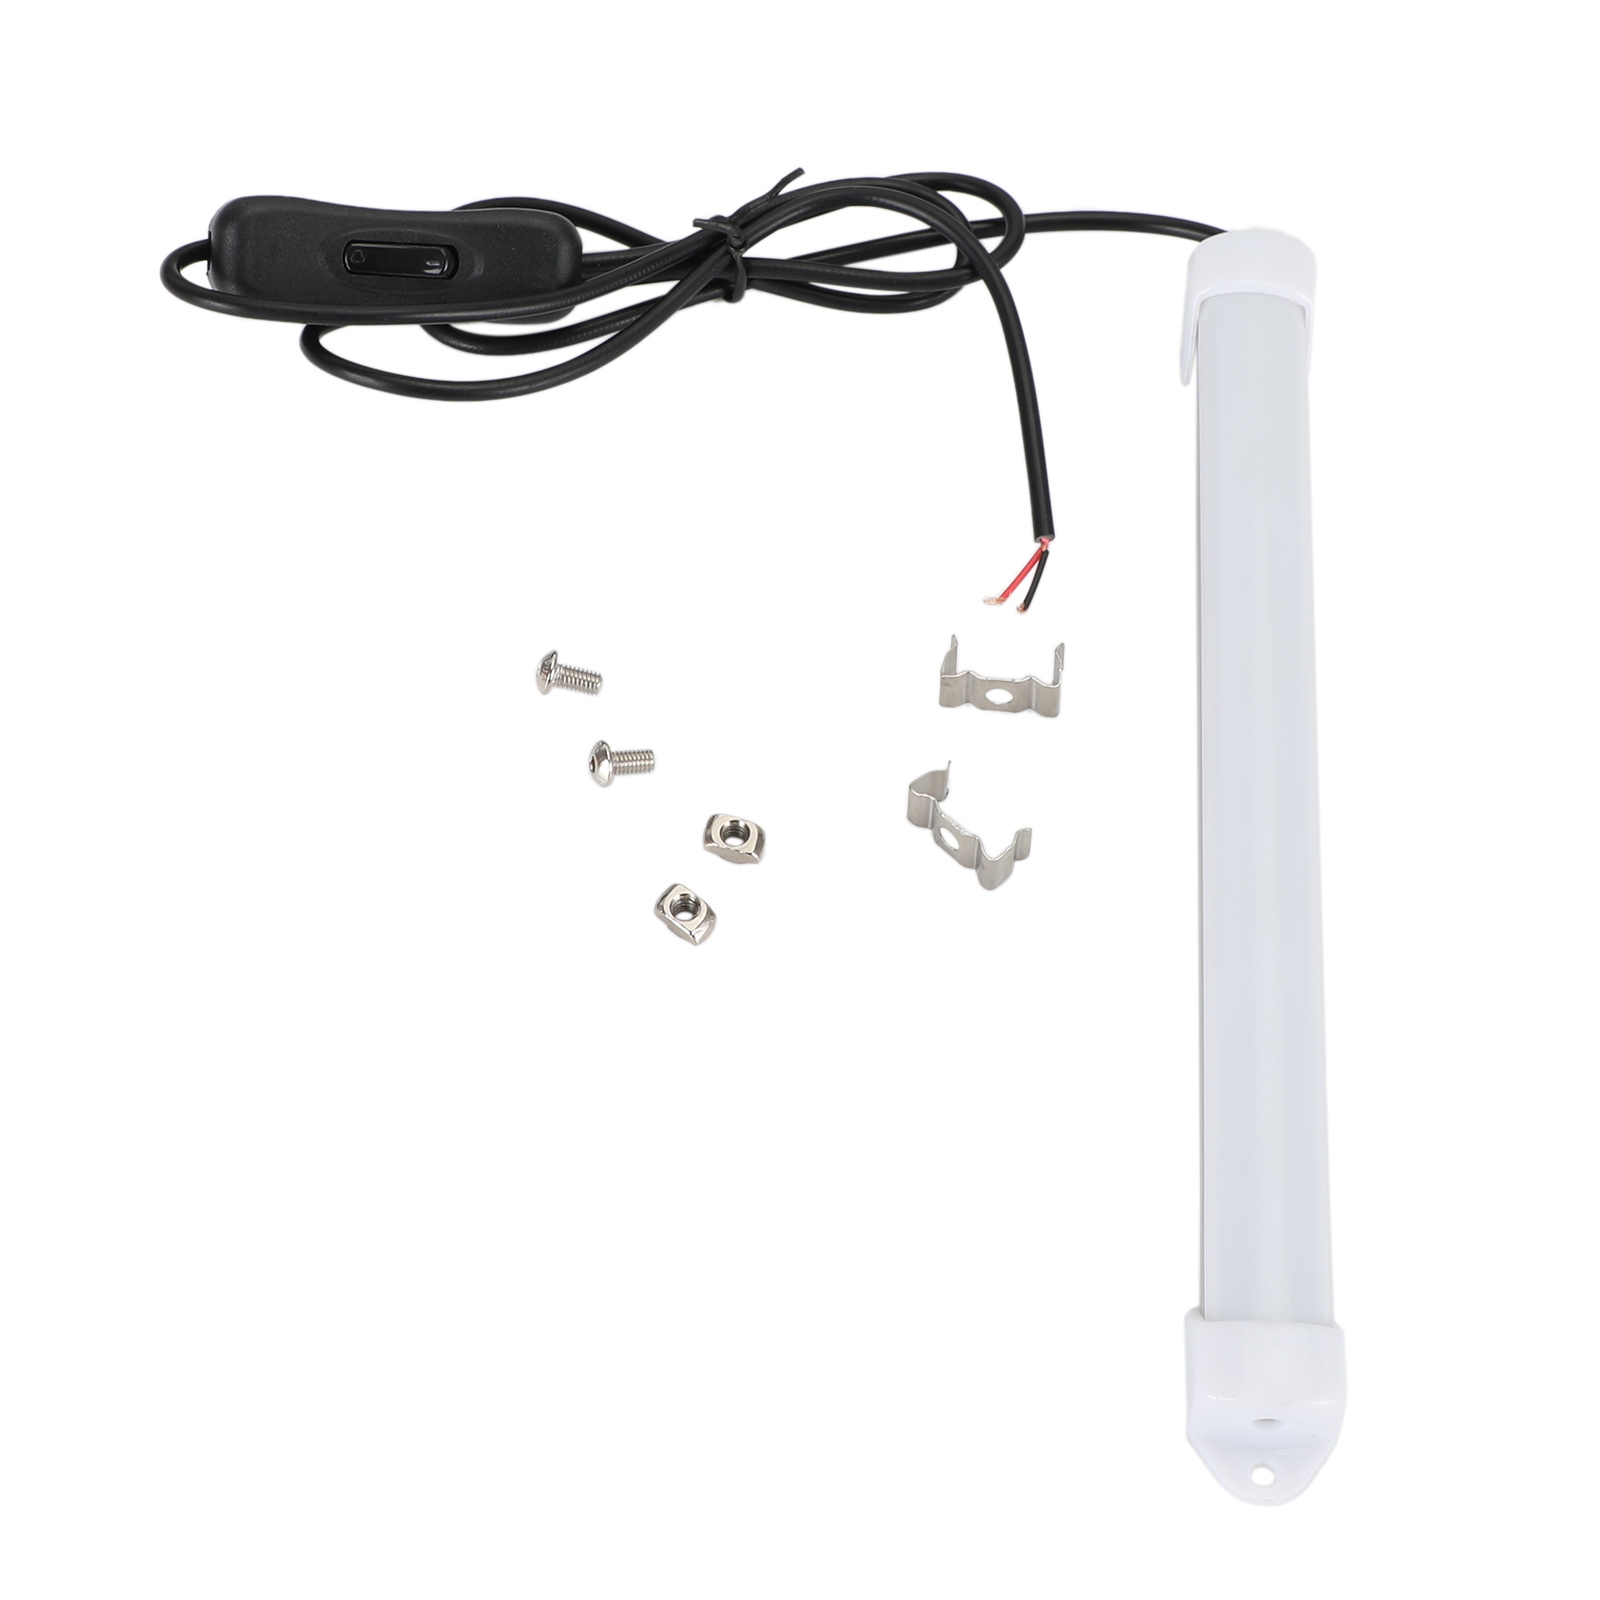
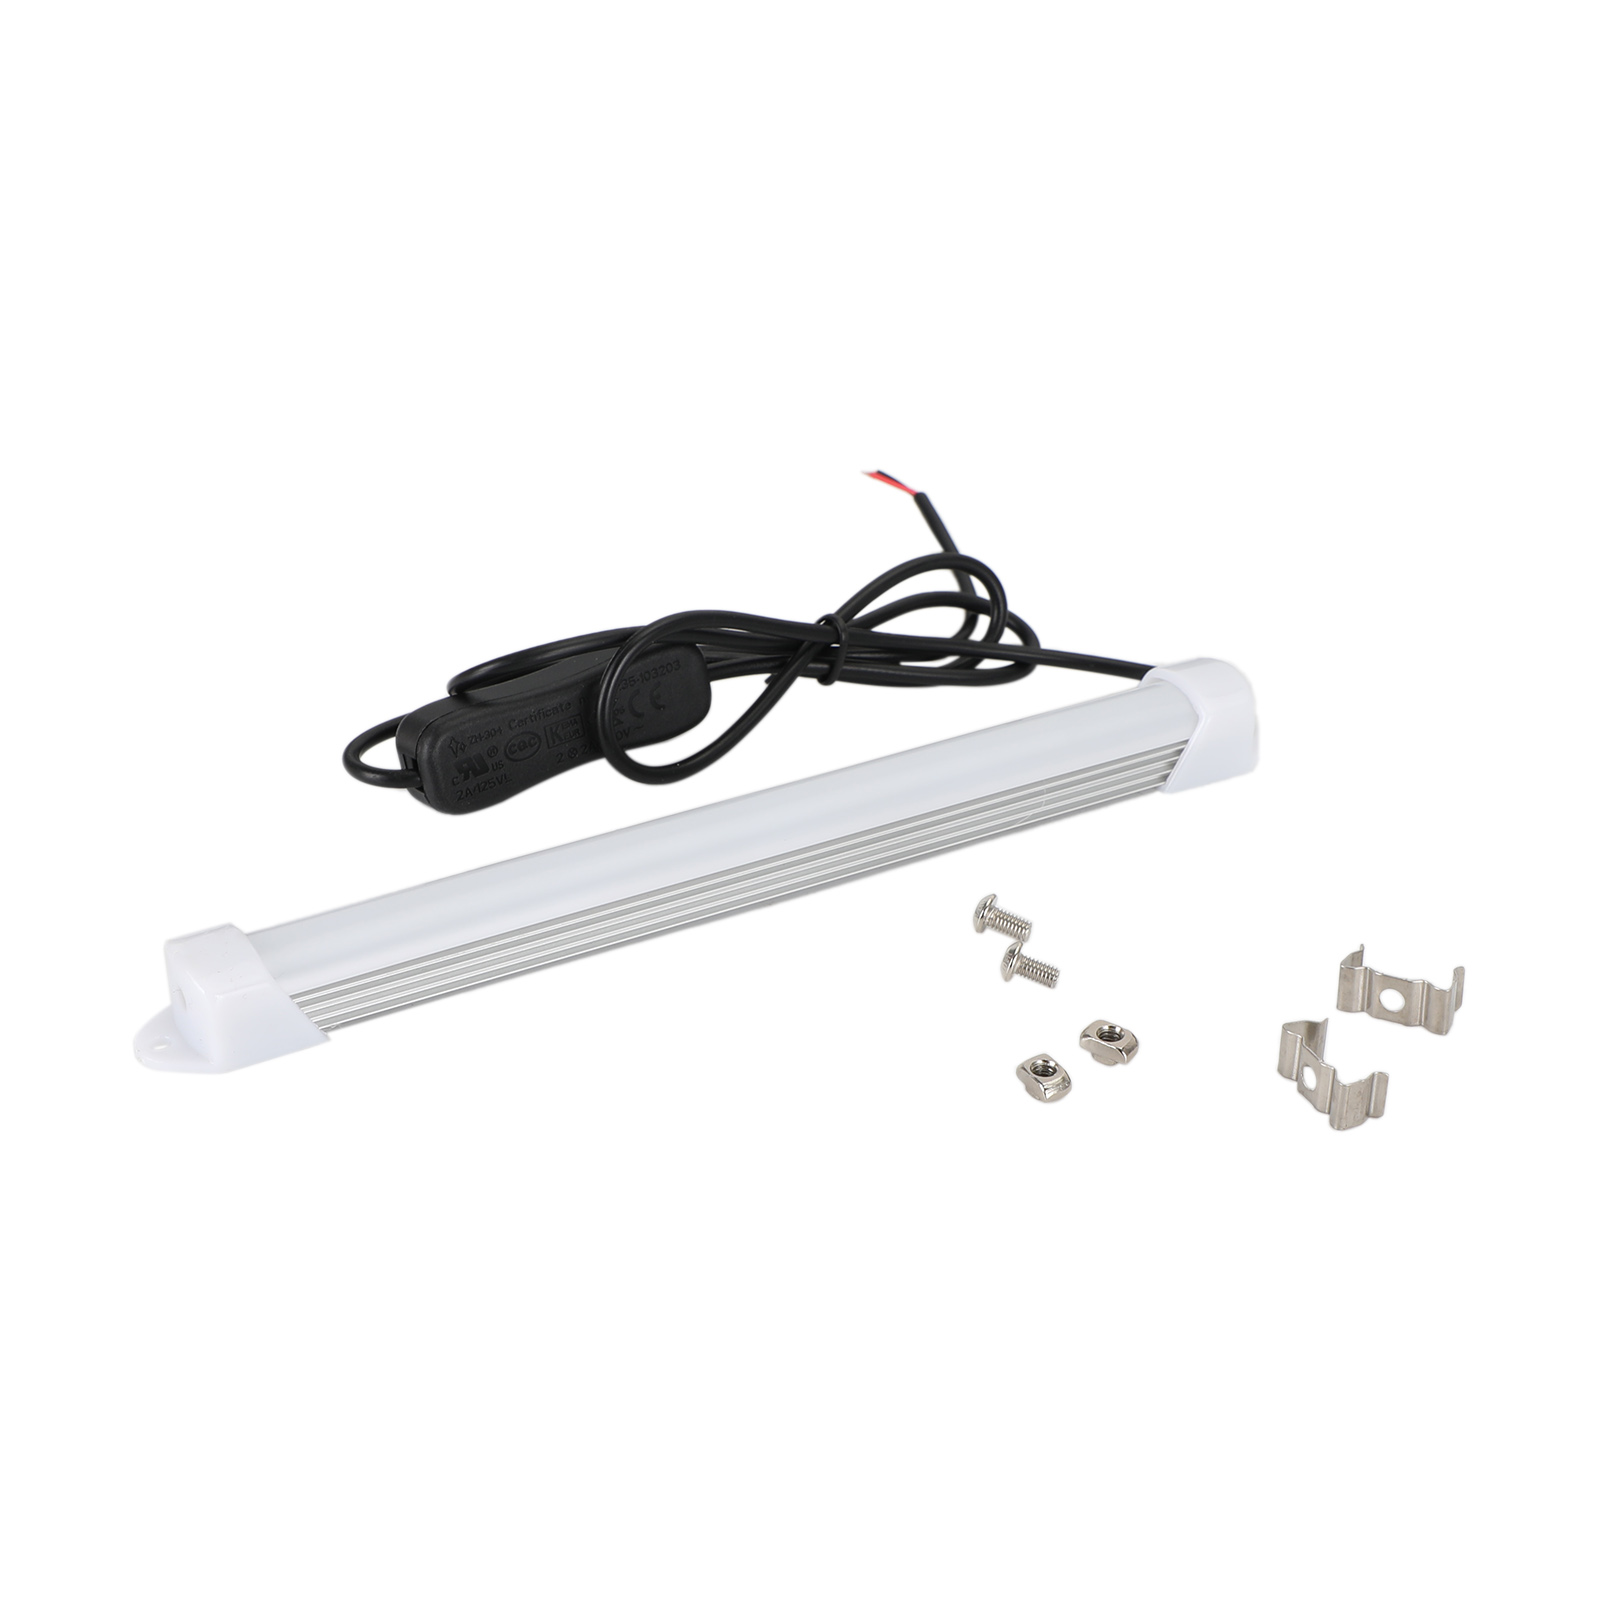
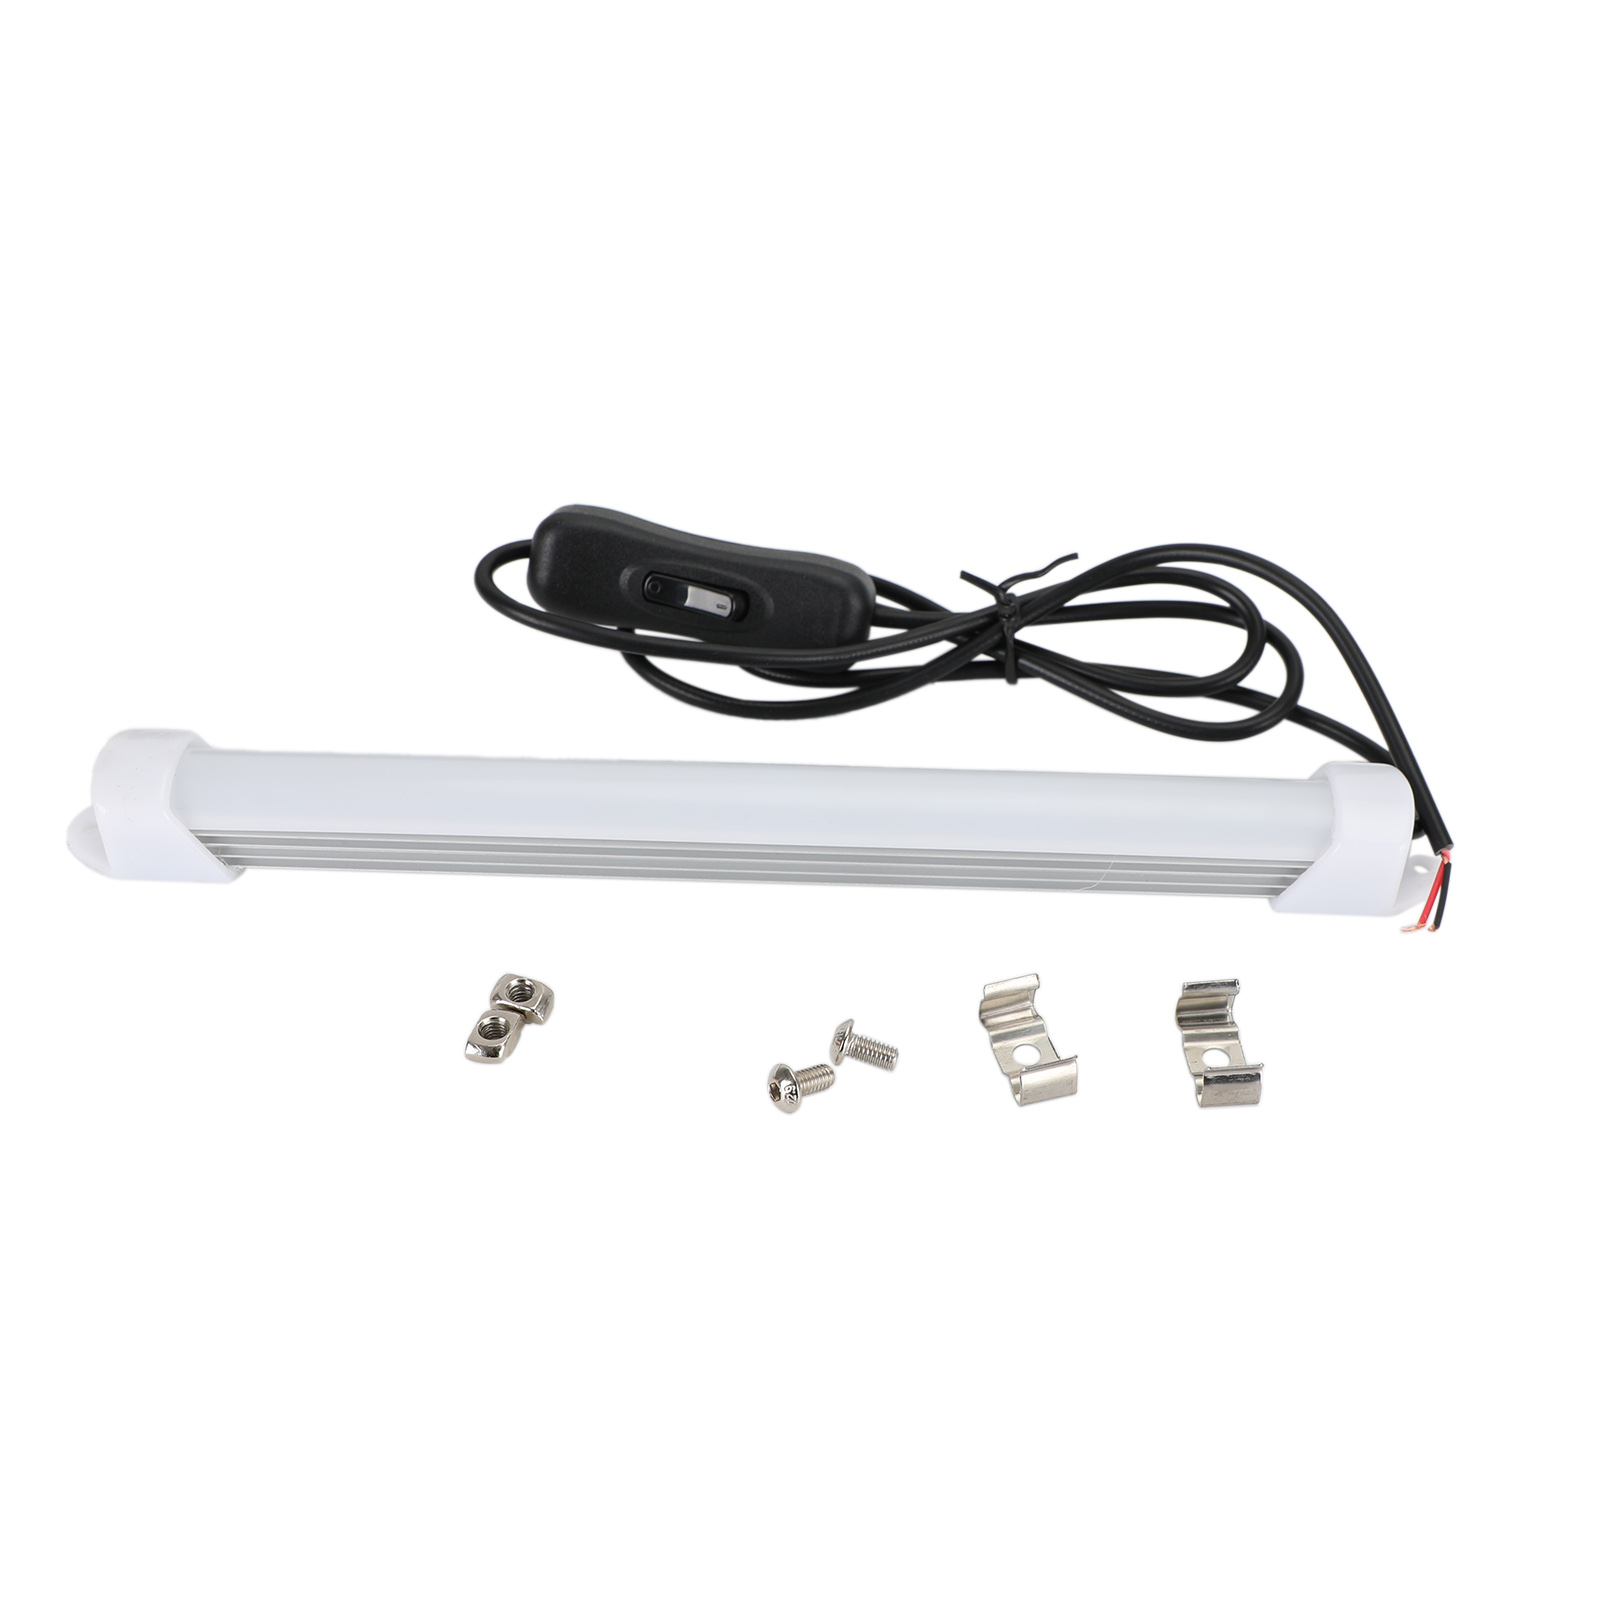
Specification: Light source type: LED chip light Light color: White Options: switch type not dimmable Product power: 5 watt switch type; 4.5 watt knob type Product brightness: 600LM Lead length: 100cm Product size: 22cm long Product weight: 67g
Compatible with: Compatible with Creality 3D printers, such as Ender-3/3S/3 Pro/V2 Ender-5 3D Printer etc..
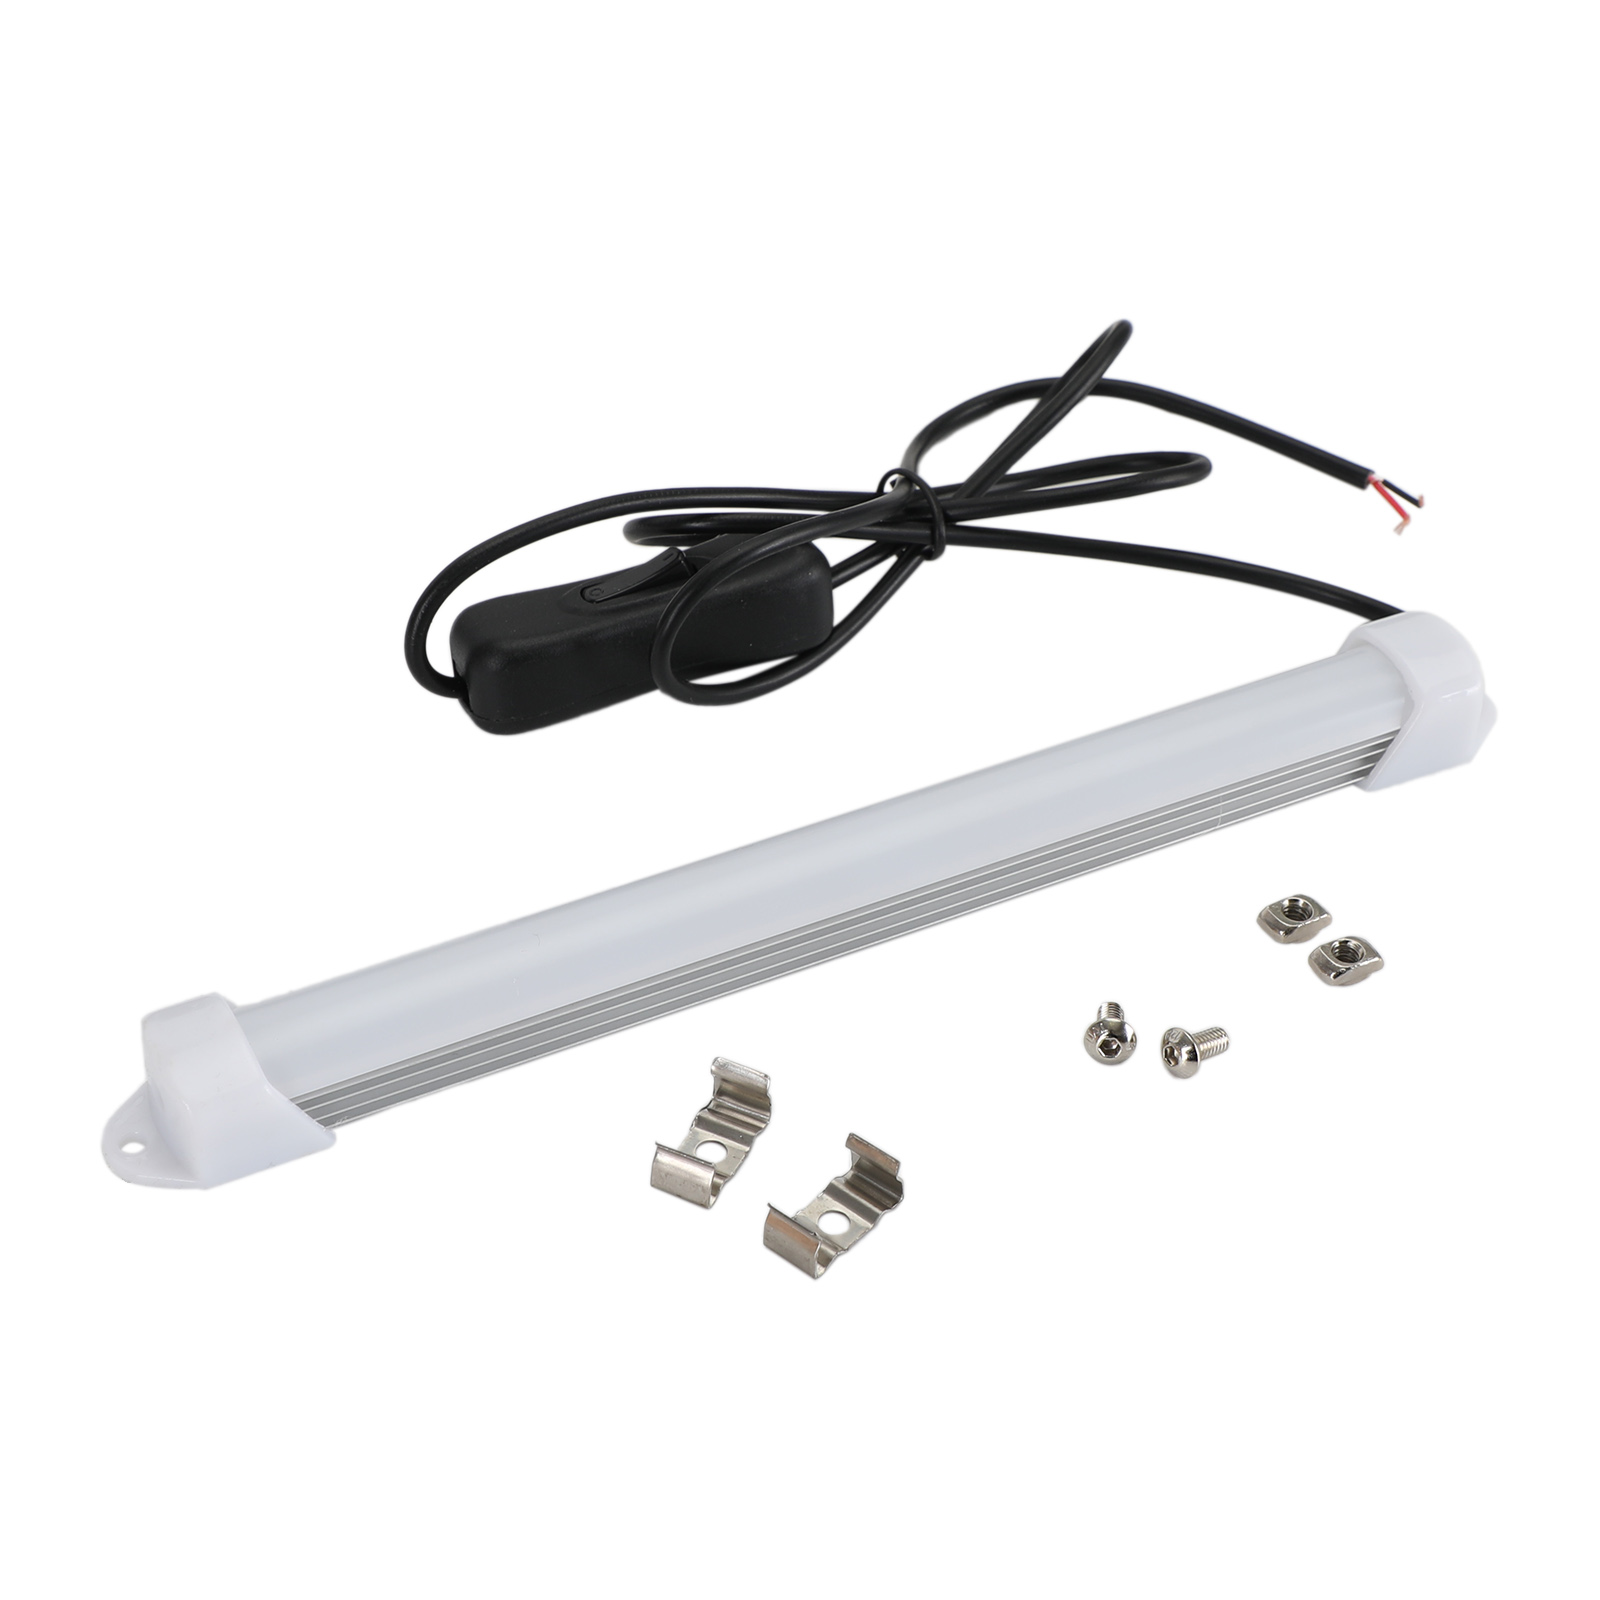
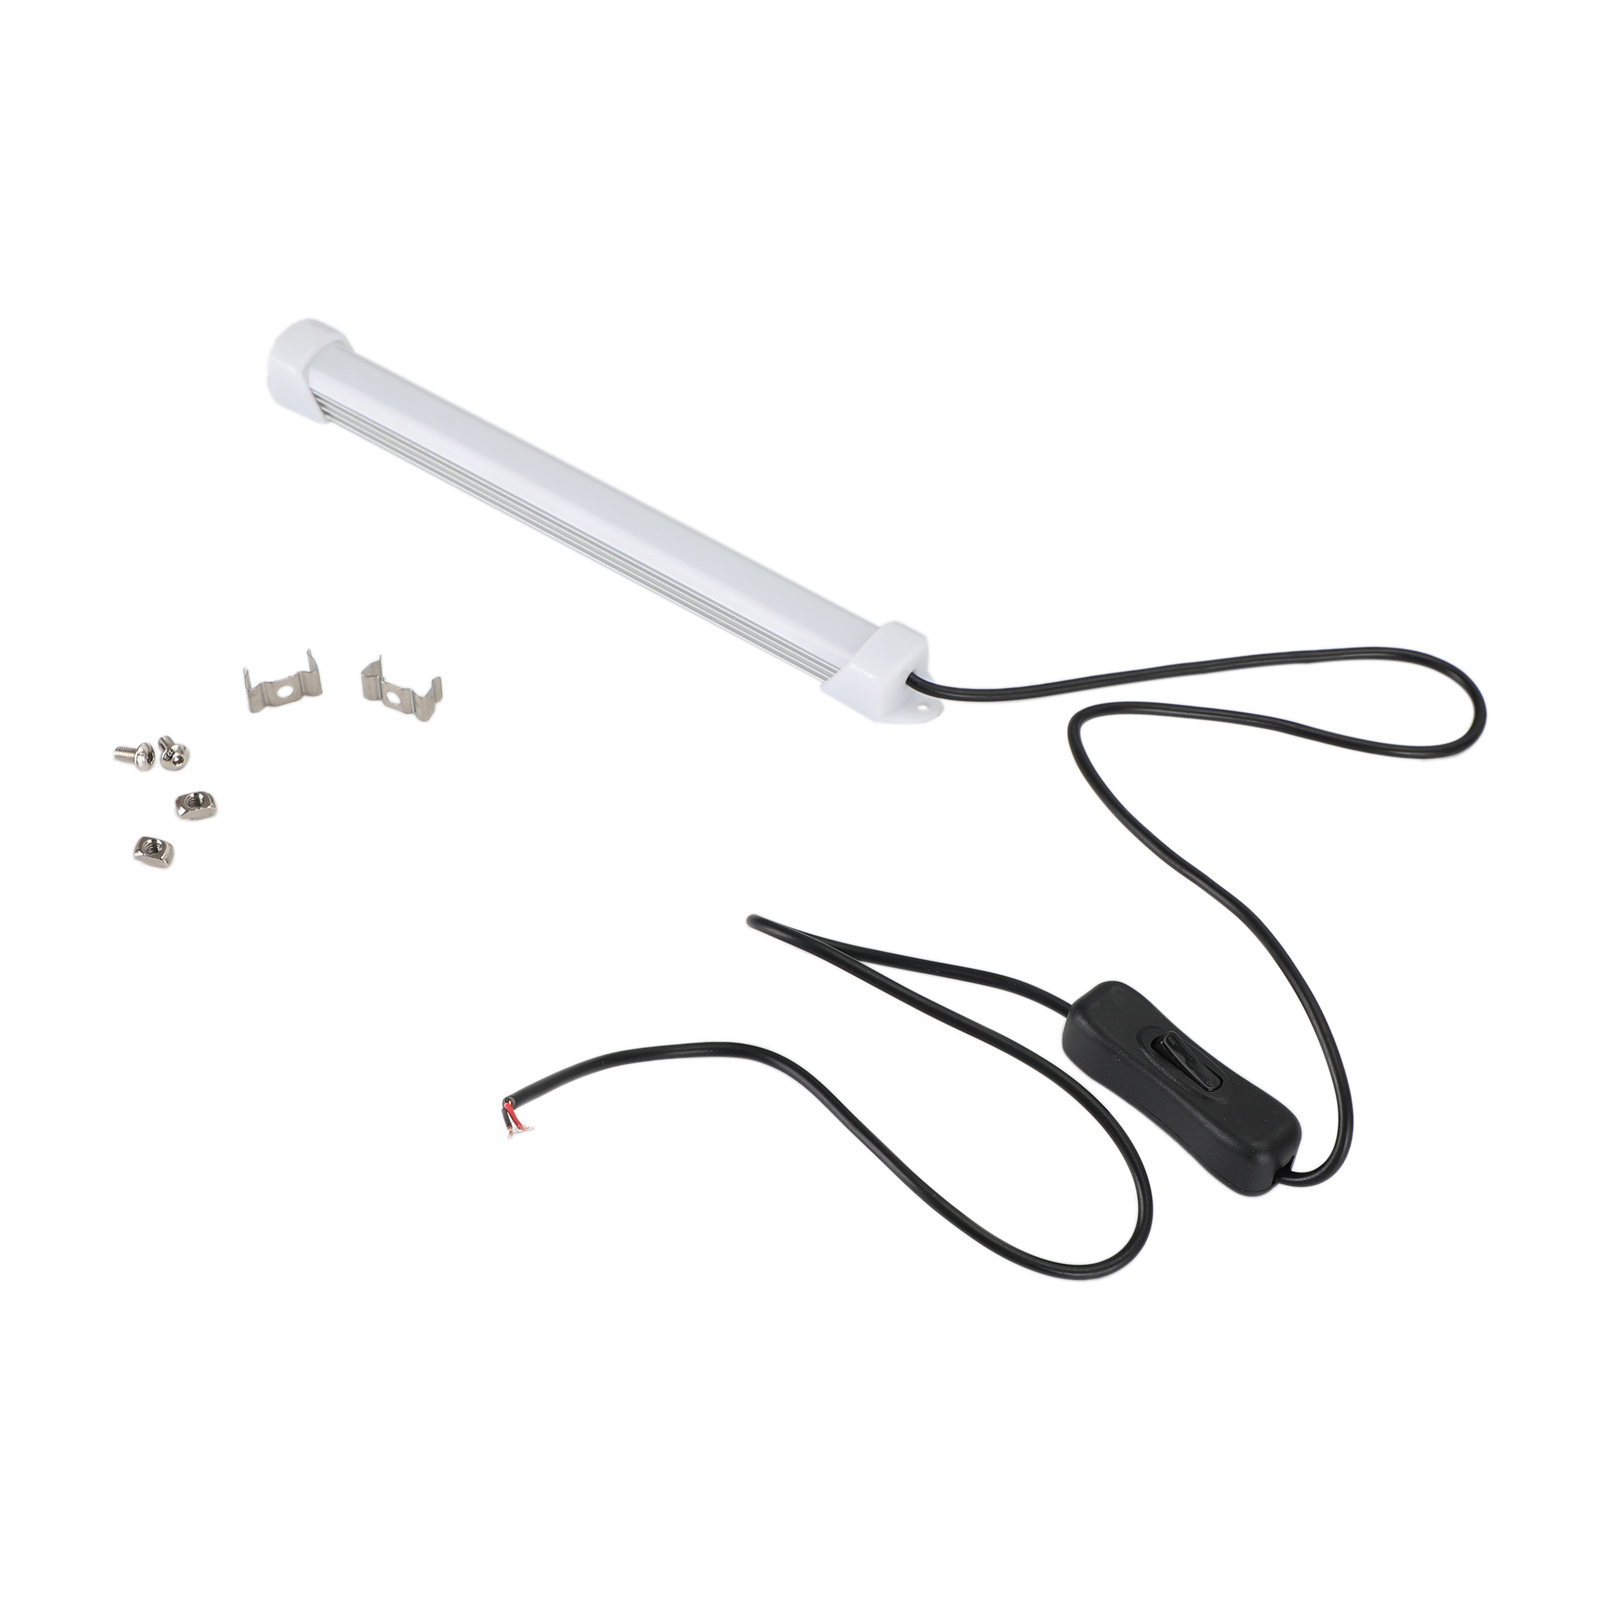
Installation method: Install the screw and T nut on the circlip and fix it on the aluminum profile. Then snap the LED in.
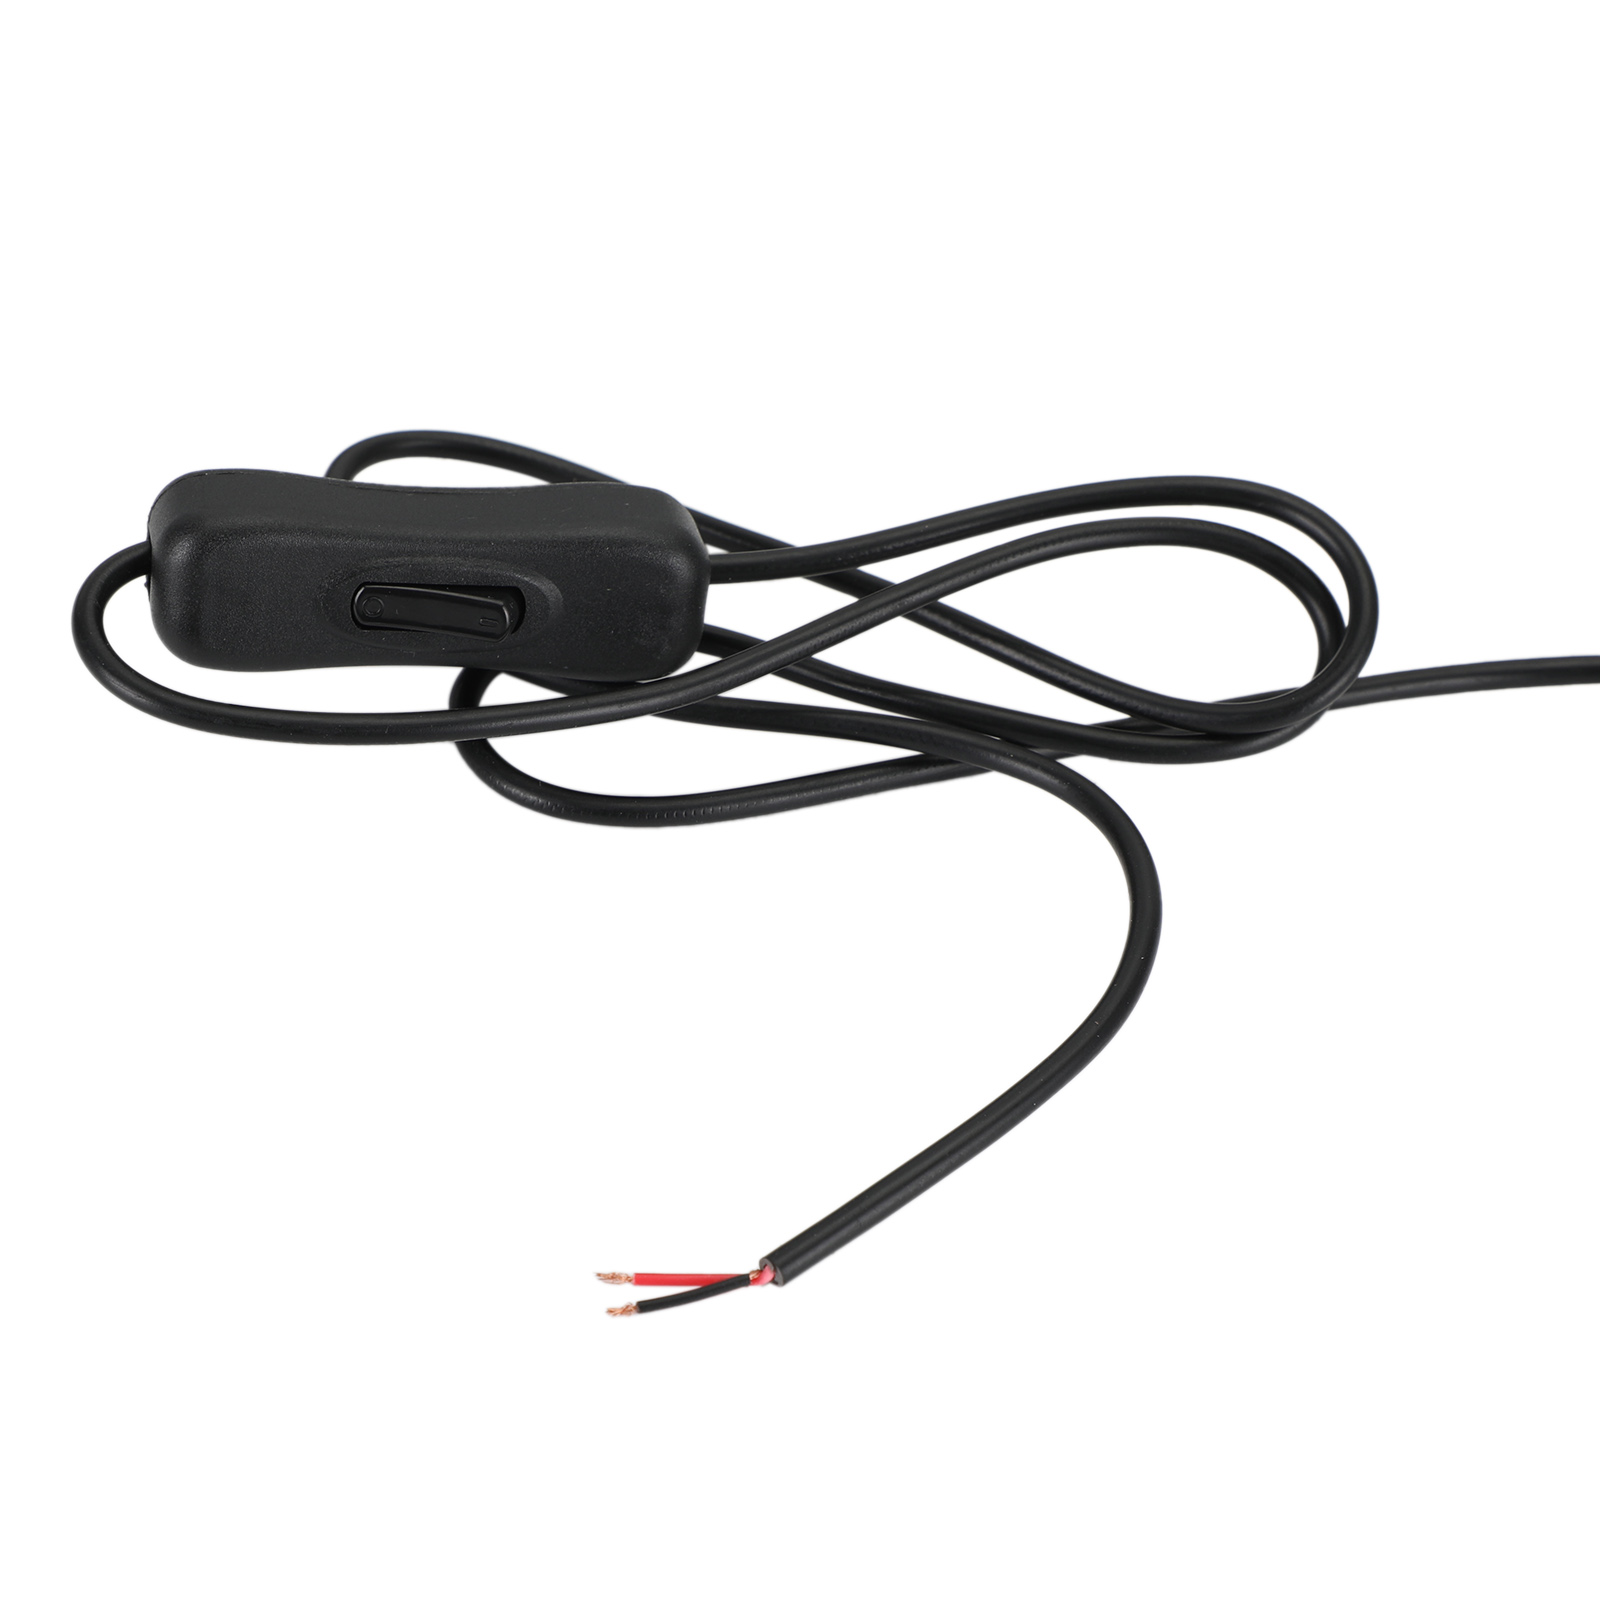
Wiring method: Method 1: Connect the power output. The black wire is connected to -V, the red wire is connected to +V Method 2: Connect the mainboard power input terminal, connect the red to + pole and black to the negative pole.
Note: Due to the different monitor and light effect, the actual color of the item might be slightly different from the color showed on the pictures. Thank you! Please allow 1-2cm measuring deviation due to manual measurement.