Items Description
100% Brand New
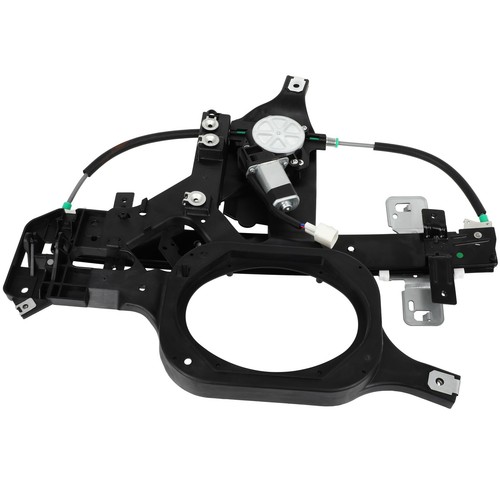
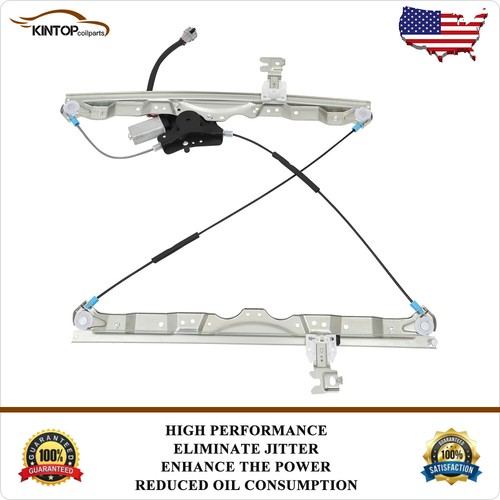
Attachment Type:Bolt On
Material:Metal and Plastic
Fitment:Direct Replacement
Tech Tips
Use painter’s tape rather than duct tape to secure window. It is less likely to damage paint or leave sticky residue.
A plastic pry tool is useful. It will not easily damage delicate trim like a screwdriver or metal pry bar.
The replacement regulator should have a liberal amount of grease on slide area. If there is not much grease present, white lithium grease works well to lubricate the slide area.
Window run channels should be cleaned and lubricated before installation of a new window regulator assembly. Silicone spray works well.
Removal Instructions
STEP 1: Using a Phillips head screw driver or Torx bit set, remove the interior door trim panel retaining screws/Torx bits.
STEP 2: Remove the interior door handle screws/Torx bits, and remove the interior door handle.
STEP 3: Remove the power switch assembly and disconnect the power switch harness.
STEP 4: Using an interior trim removal tool, remove the interior door trim panel.
STEP 5: Temporarily connect the power switch assembly to lower the door glass,exposing the screws attaching the door glass to the window regulator.
STEP 6: Remove the screws attaching the door glass to the window regulator. Once the screws have been removed, manually slide the door glass into the closed position, and hold in place with either painter’s tape, a wedge, or a suction cup saddle assembly.