
Descriptions:
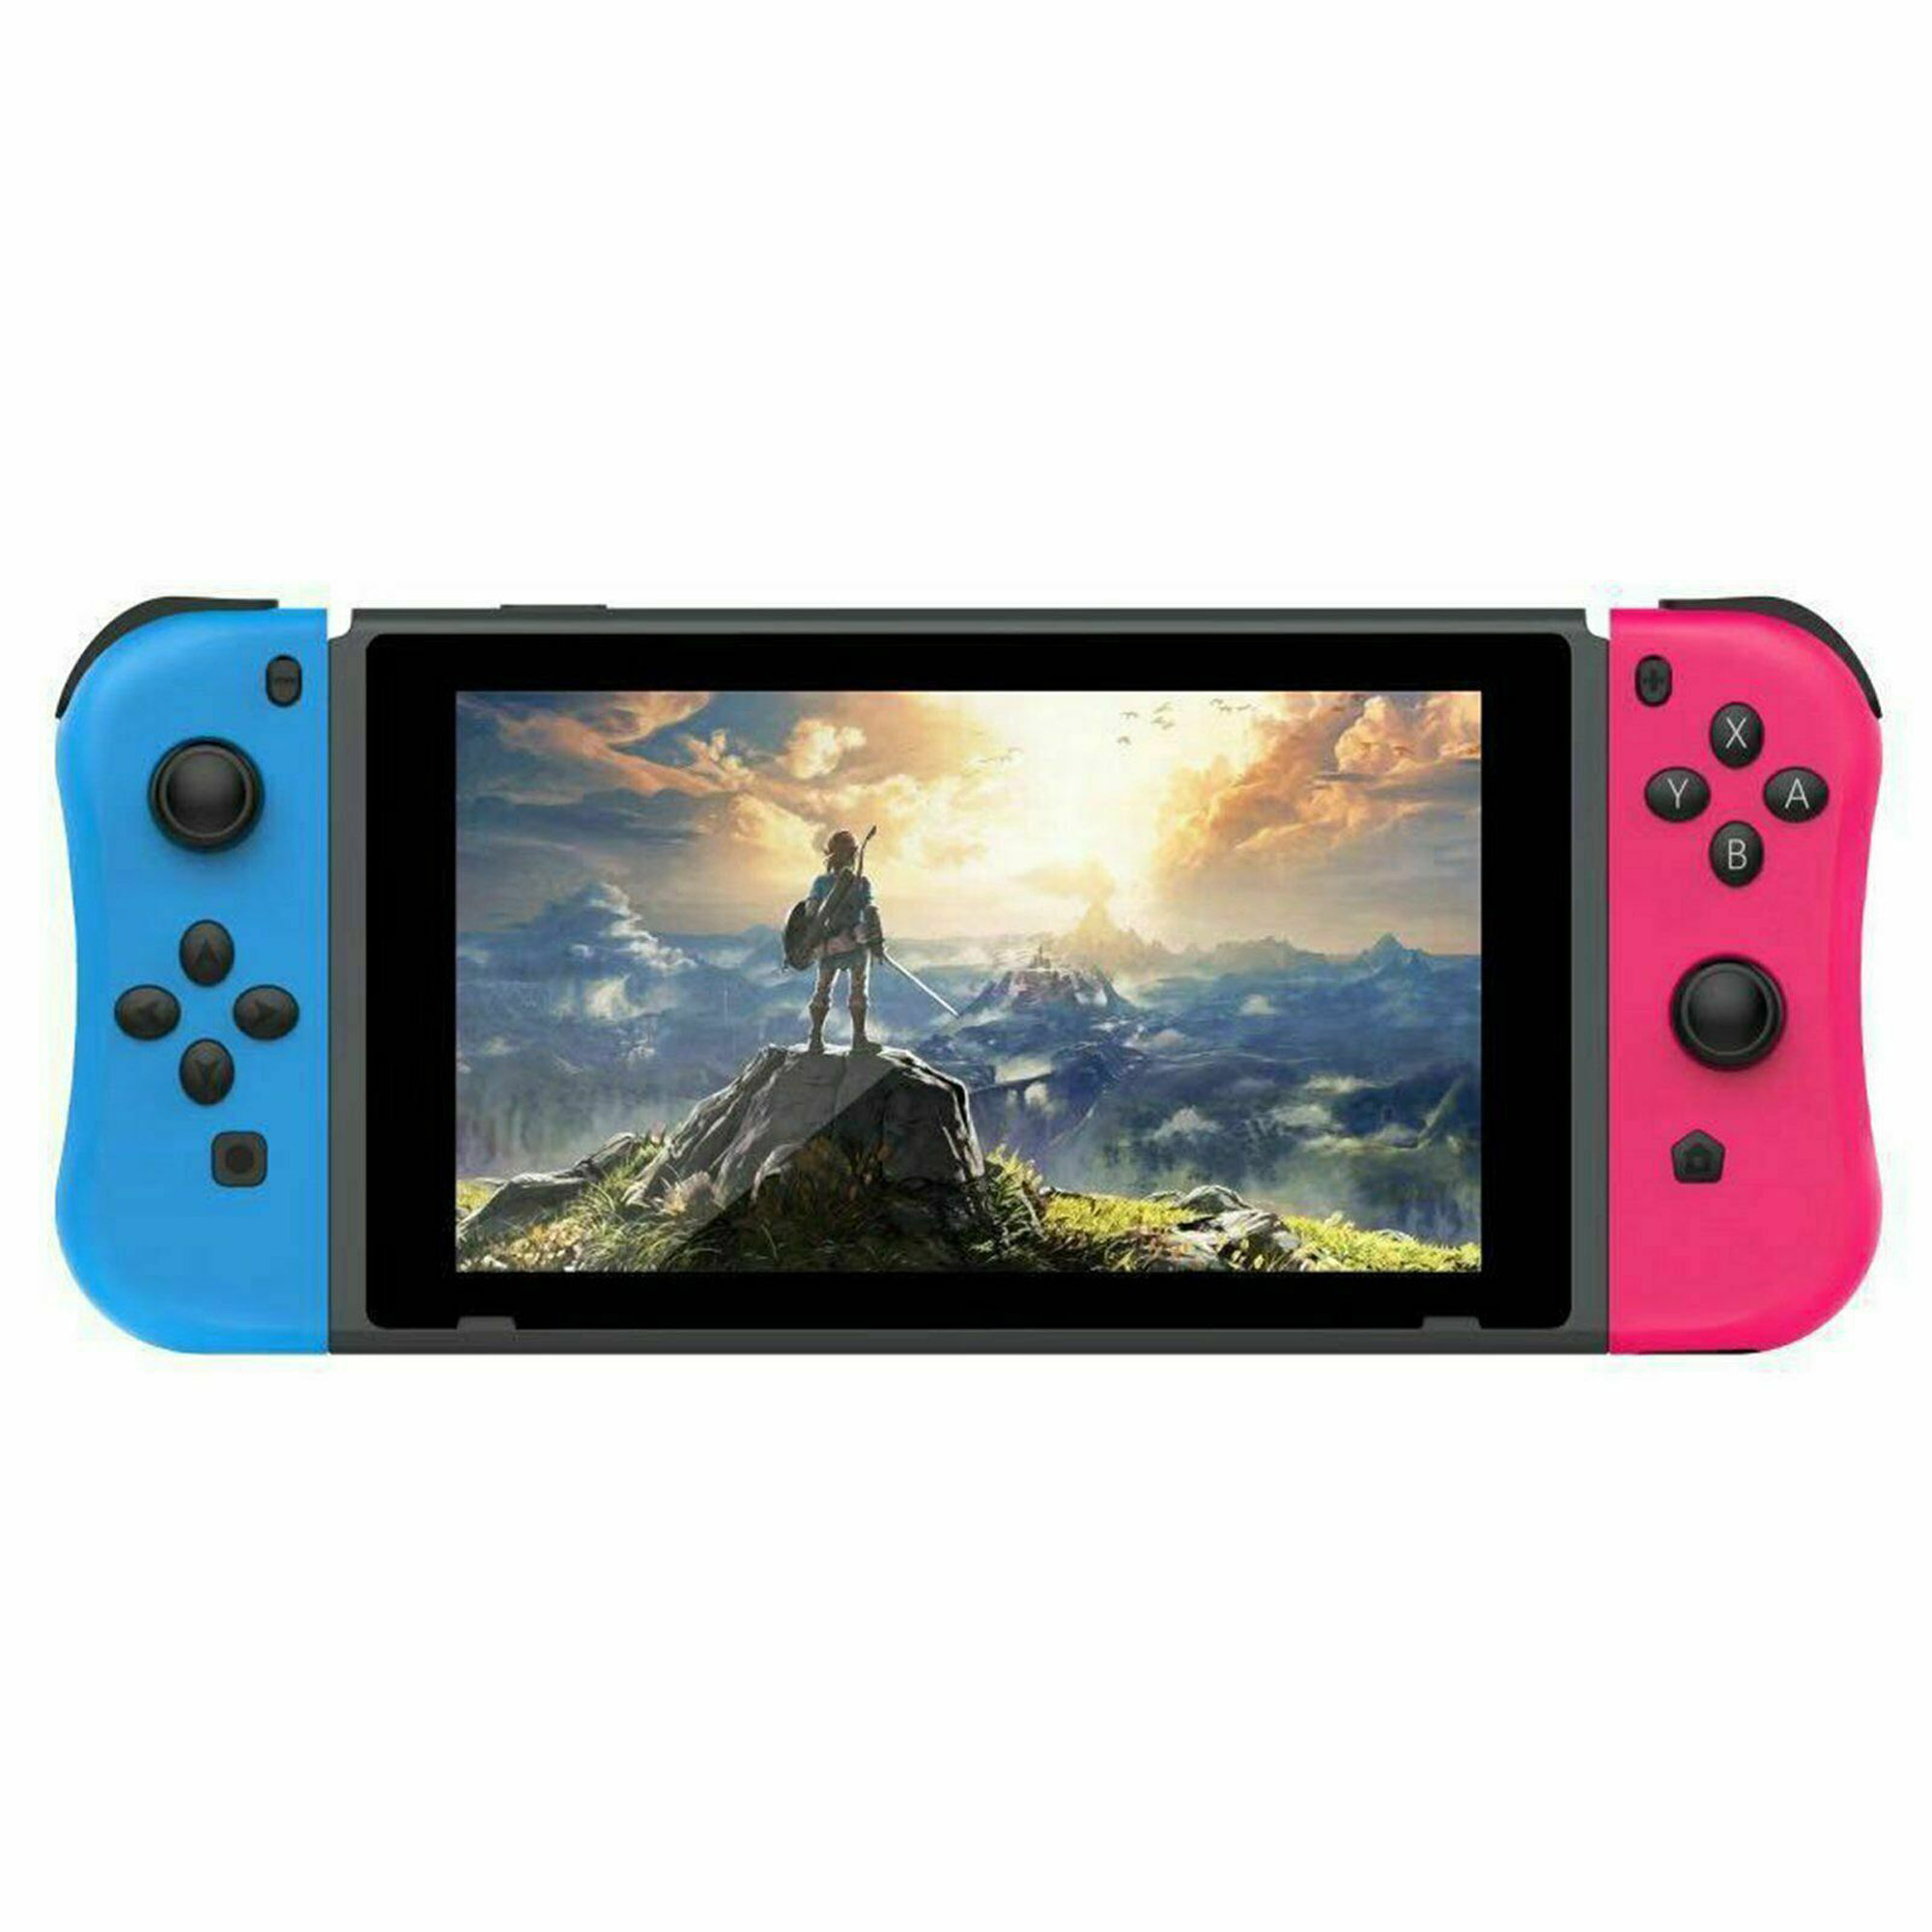
This model is for Switch console. The controller have the vibration and sensor functions, and can be used through wired and Bluetooth.
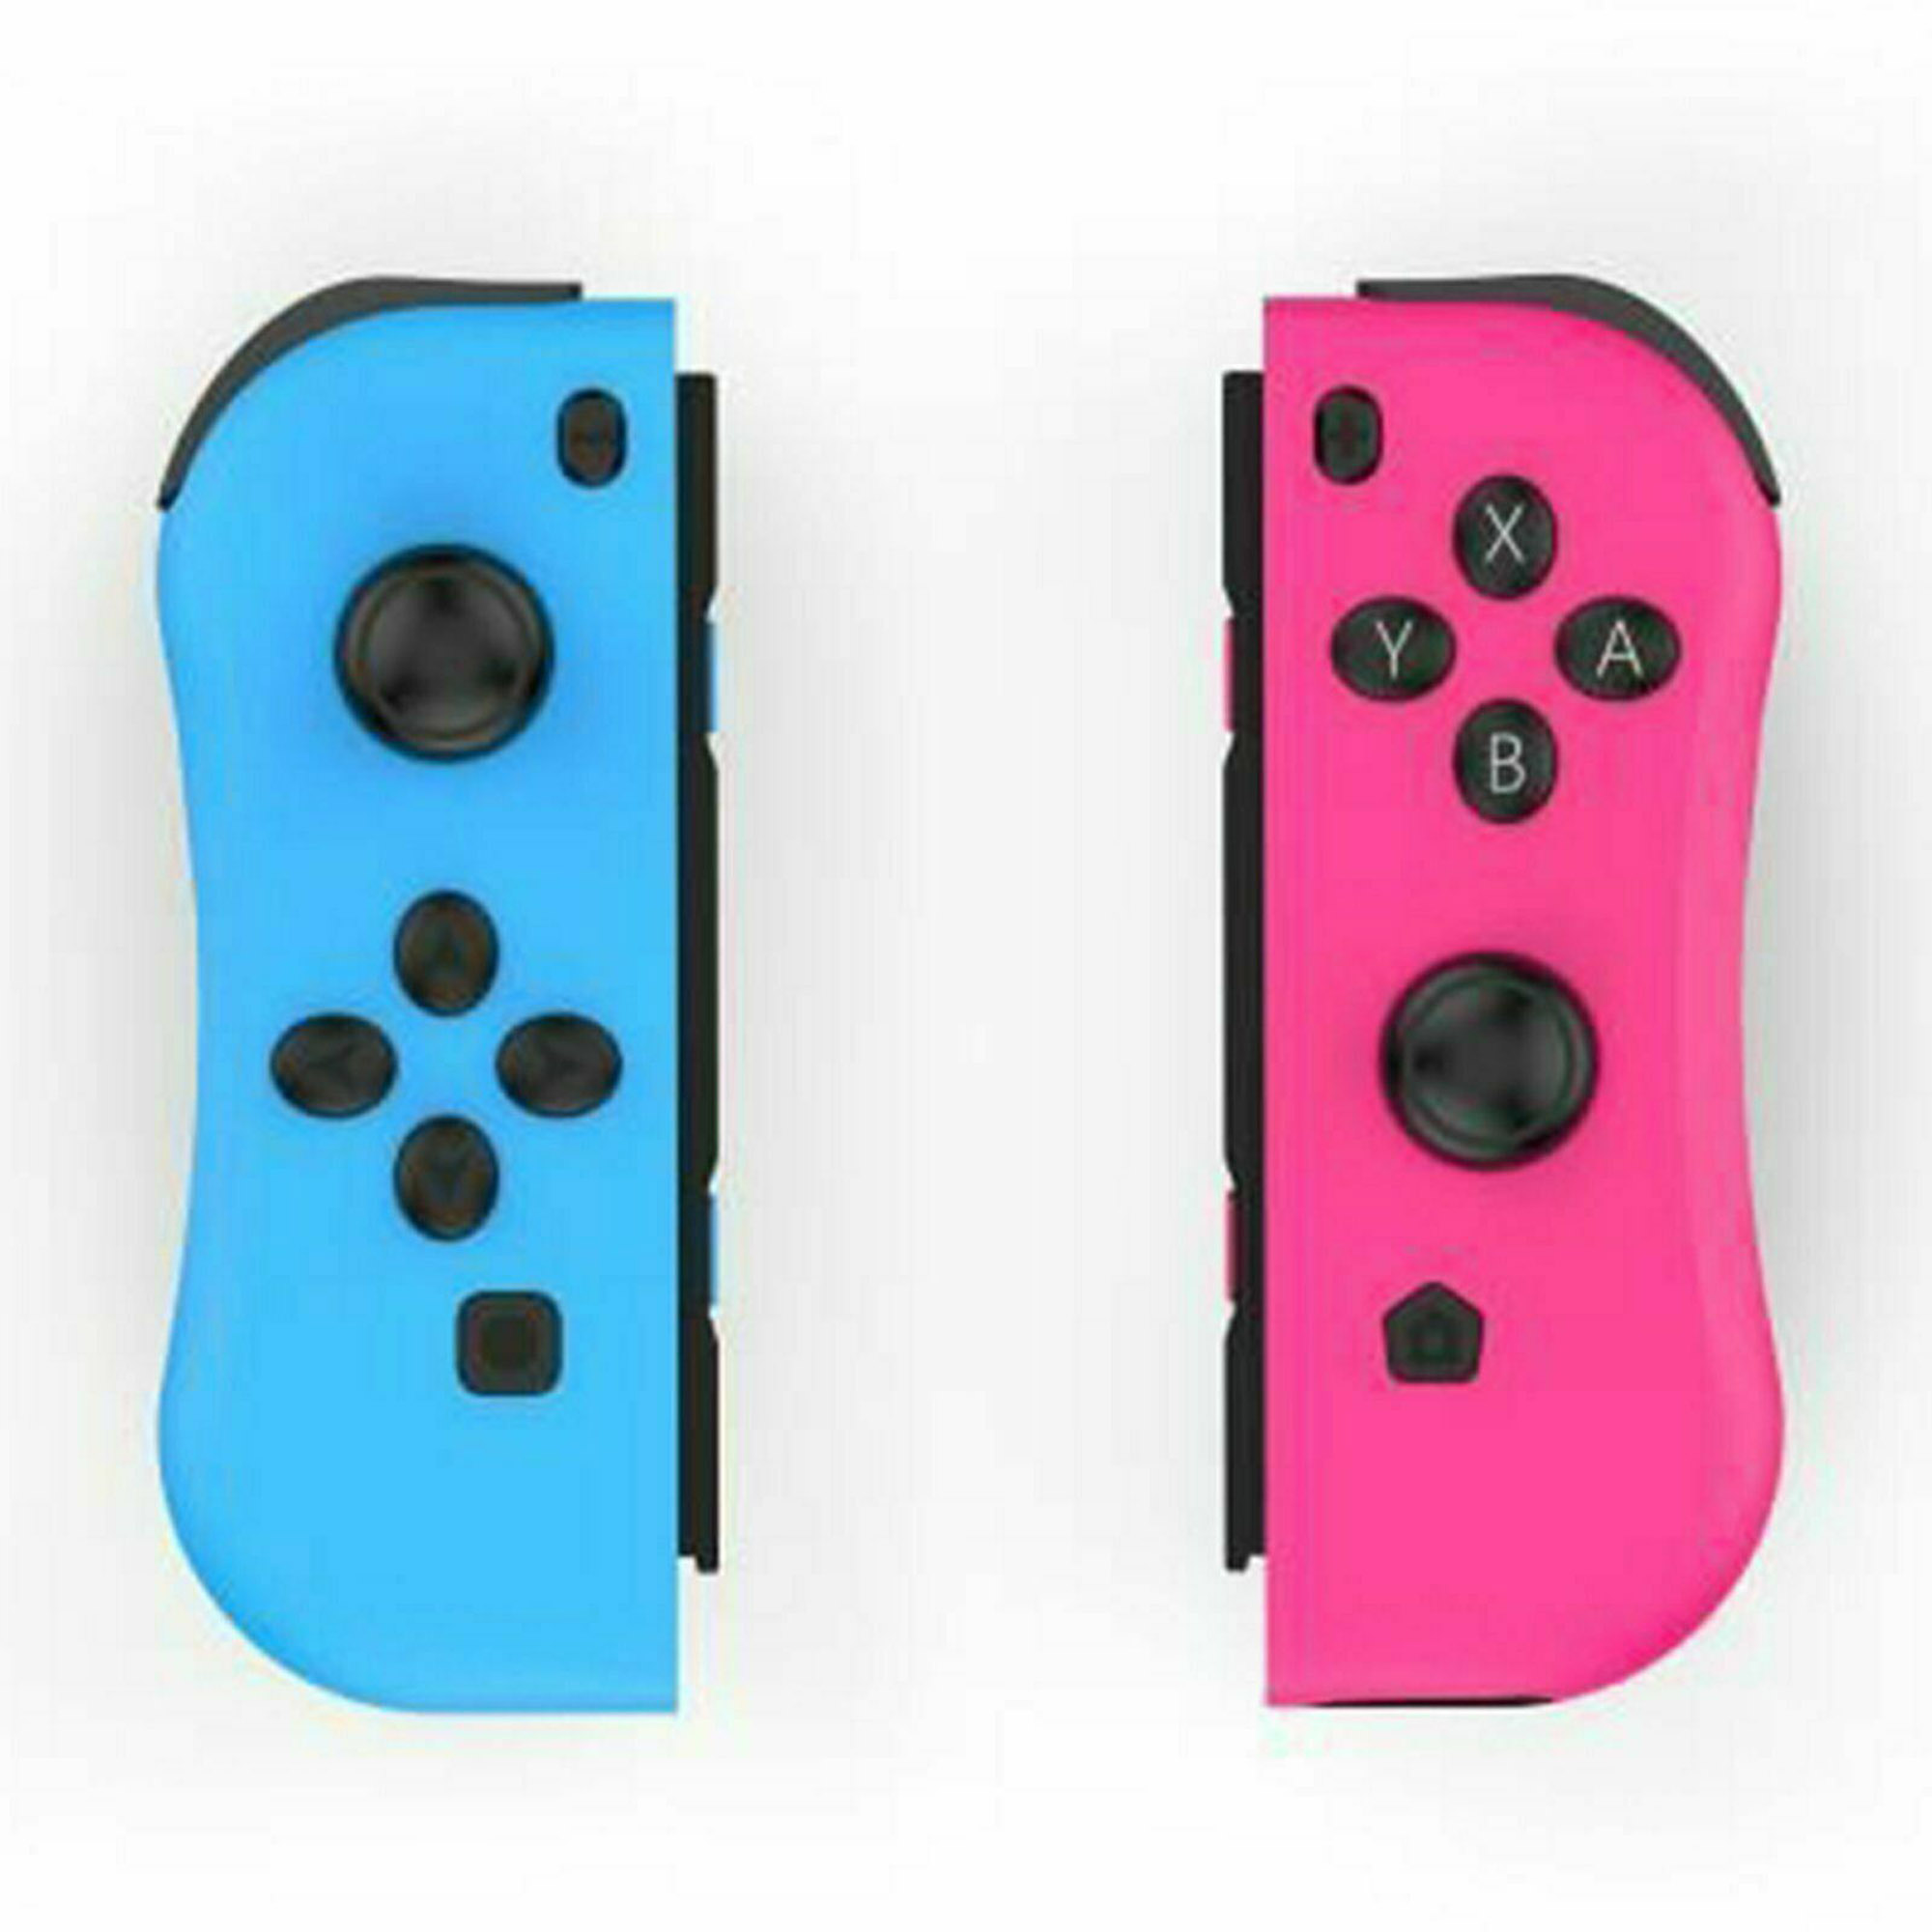
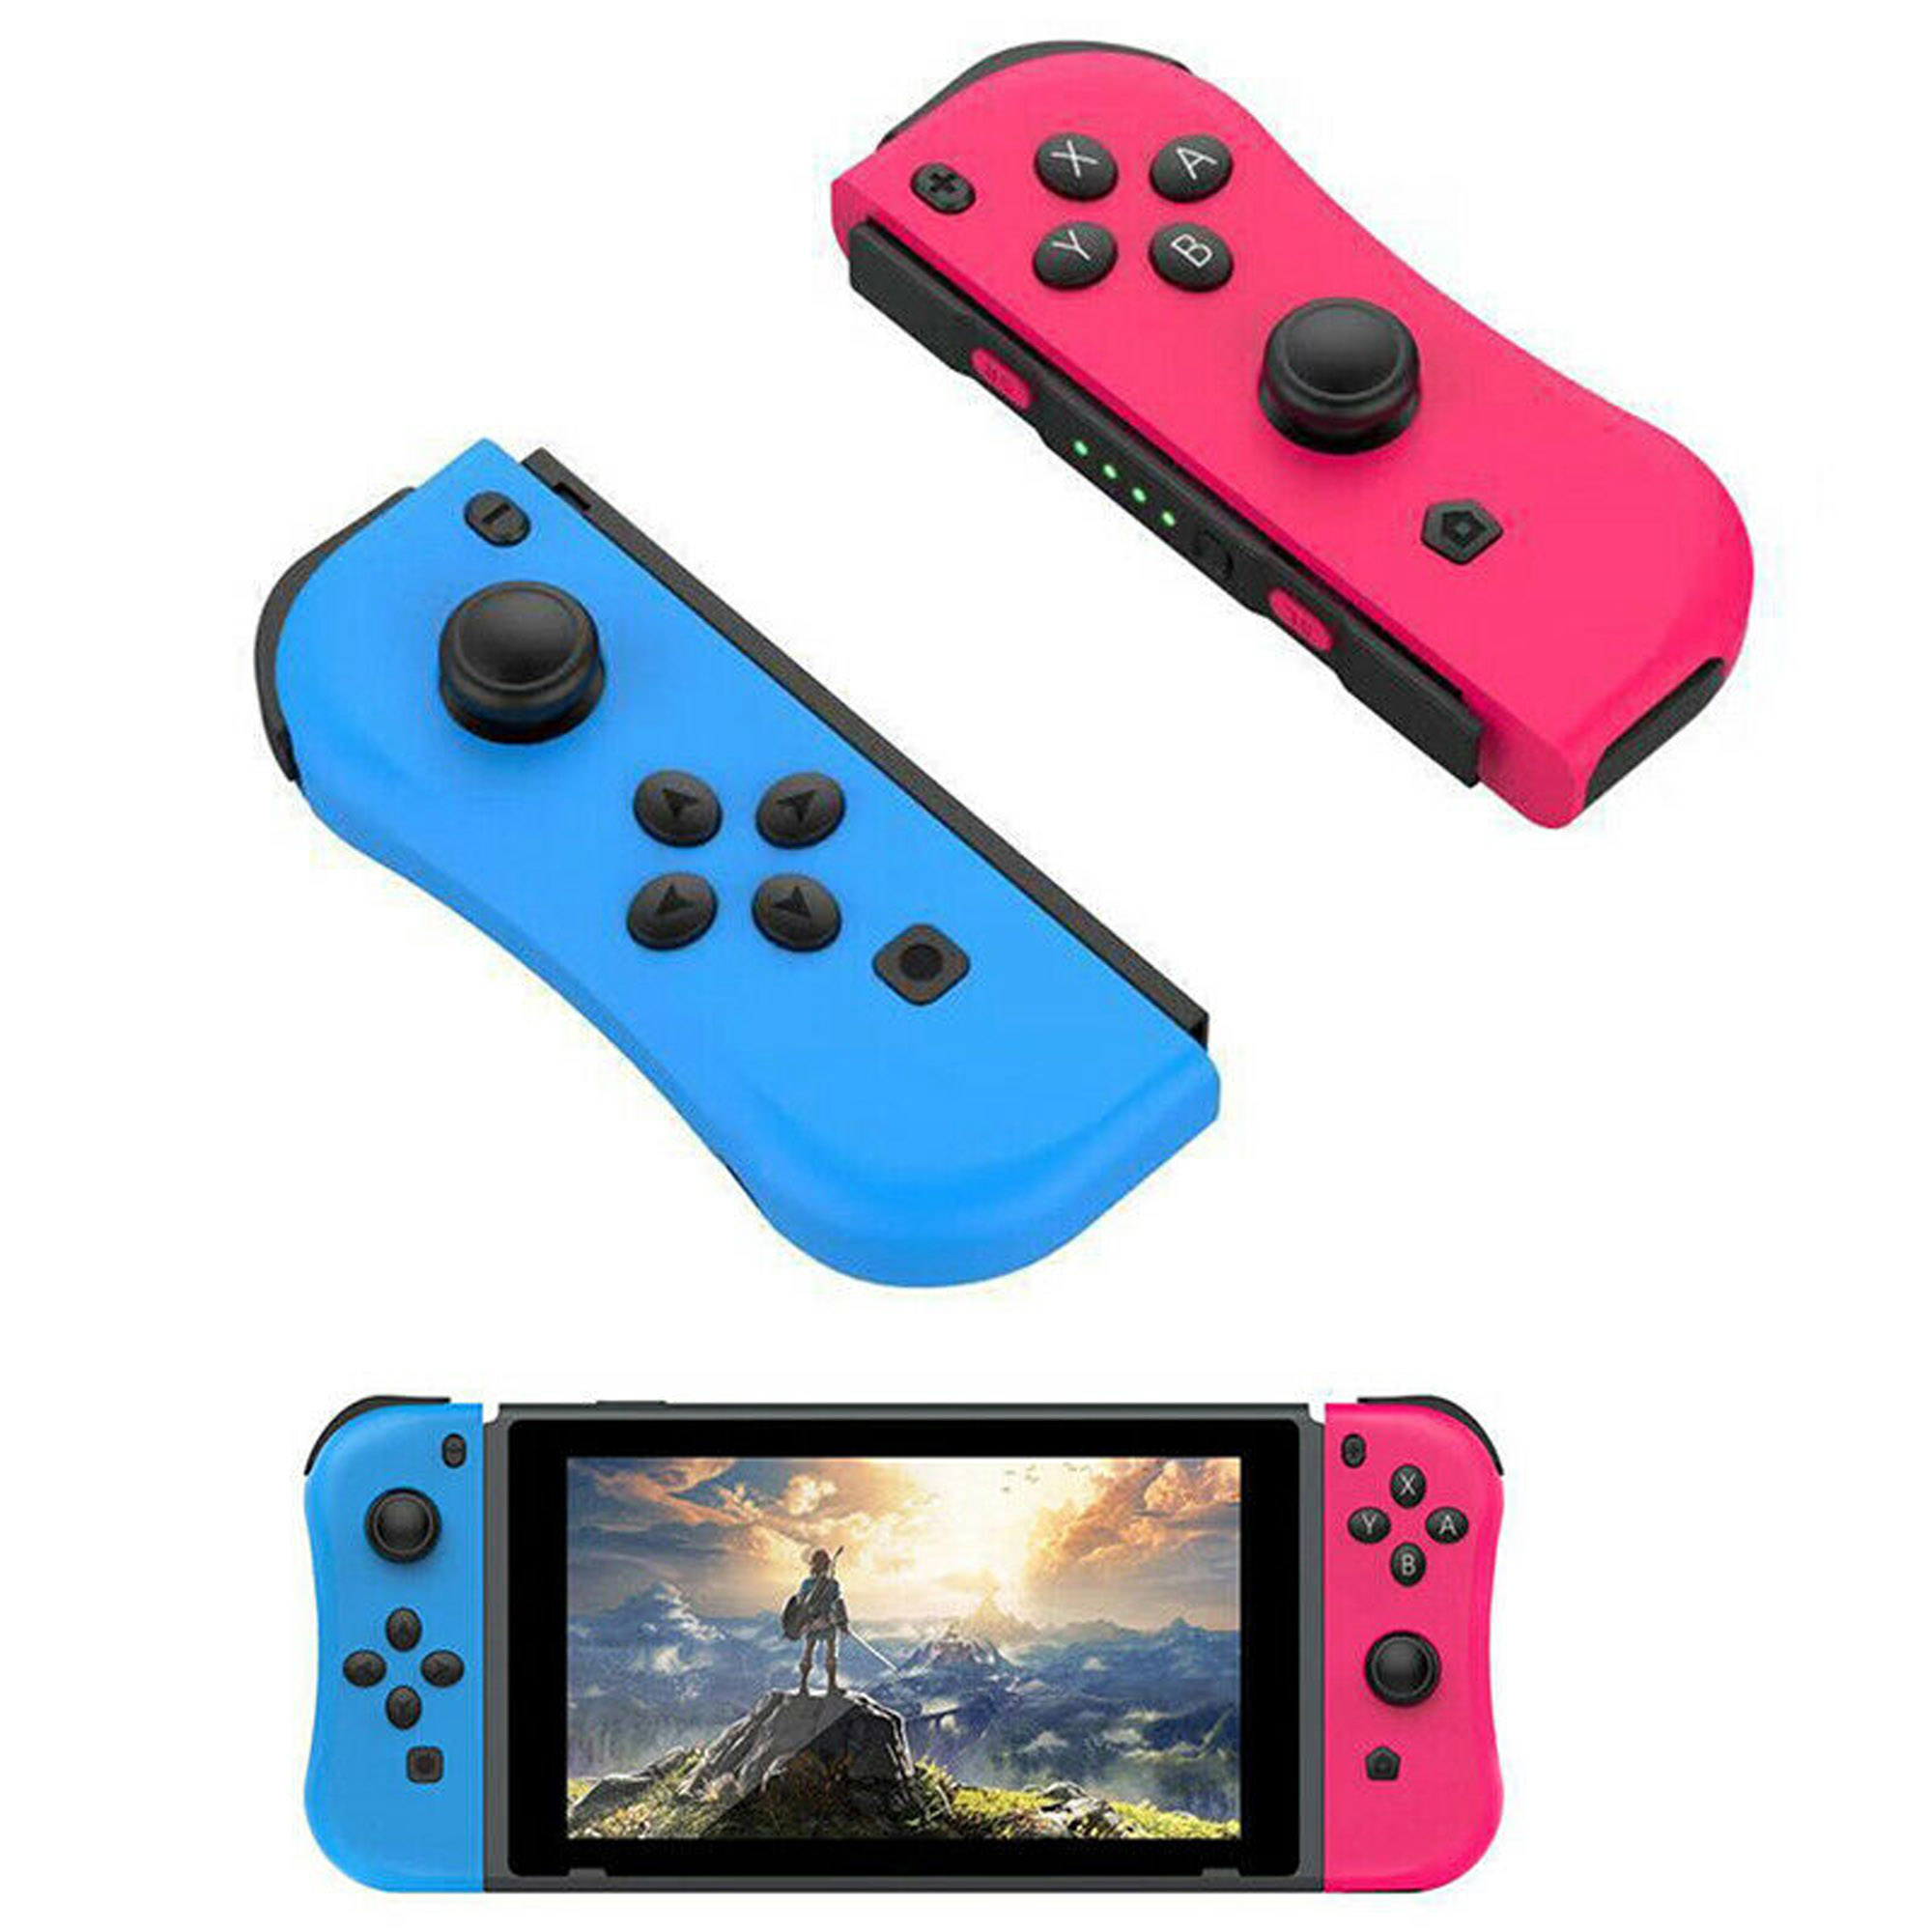
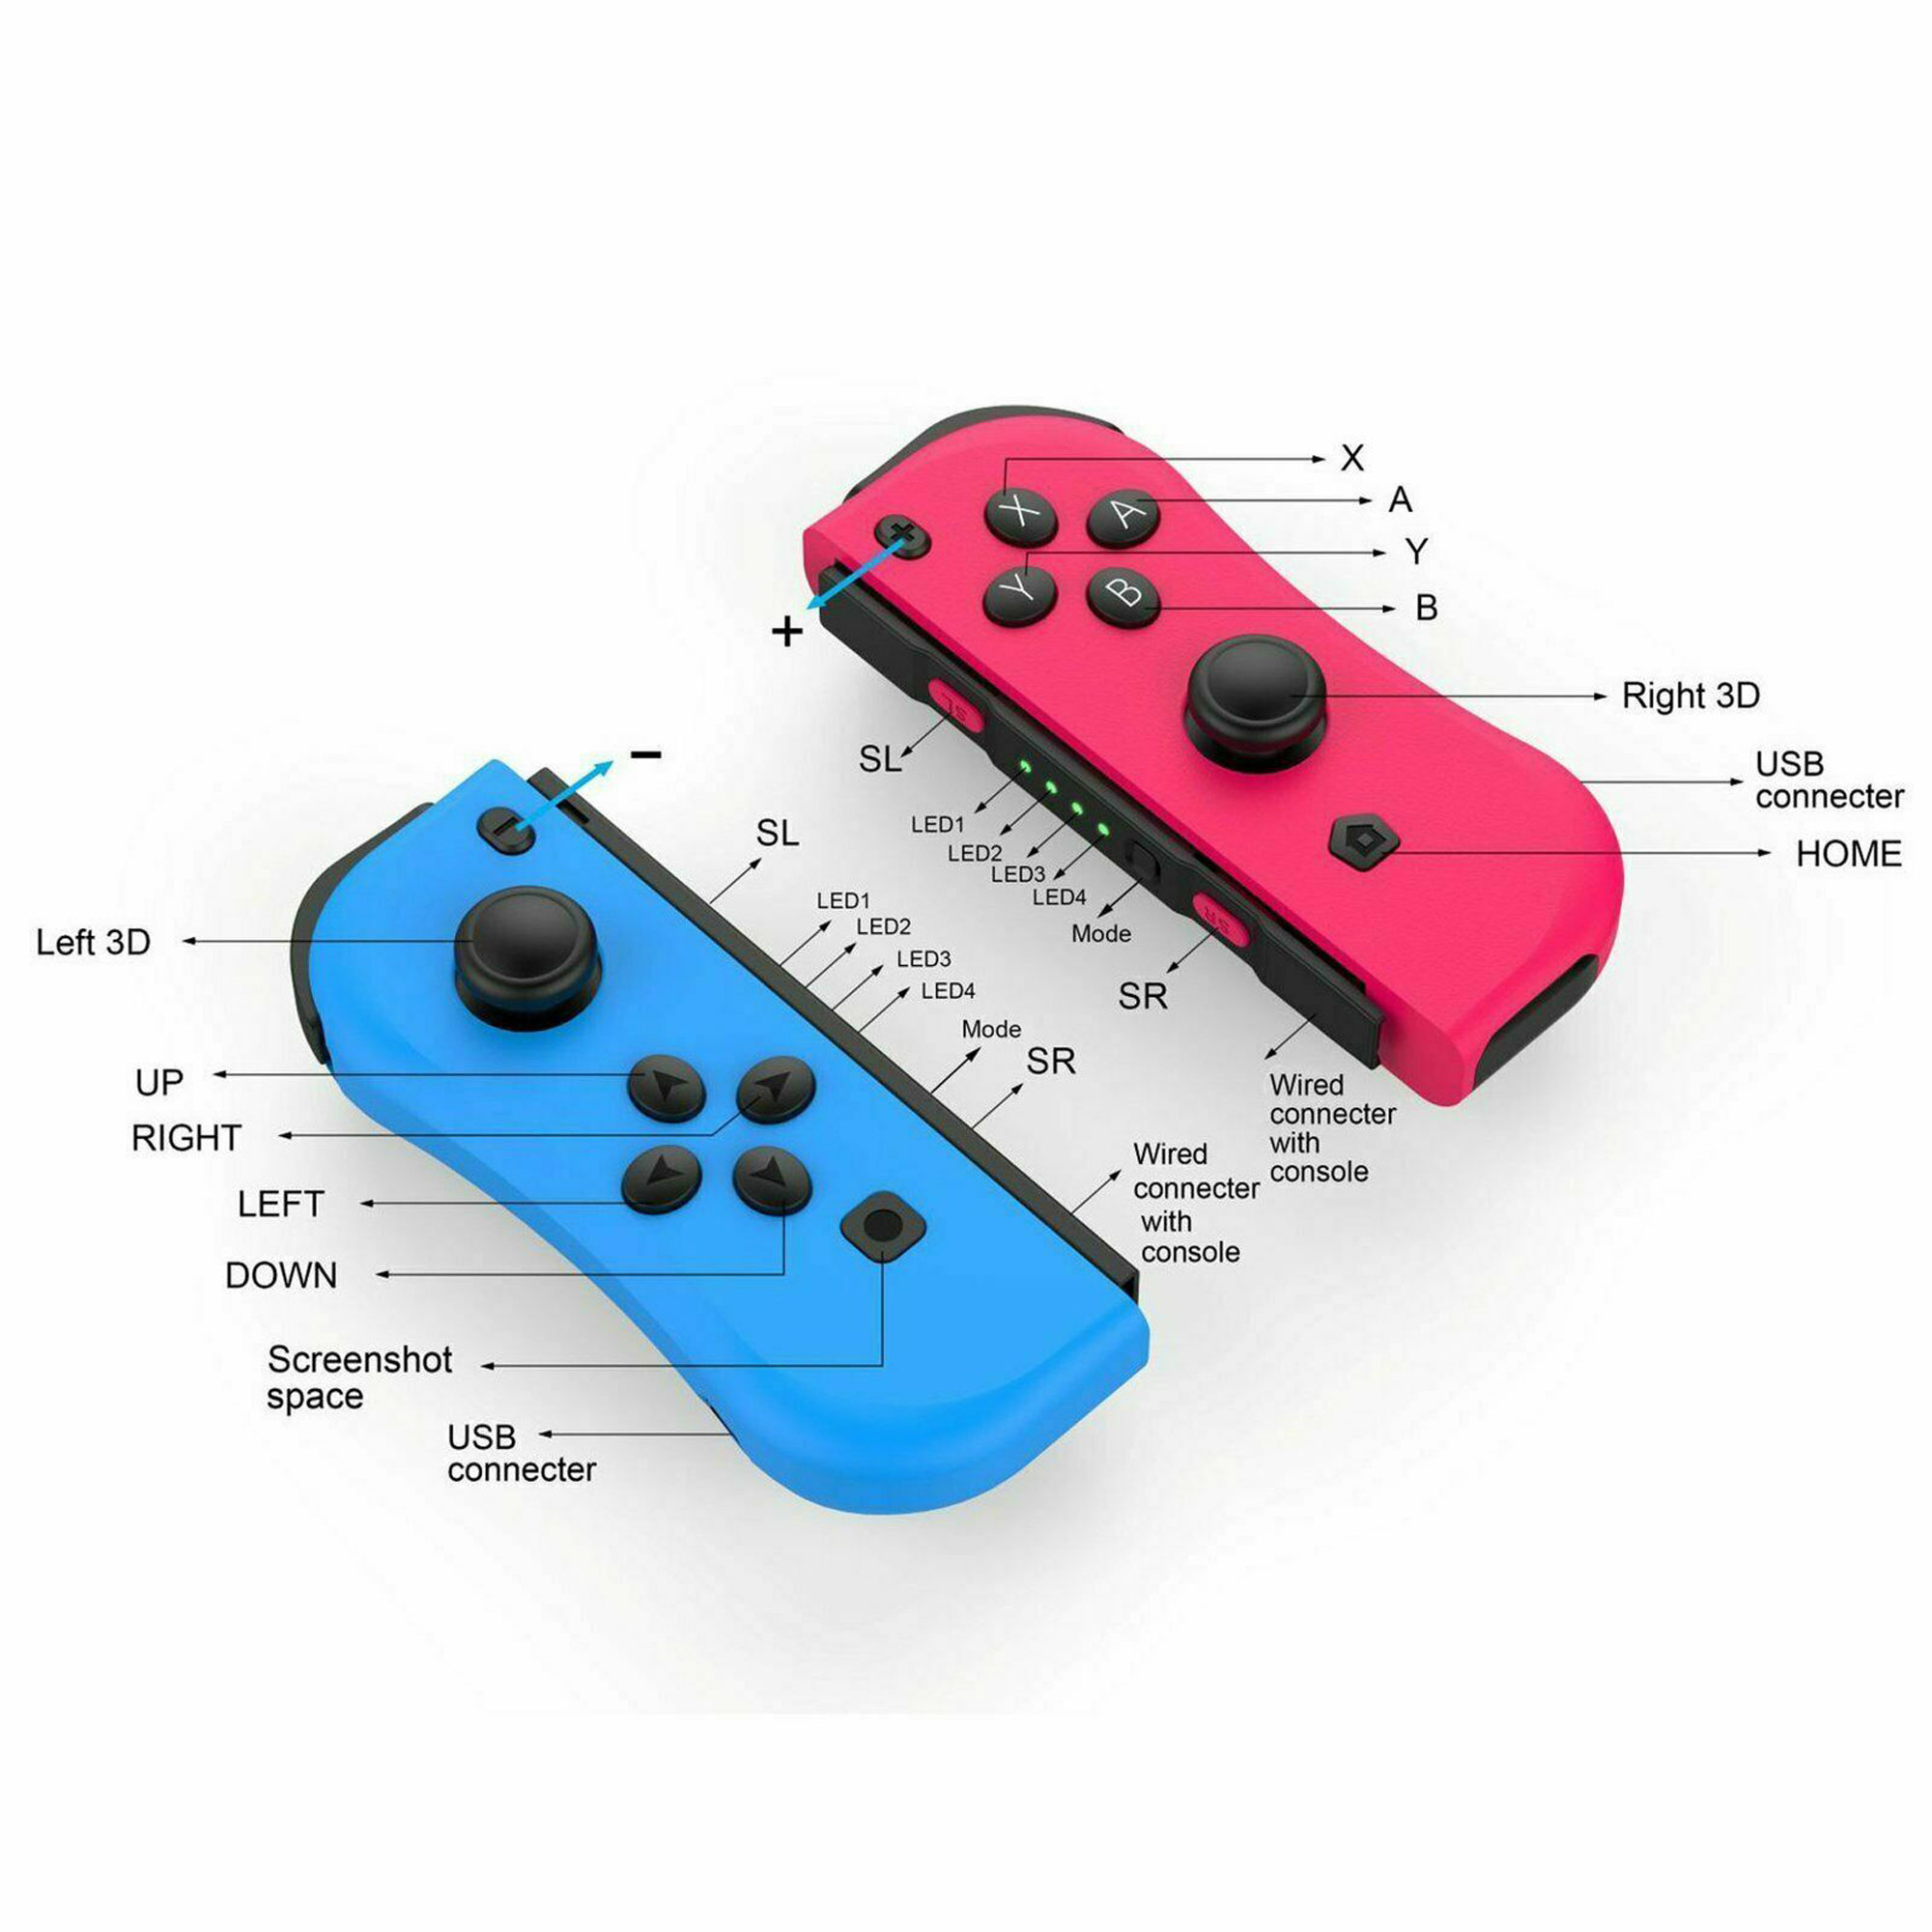
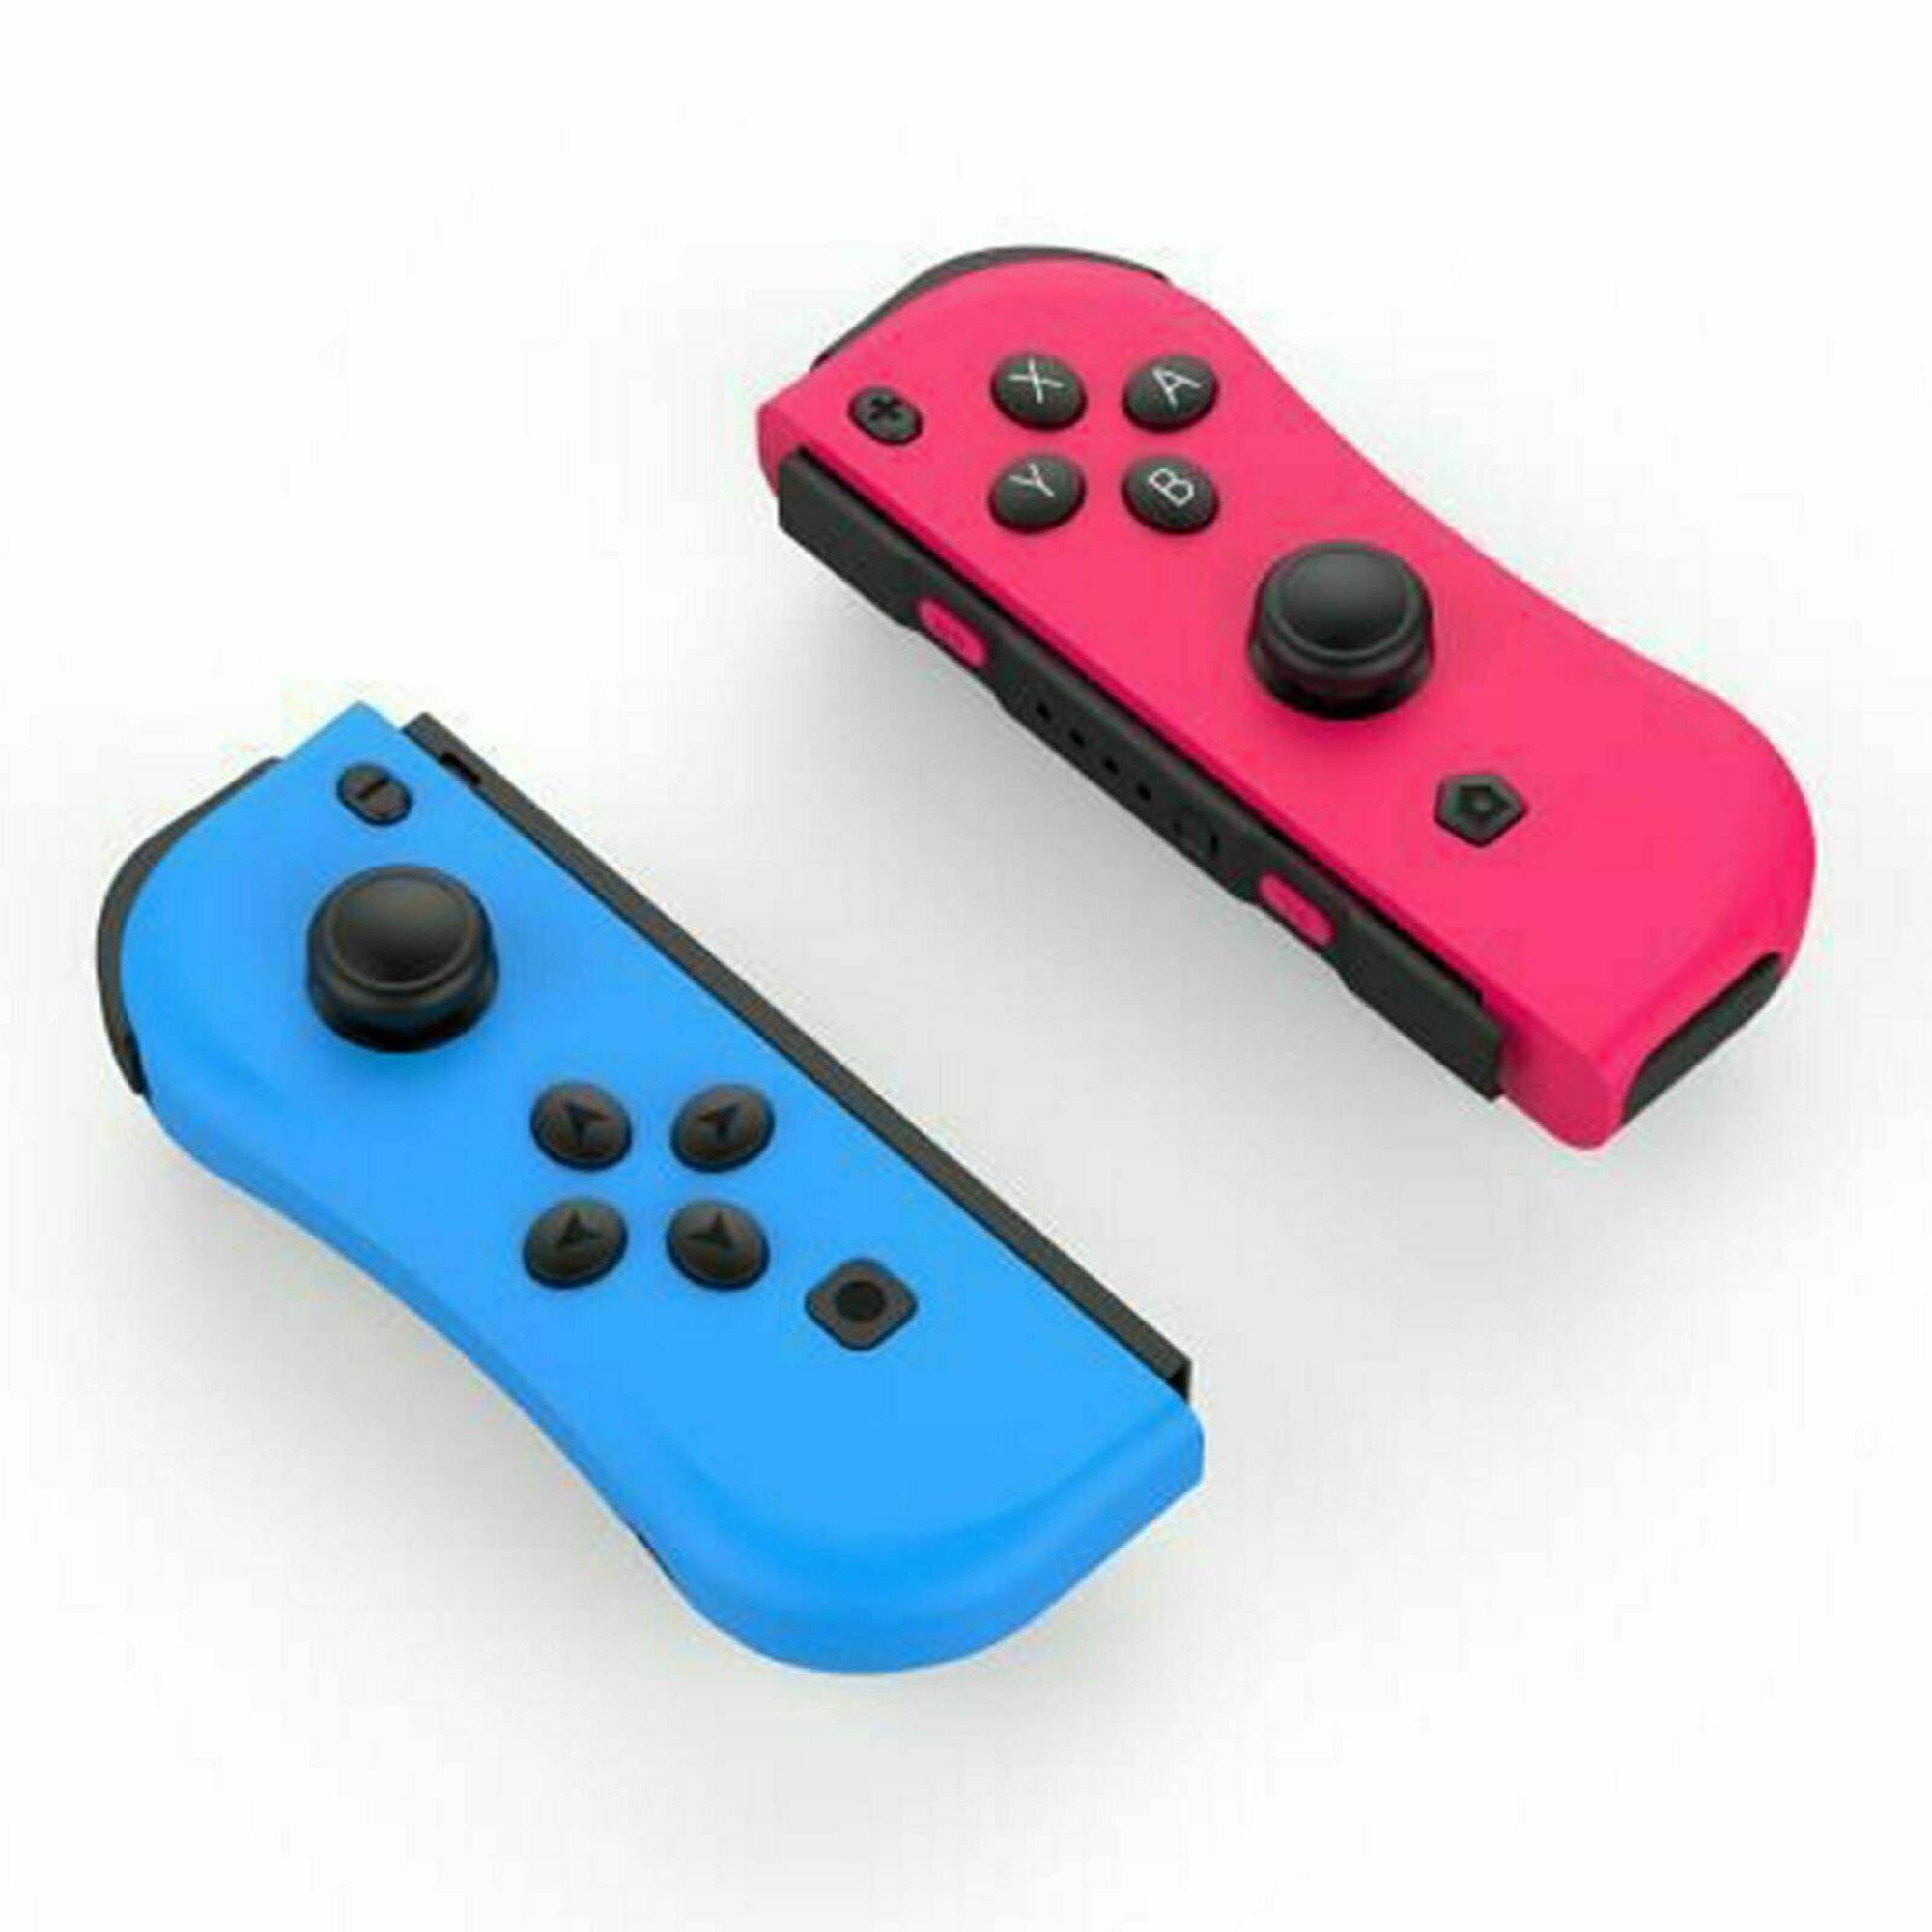
The controllers consist of 24 buttons and 2 high precision 3D. The left controller is made by UP, DOWN, LEFT, RIGHT, -, SCREEN SHOT, SL, SR, MODE, L1, L2 and left 3D. The right controller is made up by A, B, X, Y,+, Home, SL, SR,MODE, R1, R2 and Right 3D.
Color: red blue
Operation:
1. Switch console settings
Turn on the Switch console, pressing the “setting” on the menu, click successively “system settings”→“Airplane mode”→“Controller Connection” to turn on the Bluetooth function.
2.Connecting the Switch console by Bluetooth
a.Turn on the controller by pressing any of the UP/DOWN/LEFT/RIGHT of the left controller and A/B/X/Y of the right controller, the 4 led will flash circularly.
b.Press 3 second for Mode button of the left controller or right controller, the led will be keeping flash and enter into the Bluetooth pairing mode.
c.Turn on the home screen of the console , click the “controllers” on the menu, then click the “change grip/order”, the console will be searching and pairing the controllers automatically. Press A button after connecting the controller, click the “close” to enter the menu, the you can play the game.
3.Automatic continuous connection
If the controller have been connected with the console and the console’s Bluetooth is on, the controller will be connecting the console automatically when turn of the controller.
4.Turn on/off or charging/ sleep mode of the controller
a.Turn on/off of the controller
Turn on the controller by pressing UP/DOWN/LEFT/RIGHT of left controller or A/B/X/Y of right controller. The 4 LED will flash slowly and circularly if the controller turn on. Pressing 3 seconds of the Mode button to enter the pairing mode, releasing the mode button after the 4 LED flashing quickly and circularly. The LED will light on if the paring is successful.
Press the Mode button for 3 seconds, the controller will turn off when connect the console.
b.Charging mode of the controller
1)Charging the controller by USB when the controller is off, the 4 LED will flash slowly. The 4 led will turn off after the fully charge.
2)When the controllers connected with the console through the slide way, the controller will be charged by the console if the console is charged by the USB.(If the console is not charged, when the voltage of the controller is lower than 3.7V, the controller also will be charged by console.
c.Sleep mode of the controller
1)Under the pairing, if the controllers can not connect with the console, the controller will turn off automatically and enter into the sleep mode.
2)The controller will turn off automatically and enter into the sleep mode, if the controller have not been operated within 5 minutes when connecting the console.
5.Re-set
Please reset the controller, if the controller is abnormal, like button disorder, crash, connecting problem, etc. Please use the slender object, like needle, insert and press the reset hole on the back
of the controller, the controller will be reset.
6.Sensor calibration
Put the controller on the table, Press “SR+Mode” to open the controller, the LED1&LED2 will light on. Then press the SL to calibration. Please note the controller must put on the table.
7.3D calibration
Press L3/R3 to turn on the controller, the LED3 &LED 4 will light on. Press SL to start the Calibration. LED 1/2/3/4 will light on. Shaking the controller for several times and press SL to finish the test.
8.The instructions of USB
USB connector is for charging and update the system of the controller. When charging the controller by USB, the controller can not connect the console through the slide way to avoid breaking the console.
9. Updating the system of the controller
If the console is updated, the controller also need to be updated. Please press the SL and UP/DOWN/LEFT/RIGHT of left controller orA/B/X/Y of right controller, the controller will enter into the PC mode. Connect the PC by USB(or press the SL and connect the PC by USB), updating the controller through the system.
10.Support the Wired function
Putting the controller on the Switch console through the slide way, the controller will connect the console automatically, then the Bluetooth part of the controller will disconnect the Bluetooth of the console. When the controller is out of power, the console will charge the controller when connecting the console by wired.
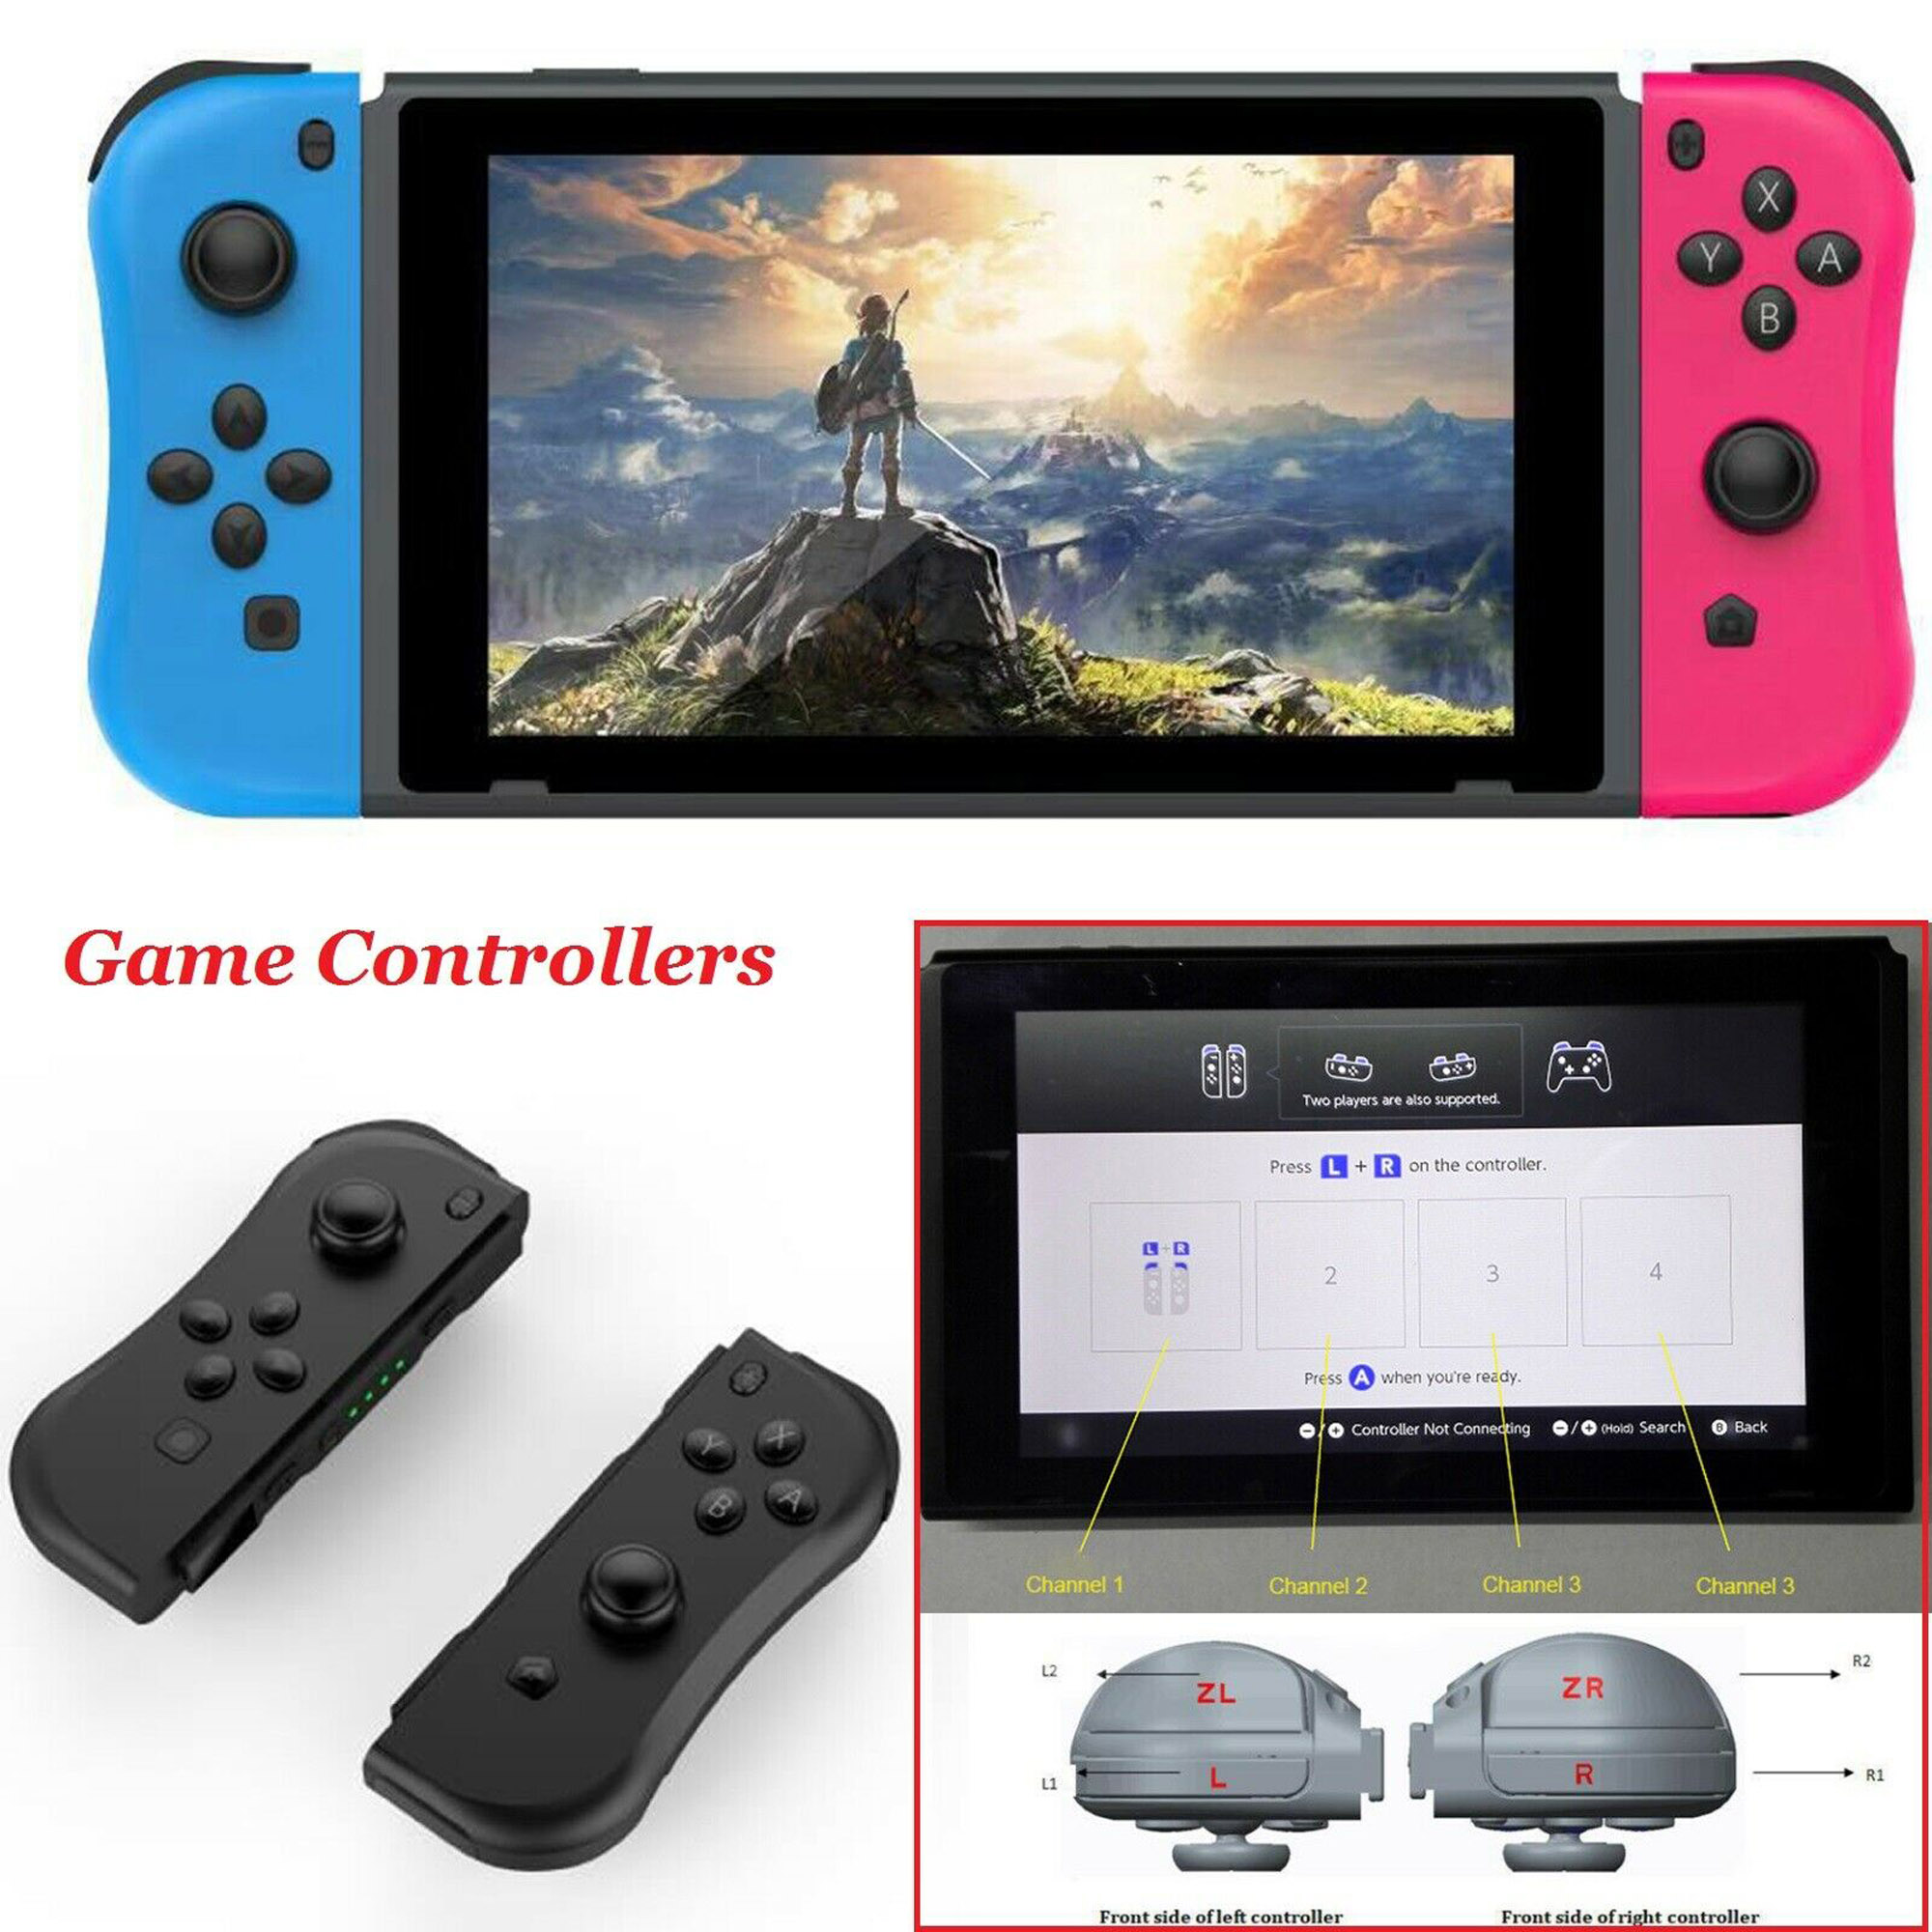
The controller is for the Switch console. The console can support up to 7 controllers(4 pcs of left controllers and 3 pcs of right controllers or 3 pcs of left controllers and 4 pcs of right controllers) to connect the console at the same time.
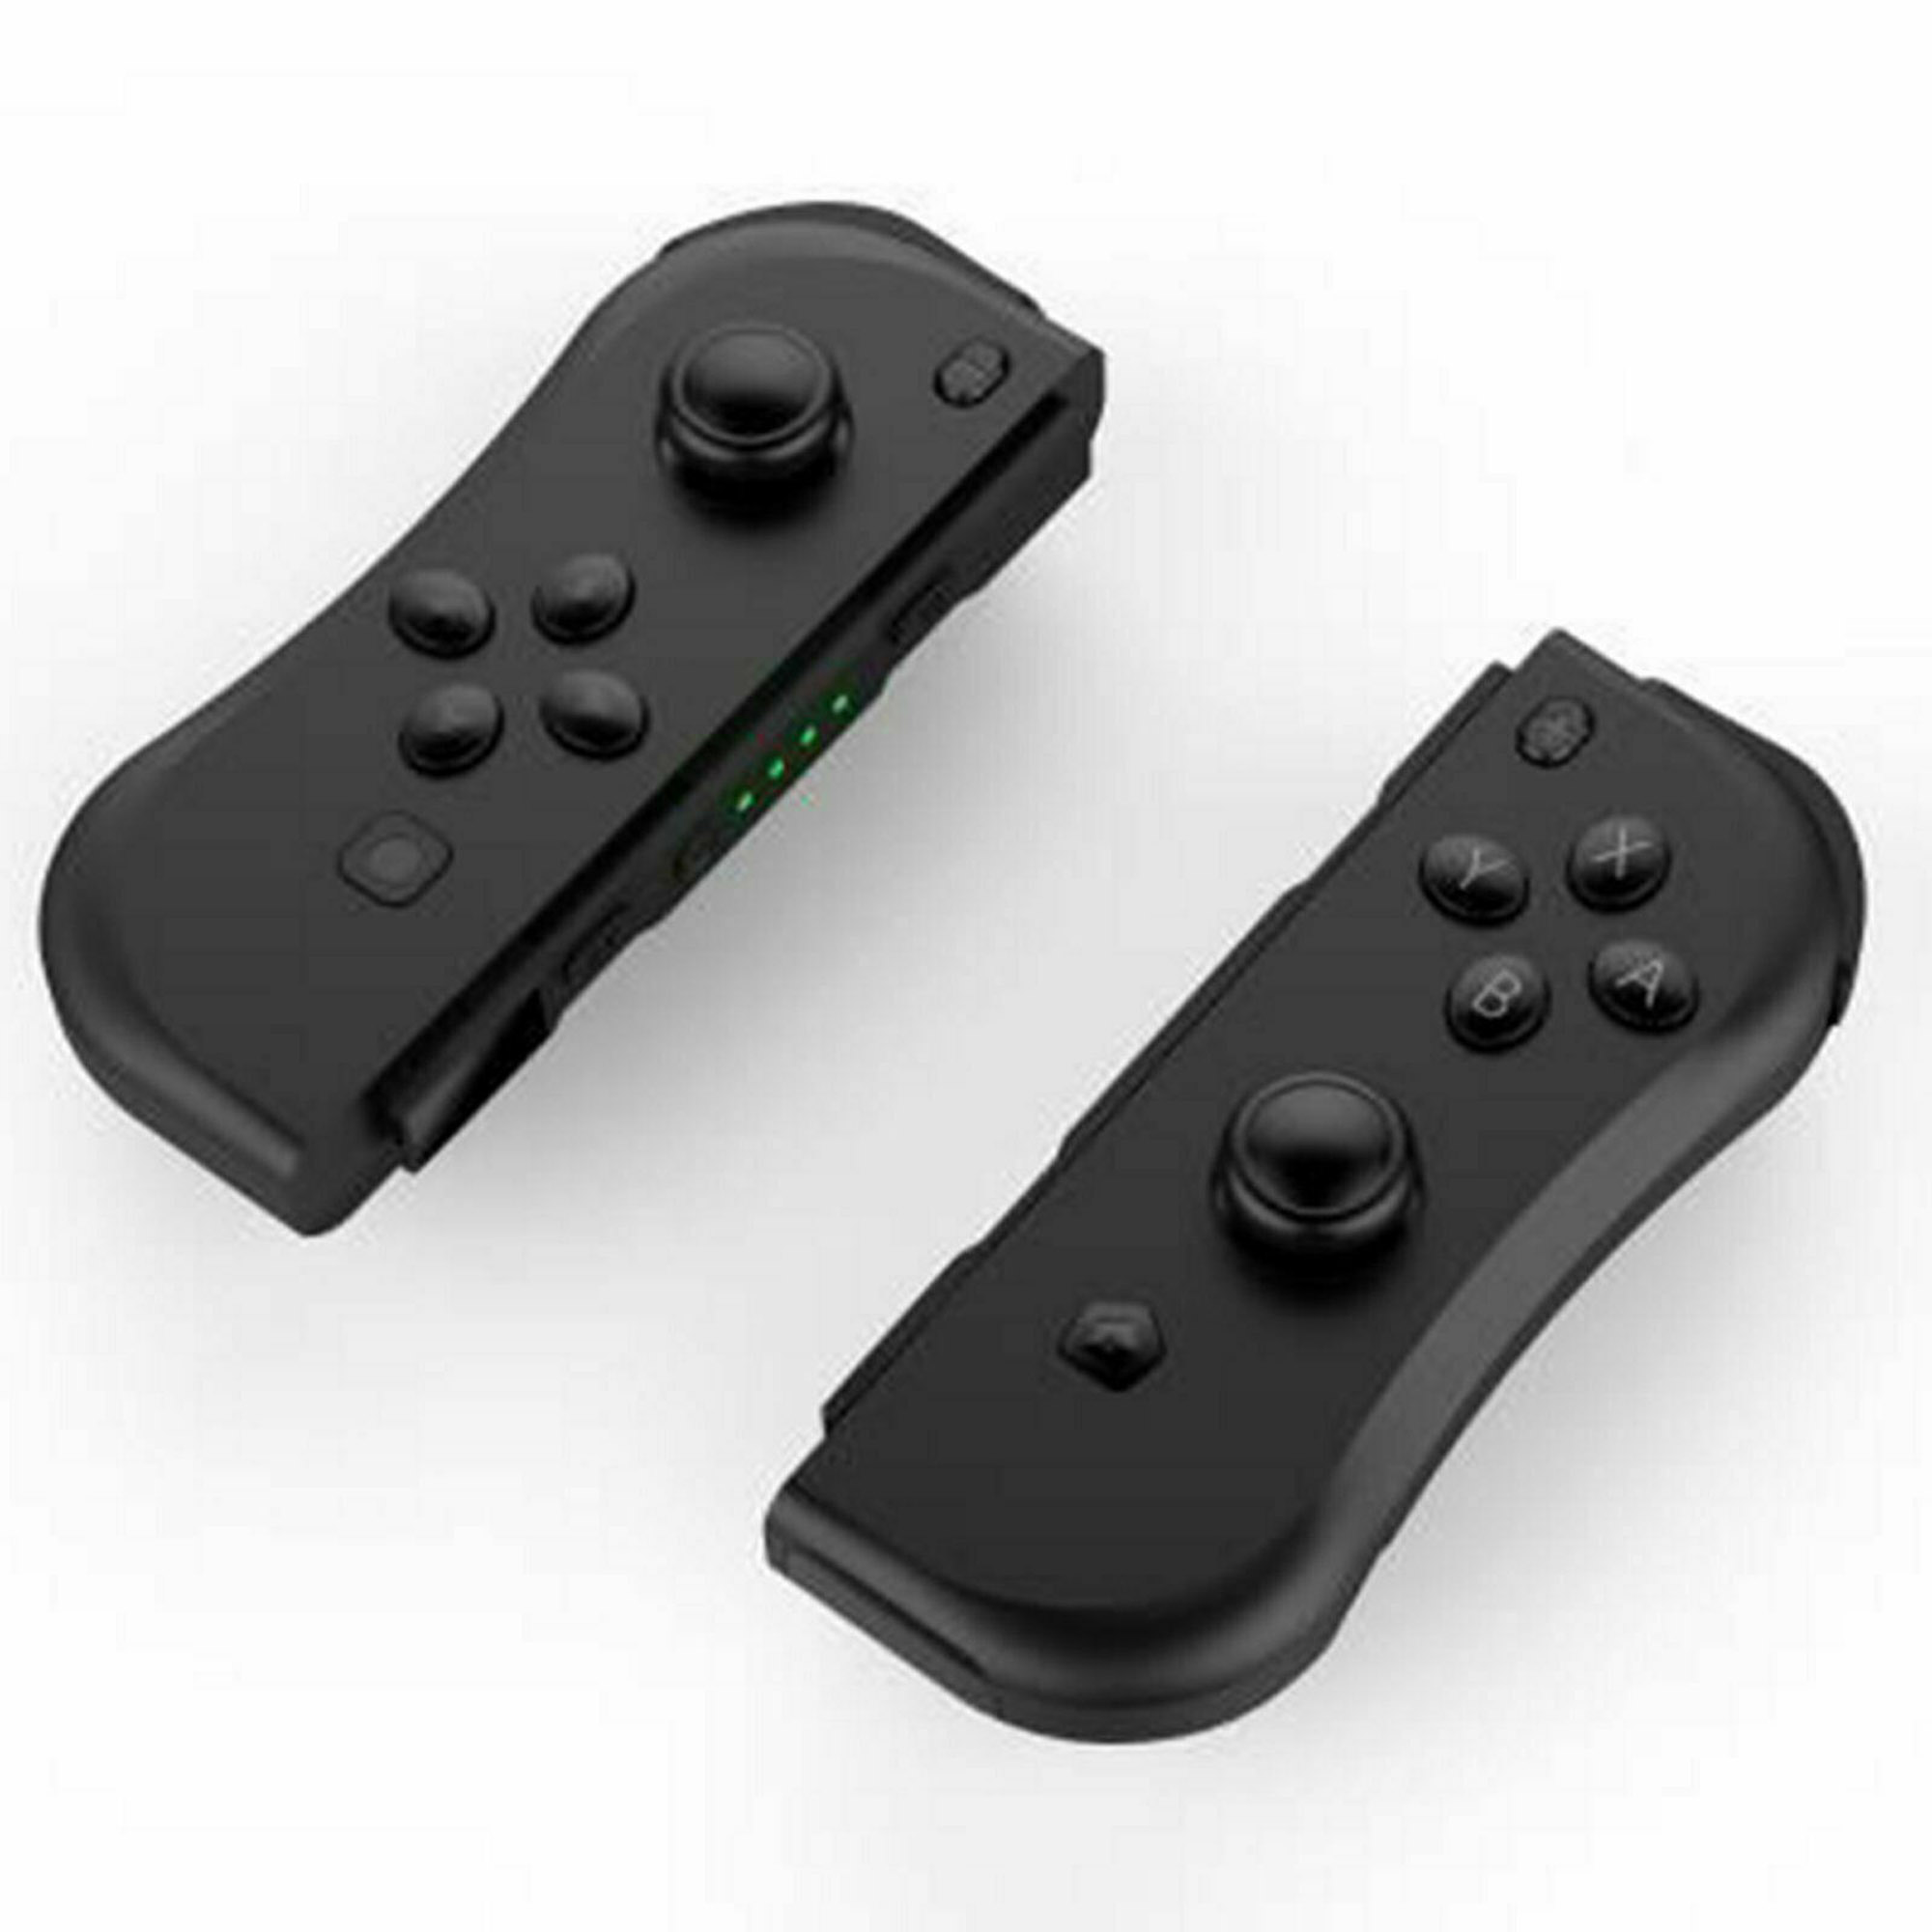
LED: Each controller have 4 LED, it can be used as channel or indicator.
a.When the controller is off, press UP/DOWN/LEFT/RIGHT of left controller or A/B/X/Y of right controller can turn on the controller. The 4 LED will light up circularly.
b.Press the MODE button for 3 seconds, 4 LED will flash rapidly. After the controller is connected with console successfully, the relevant LED will be light on.
c.When the voltage of the controller is lower than 3.5V when connecting with the console, the relevant LED will flash slowly. When the voltage of the controller is lower than 3.4V, the controller will turn off automatically.
d.After connecting successfully, if the switch console turn off the Bluetooth or enter into the sleep mode, the controller will turn off automatically and the relevant led will go out.
e.Charging the controller by USB when the controller is turn off, the 4 led will flash slowly. The 4 LED will turn off after the charging is fully.
f.Charging the controller through USB when controller is connected with the console, the relevant LED will flash slowly. The 4 LED will light on when charging is fully..
g.The Switch console can connect with 7 pcs of controller at the same time, which is divided into 4 channels. Each channels can connect with 1 pcs of left and right controller. The LED1 will light on if the controller is connected through the channel 1. The LED 1+LED2 will light on if the controller is connected through the channel 2. The LED 1+LED2+LED3 will light on if the controller is connected through the channel 3. The LED 1+LED2+LED3+LED4 will light on if the controller is connected through the channel 4. Please check for below picture.
Electronic parameter:
Current after the connecting is successful ≤30MA
Current when the controller is vibrating ≤80MA
Current when the controller turn off ≤15uA
Current when charging the controller ≤350MA MAX.
Voltage when charging the controller : DC 5V
Bluetooth distance: 8-10 m
Working Time: working time for playing vibration game: ≤10h, working time for playing without vibration game: ≤20h
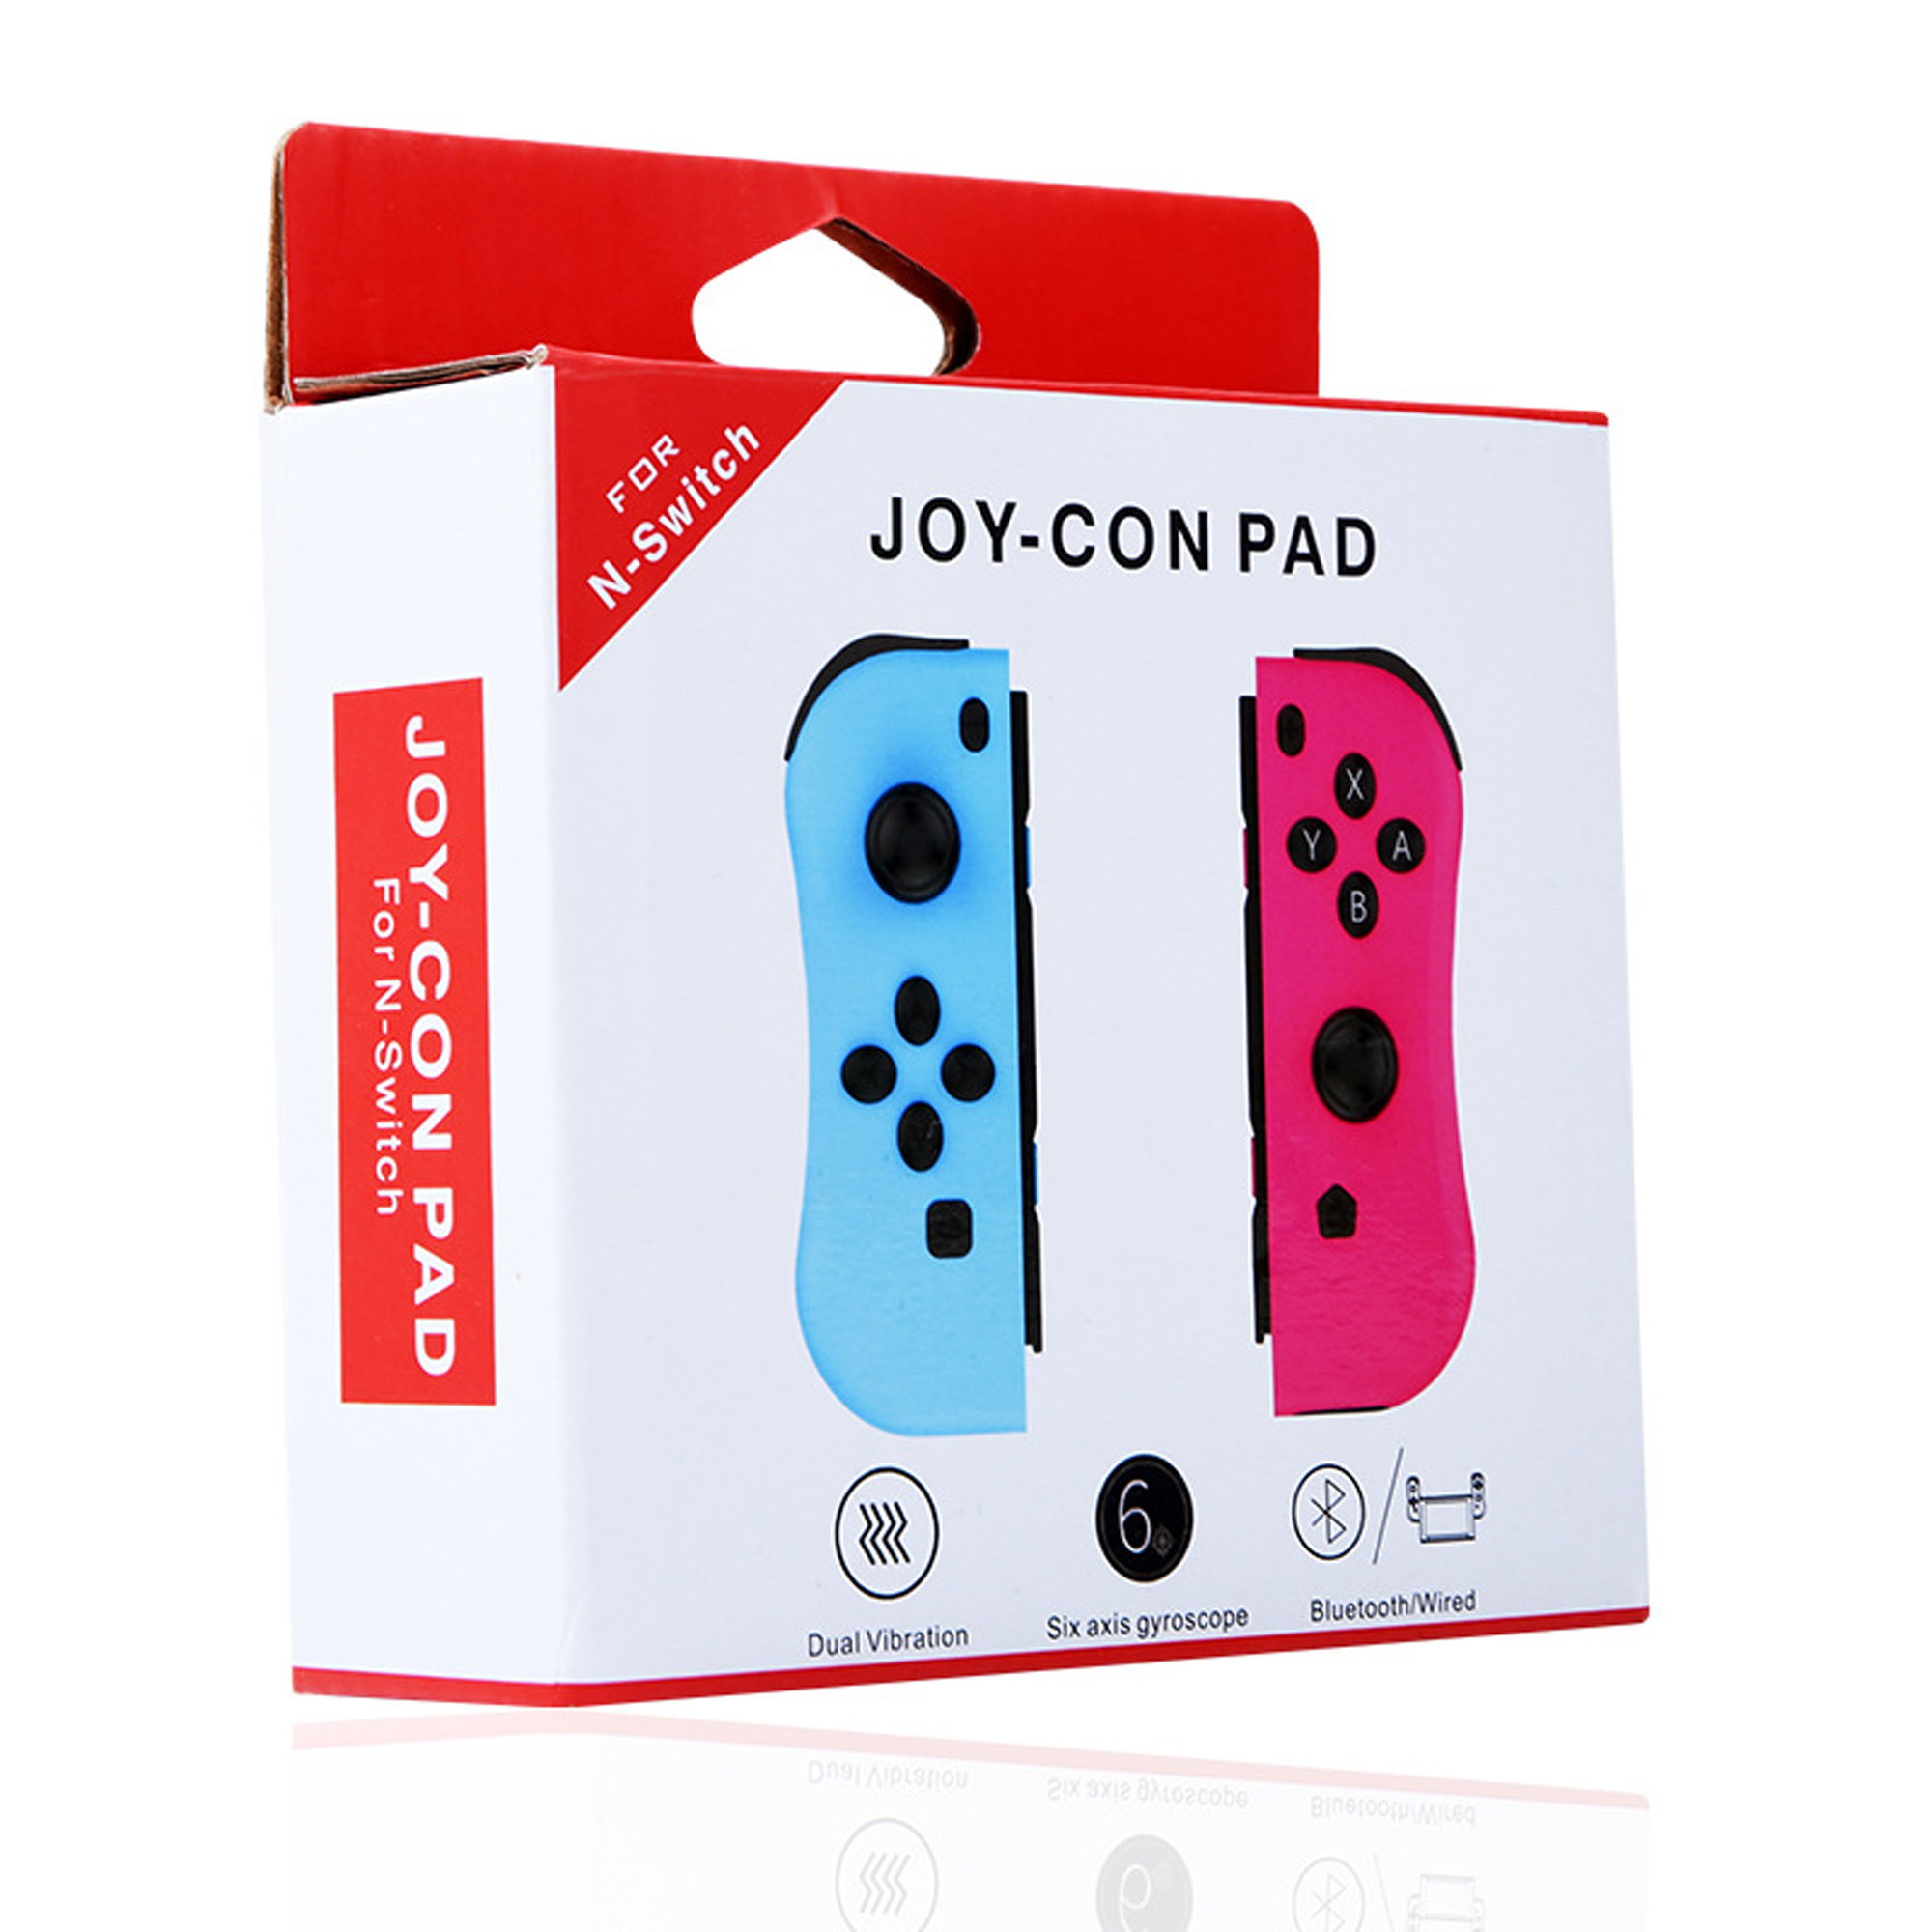
Packing includes:
1 x Pair of game controllers
Descriptions:
This model is for Switch console. The controller have the vibration and sensor functions, and can be used through wired and Bluetooth.
The controllers consist of 24 buttons and 2 high precision 3D. The left controller is made by UP, DOWN, LEFT, RIGHT, -, SCREEN SHOT, SL, SR, MODE, L1, L2 and left 3D. The right controller is made up by A, B, X, Y,+, Home, SL, SR,MODE, R1, R2 and Right 3D.
Color: red blue
Operation:
1. Switch console settings
Turn on the Switch console, pressing the “setting” on the menu, click successively “system settings”→“Airplane mode”→“Controller Connection” to turn on the Bluetooth function.
2.Connecting the Switch console by Bluetooth
a.Turn on the controller by pressing any of the UP/DOWN/LEFT/RIGHT of the left controller and A/B/X/Y of the right controller, the 4 led will flash circularly.
b.Press 3 second for Mode button of the left controller or right controller, the led will be keeping flash and enter into the Bluetooth pairing mode.
c.Turn on the home screen of the console , click the “controllers” on the menu, then click the “change grip/order”, the console will be searching and pairing the controllers automatically. Press A button after connecting the controller, click the “close” to enter the menu, the you can play the game.
3.Automatic continuous connection
If the controller have been connected with the console and the console’s Bluetooth is on, the controller will be connecting the console automatically when turn of the controller.
4.Turn on/off or charging/ sleep mode of the controller
a.Turn on/off of the controller
Turn on the controller by pressing UP/DOWN/LEFT/RIGHT of left controller or A/B/X/Y of right controller. The 4 LED will flash slowly and circularly if the controller turn on. Pressing 3 seconds of the Mode button to enter the pairing mode, releasing the mode button after the 4 LED flashing quickly and circularly. The LED will light on if the paring is successful.
Press the Mode button for 3 seconds, the controller will turn off when connect the console.
b.Charging mode of the controller
1)Charging the controller by USB when the controller is off, the 4 LED will flash slowly. The 4 led will turn off after the fully charge.
2)When the controllers connected with the console through the slide way, the controller will be charged by the console if the console is charged by the USB.(If the console is not charged, when the voltage of the controller is lower than 3.7V, the controller also will be charged by console.
c.Sleep mode of the controller
1)Under the pairing, if the controllers can not connect with the console, the controller will turn off automatically and enter into the sleep mode.
2)The controller will turn off automatically and enter into the sleep mode, if the controller have not been operated within 5 minutes when connecting the console.
5.Re-set
Please reset the controller, if the controller is abnormal, like button disorder, crash, connecting problem, etc. Please use the slender object, like needle, insert and press the reset hole on the back
of the controller, the controller will be reset.
6.Sensor calibration
Put the controller on the table, Press “SR+Mode” to open the controller, the LED1&LED2 will light on. Then press the SL to calibration. Please note the controller must put on the table.
7.3D calibration
Press L3/R3 to turn on the controller, the LED3 &LED 4 will light on. Press SL to start the Calibration. LED 1/2/3/4 will light on. Shaking the controller for several times and press SL to finish the test.
8.The instructions of USB
USB connector is for charging and update the system of the controller. When charging the controller by USB, the controller can not connect the console through the slide way to avoid breaking the console.
9. Updating the system of the controller
If the console is updated, the controller also need to be updated. Please press the SL and UP/DOWN/LEFT/RIGHT of left controller orA/B/X/Y of right controller, the controller will enter into the PC mode. Connect the PC by USB(or press the SL and connect the PC by USB), updating the controller through the system.
10.Support the Wired function
Putting the controller on the Switch console through the slide way, the controller will connect the console automatically, then the Bluetooth part of the controller will disconnect the Bluetooth of the console. When the controller is out of power, the console will charge the controller when connecting the console by wired.
The controller is for the Switch console. The console can support up to 7 controllers(4 pcs of left controllers and 3 pcs of right controllers or 3 pcs of left controllers and 4 pcs of right controllers) to connect the console at the same time.
LED: Each controller have 4 LED, it can be used as channel or indicator.
a.When the controller is off, press UP/DOWN/LEFT/RIGHT of left controller or A/B/X/Y of right controller can turn on the controller. The 4 LED will light up circularly.
b.Press the MODE button for 3 seconds, 4 LED will flash rapidly. After the controller is connected with console successfully, the relevant LED will be light on.
c.When the voltage of the controller is lower than 3.5V when connecting with the console, the relevant LED will flash slowly. When the voltage of the controller is lower than 3.4V, the controller will turn off automatically.
d.After connecting successfully, if the switch console turn off the Bluetooth or enter into the sleep mode, the controller will turn off automatically and the relevant led will go out.
e.Charging the controller by USB when the controller is turn off, the 4 led will flash slowly. The 4 LED will turn off after the charging is fully.
f.Charging the controller through USB when controller is connected with the console, the relevant LED will flash slowly. The 4 LED will light on when charging is fully..
g.The Switch console can connect with 7 pcs of controller at the same time, which is divided into 4 channels. Each channels can connect with 1 pcs of left and right controller. The LED1 will light on if the controller is connected through the channel 1. The LED 1+LED2 will light on if the controller is connected through the channel 2. The LED 1+LED2+LED3 will light on if the controller is connected through the channel 3. The LED 1+LED2+LED3+LED4 will light on if the controller is connected through the channel 4. Please check for below picture.
Electronic parameter:
Current after the connecting is successful ≤30MA
Current when the controller is vibrating ≤80MA
Current when the controller turn off ≤15uA
Current when charging the controller ≤350MA MAX.
Voltage when charging the controller : DC 5V
Bluetooth distance: 8-10 m
Working Time: working time for playing vibration game: ≤10h, working time for playing without vibration game: ≤20h
Packing includes:
1 x Pair of game controllers