Features:
*You will get 1 set of DIY clock parts with long axis 16mm silent clock movement with 8mm thread height for 30-40cm diameter clock panels.
*These clock repair replacement parts are suitable for cross-stitch, three-dimensional embroidery, craft clocks, frameless pull clocks, especially suitable as replacement parts for DIY quartz wall clocks.
*This product is accurate timing, time error within 1 second, service life up to 3 years, low power consumption, very environmentally friendly, ordinary batteries can be used for 6 months.
*This movement uses 1 section of 1.5V-AA batteries (carbon batteries can be used, alkaline batteries are not recommended, otherwise the current is too high, affecting the time, delivery without batteries)
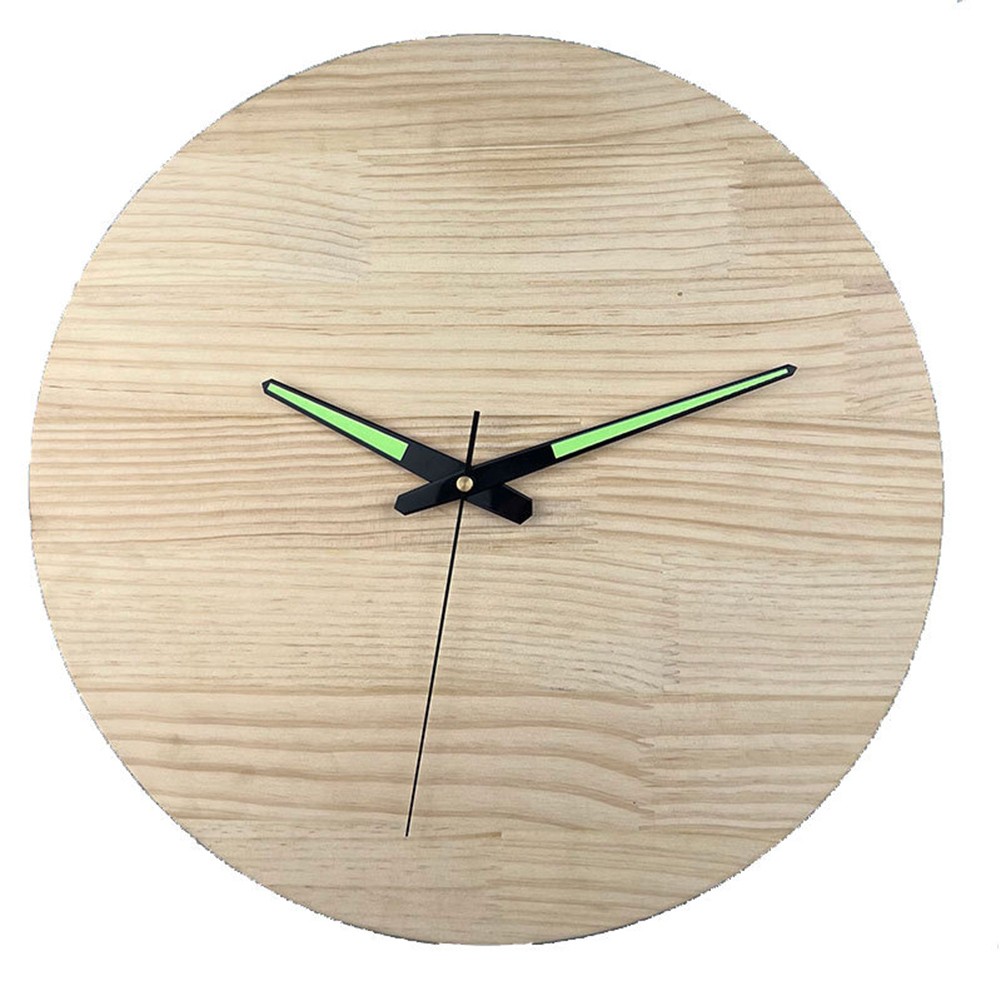
*This product is suitable for craft clocks, wooden wall clocks, metal wall clocks, electric box wall clocks, porcelain crystal paintings, repair and replacement, DIY home decorative clocks; it can rejuvenate your old clocks and make your new DIY crafts more perfect.
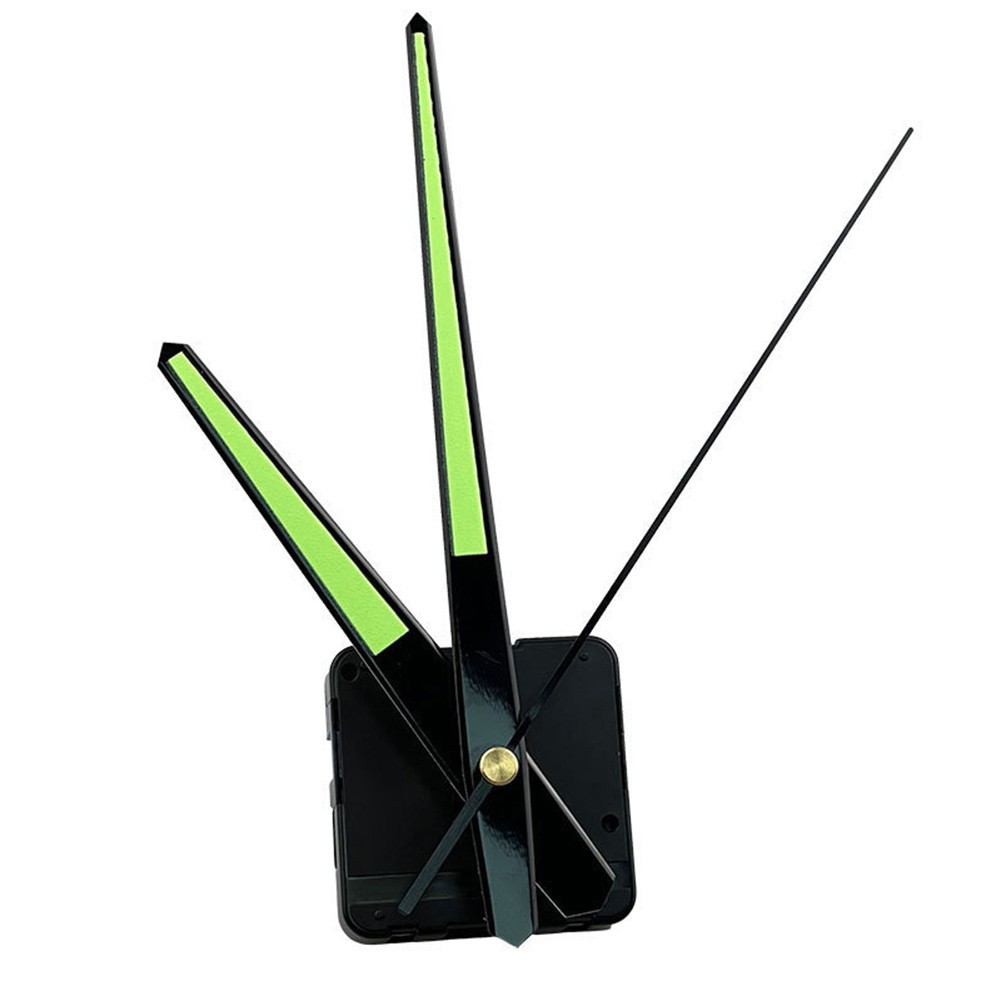
*No ticking sound, only the sweep of the second hand instead of ticking, making the movement more quiet.
Details:
Material: plastic, metal
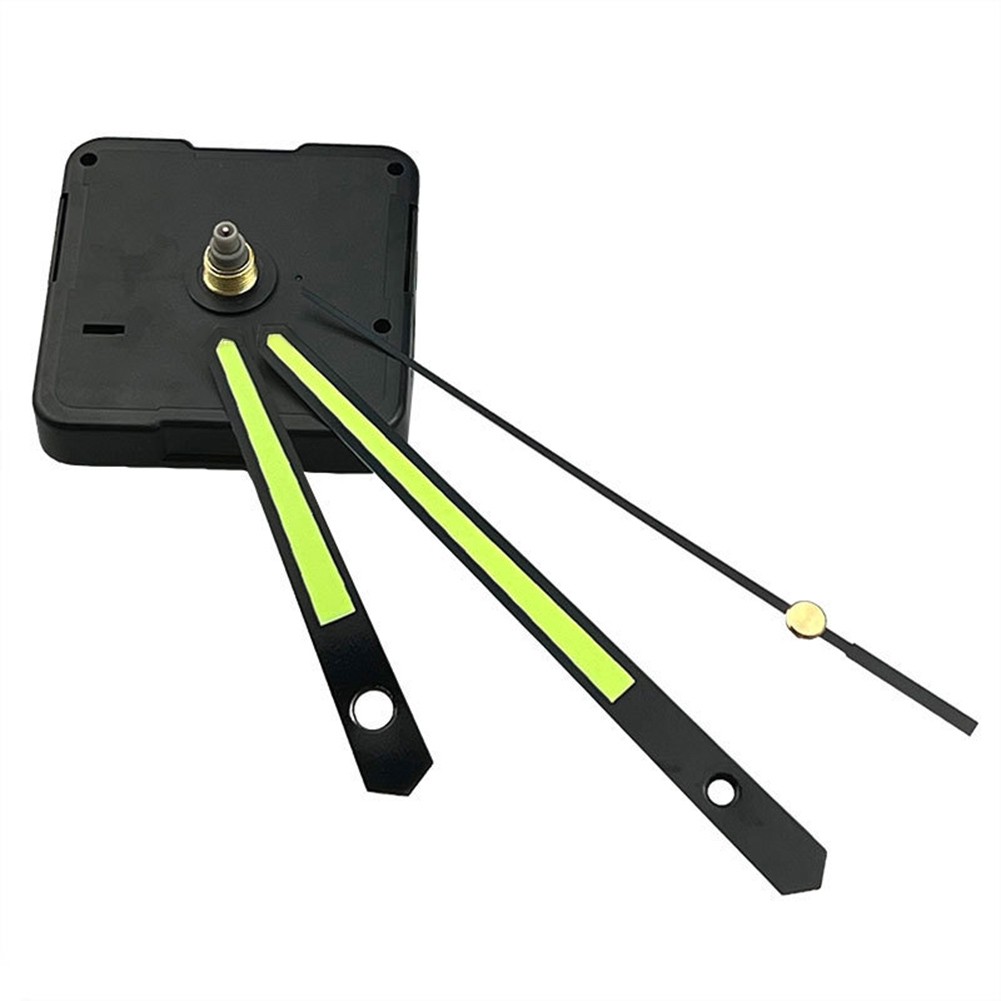
Color: fluorescent black second hand, fluorescent red second hand, fluorescent black second hand dot
Size:
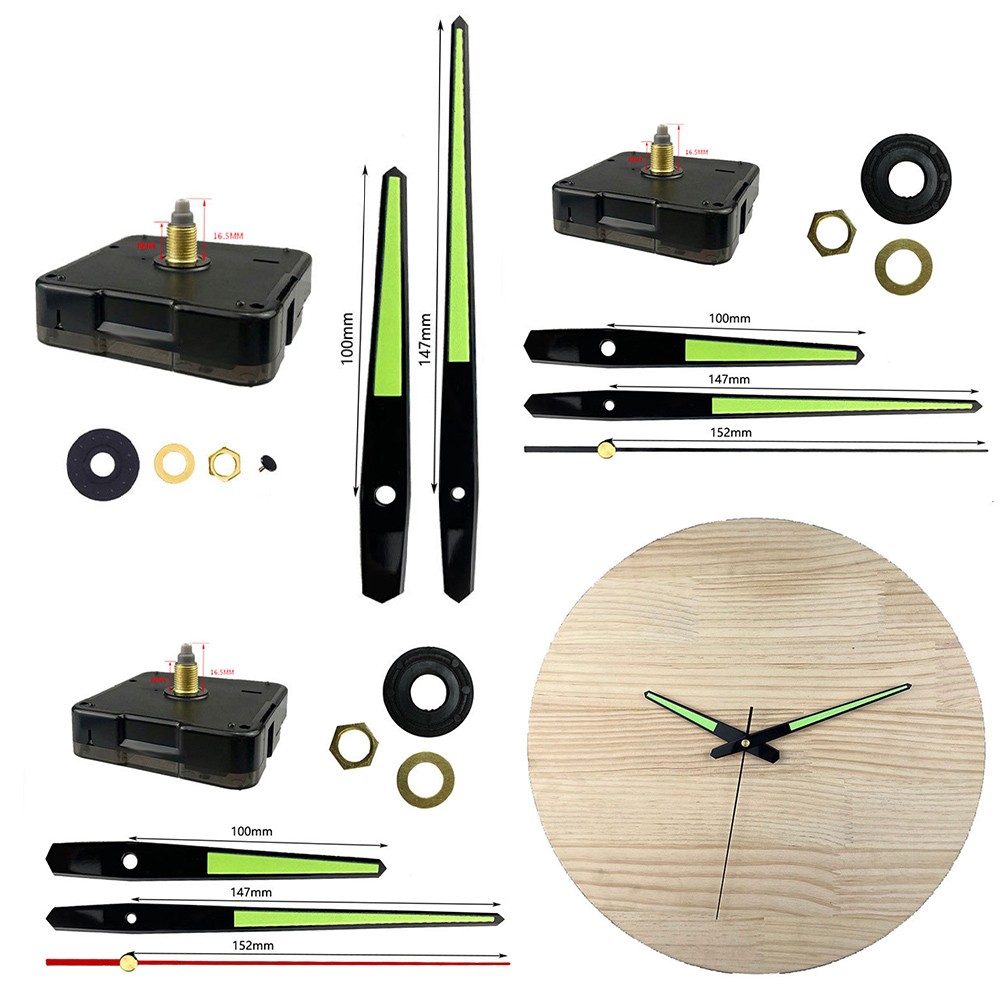
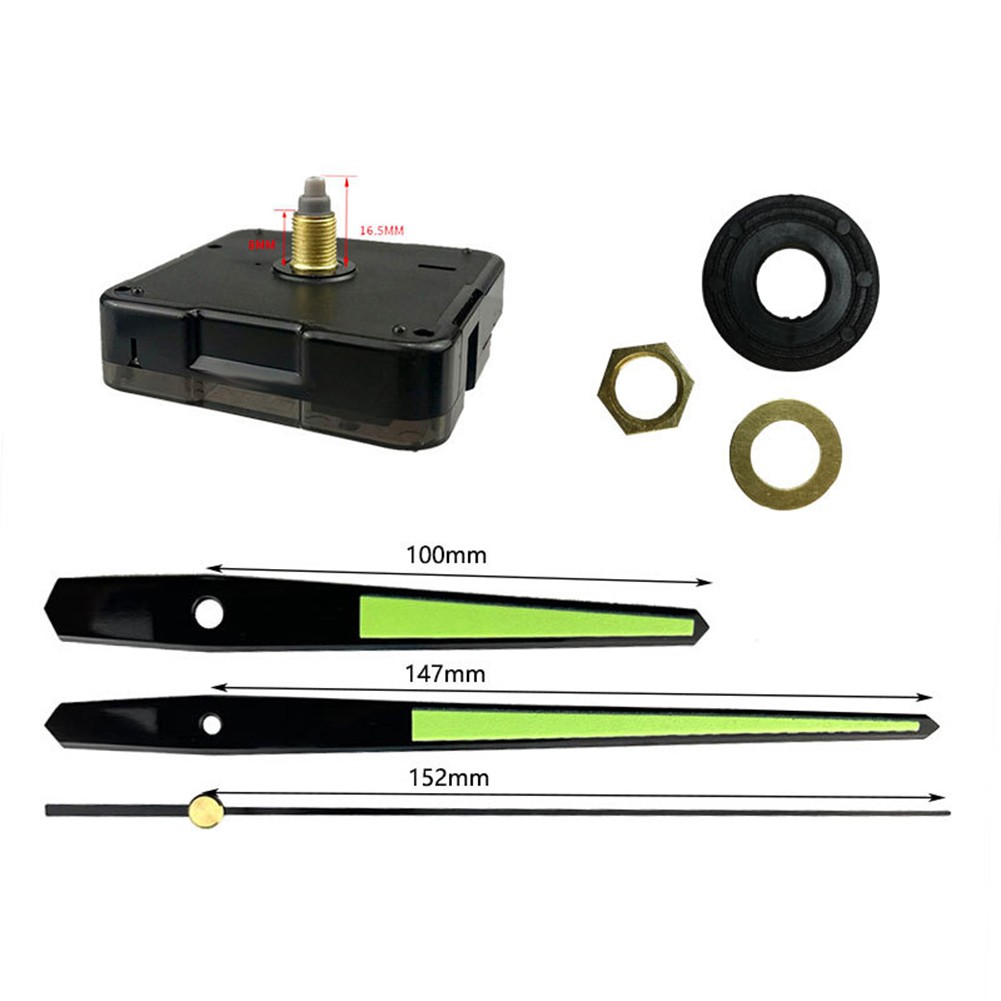
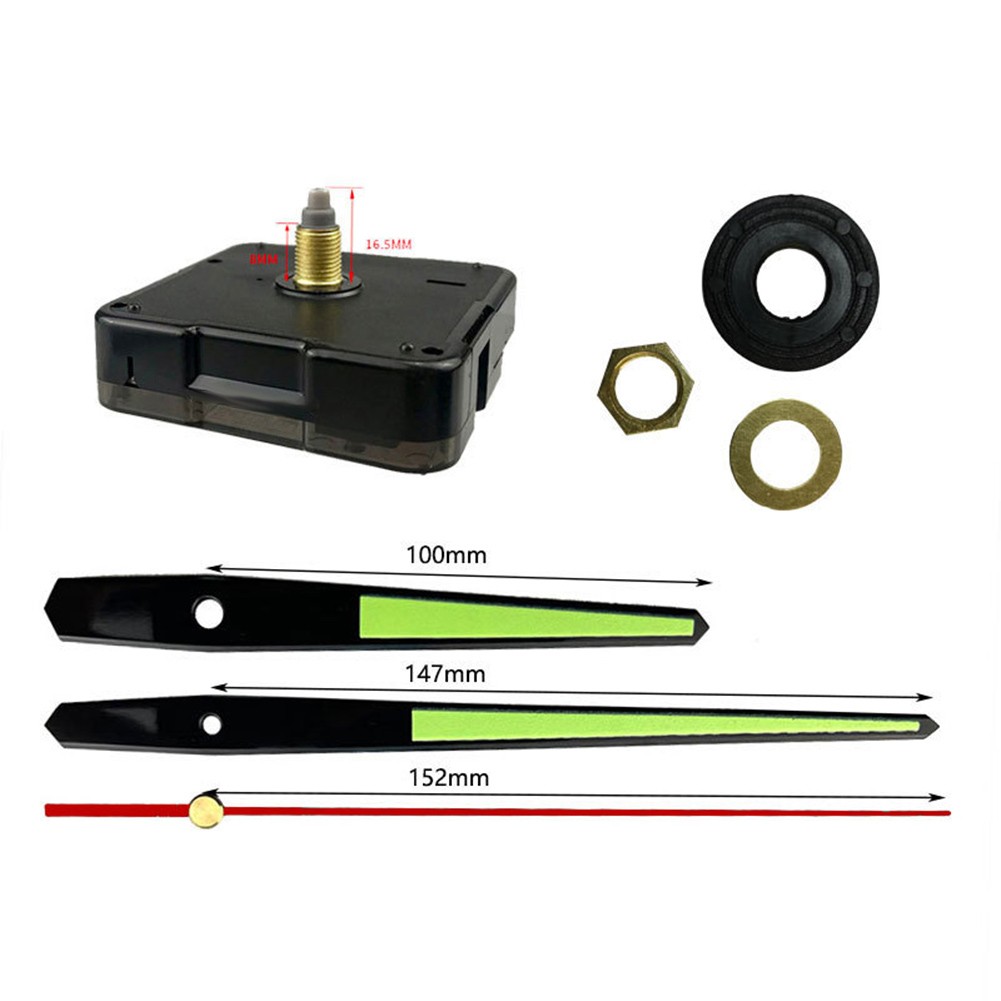
Movement dimensions:
Movement size: 56*56*16mm , shaft length 16mm, thread height 8mm, suitable for 4-6mm thick clock panel.
Hand size:
Hour hand (measured from the round hole to the top): 100mm
Minute hand (measured from the round hole to the top): 147mm
Seconds hand (measured from the round hole to the top): 152 mm
Application: for 35-40cm cm diameter clock panels
Battery: 1 x 1.5V-AA battery (battery not included in delivery)
Package contents:
Delivery list: clock movement, hands, accessories.
Caution:
1. Due to various factors, such as monitor brightness, light brightness, etc., the actual color of the product may be slightly different from the picture on the website.
2. 2. Please allow slight manual measurement deviation in the data.
3. 3. Please refer to the installation diagram of the pointer to understand how to install the pointer.
4. 4. After the three pins are installed, the three pins should be parallel when viewed from the side, and it is best not to touch the pins.